Gift cards are a great way to engage your customers and reward them. Our gift Card functionality lets you create gift cards and send them via email or text, or generate QR codes.
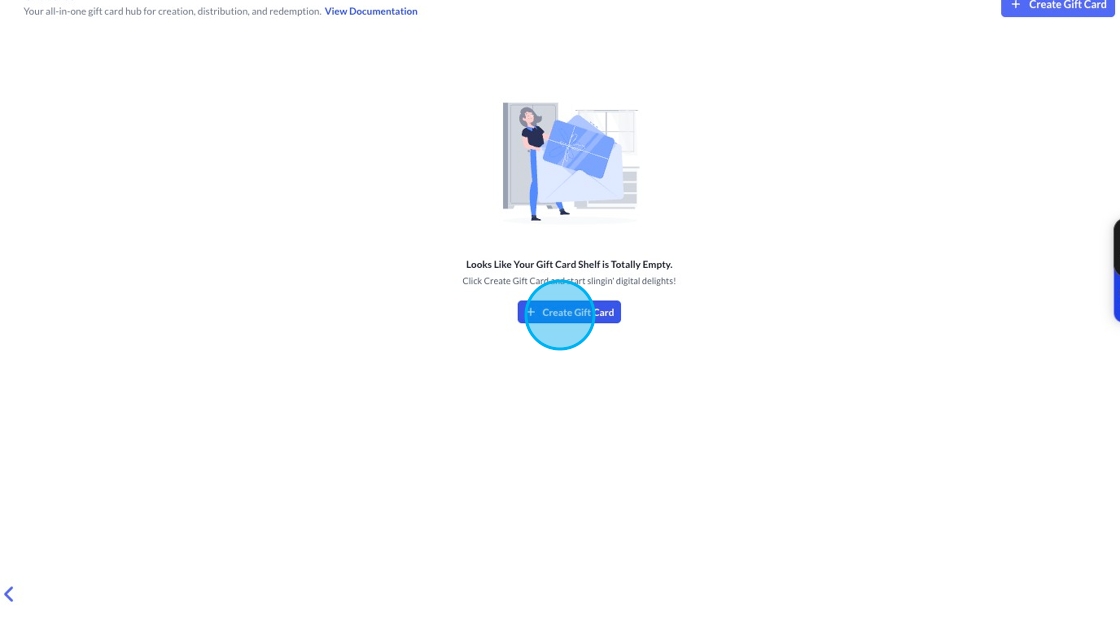
To create a gift card, go to Payments and select the Gift Card button.
You can either create a gradient design for a card or upload your own design and apply it to your gift card. To get started, click the create gift card button, and you’ll go into the wizard that helps you build your card and set everything needed so it’s ready for use.
The wizard then helps you create your card by starting with some basic information. Here, you’ll need to set:
A Gift Card name,
A Gift Card Description
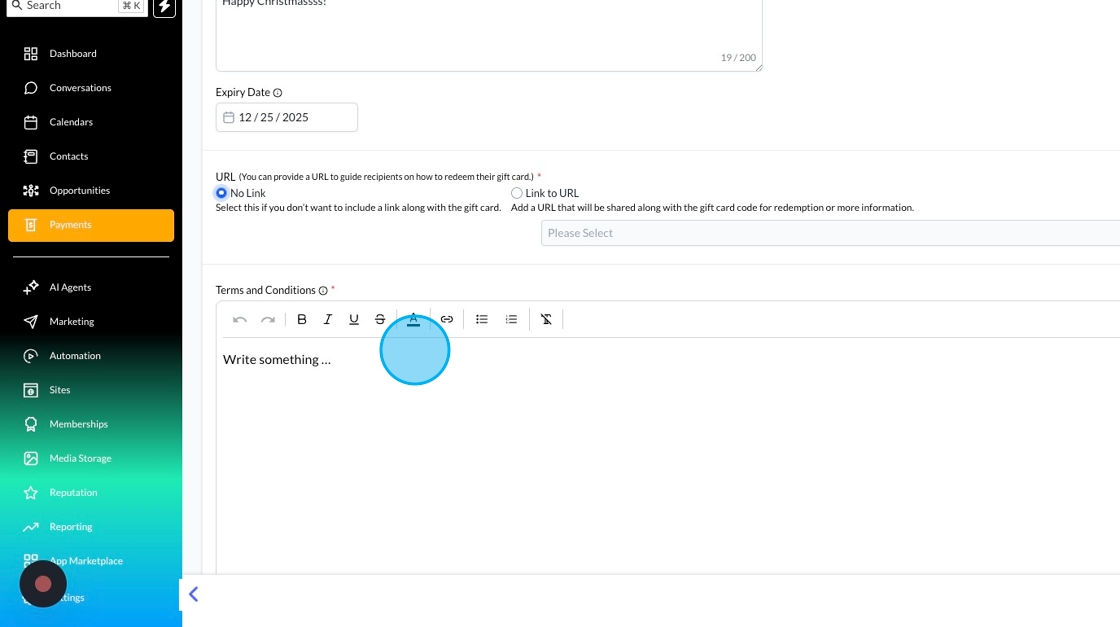
An expiry date, if you want to automatically expire the card from use
A Link
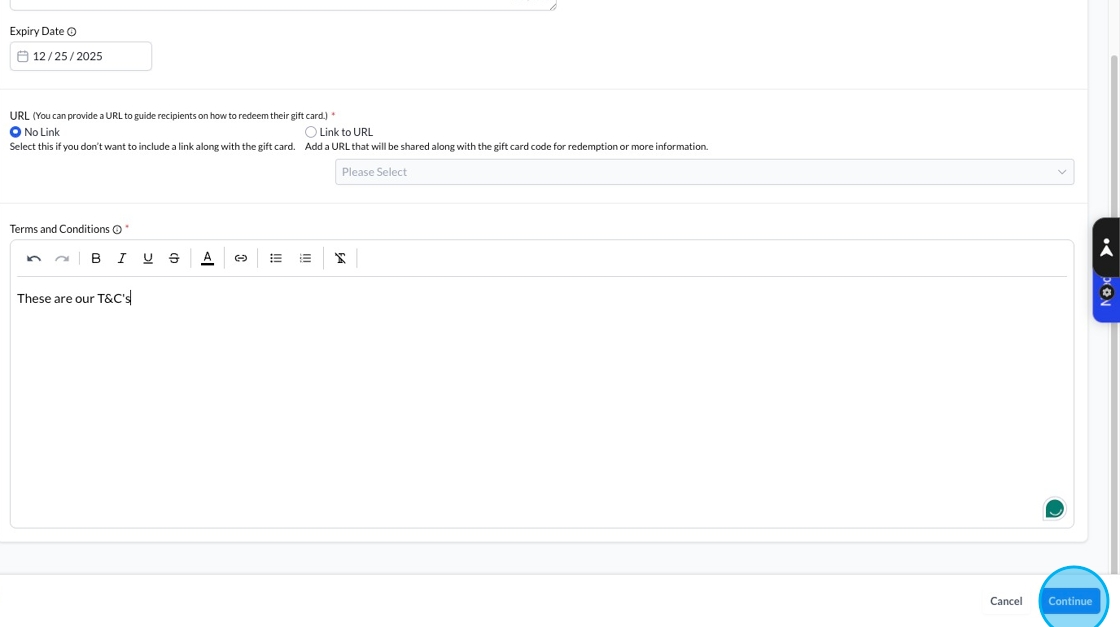
And any Terms and Conditions
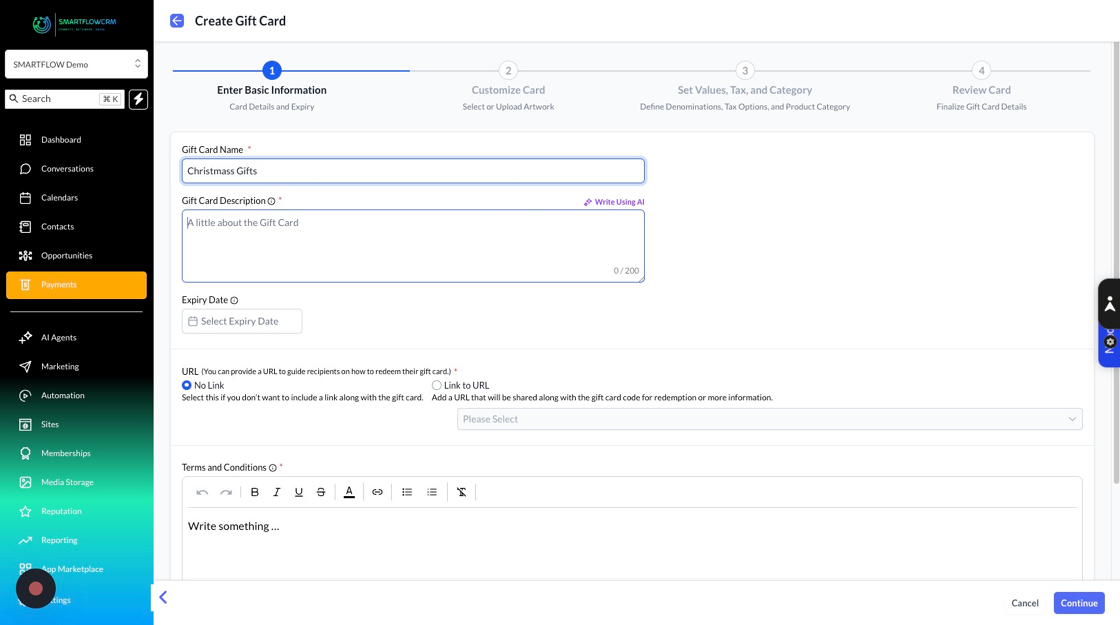
The name and card description will appear on the card, along with the expiry date.
You can also add a link to a web address if you want. This will go out with the card information when it's sent, but it will also allow you to direct people to a website where you can provide further details about redemption, for example.
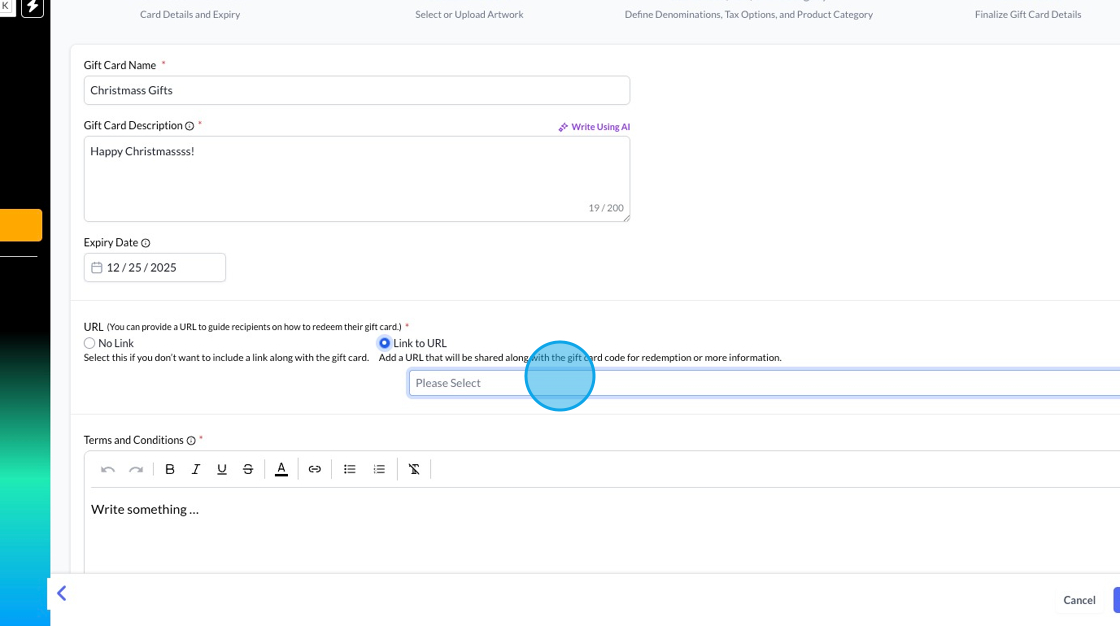
If you want to add terms and conditions, such as eligibility or redemption rules, you can add them in the Terms and Conditions box.
Once you're happy with the basic setup, click continue to move on to designing your card.
When designing your card, you have two options: create a gradient or upload your own artwork if you’ve designed your card in Canva, for example.
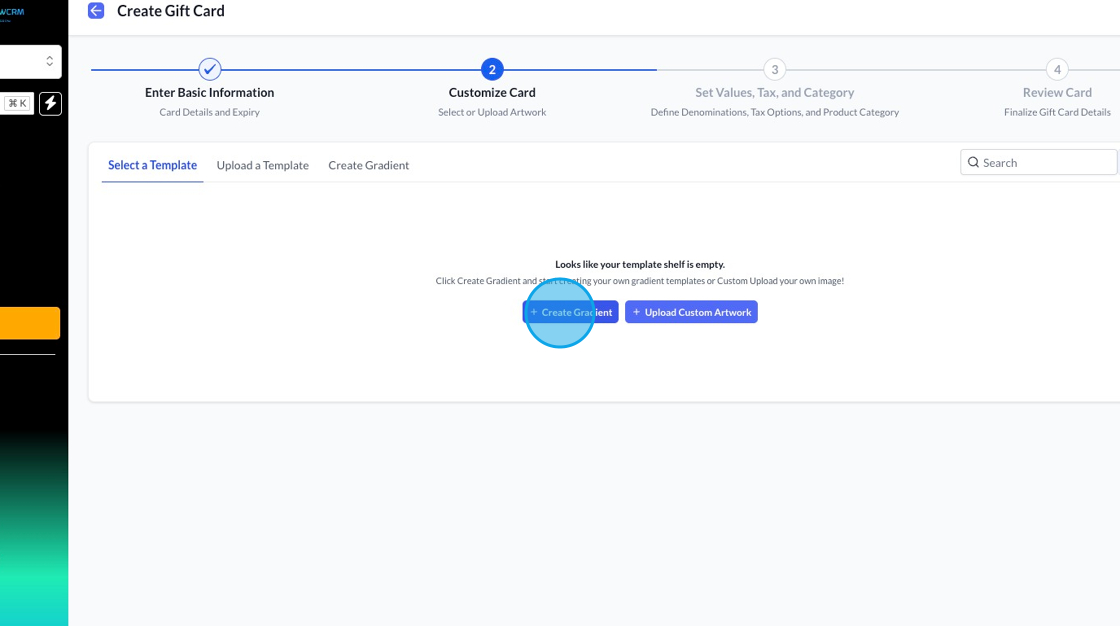
To create a gradient option, click the Create Gradient button. To upload your own artwork, click the upload custom artwork button.

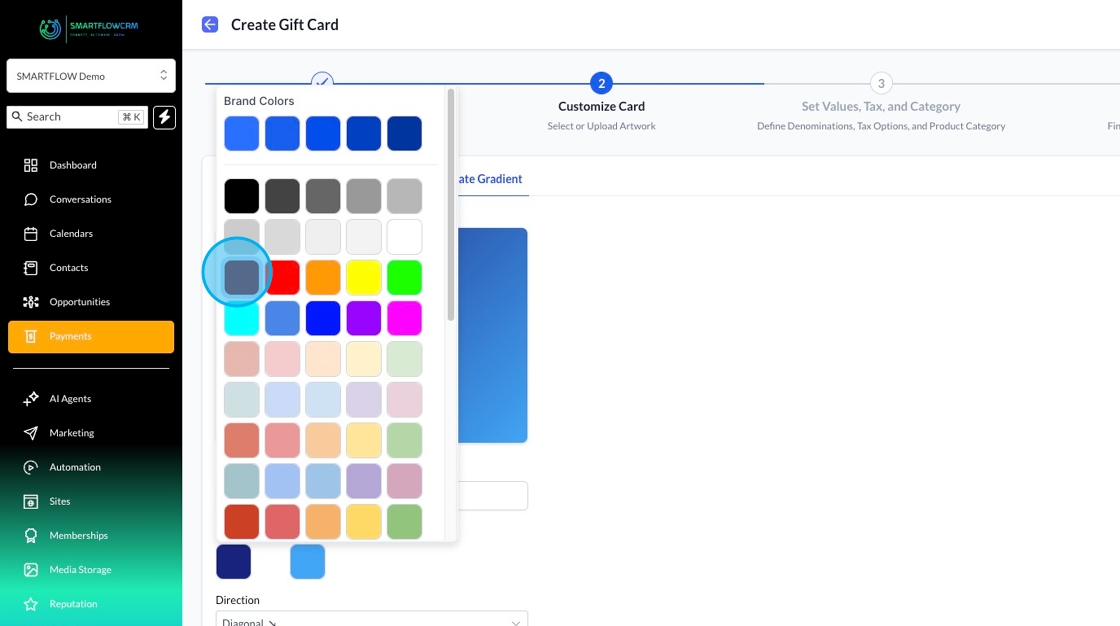
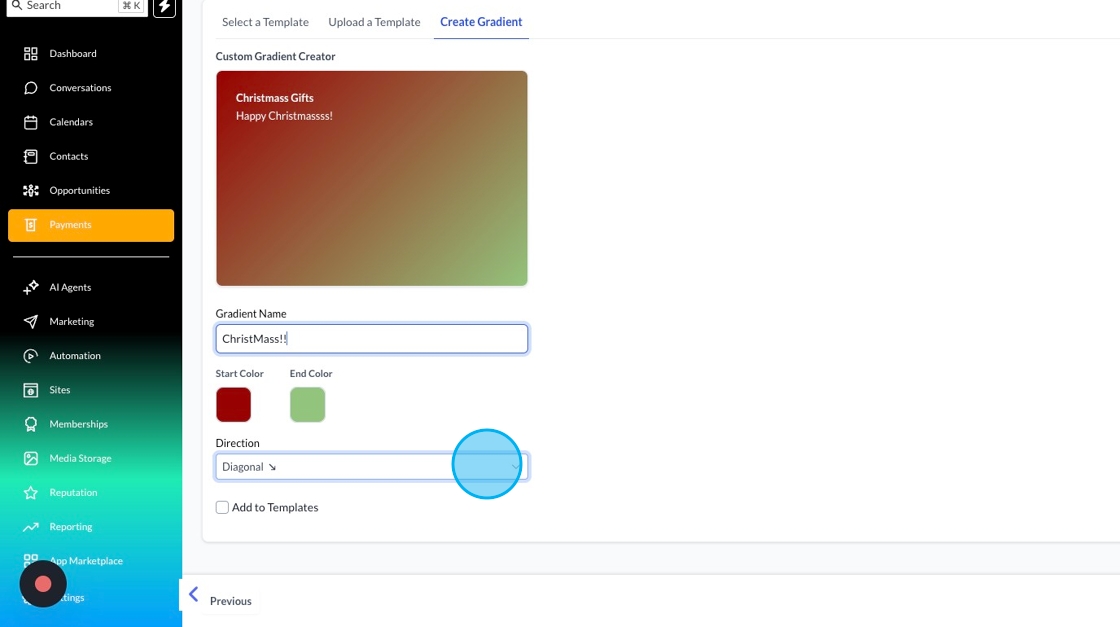
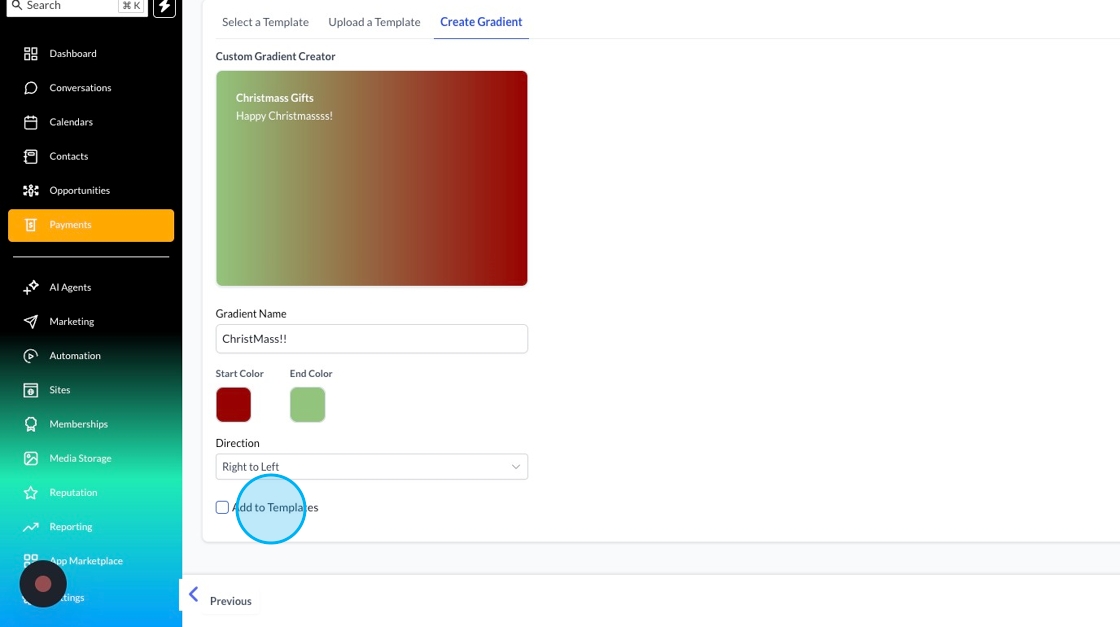
When you create a gradient, you’ll be able to choose the colours, name your gradient for future reference and change how the gradient looks.
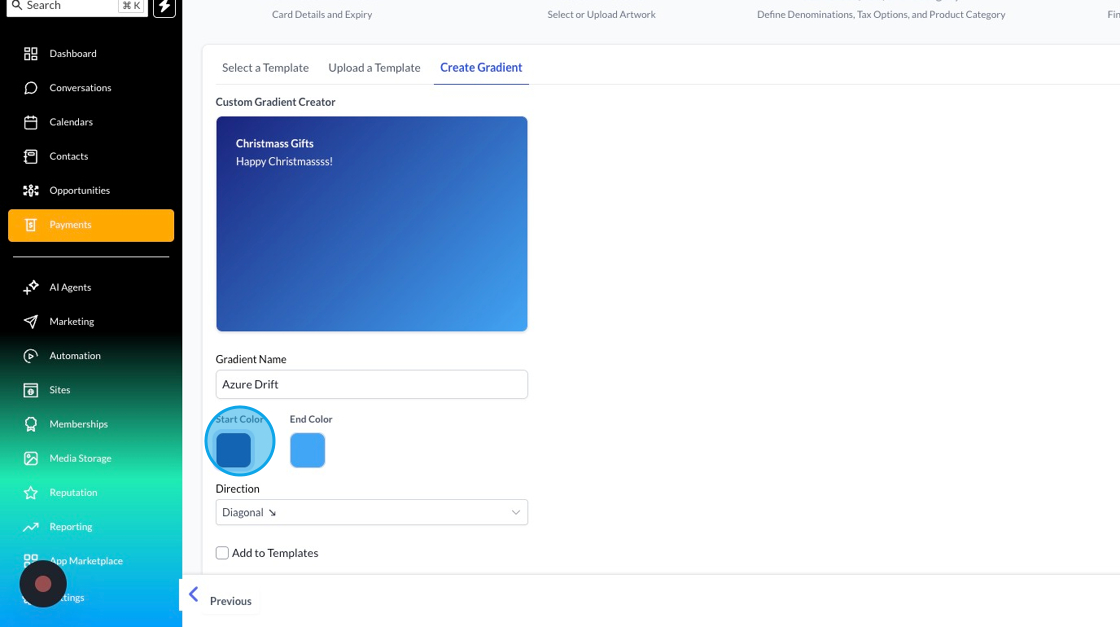
If you want to reuse your design, click Add to Templates, and we’ll save it so you can reuse it later.
Once you're happy with how your design will look, click next to set the values of your card and other financial information.
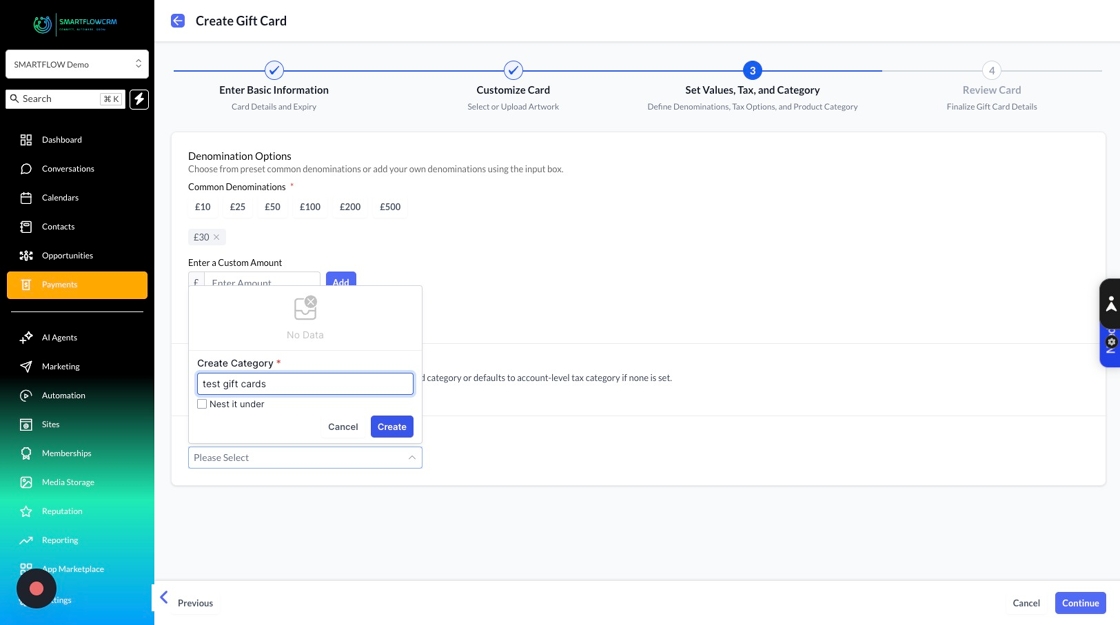
The final step in creating your card is setting up the financial information, such as the value of your gift card.
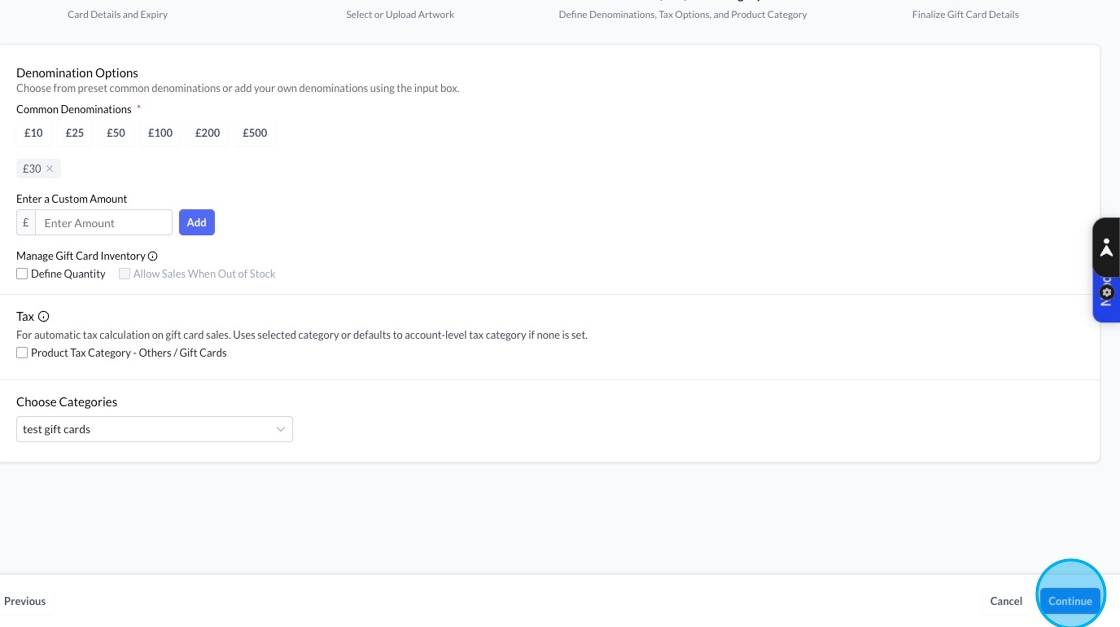
In the domination box, you can set the amount of the card either by clicking the domination or if you want to add your own amount, use the custom amount box and click add.

You can then define a quantity to limit the number of gift cards used and add tax information if you want the calculation to be applied automatically.
Choosing a category lets you save your card in a category you can use later to find all the information about uses, or to make it easier to send out in the future if you’ve got loads of different cards.
Once you're happy with your denominations, click continue to review all your settings and preview your new gift card.
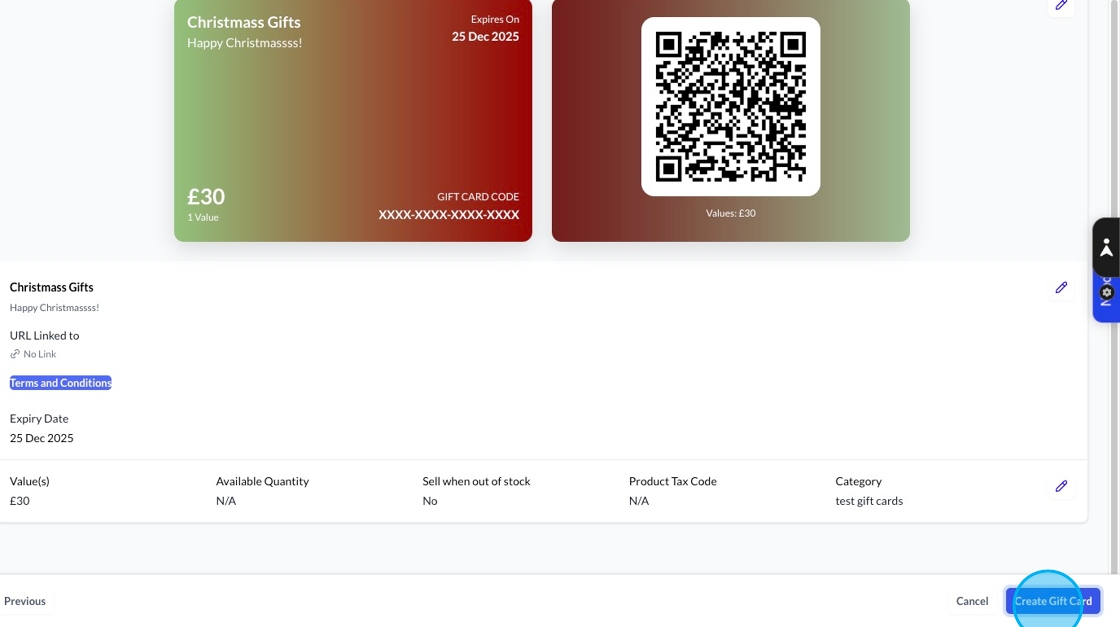
To create the card, click the create gift card button.
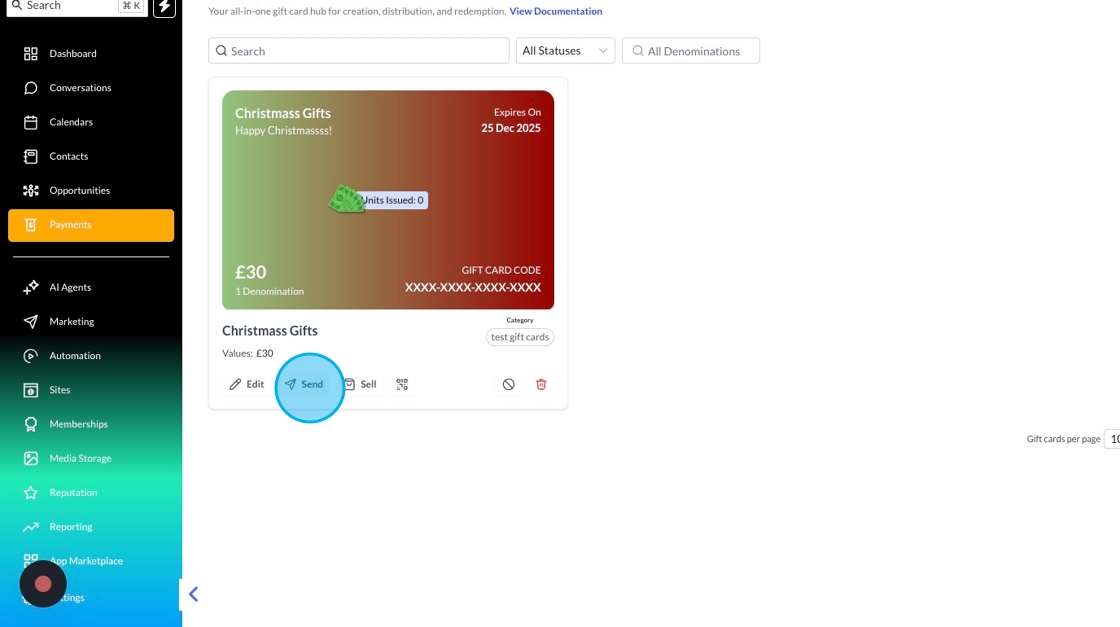
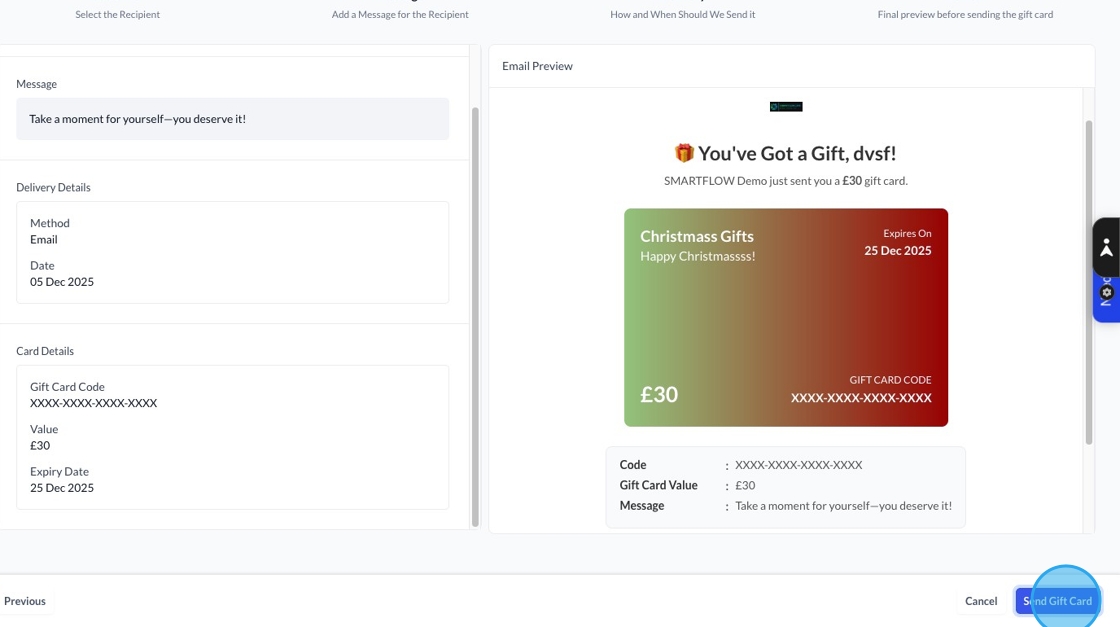
To send your gift card, click the send button
You’ll then be able to decide who to send it to and personalise the message that goes out with the card.
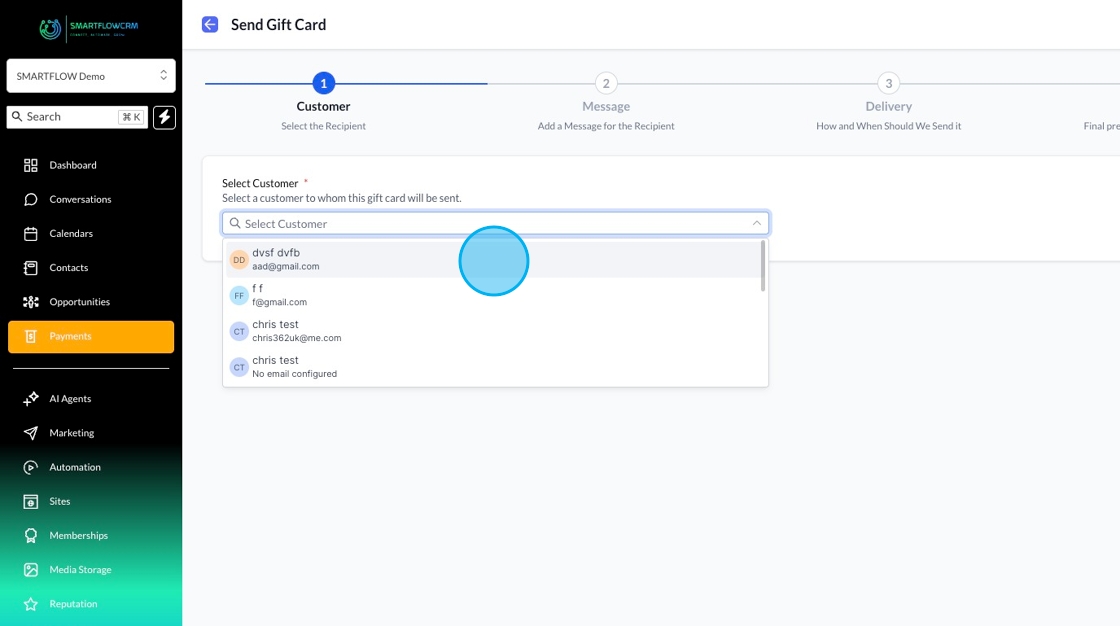
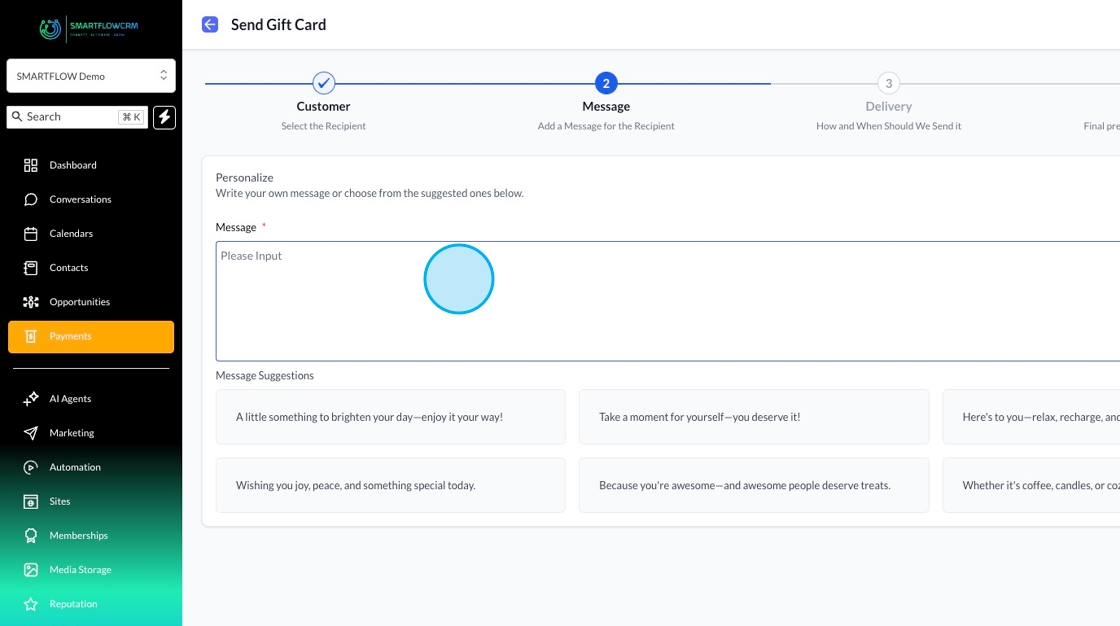
Once you've selected your recipient, you can then personalise your message.
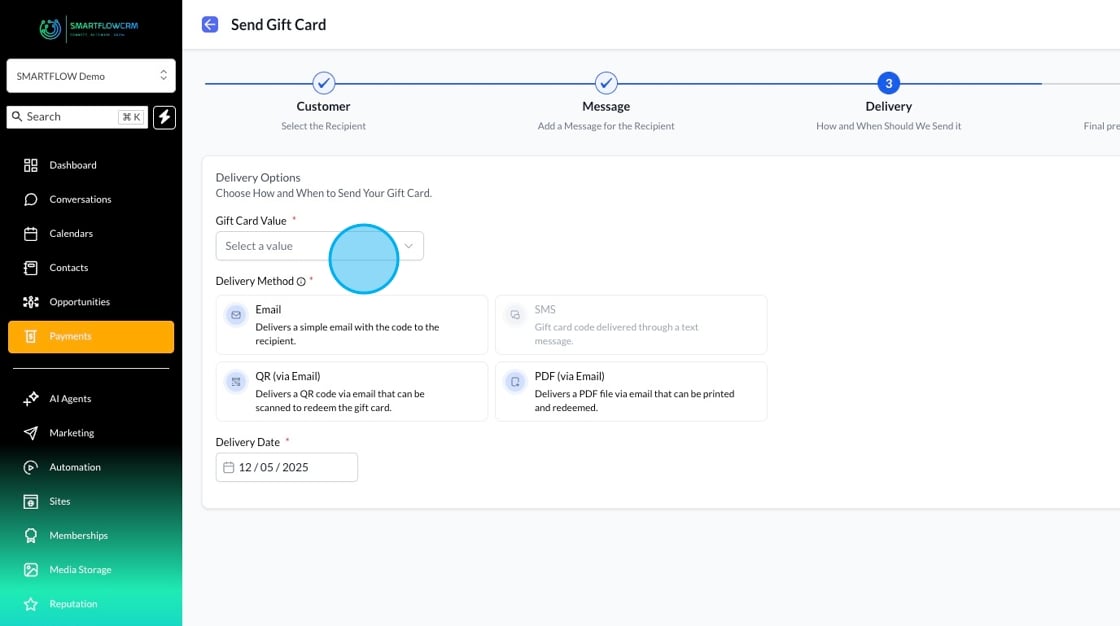
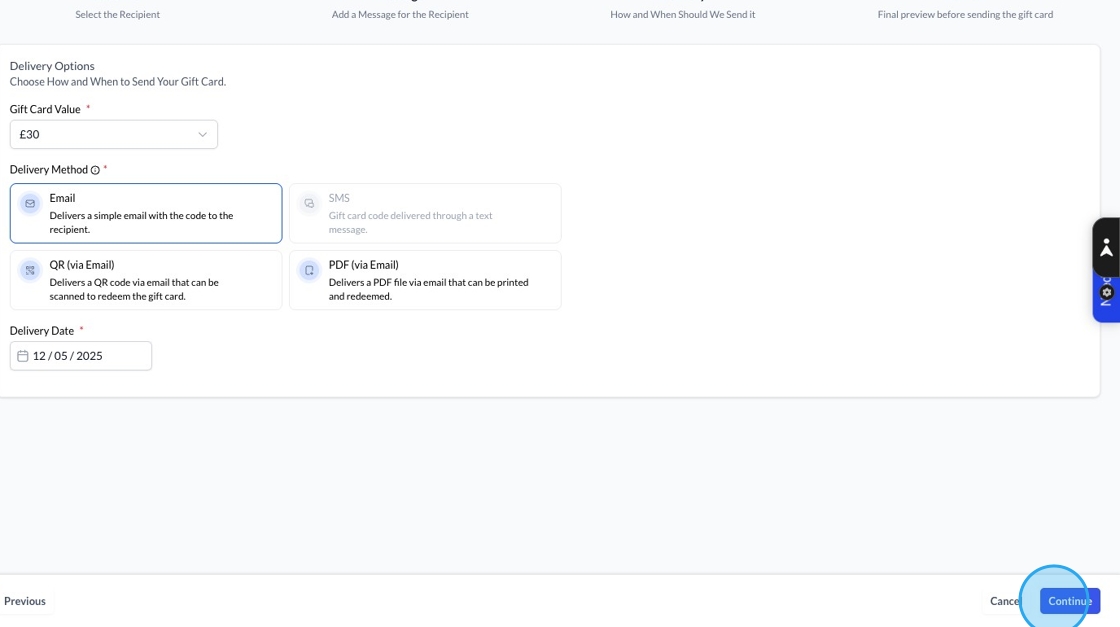
Once you're happy, you can move on to the delivery settings. Select a card value (if you’ve set multiple values for the card, they’ll display here) and choose how you want the card sent: email, QR code, SMS, or PDF. You can also decide when to deliver your card.
Click continue to review how your card will look to your customer for one final check
If everything looks ok in the preview, click send to send your card.
The gift card dashboard lets you see all the gift cards you've sent, along with the stats of how many have been sent, total value and number of customers, so you can keep track of all your cards in one place.