Our social poster lets you create content and post across platforms, but what if you have topics you want to post regularly without manually scheduling each type?
That’s where content queues come in.
You can have as many queues as you like, and you can add new content to them at any point. Smarflow keep a record of it and posts it automatically.
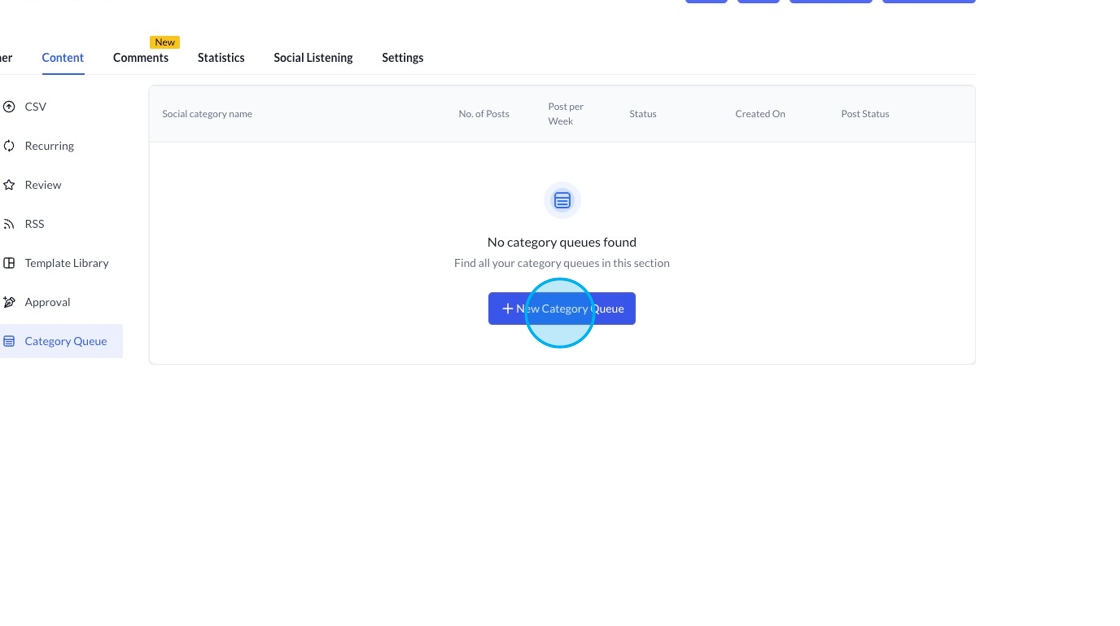
To create a queue, head over to the content section on the social planner
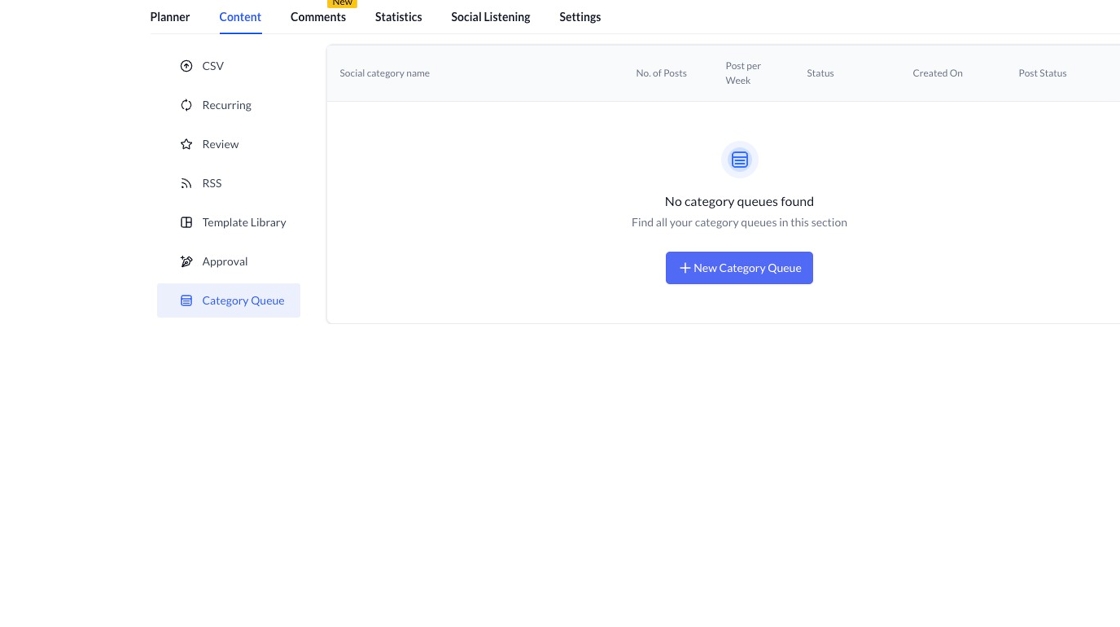
Click New Category Queue.
Name your social category or choose an existing one if you want to create a new schedule.
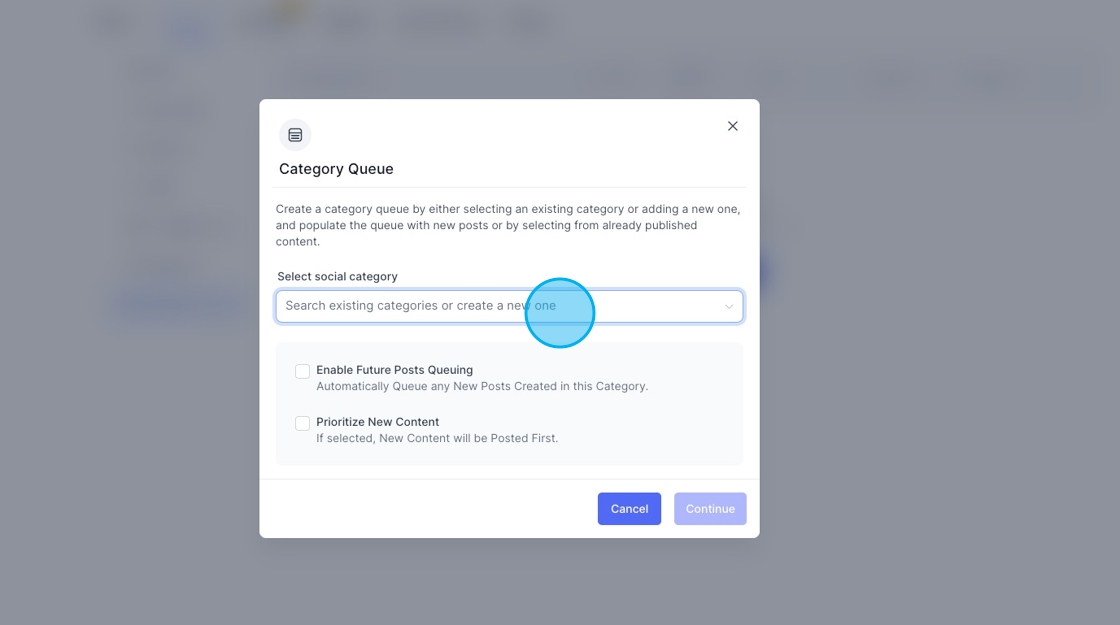
You then have two options: enable future posting and prioritise new content.
Enable Future Posting - allows you to keep adding content to the queue, and it’ll automatically post it at your desired time. (applicable if you want to talk about adding a single topic all the time) such as a Friday-feeling post that goes up every Friday.
Prioritise new content. If this is ticked, any new post that is created and linked will be posted on the following scheduled date. If not, it will go to the back of the queue.
If it's a set campaign, say for an upcoming offer, you may not want to reuse the queue, so you can leave these blank.
The next step is to tell Smartflow what days and times you want to post content.
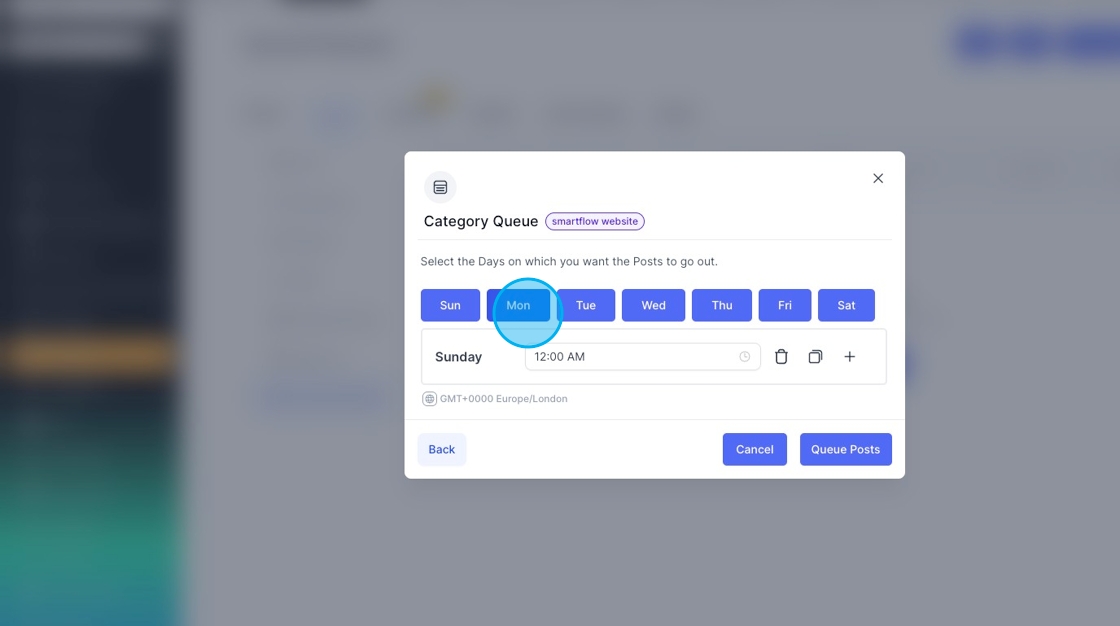
Click the days to add the days you want to post.
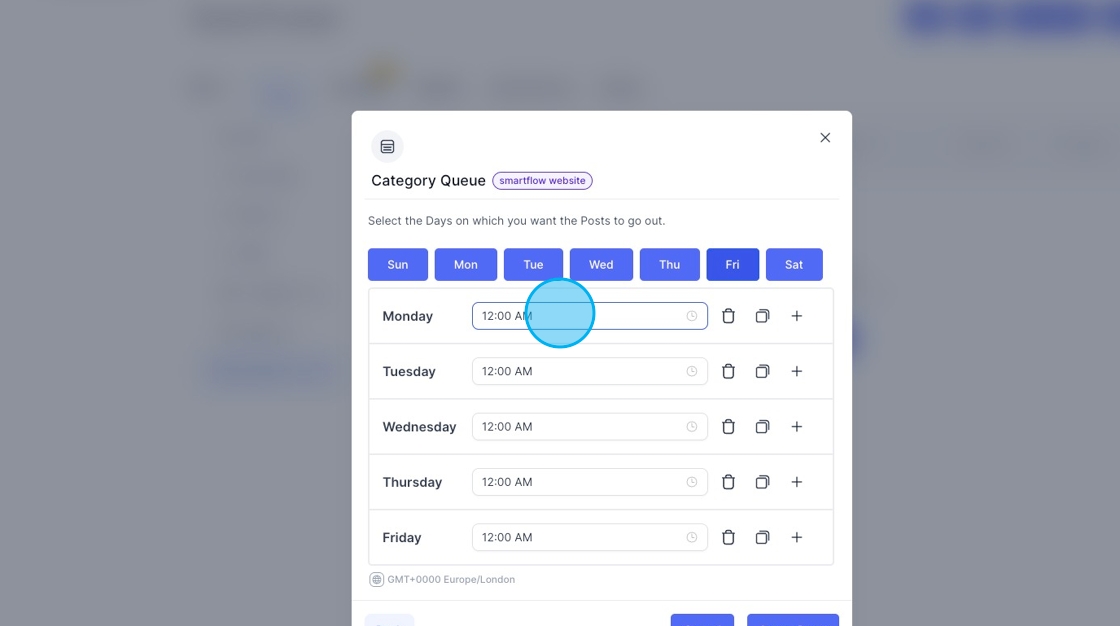
Clicking the time lets you change it so that you can choose different times every day. Clicking the + button enables you to add more than one post per day.
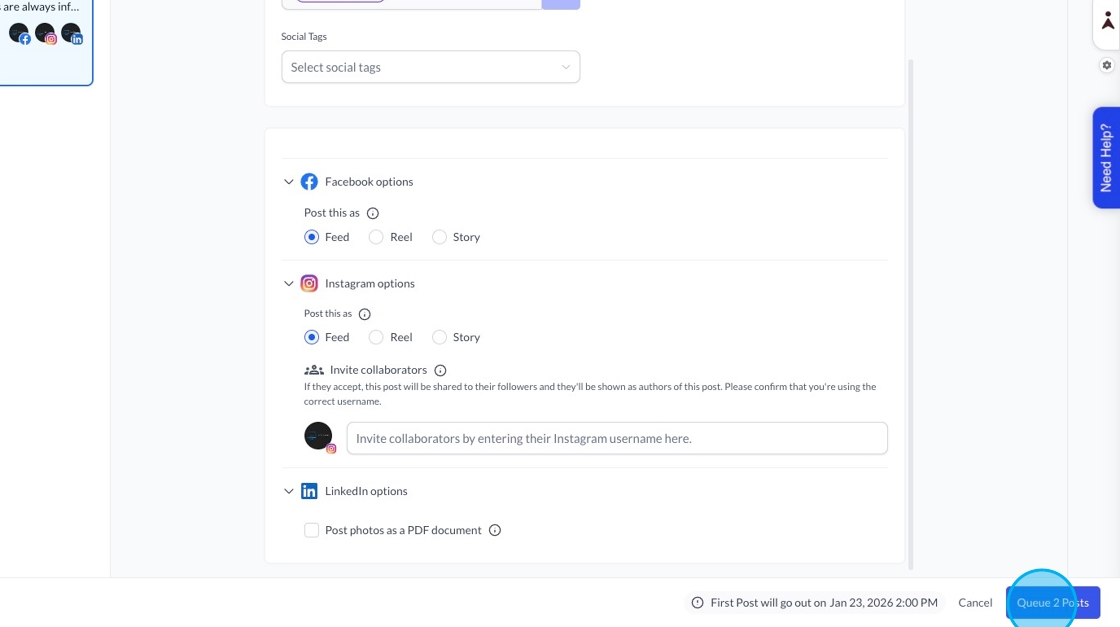
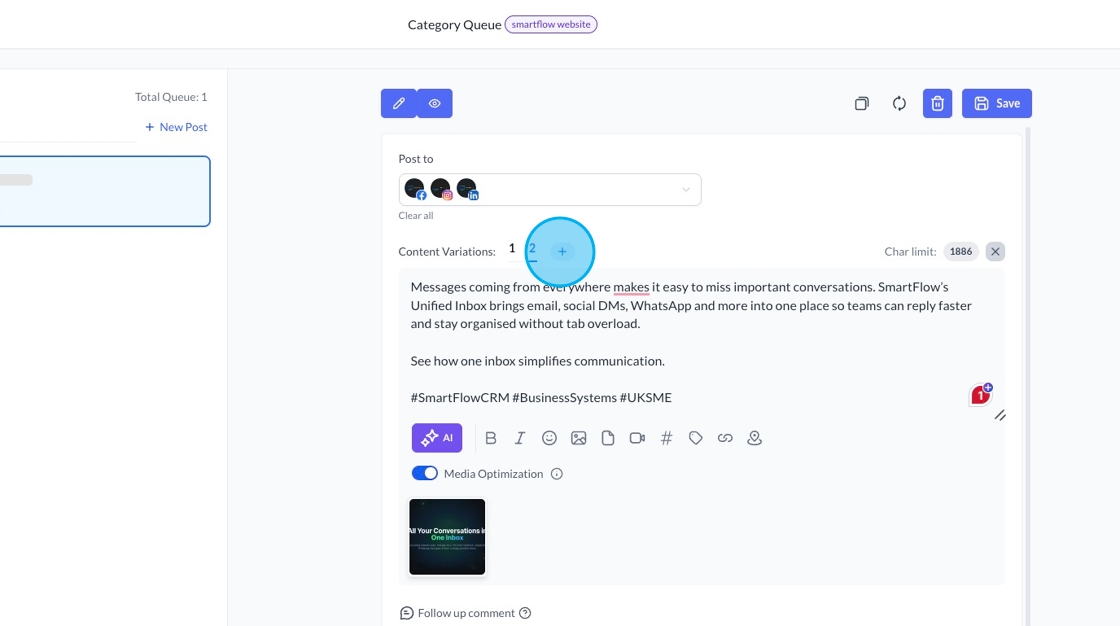
There's a slight difference when creating posts for a queue from the standard social posting tool. In a queue, you can add variations in text, which allows you to publish the same post over and over again but with different variations of the content that accompanies each post. For example, you might want to use the same image but add other text to each post. This means you're not posting the same captions over and over. To get started, choose the social platforms for your first post.
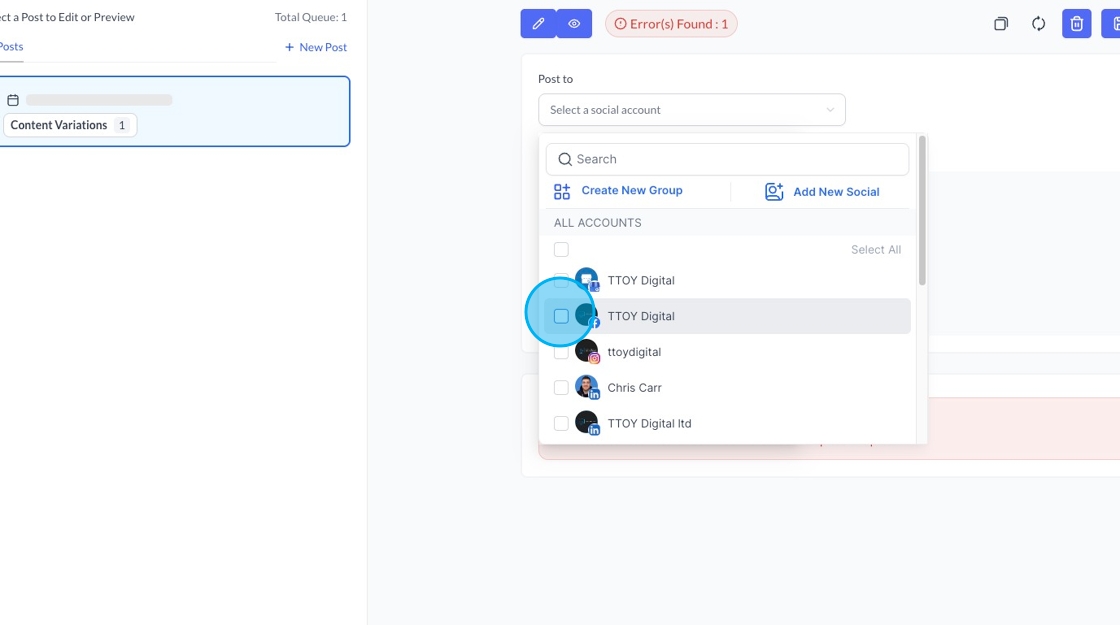
You’ll then be able to add your post details, images and add other things just like you do in the social planner.
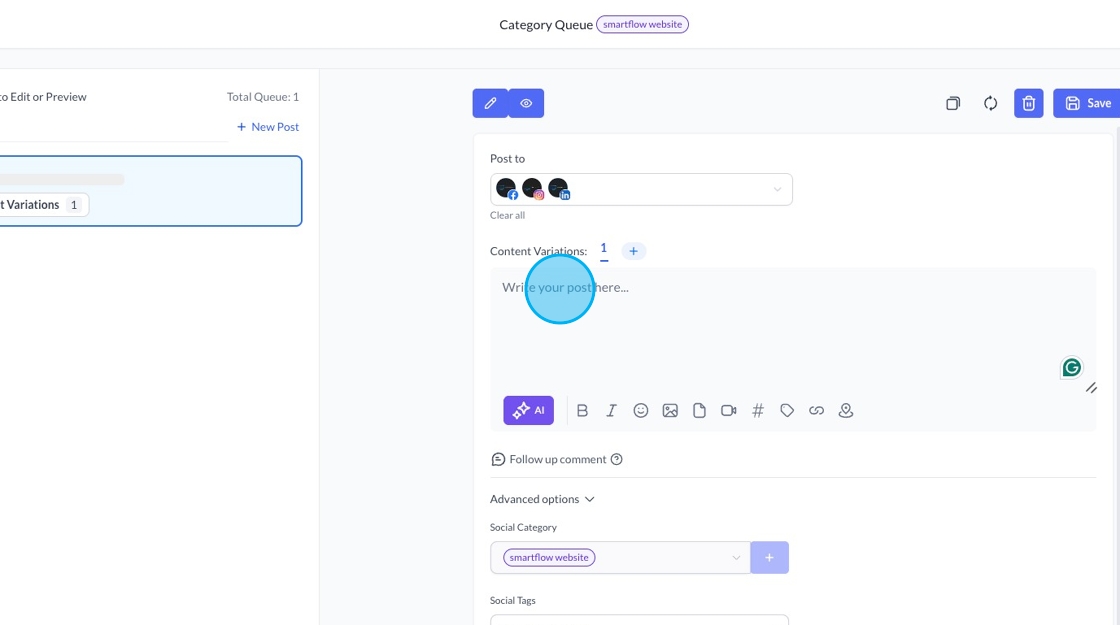
To create a variation, click the + button. You’ll then be able to add a new post caption
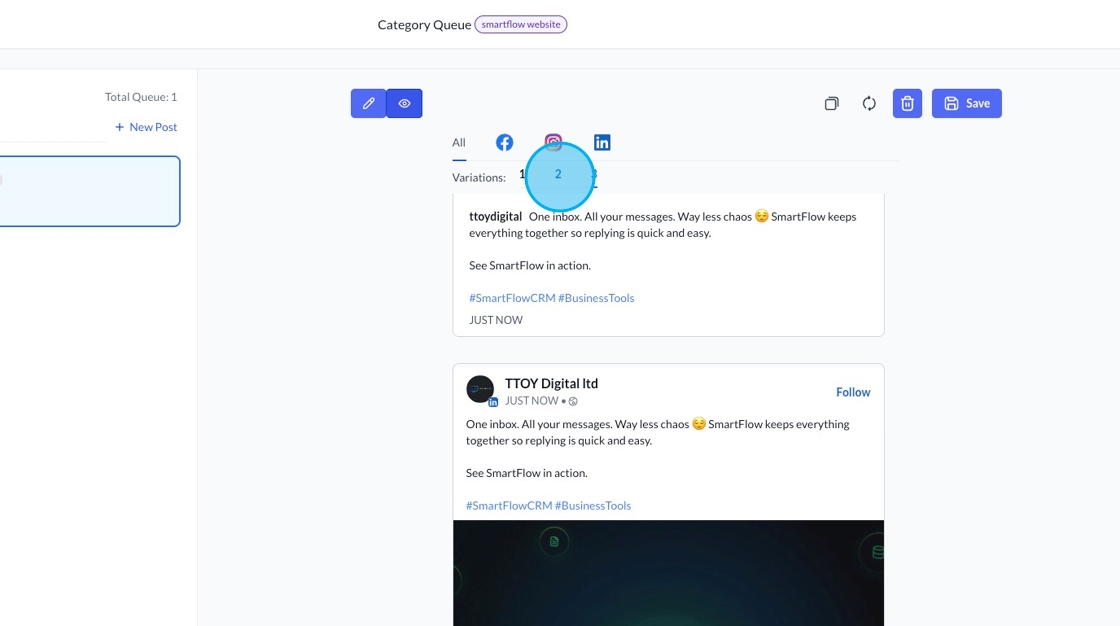
You can preview all your posts by clicking on the preview button.
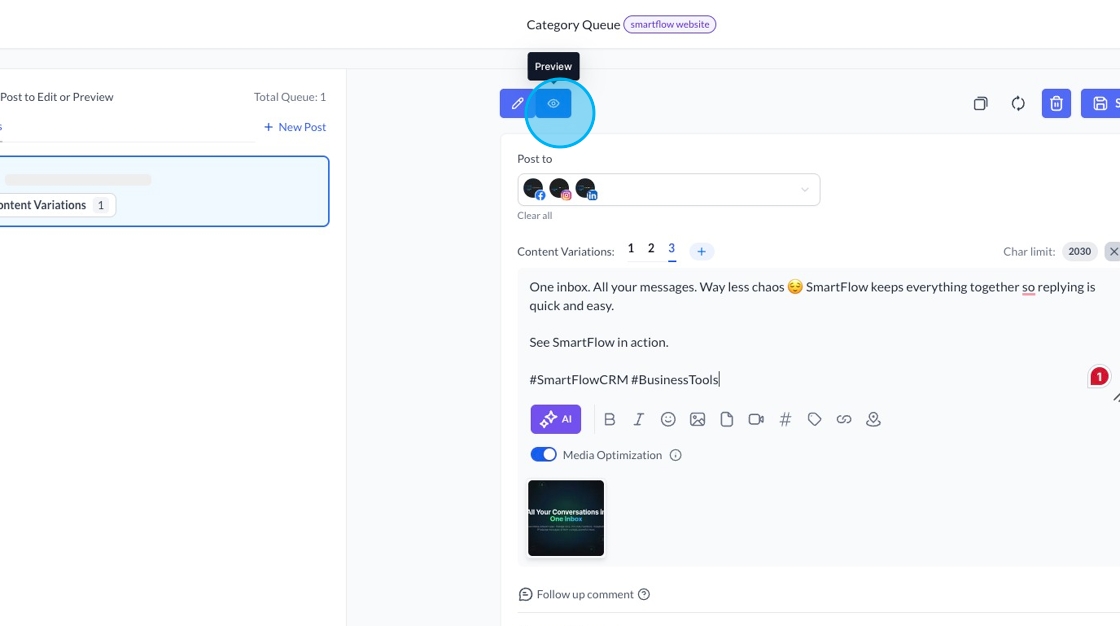
You can then click the variations to see what each one will look like.
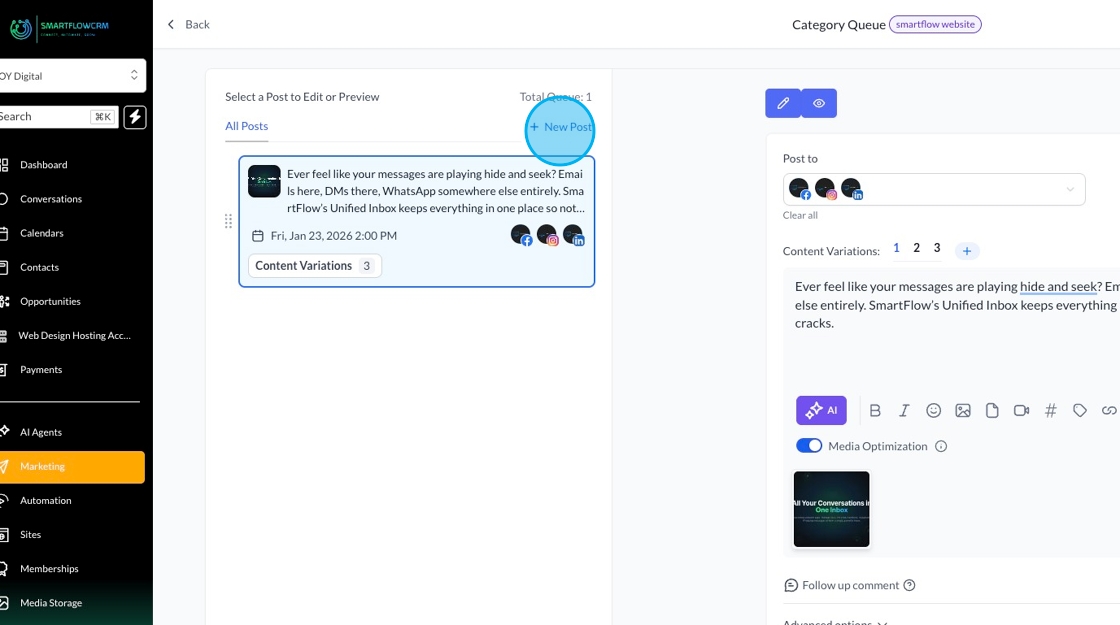
Once saved, you can add a new post to continue building your queue by clicking the New post button.
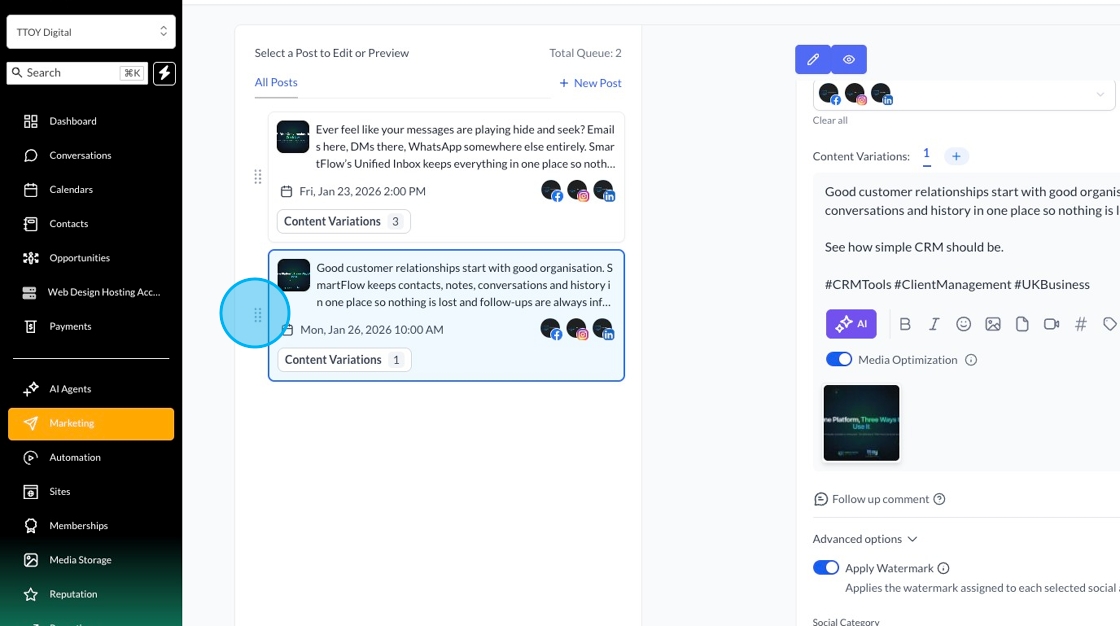
Once saved, you can also reorder your posts by clicking and dragging.
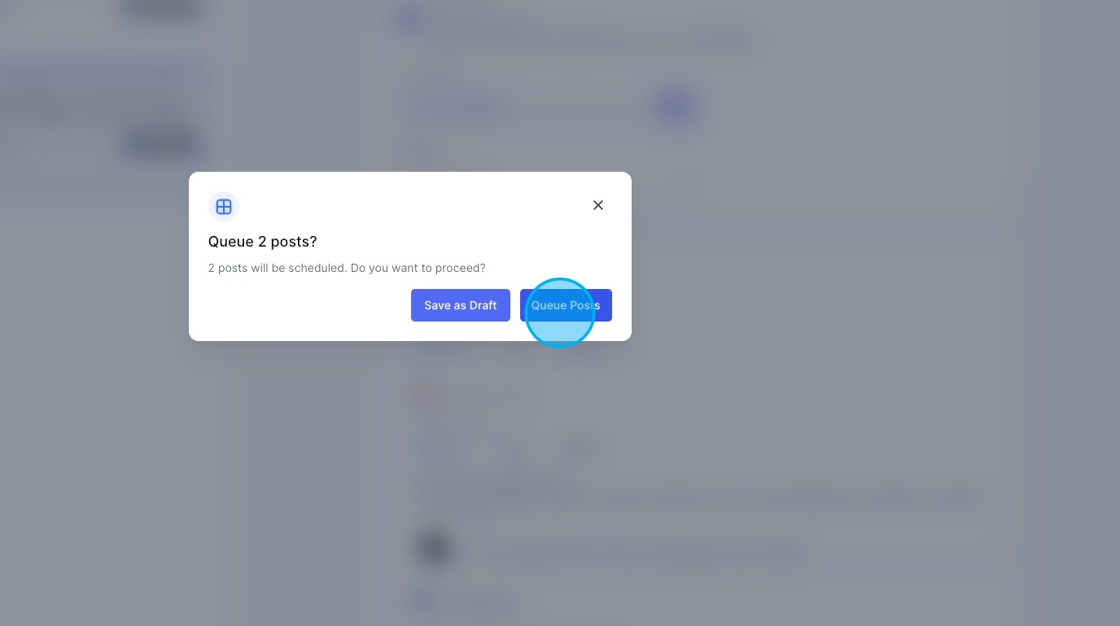
Once you're happy, you can schedule your queue