This guide walks you through managing your wedding events, from updating key details to permanently deleting an event from your venue management system.
The weddings overview dashboard serves as the central hub for all your individual wedding events. From here, you can view your active events and select the specific wedding you wish to manage.
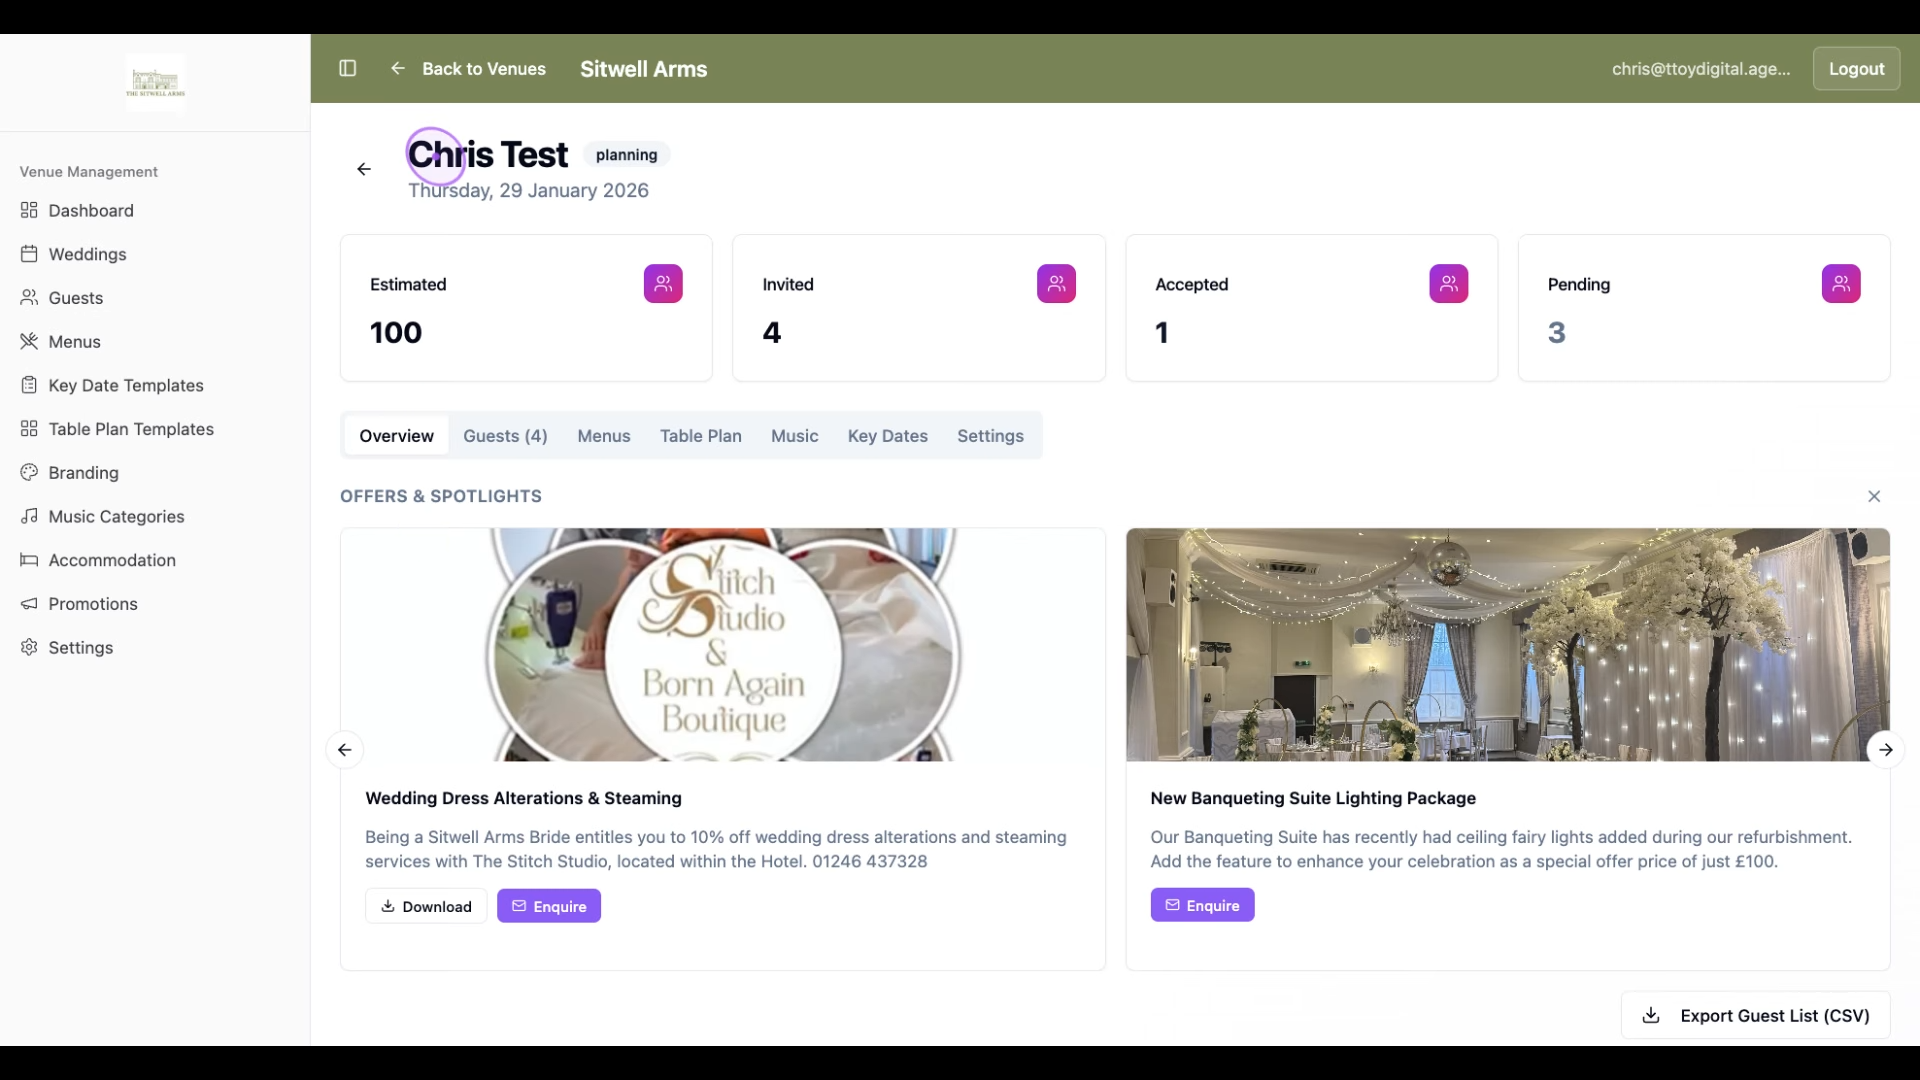
Once you have selected a wedding, click the Settings tab in the wedding navigation menu to access the configuration options for that specific event.
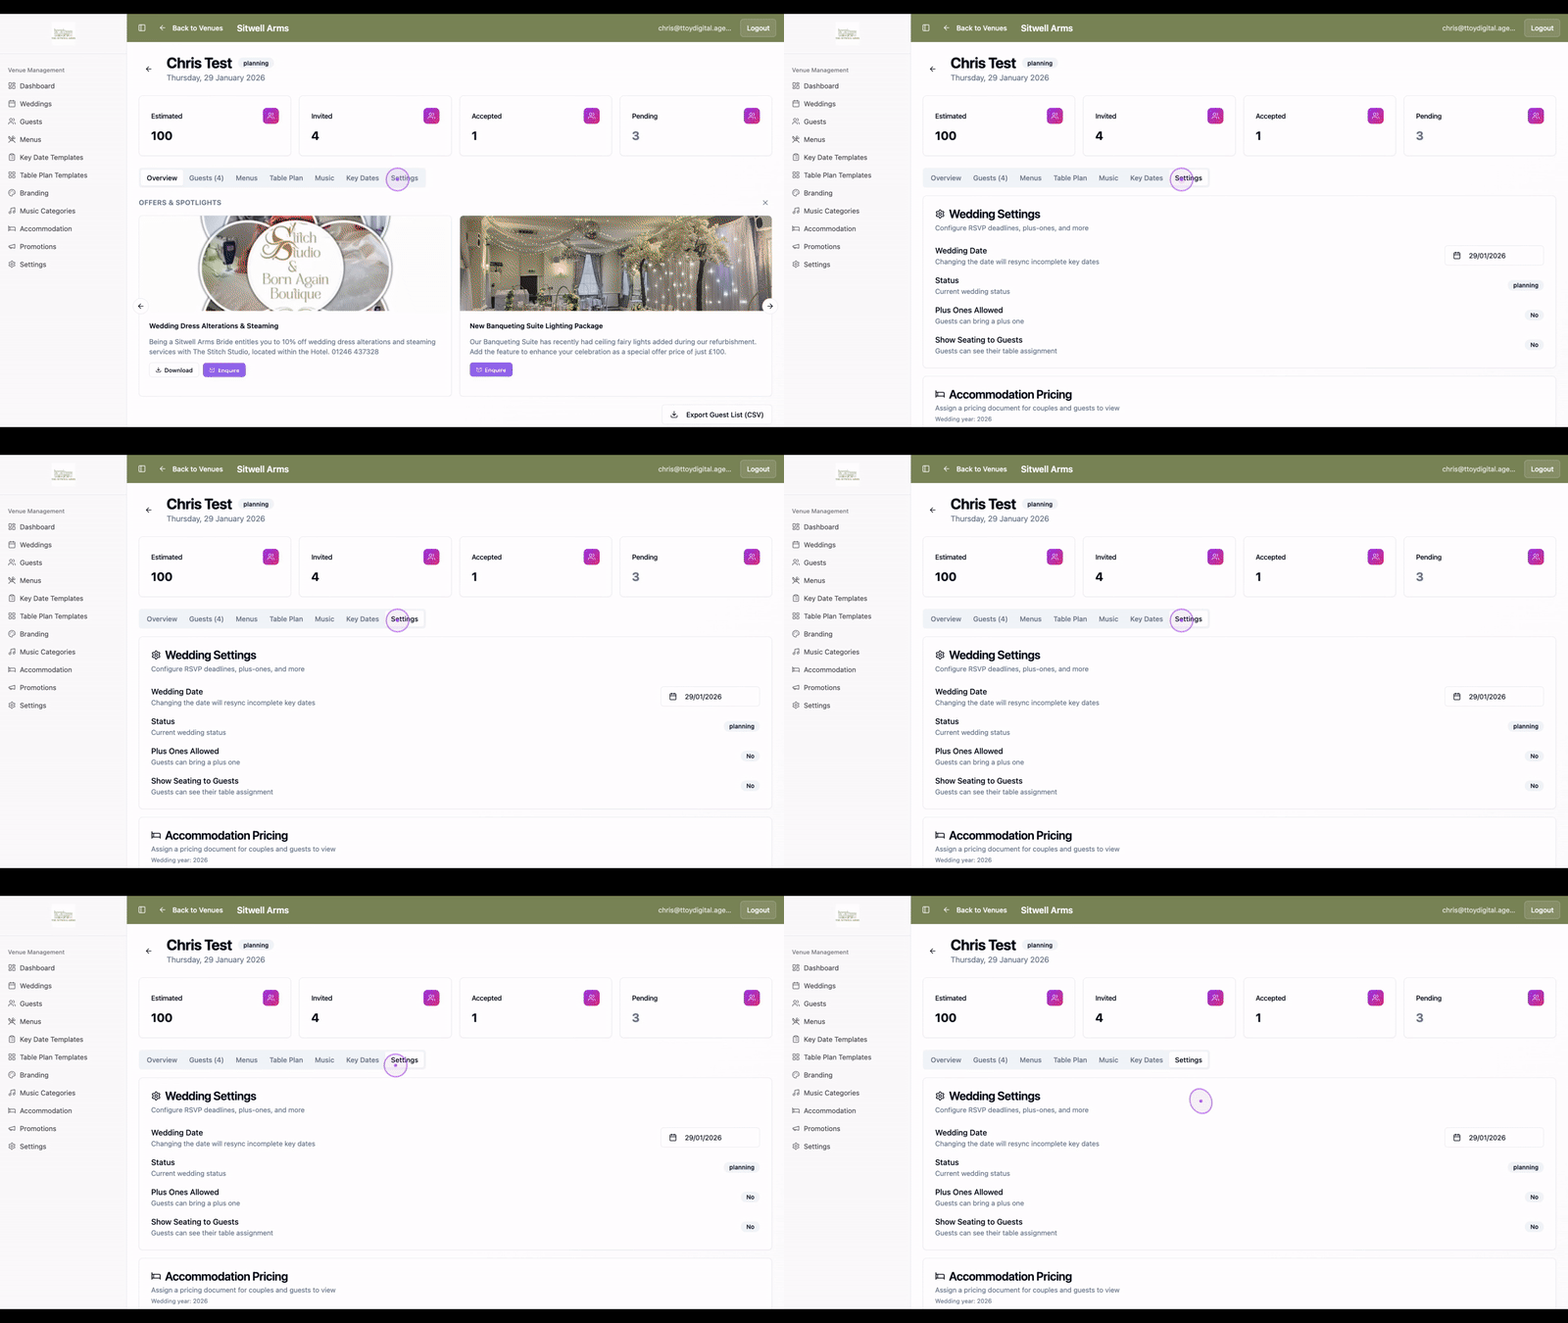
To update the event timeline, click the date field to open the calendar picker. From there, simply select your preferred date from the calendar to update the event.
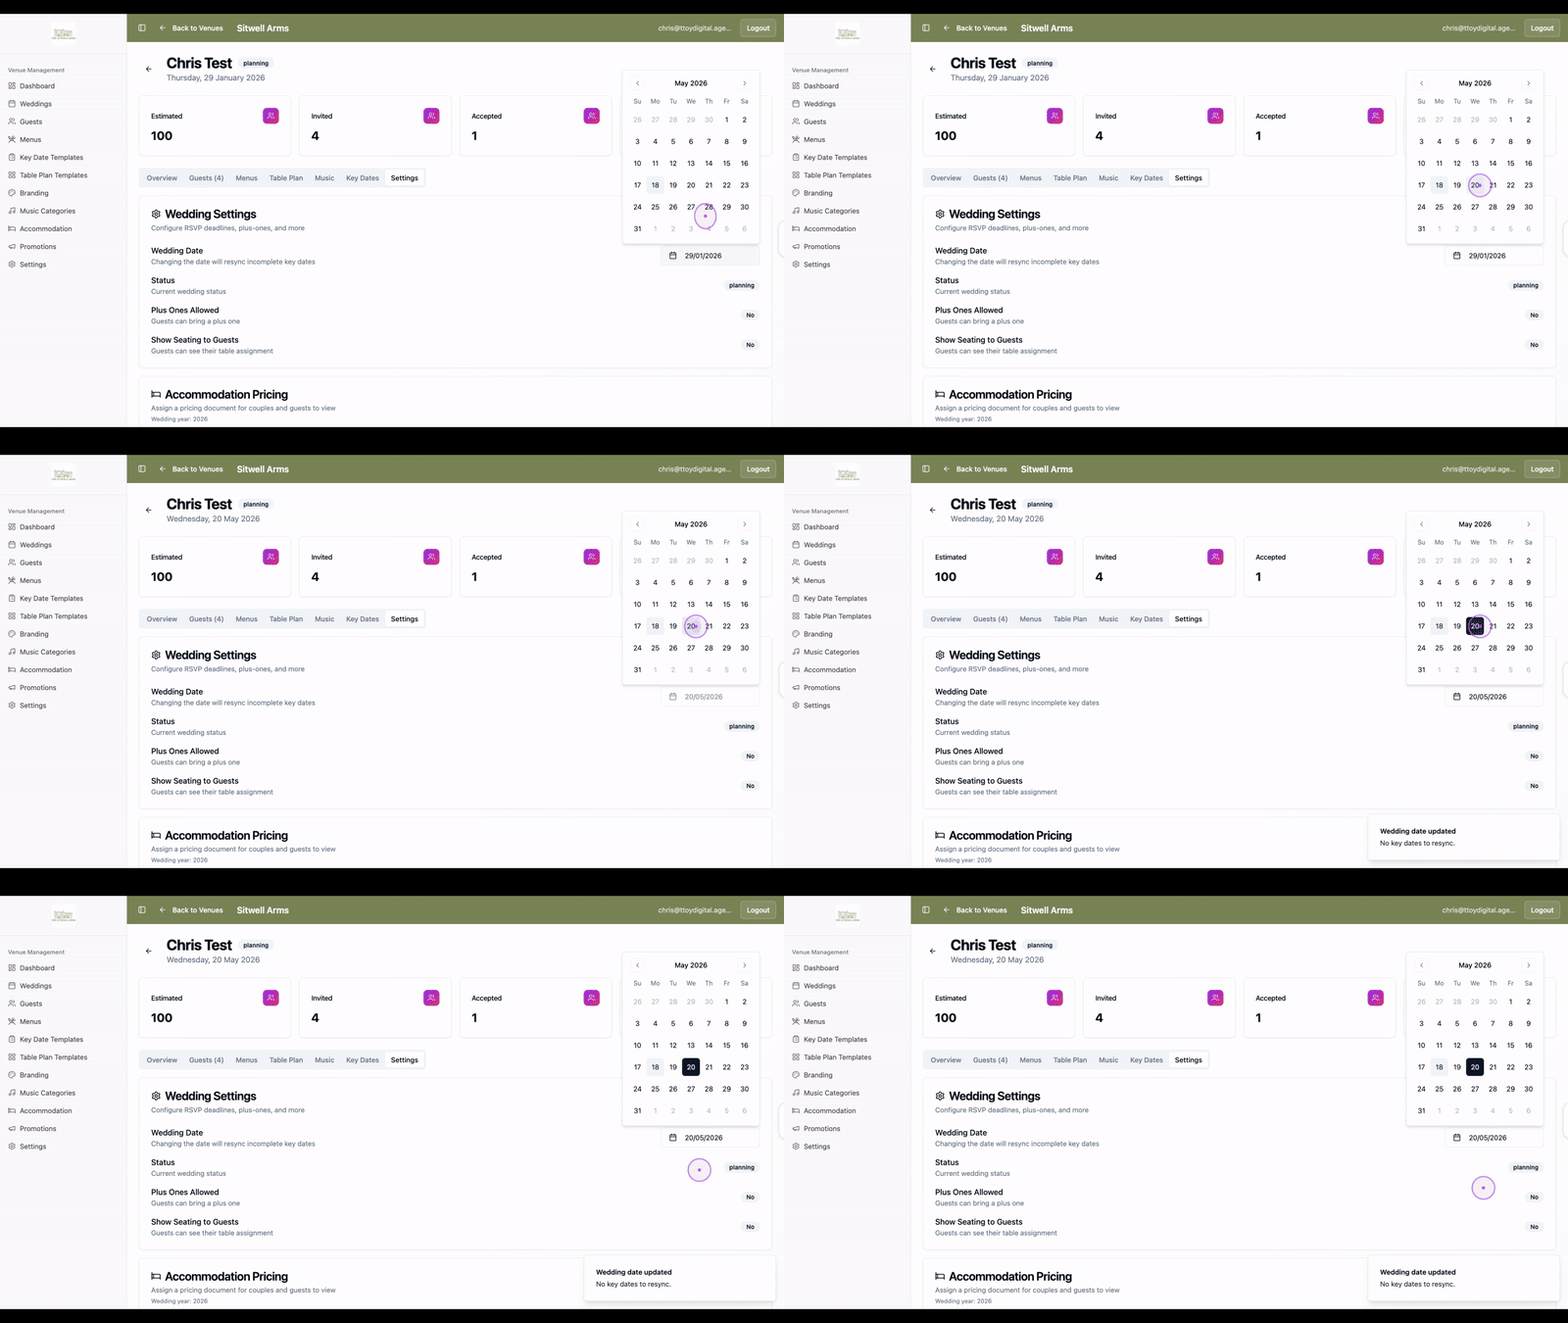
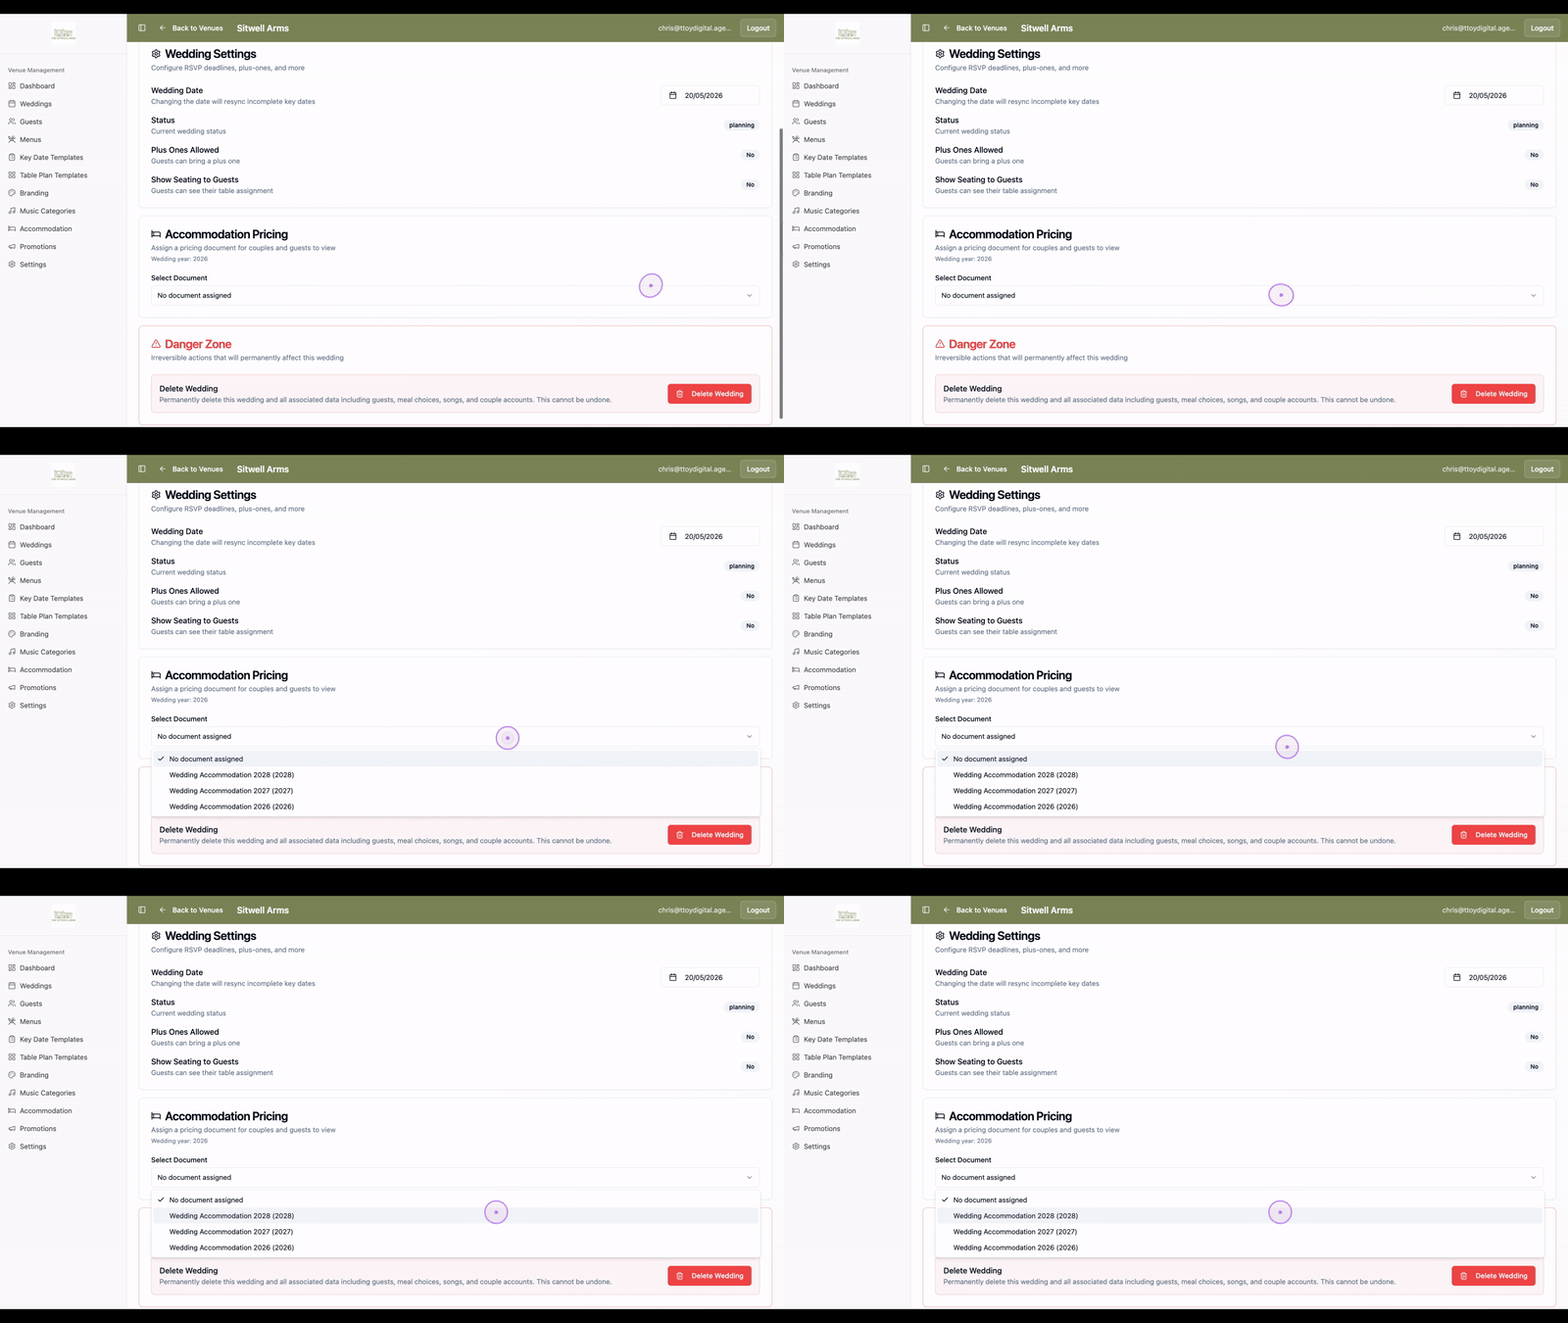
Scroll down to the Accommodation Pricing section. Click the document dropdown menu and select the appropriate pricing document to make it available for the couple and their guests.
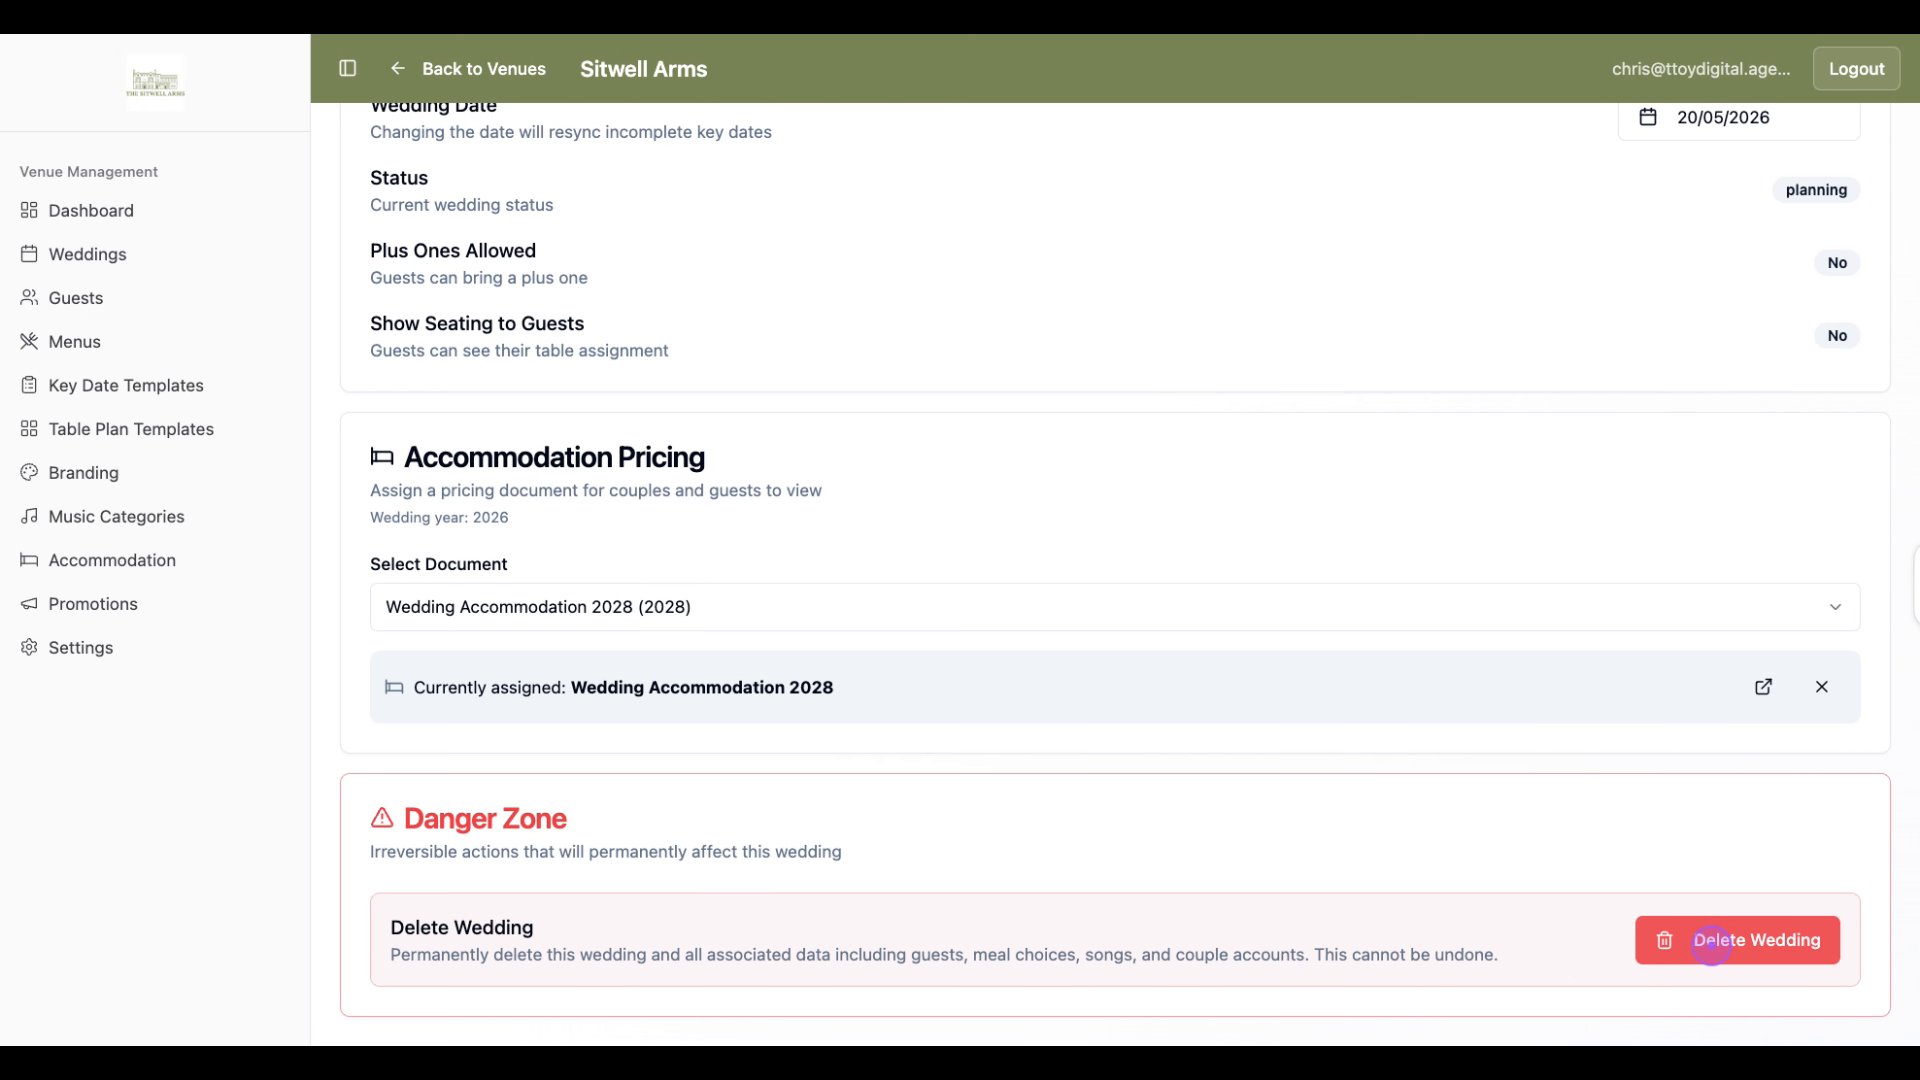
If you need to remove an event, scroll to the Danger Zone section at the bottom of the page and click the red Delete Wedding button.
A dialog will appear requesting verification. Click in the confirmation text field and type the exact wedding name (e.g., 'Chris Test') to confirm that you want to proceed with the deletion.
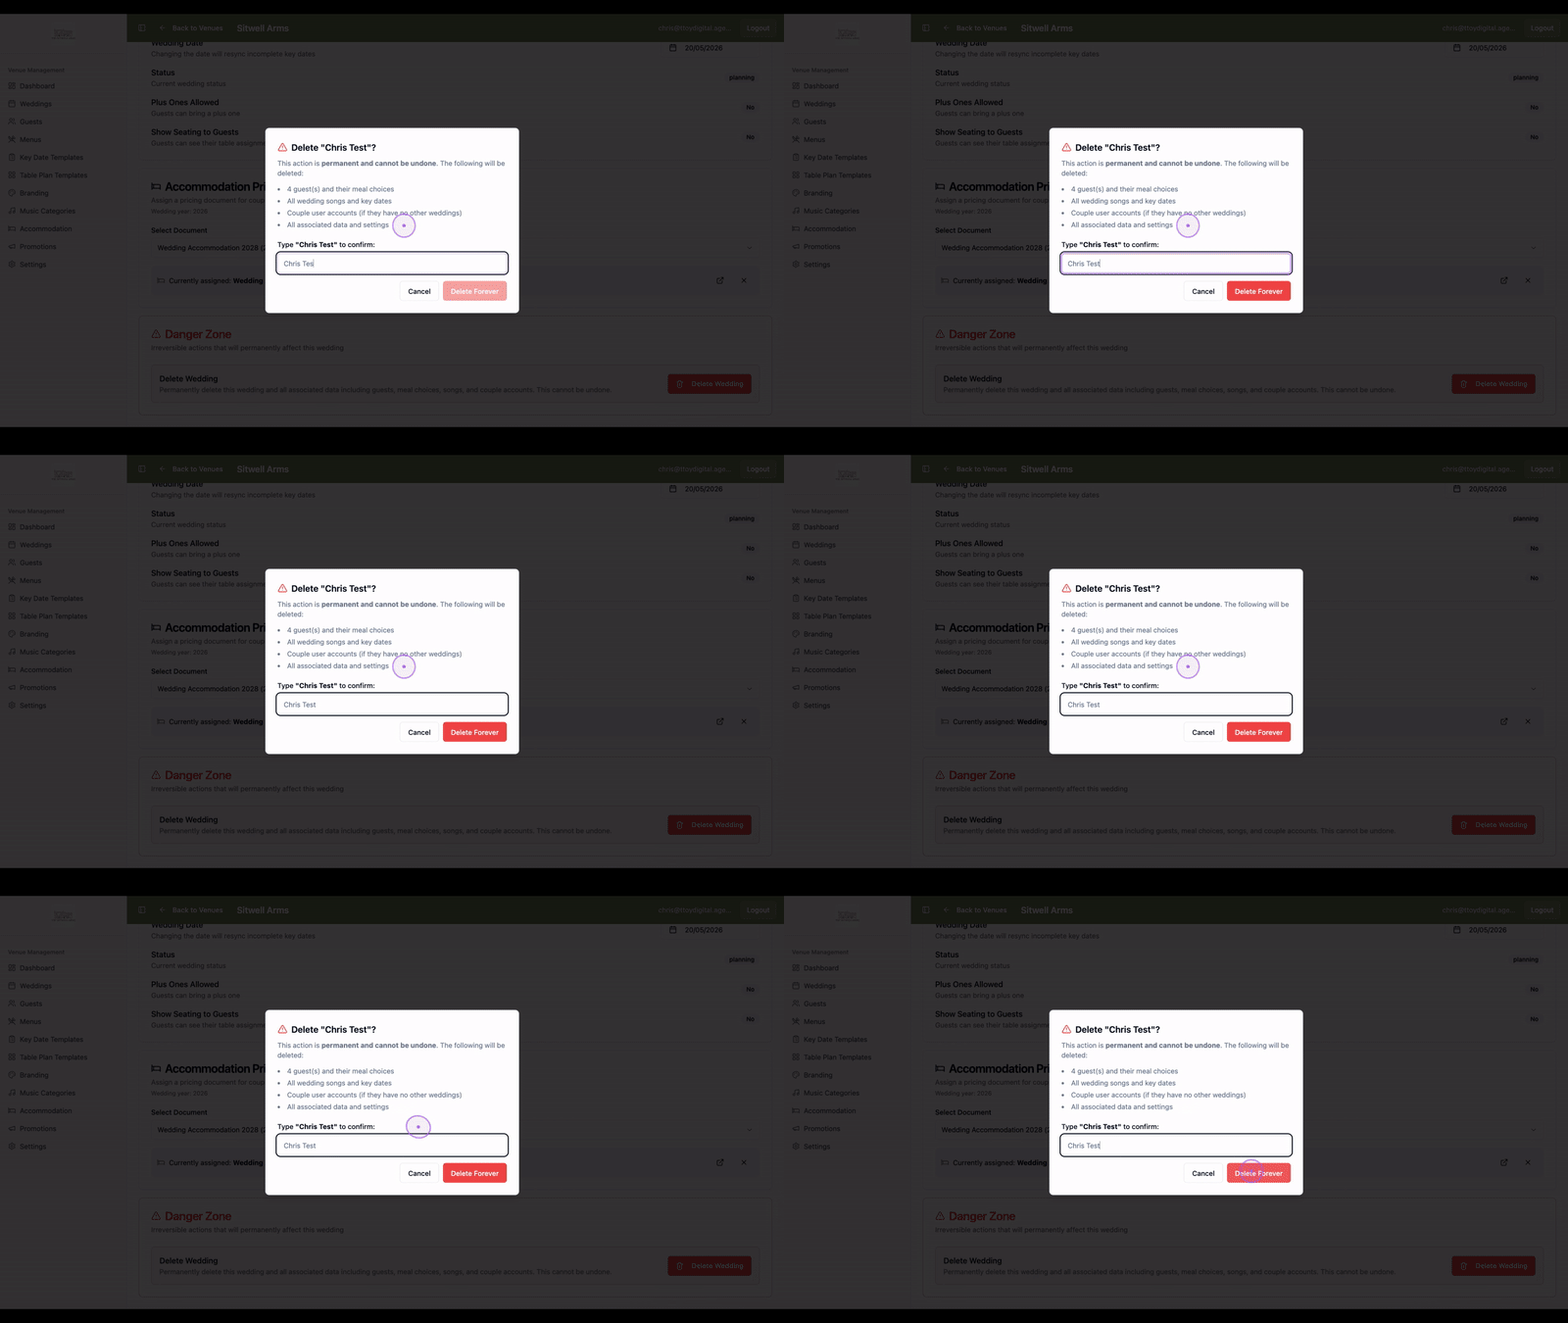
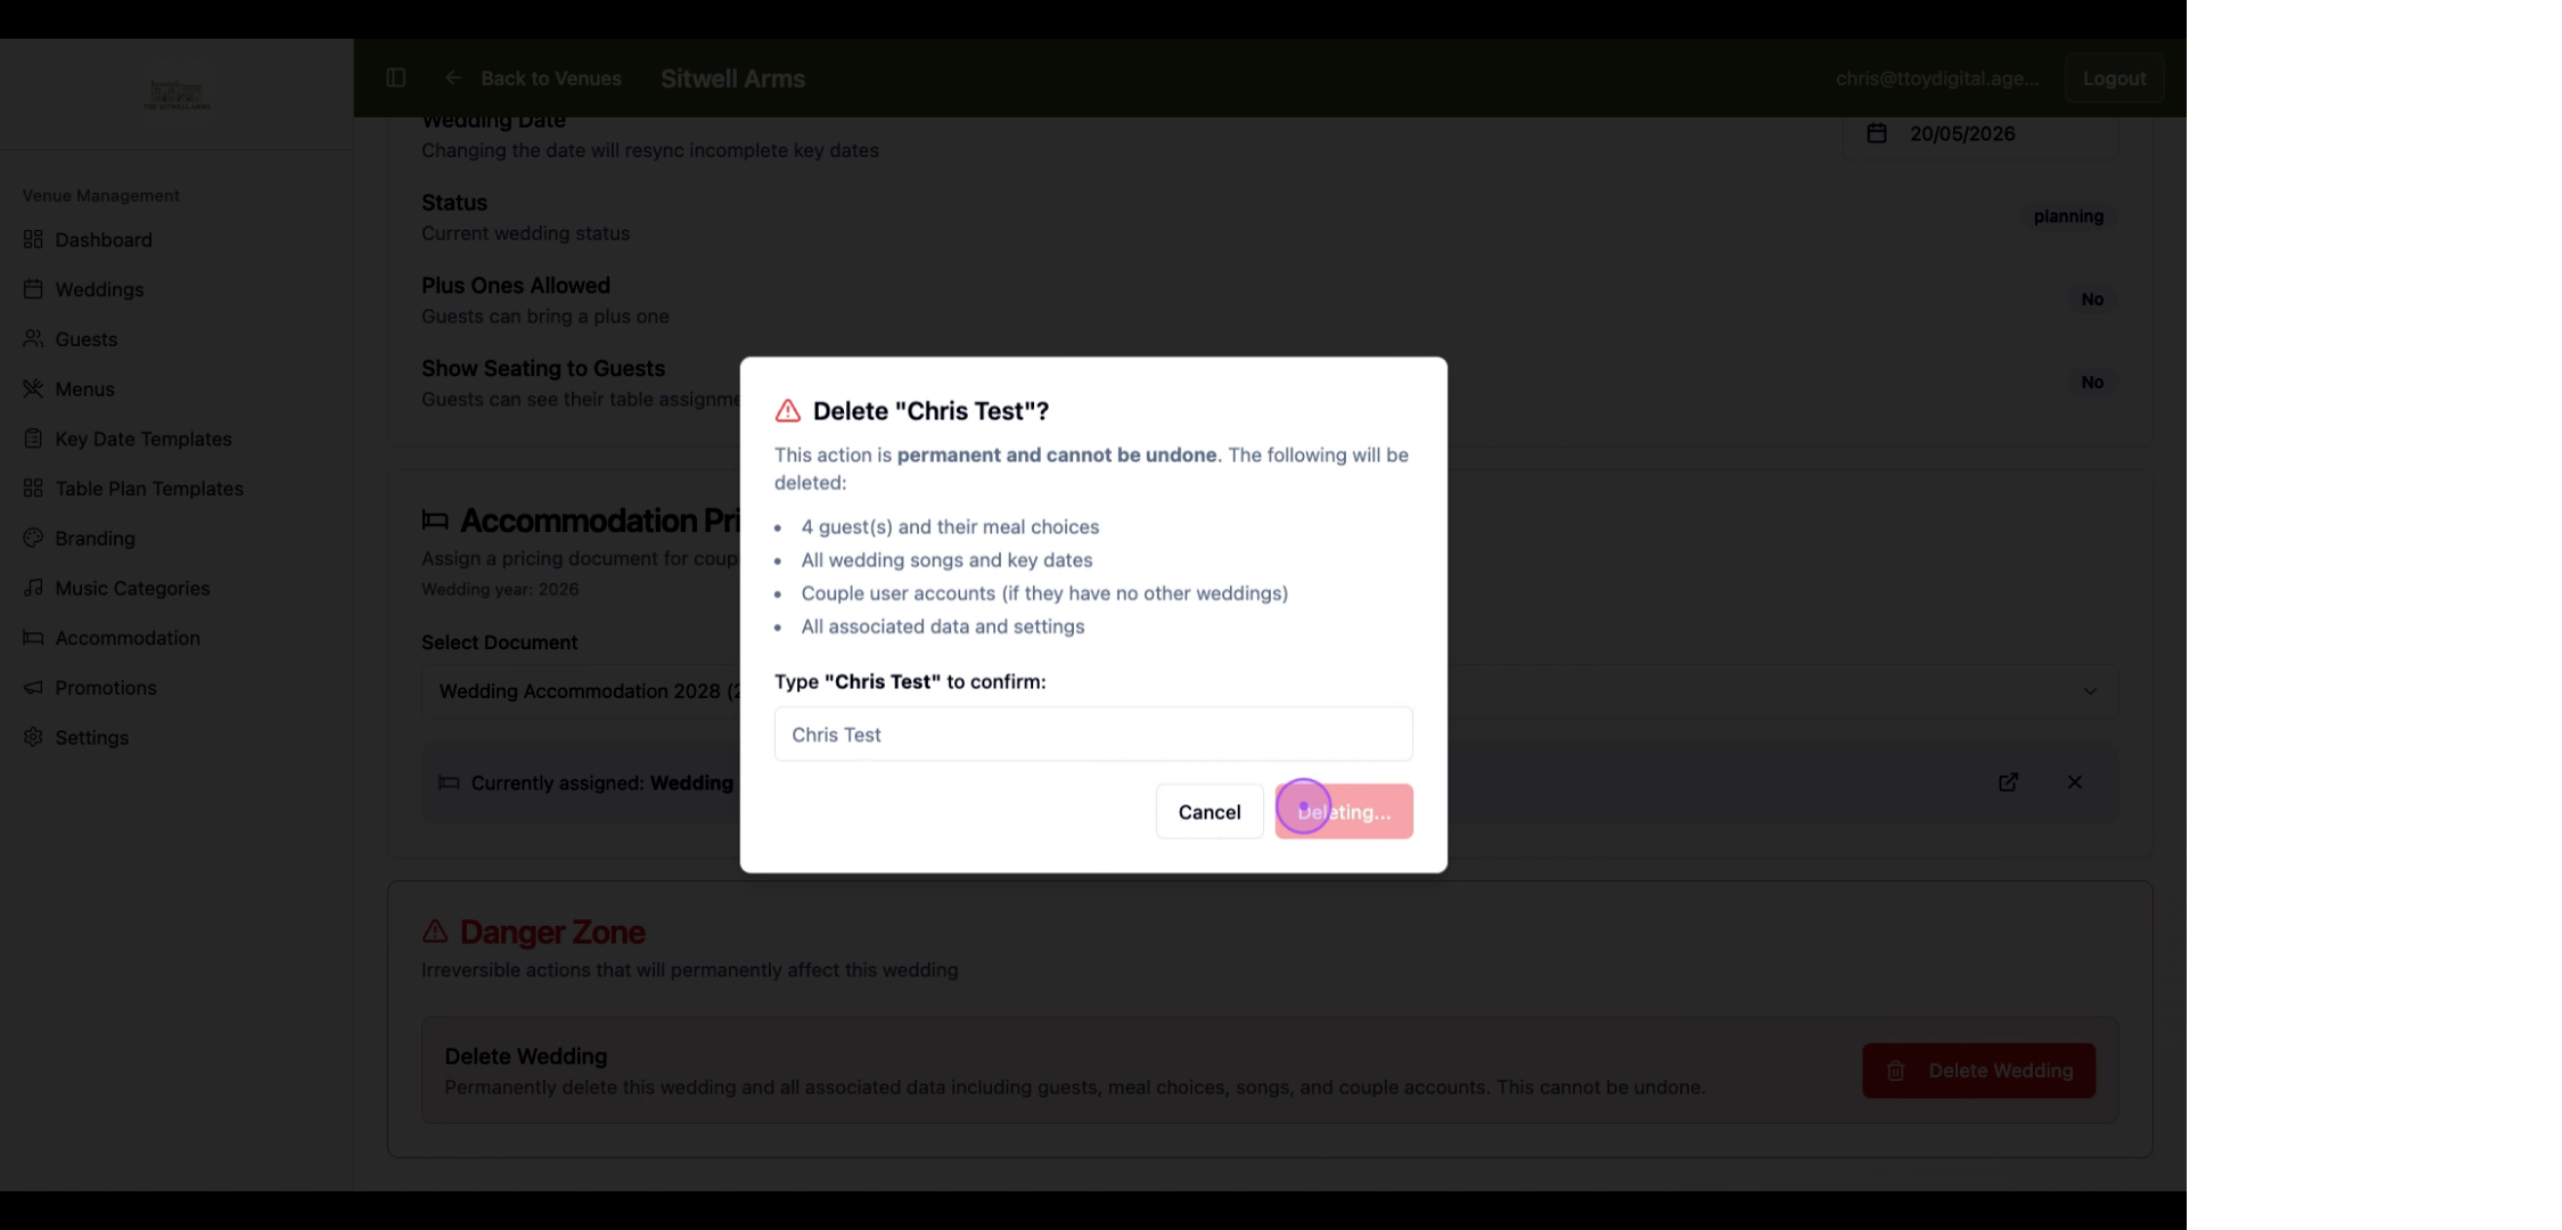
Once the text is entered, click the Delete Forever button to permanently remove the wedding and all associated data from the system.
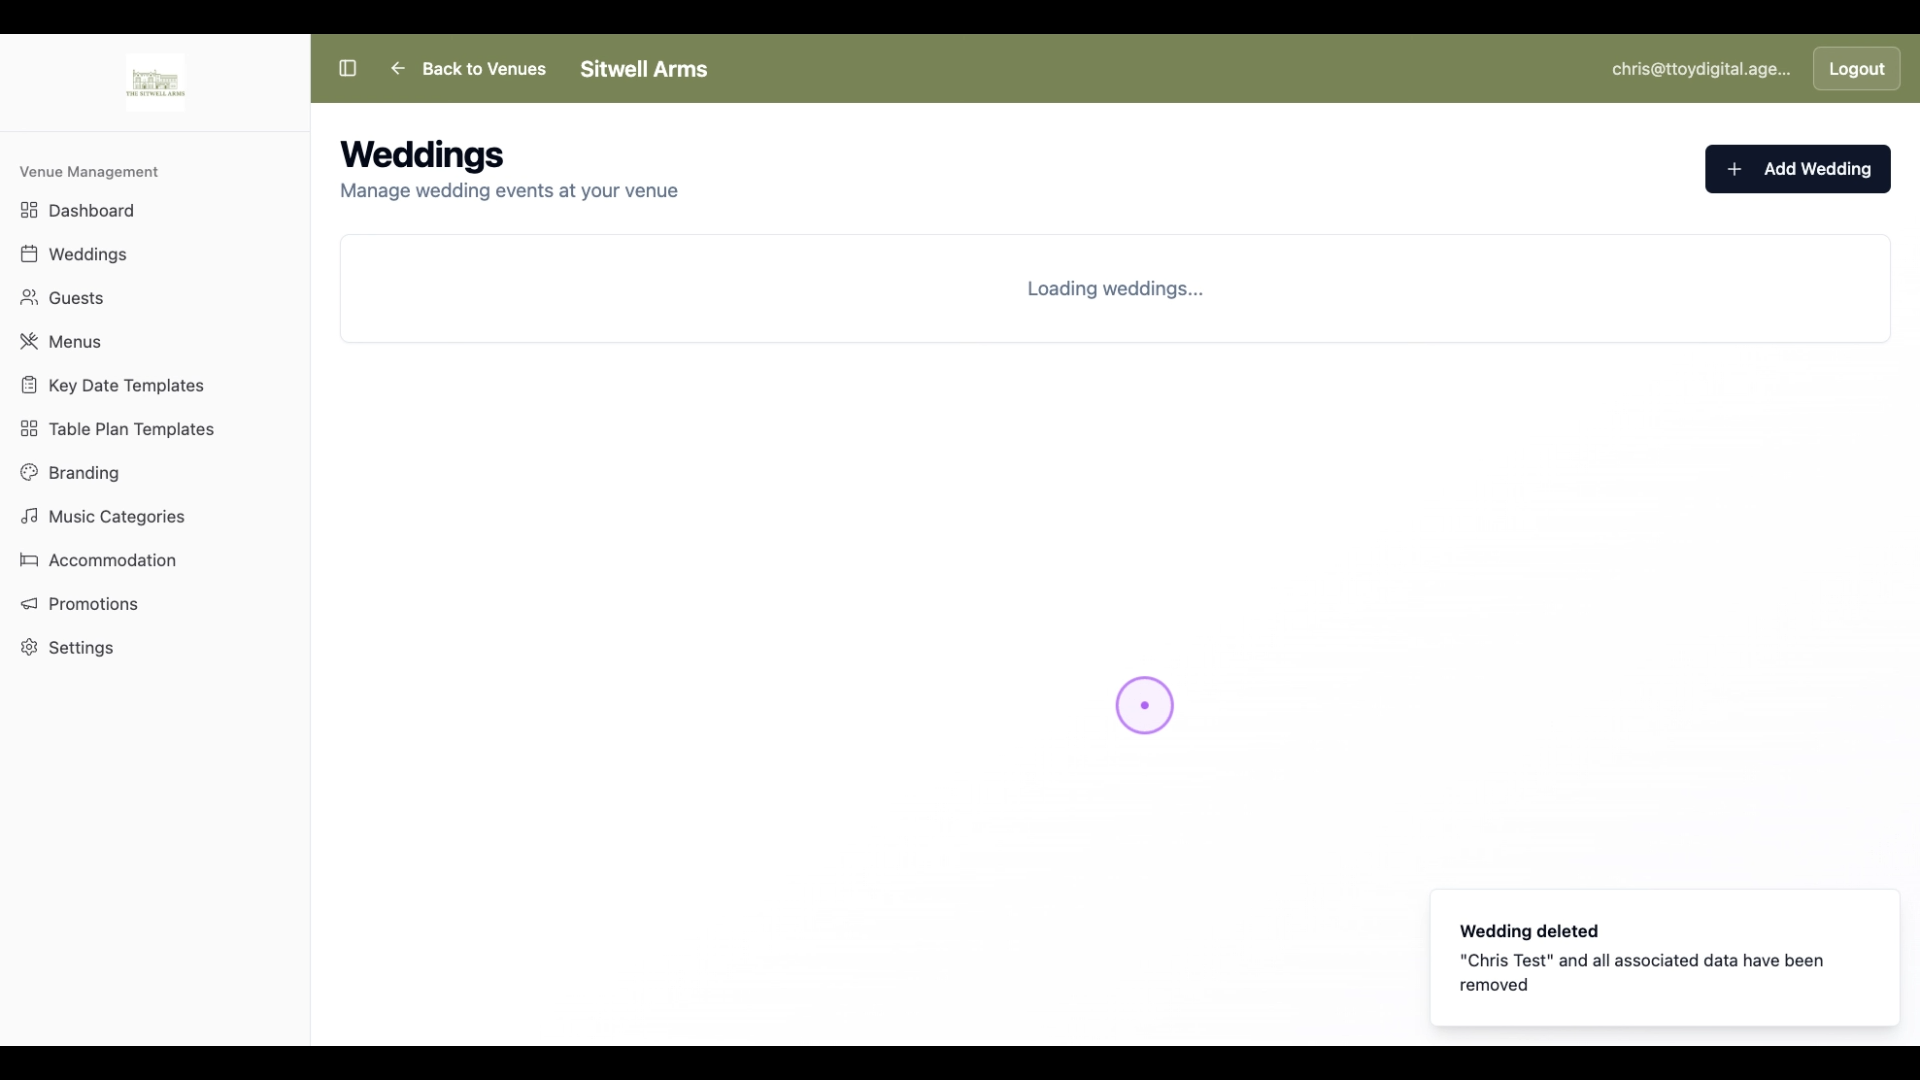
After the wedding has been successfully deleted, you will receive a confirmation message in the bottom right corner of your screen, and the weddings list will automatically refresh.
Warning: Deleting a wedding is permanent and cannot be undone. This action will remove all guests, meal choices, songs, key dates, and couple accounts associated with this wedding.