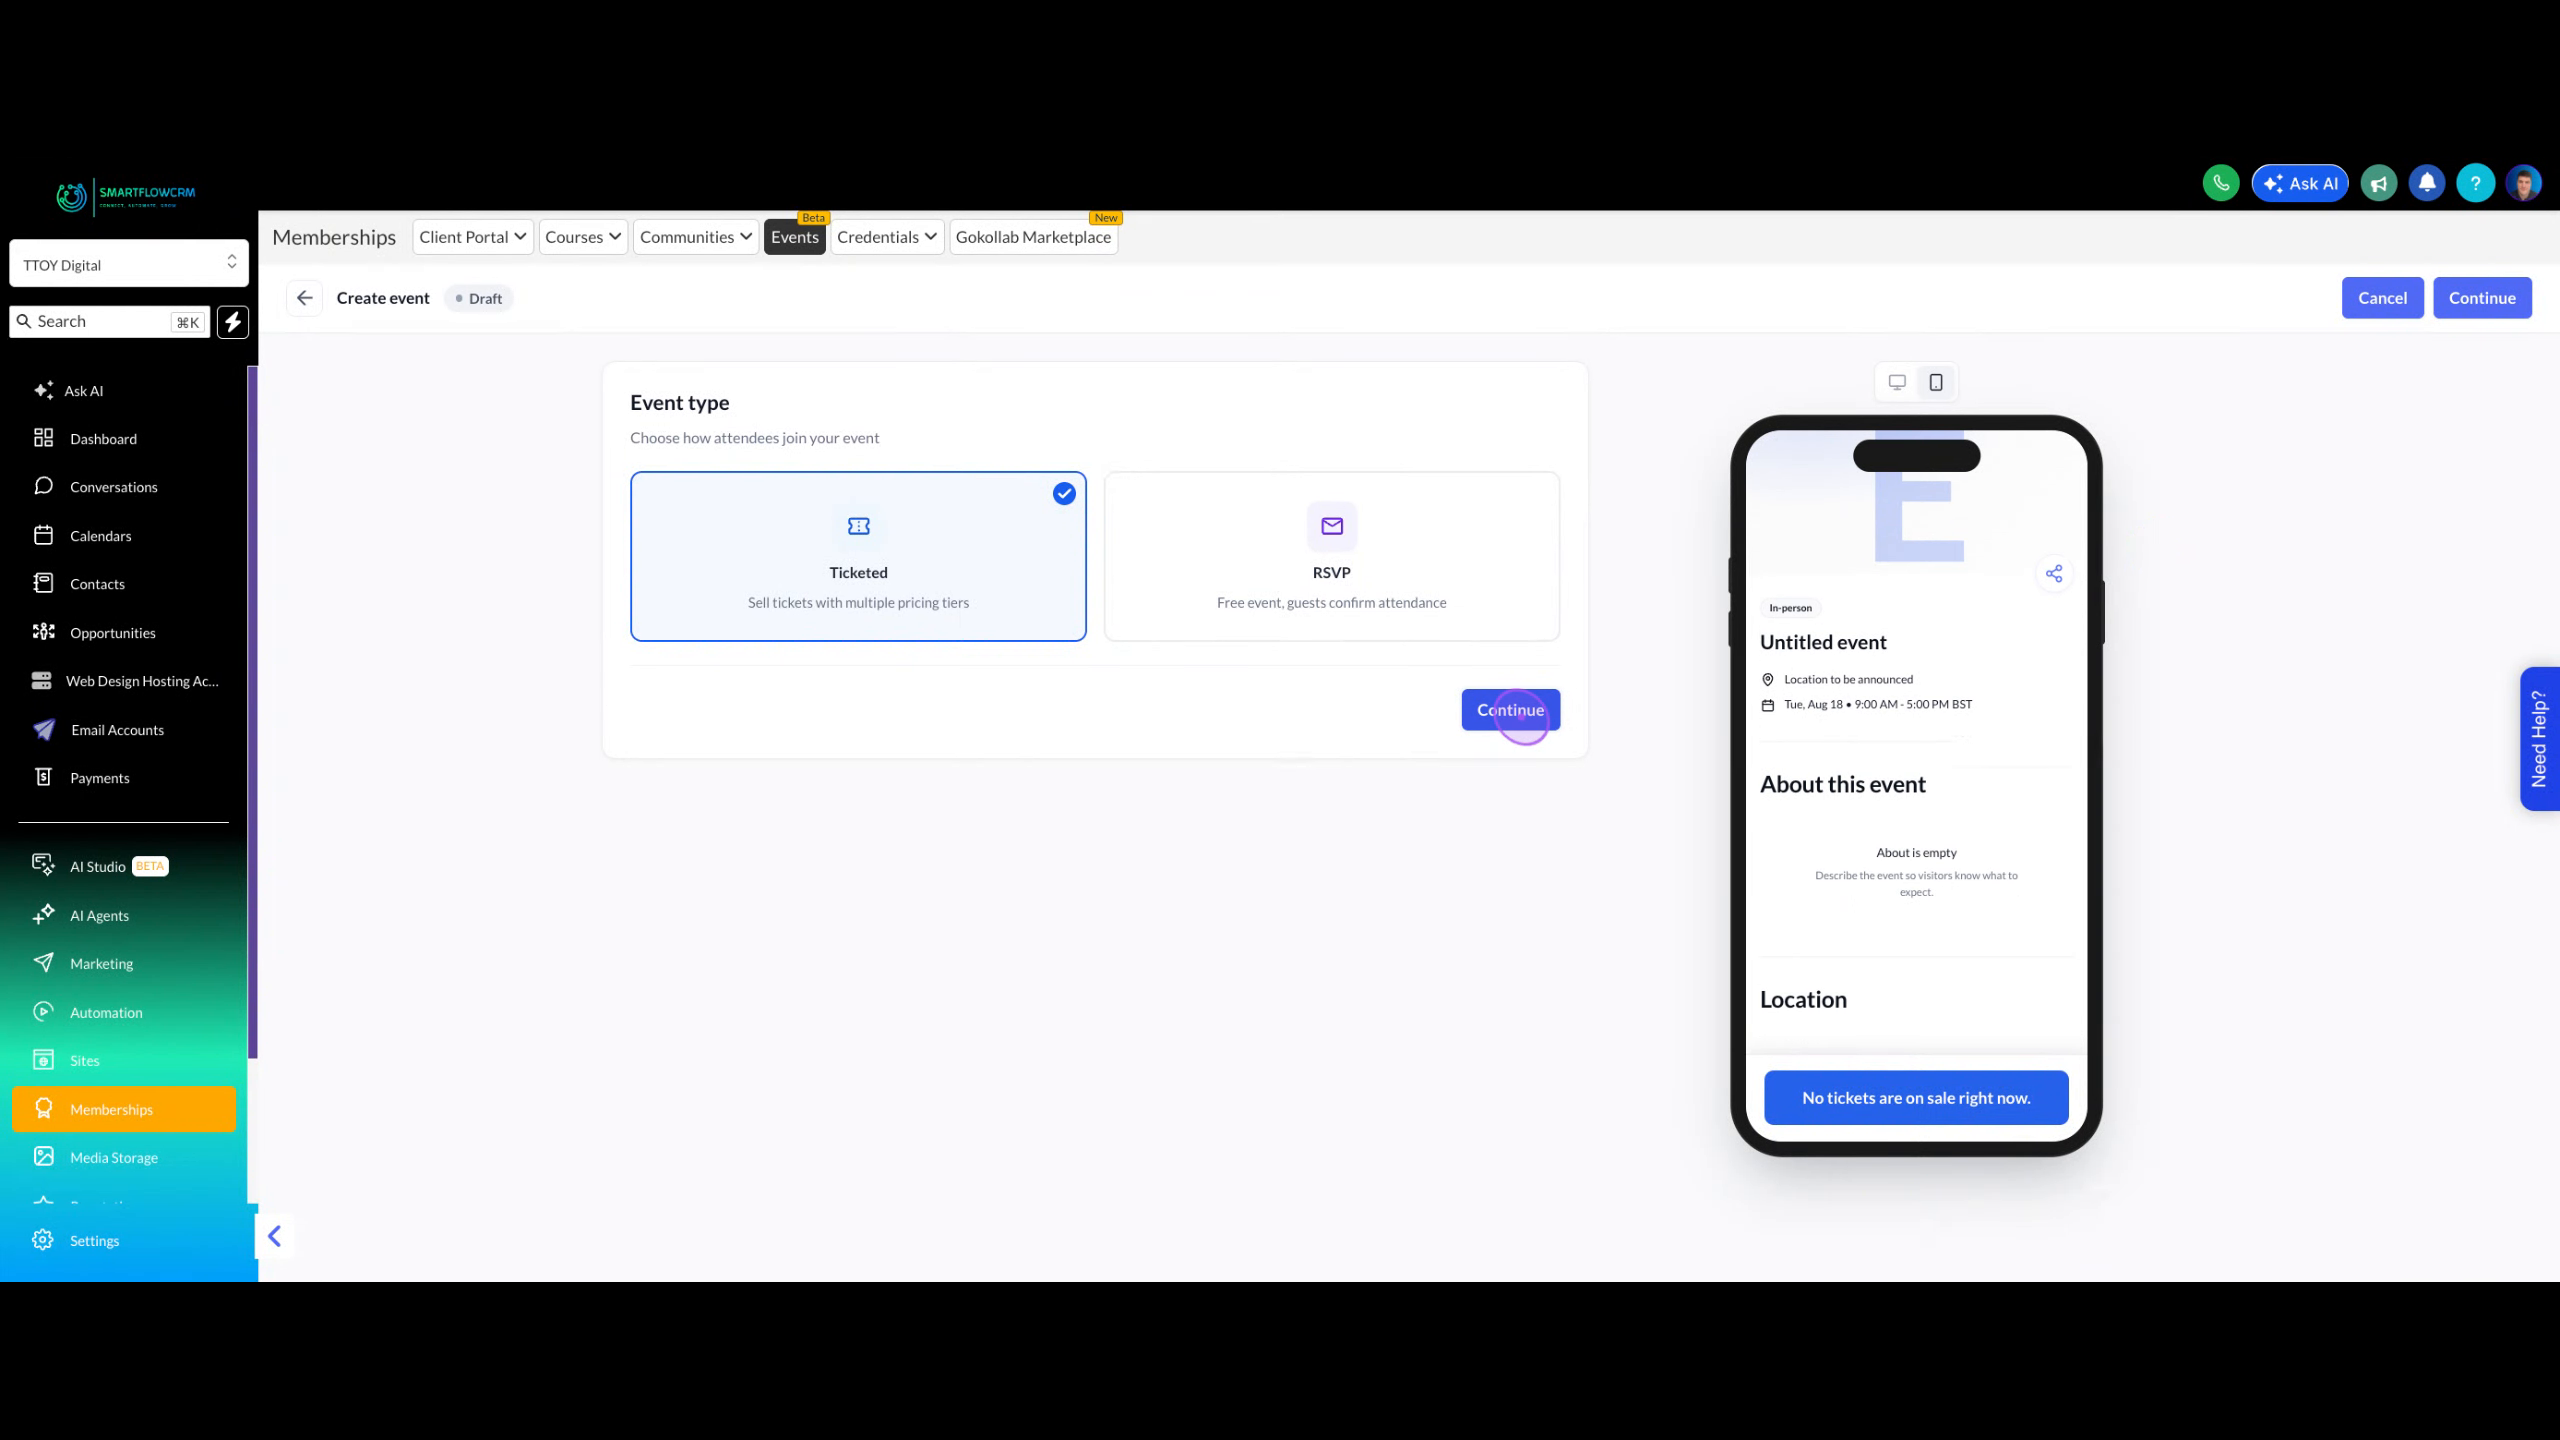
This comprehensive guide walks you through creating a professional ticketed event from start to finish. You'll learn how to set up event details, configure scheduling, manage online access, and add organiser information.
Choose the Ticketed option to enable selling tickets with multiple pricing tiers, then click Continue to proceed to the event details form.
Click the Event name field and type a clear, descriptive name for your event. This name will appear on event listings and the registration page.
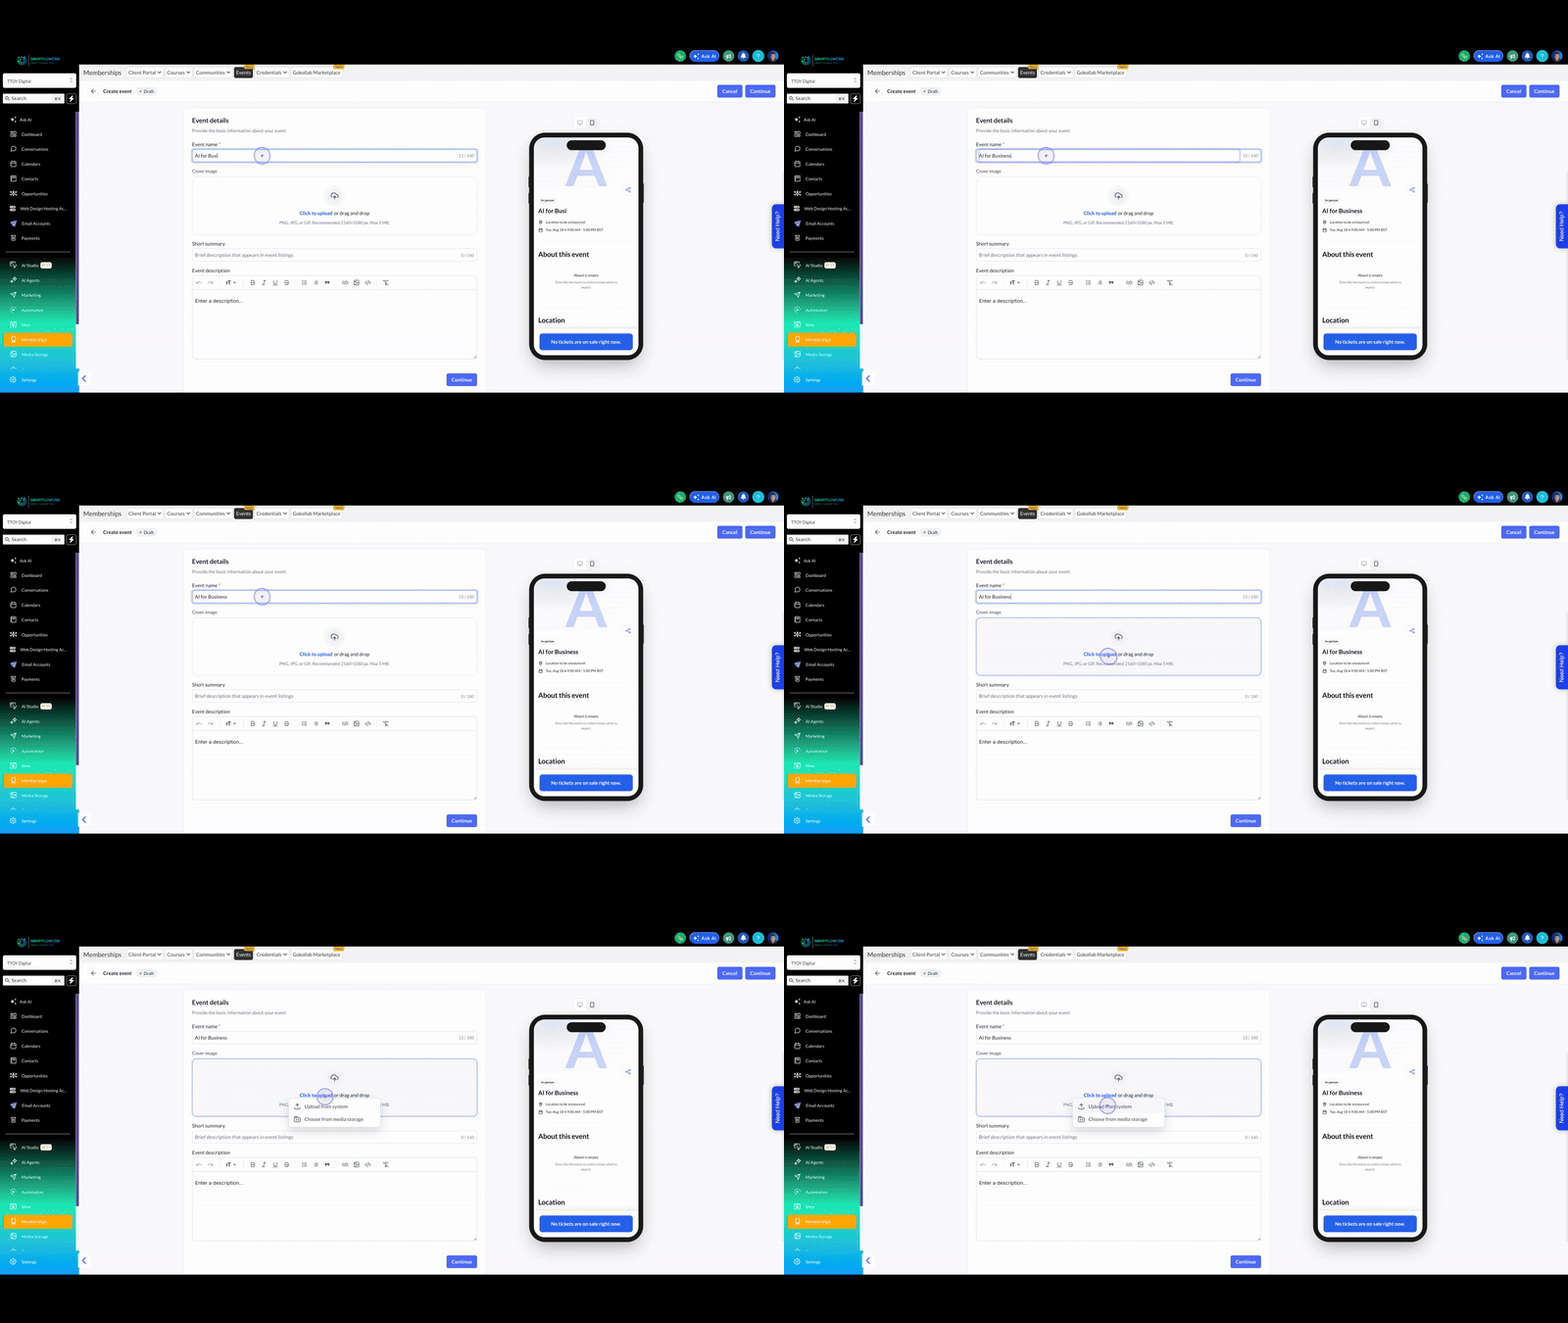
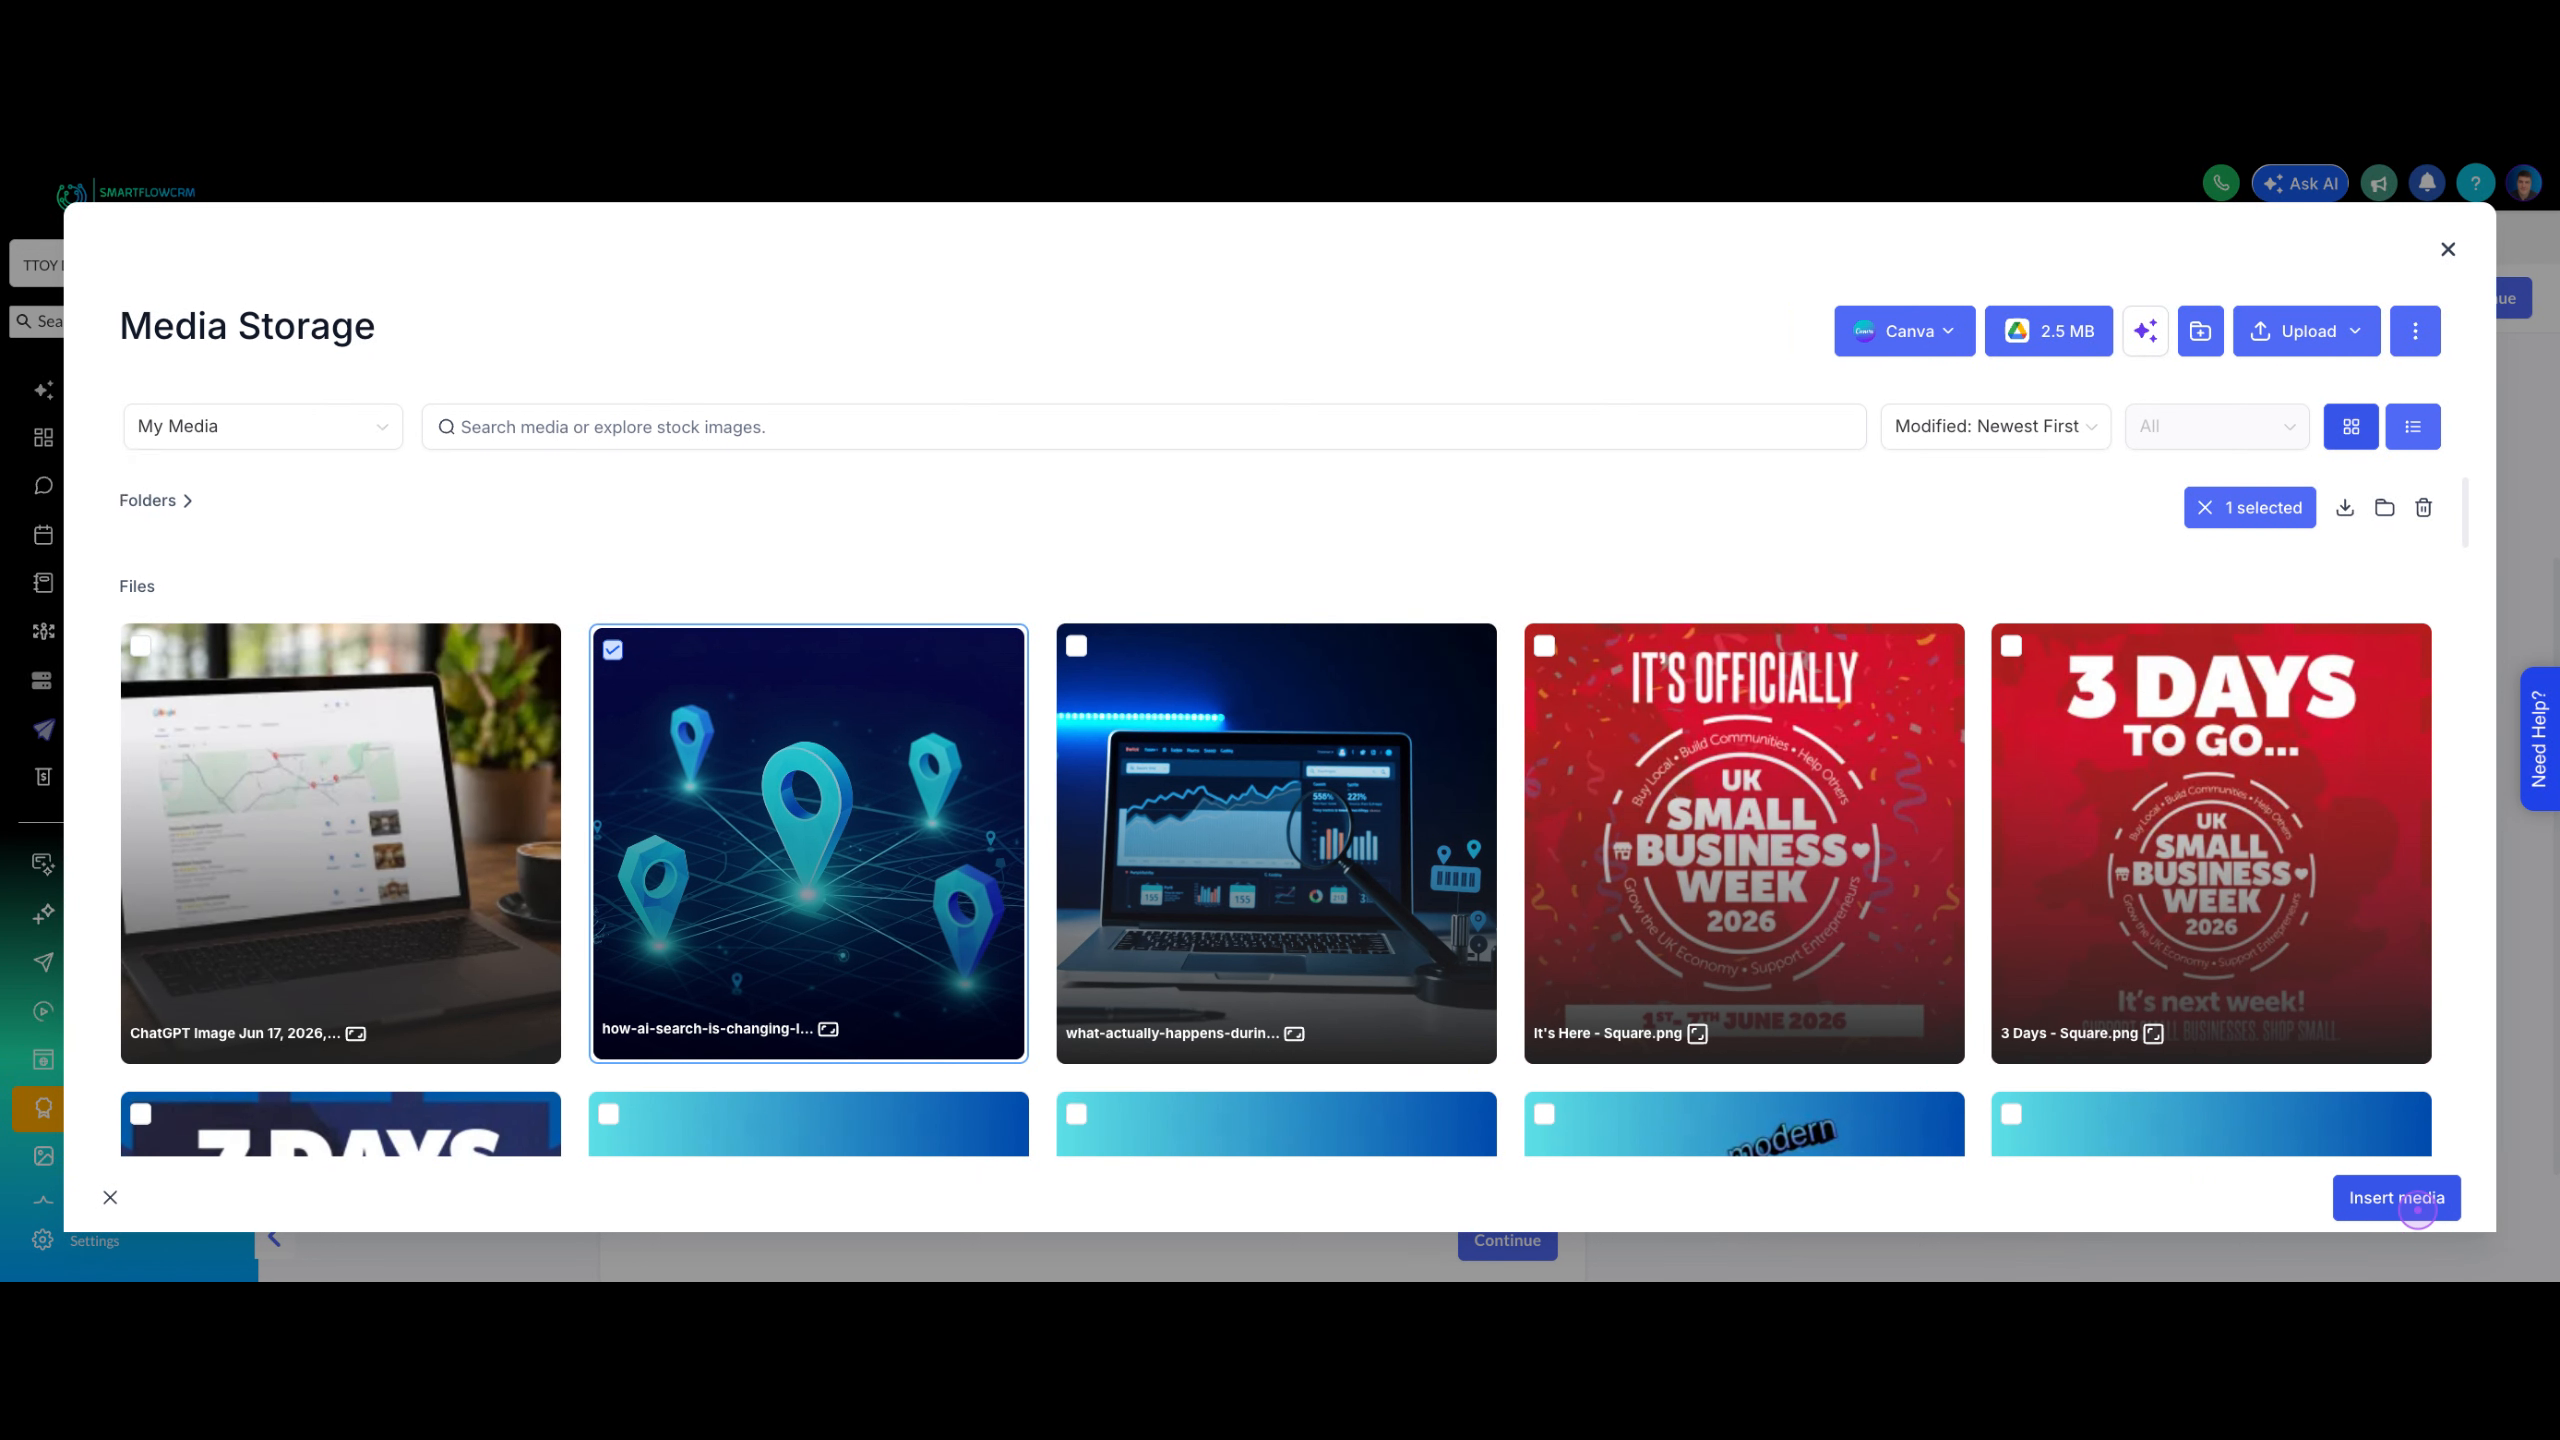
Click the upload area, select Choose from media storage, pick an appropriate image from your library, click Insert media, then save to set your event's cover photo.
Enter a brief description (up to 140 characters) in the Short summary field. This text appears in event listings and search results.
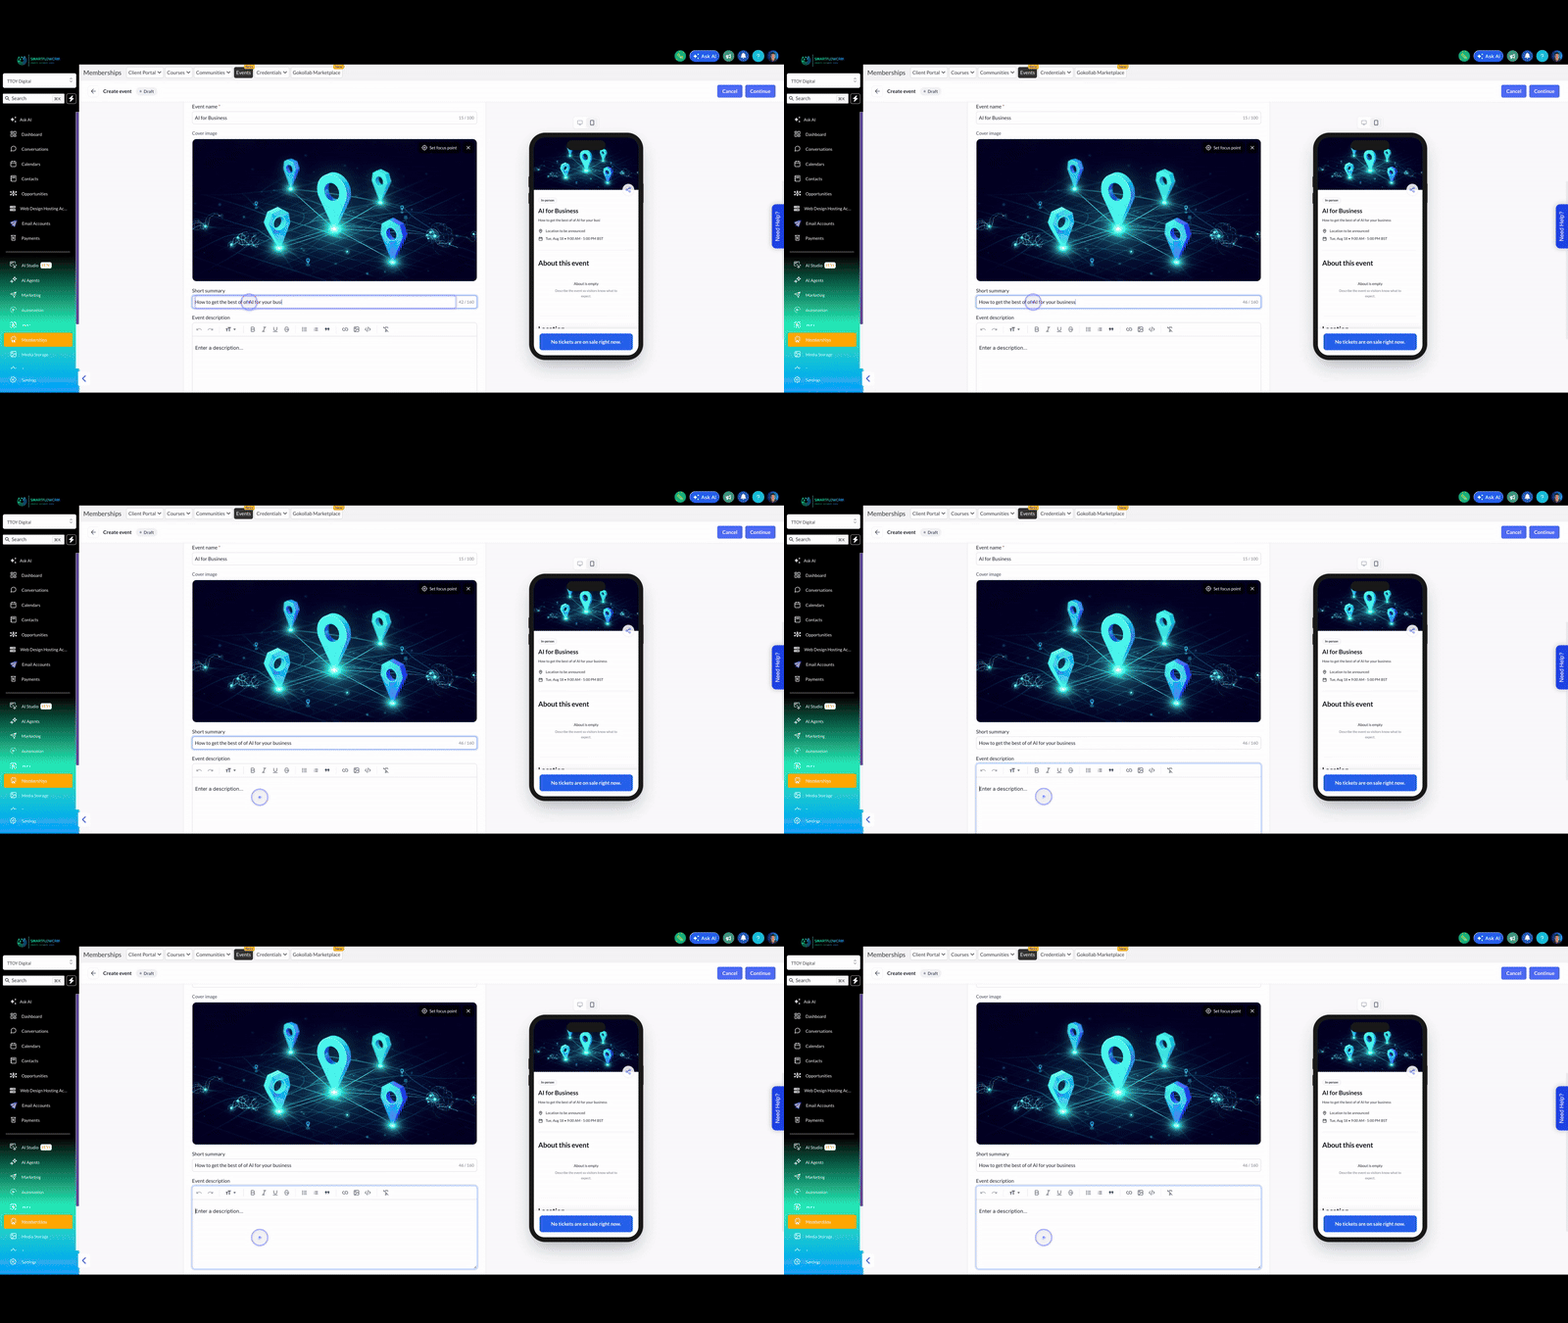
Click in the rich text editor and enter a detailed description of your event. Use the formatting tools to structure your content with headings, lists, and emphasis.
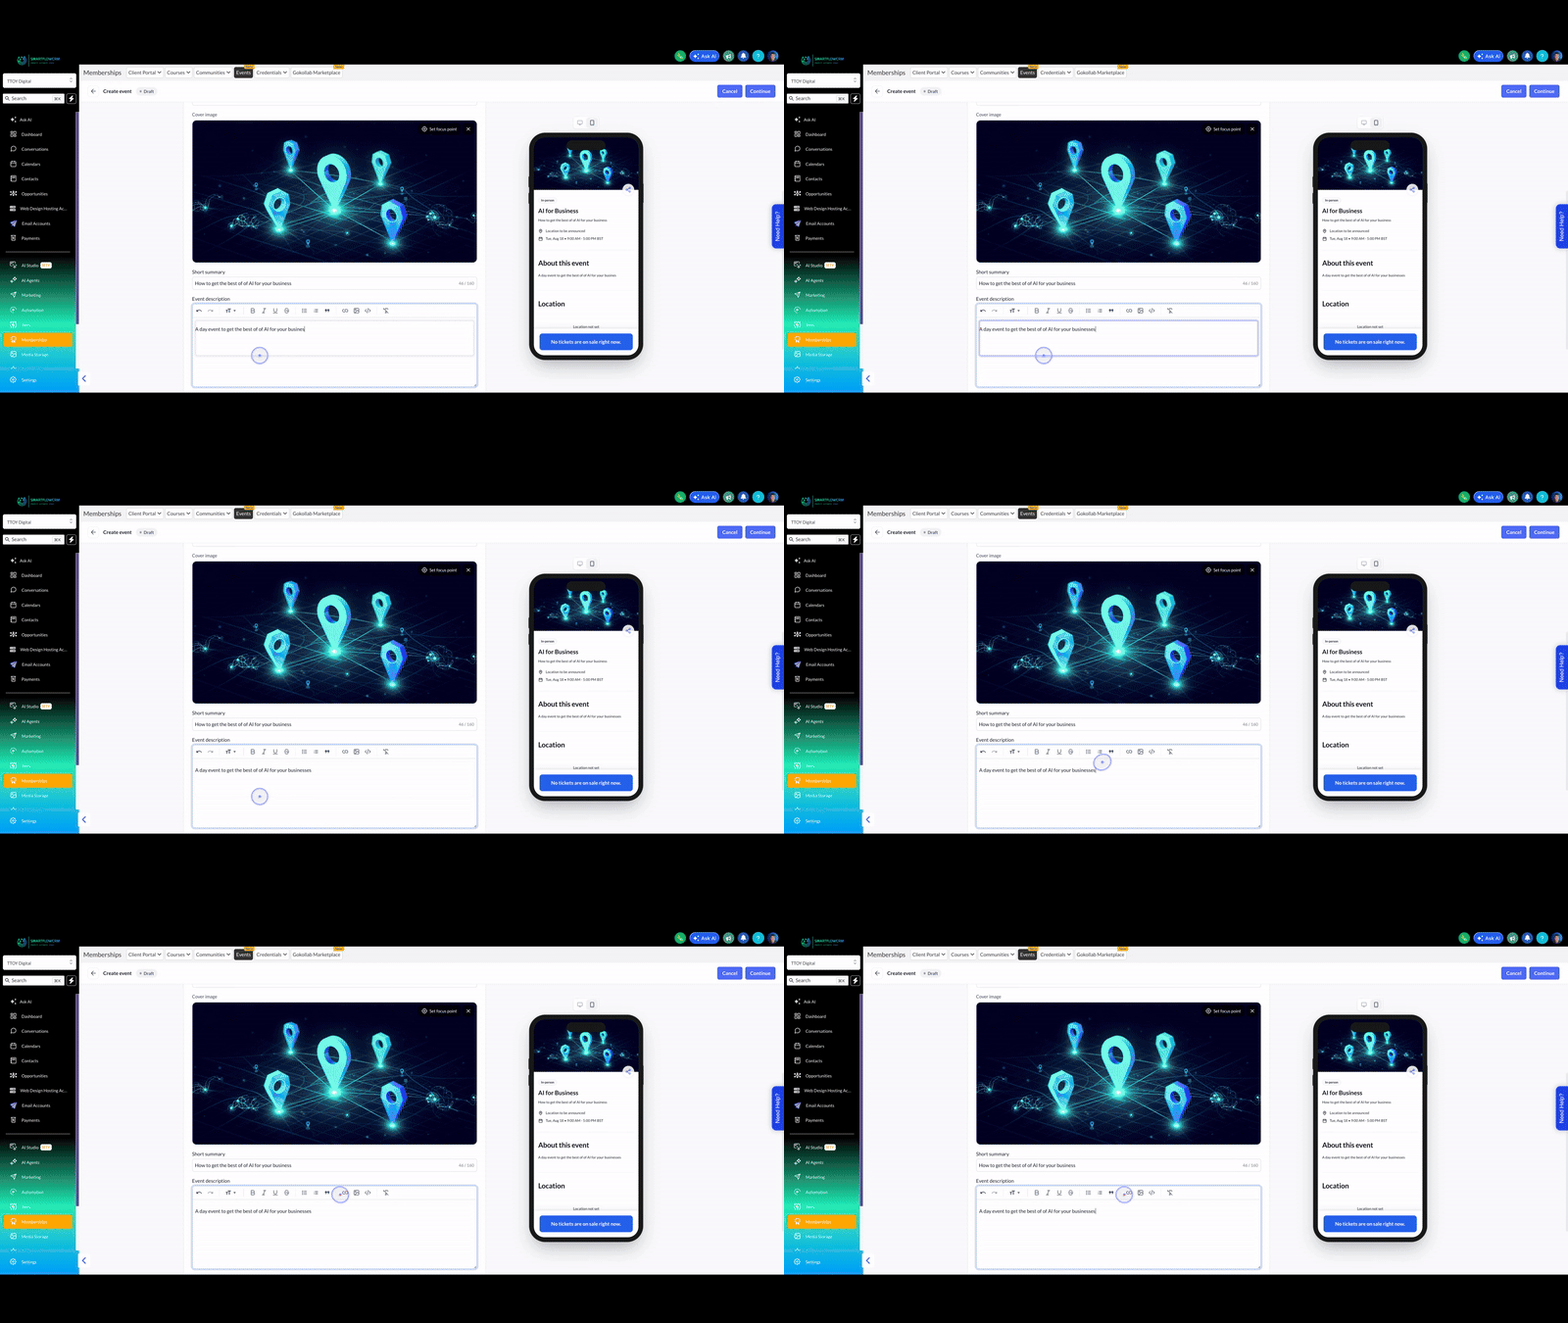
Click the Continue button to proceed to the Date and time section where you'll set when your event takes place.
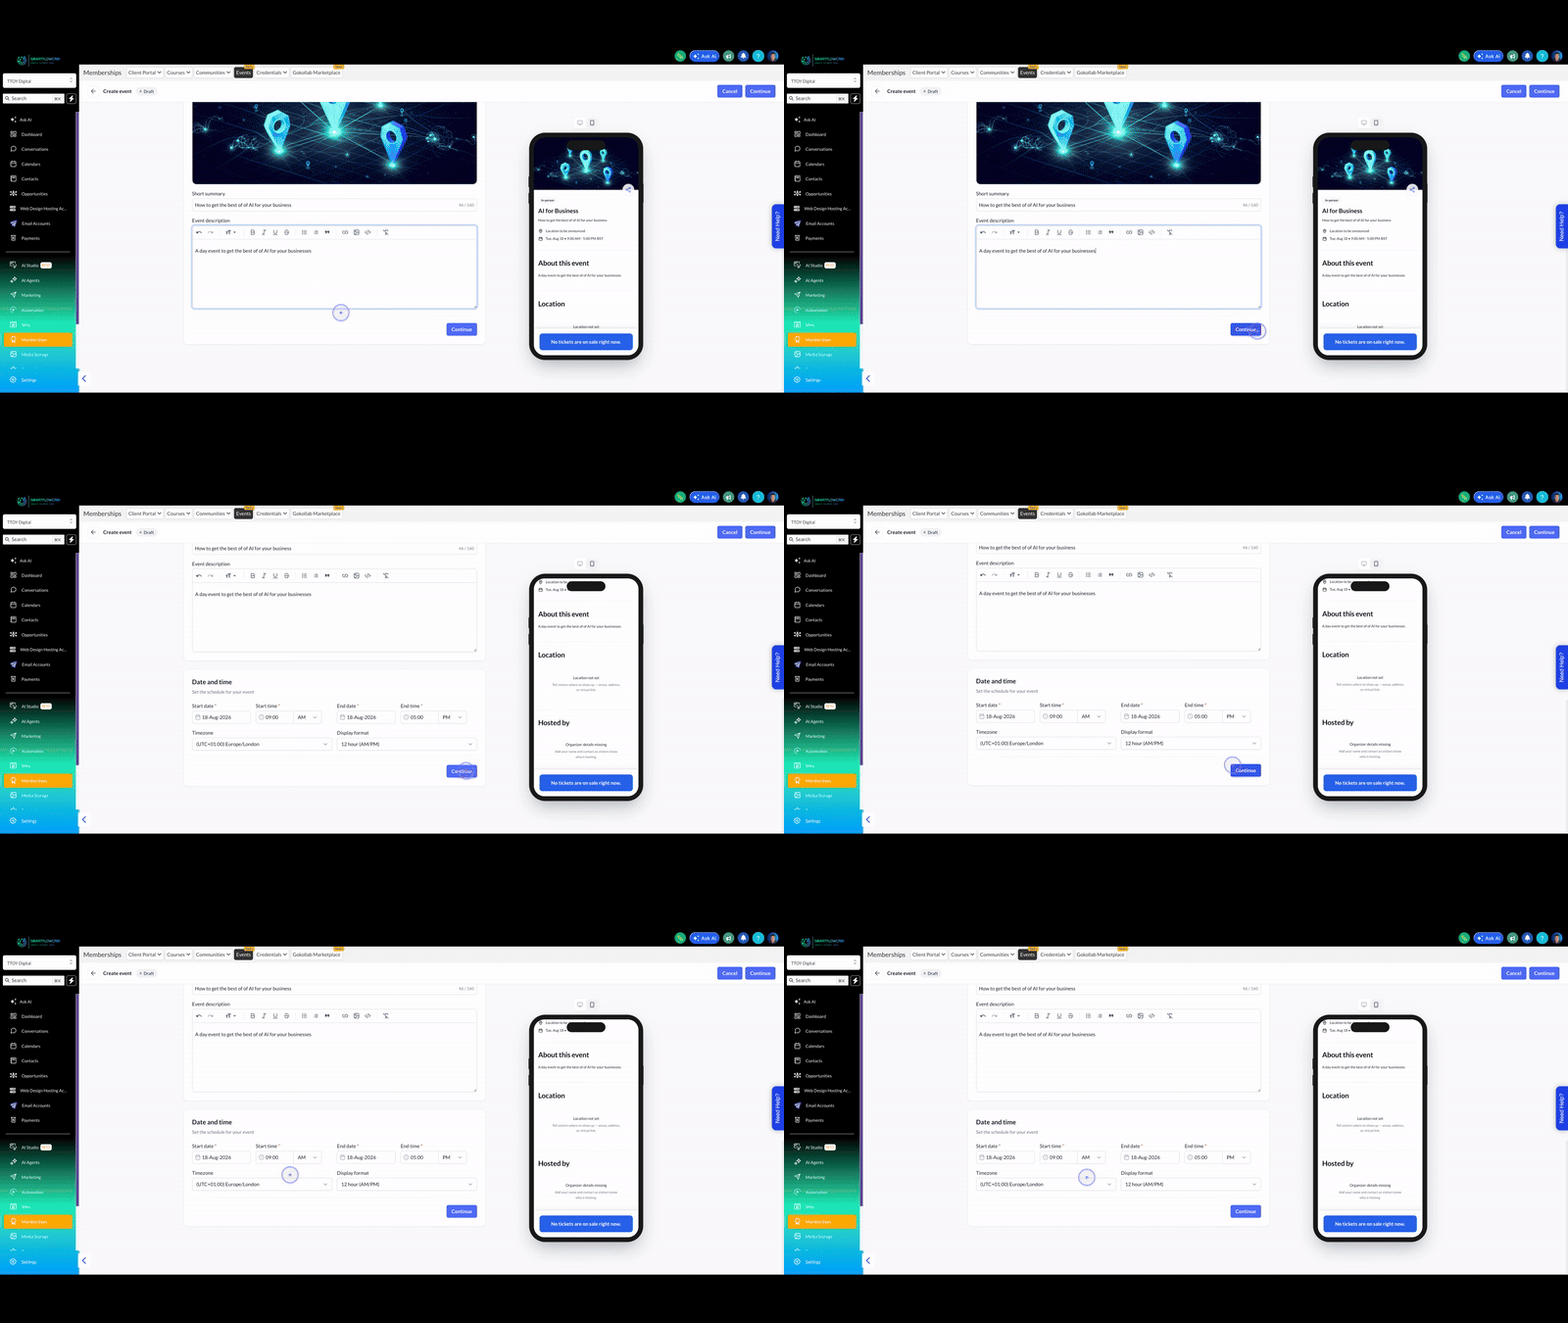
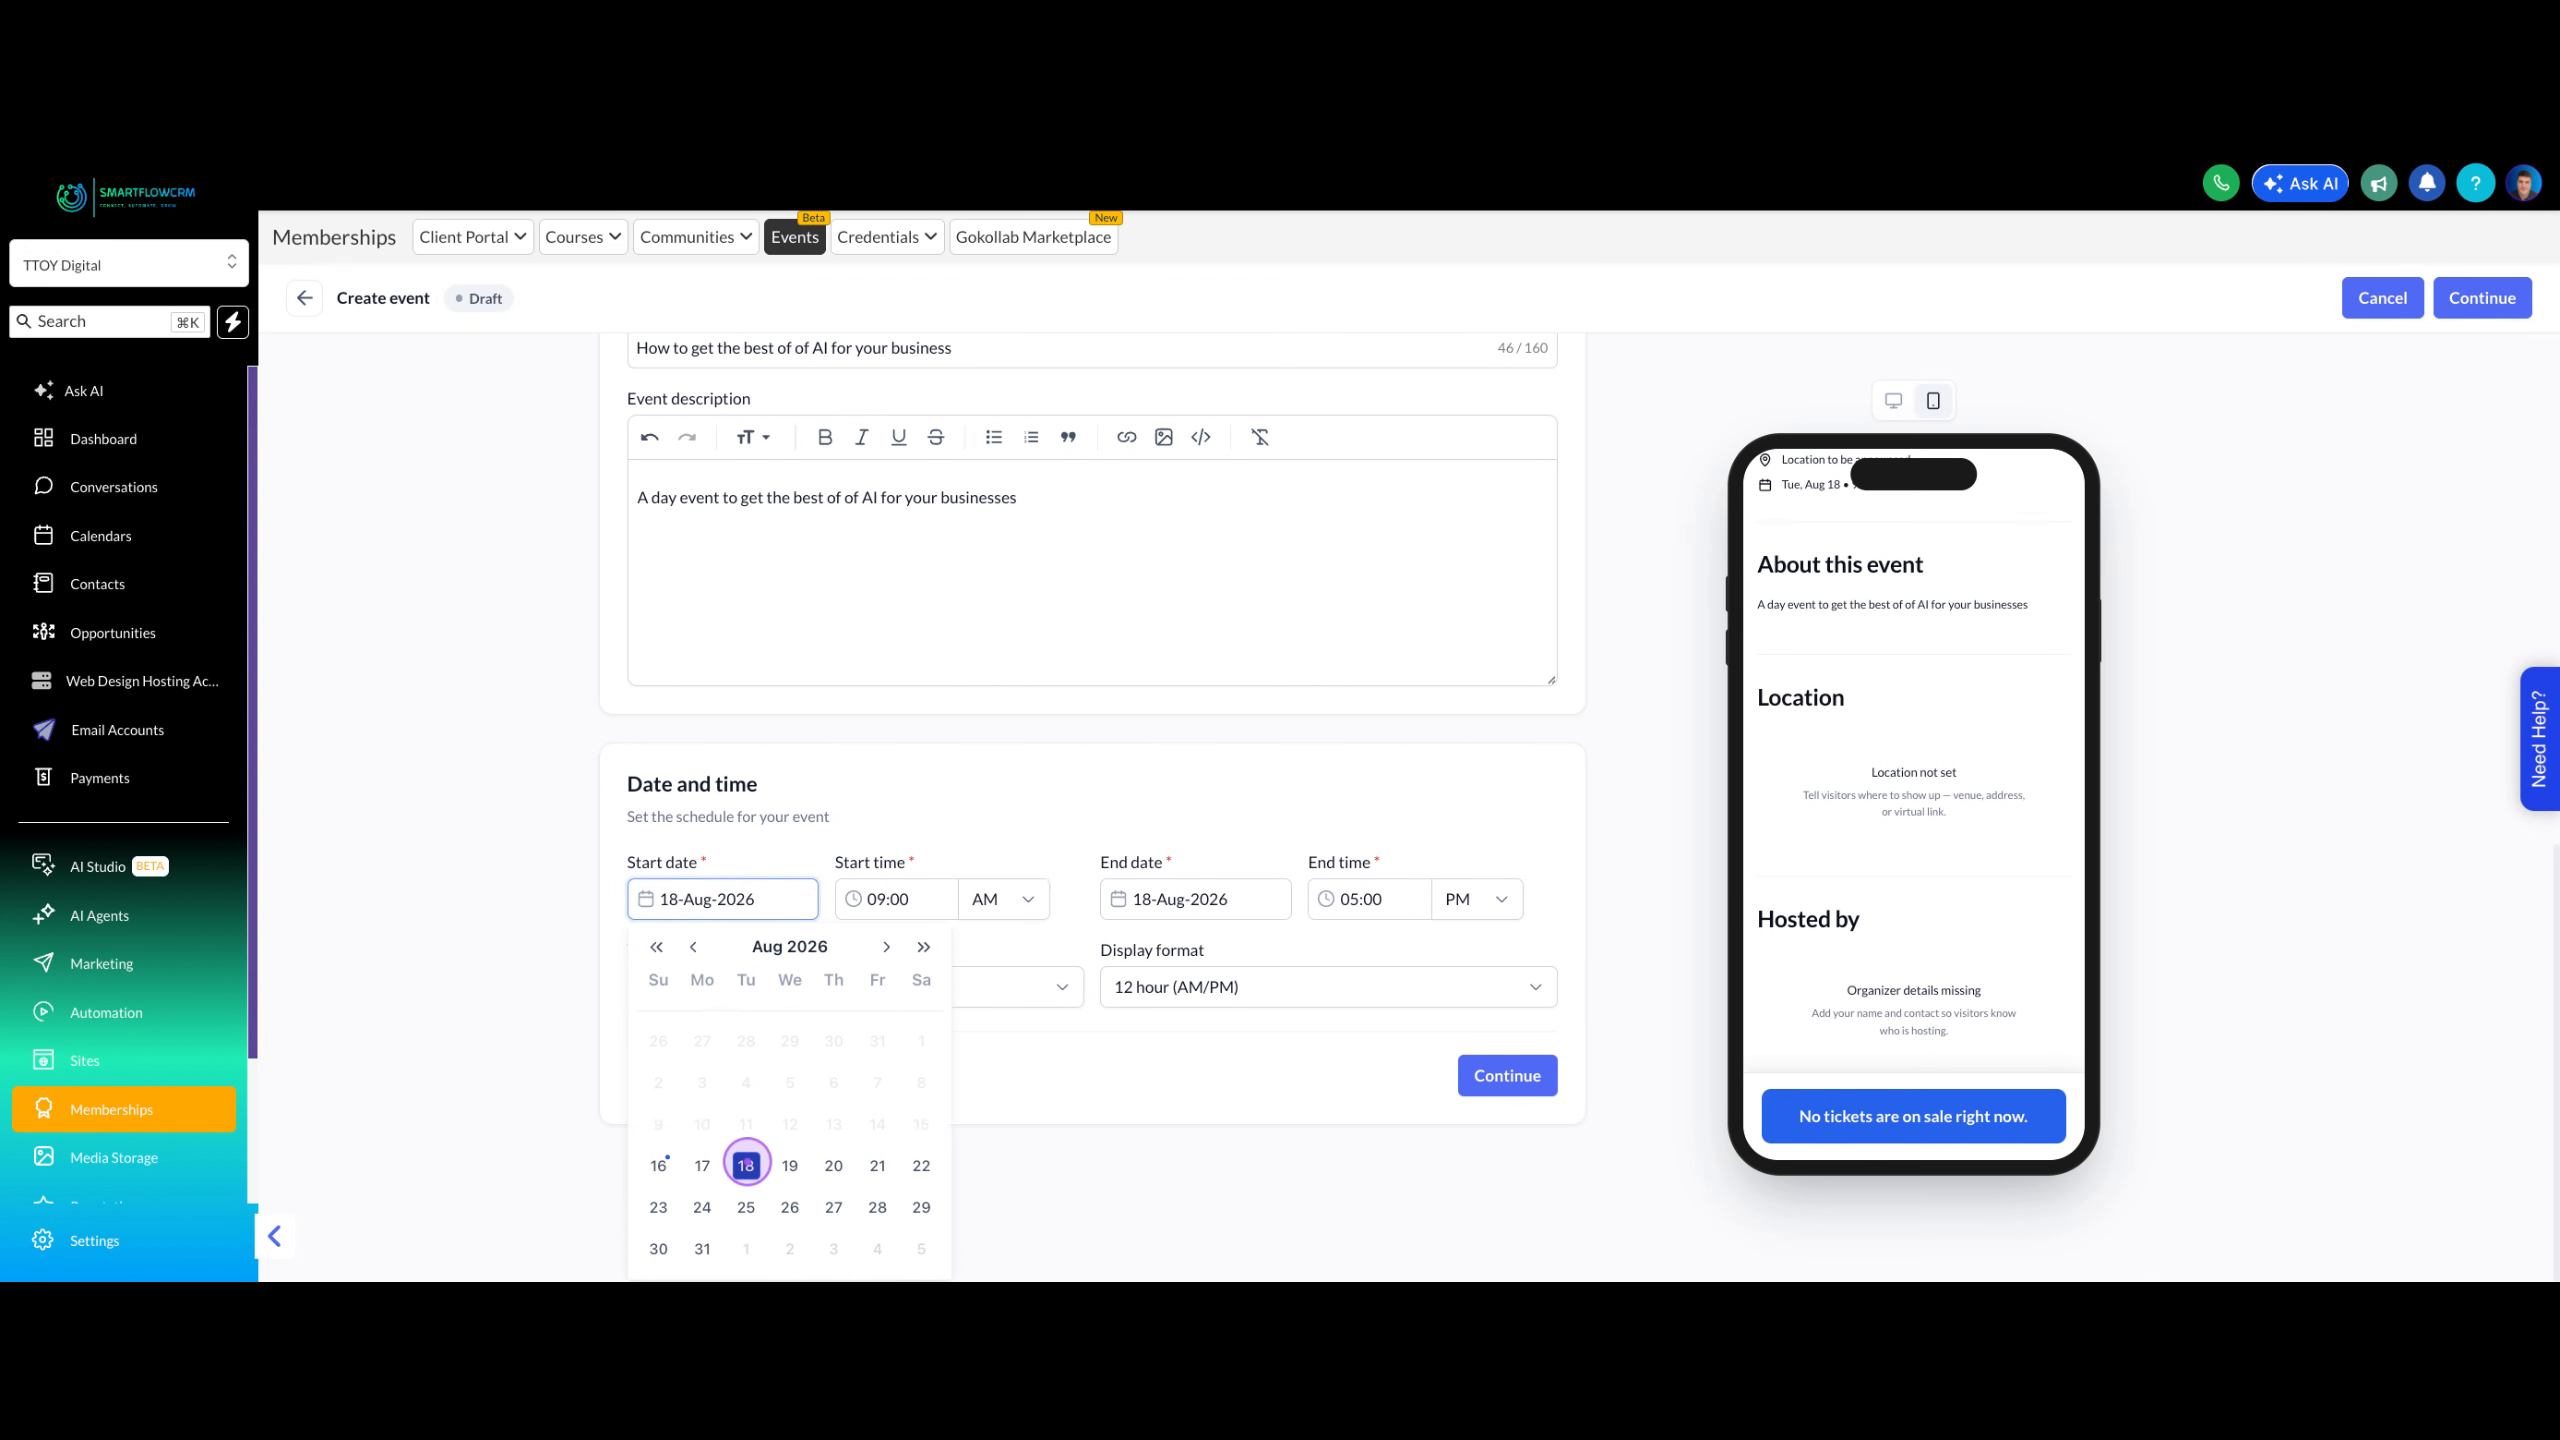
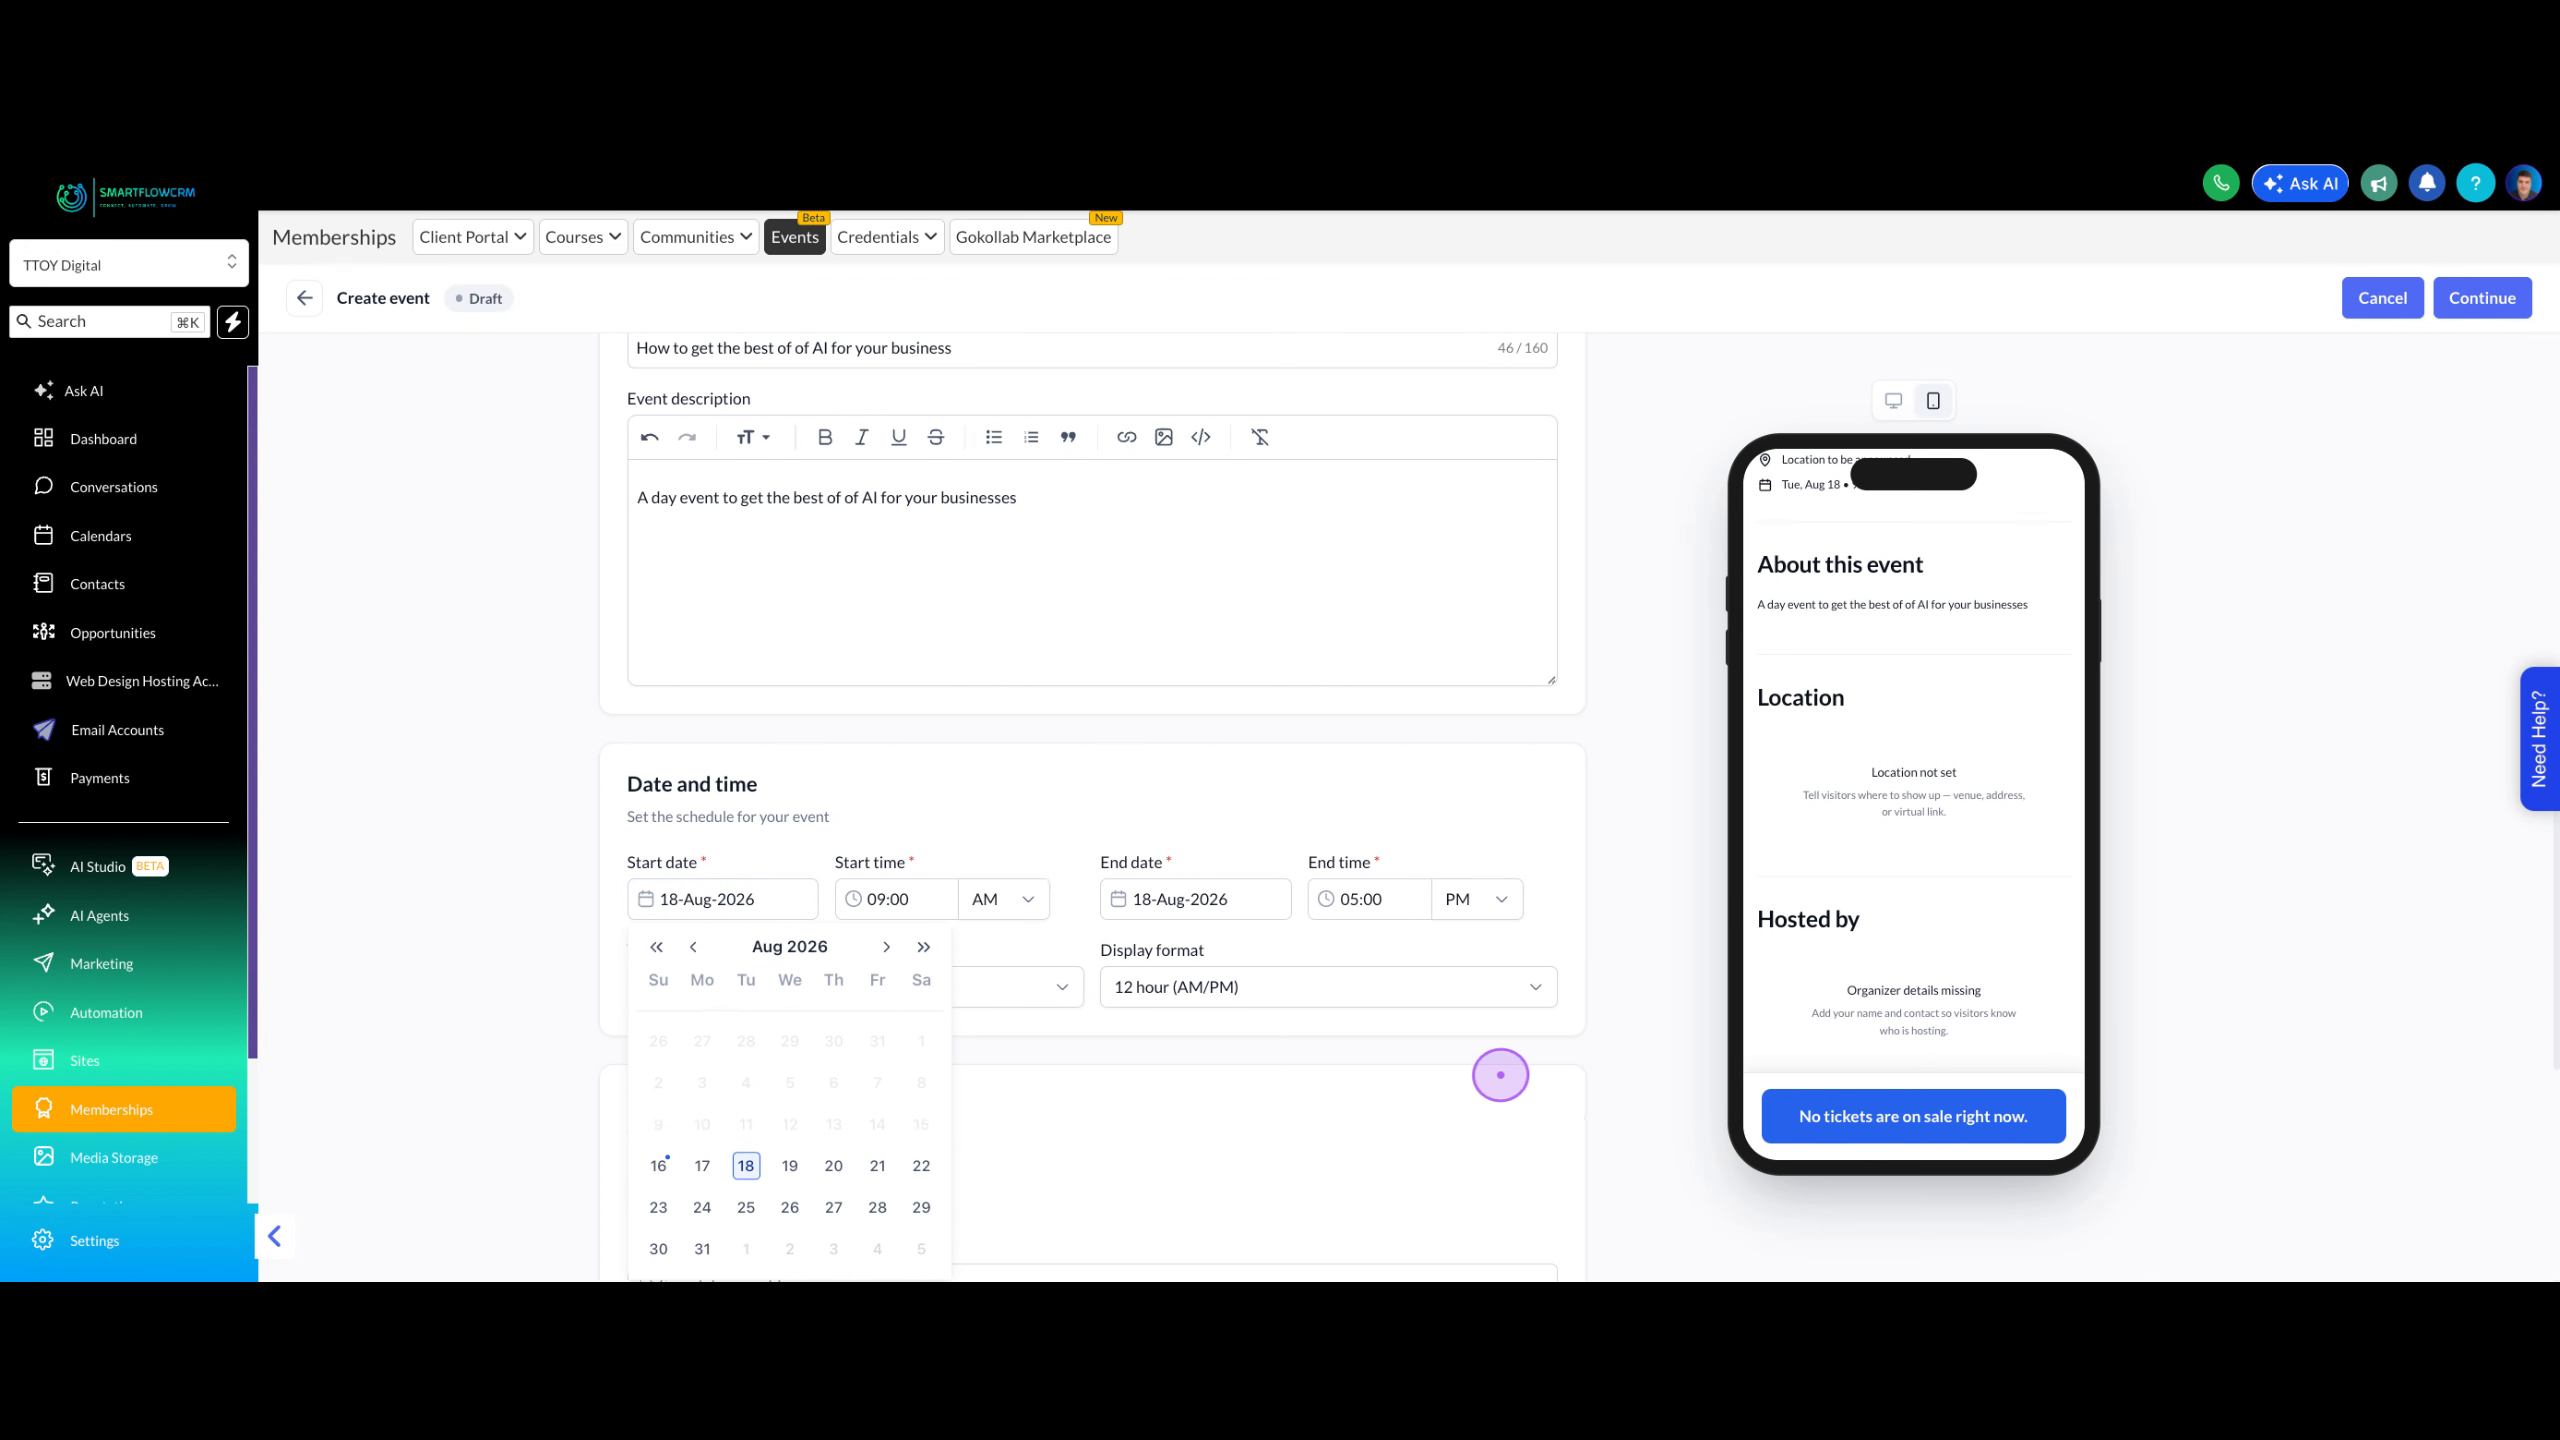
Click the Start date field to open the calendar picker, then select your desired event date from the calendar interface.
Click Continue to move to the Location settings where you'll specify whether the event is in-person or online.
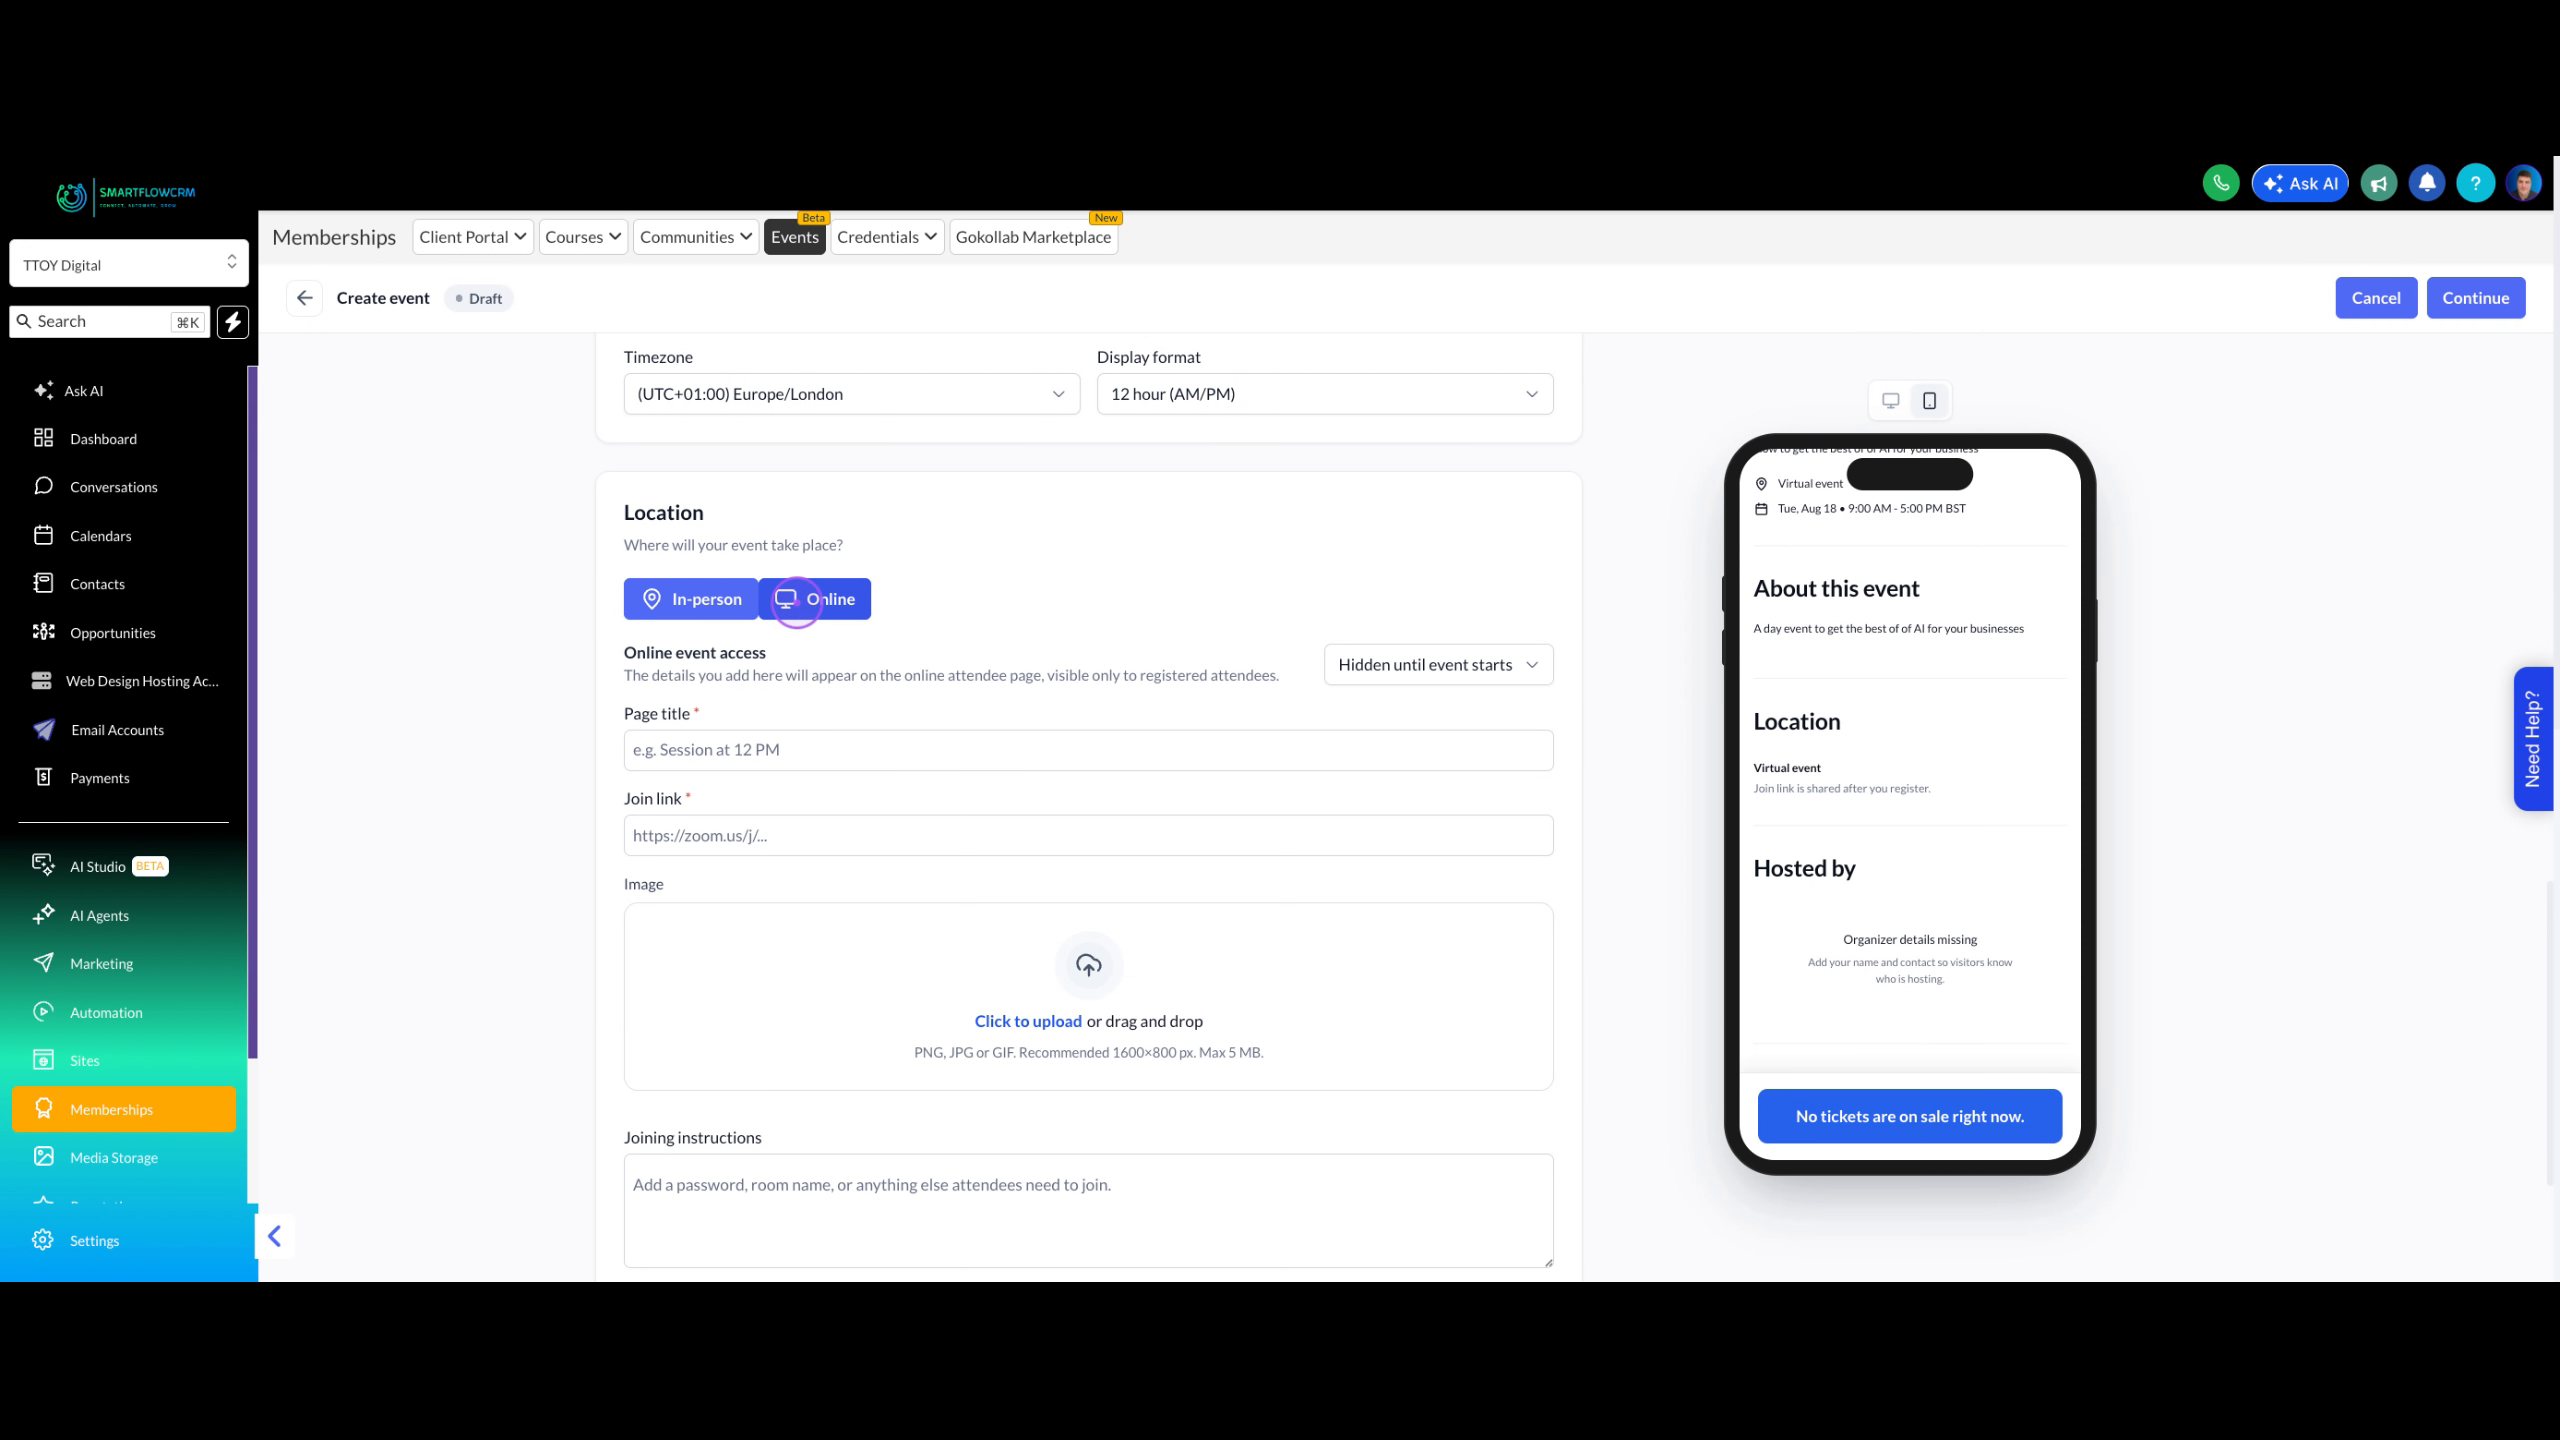
Click the Online button to configure this as a virtual event. This reveals additional fields for managing online event access.
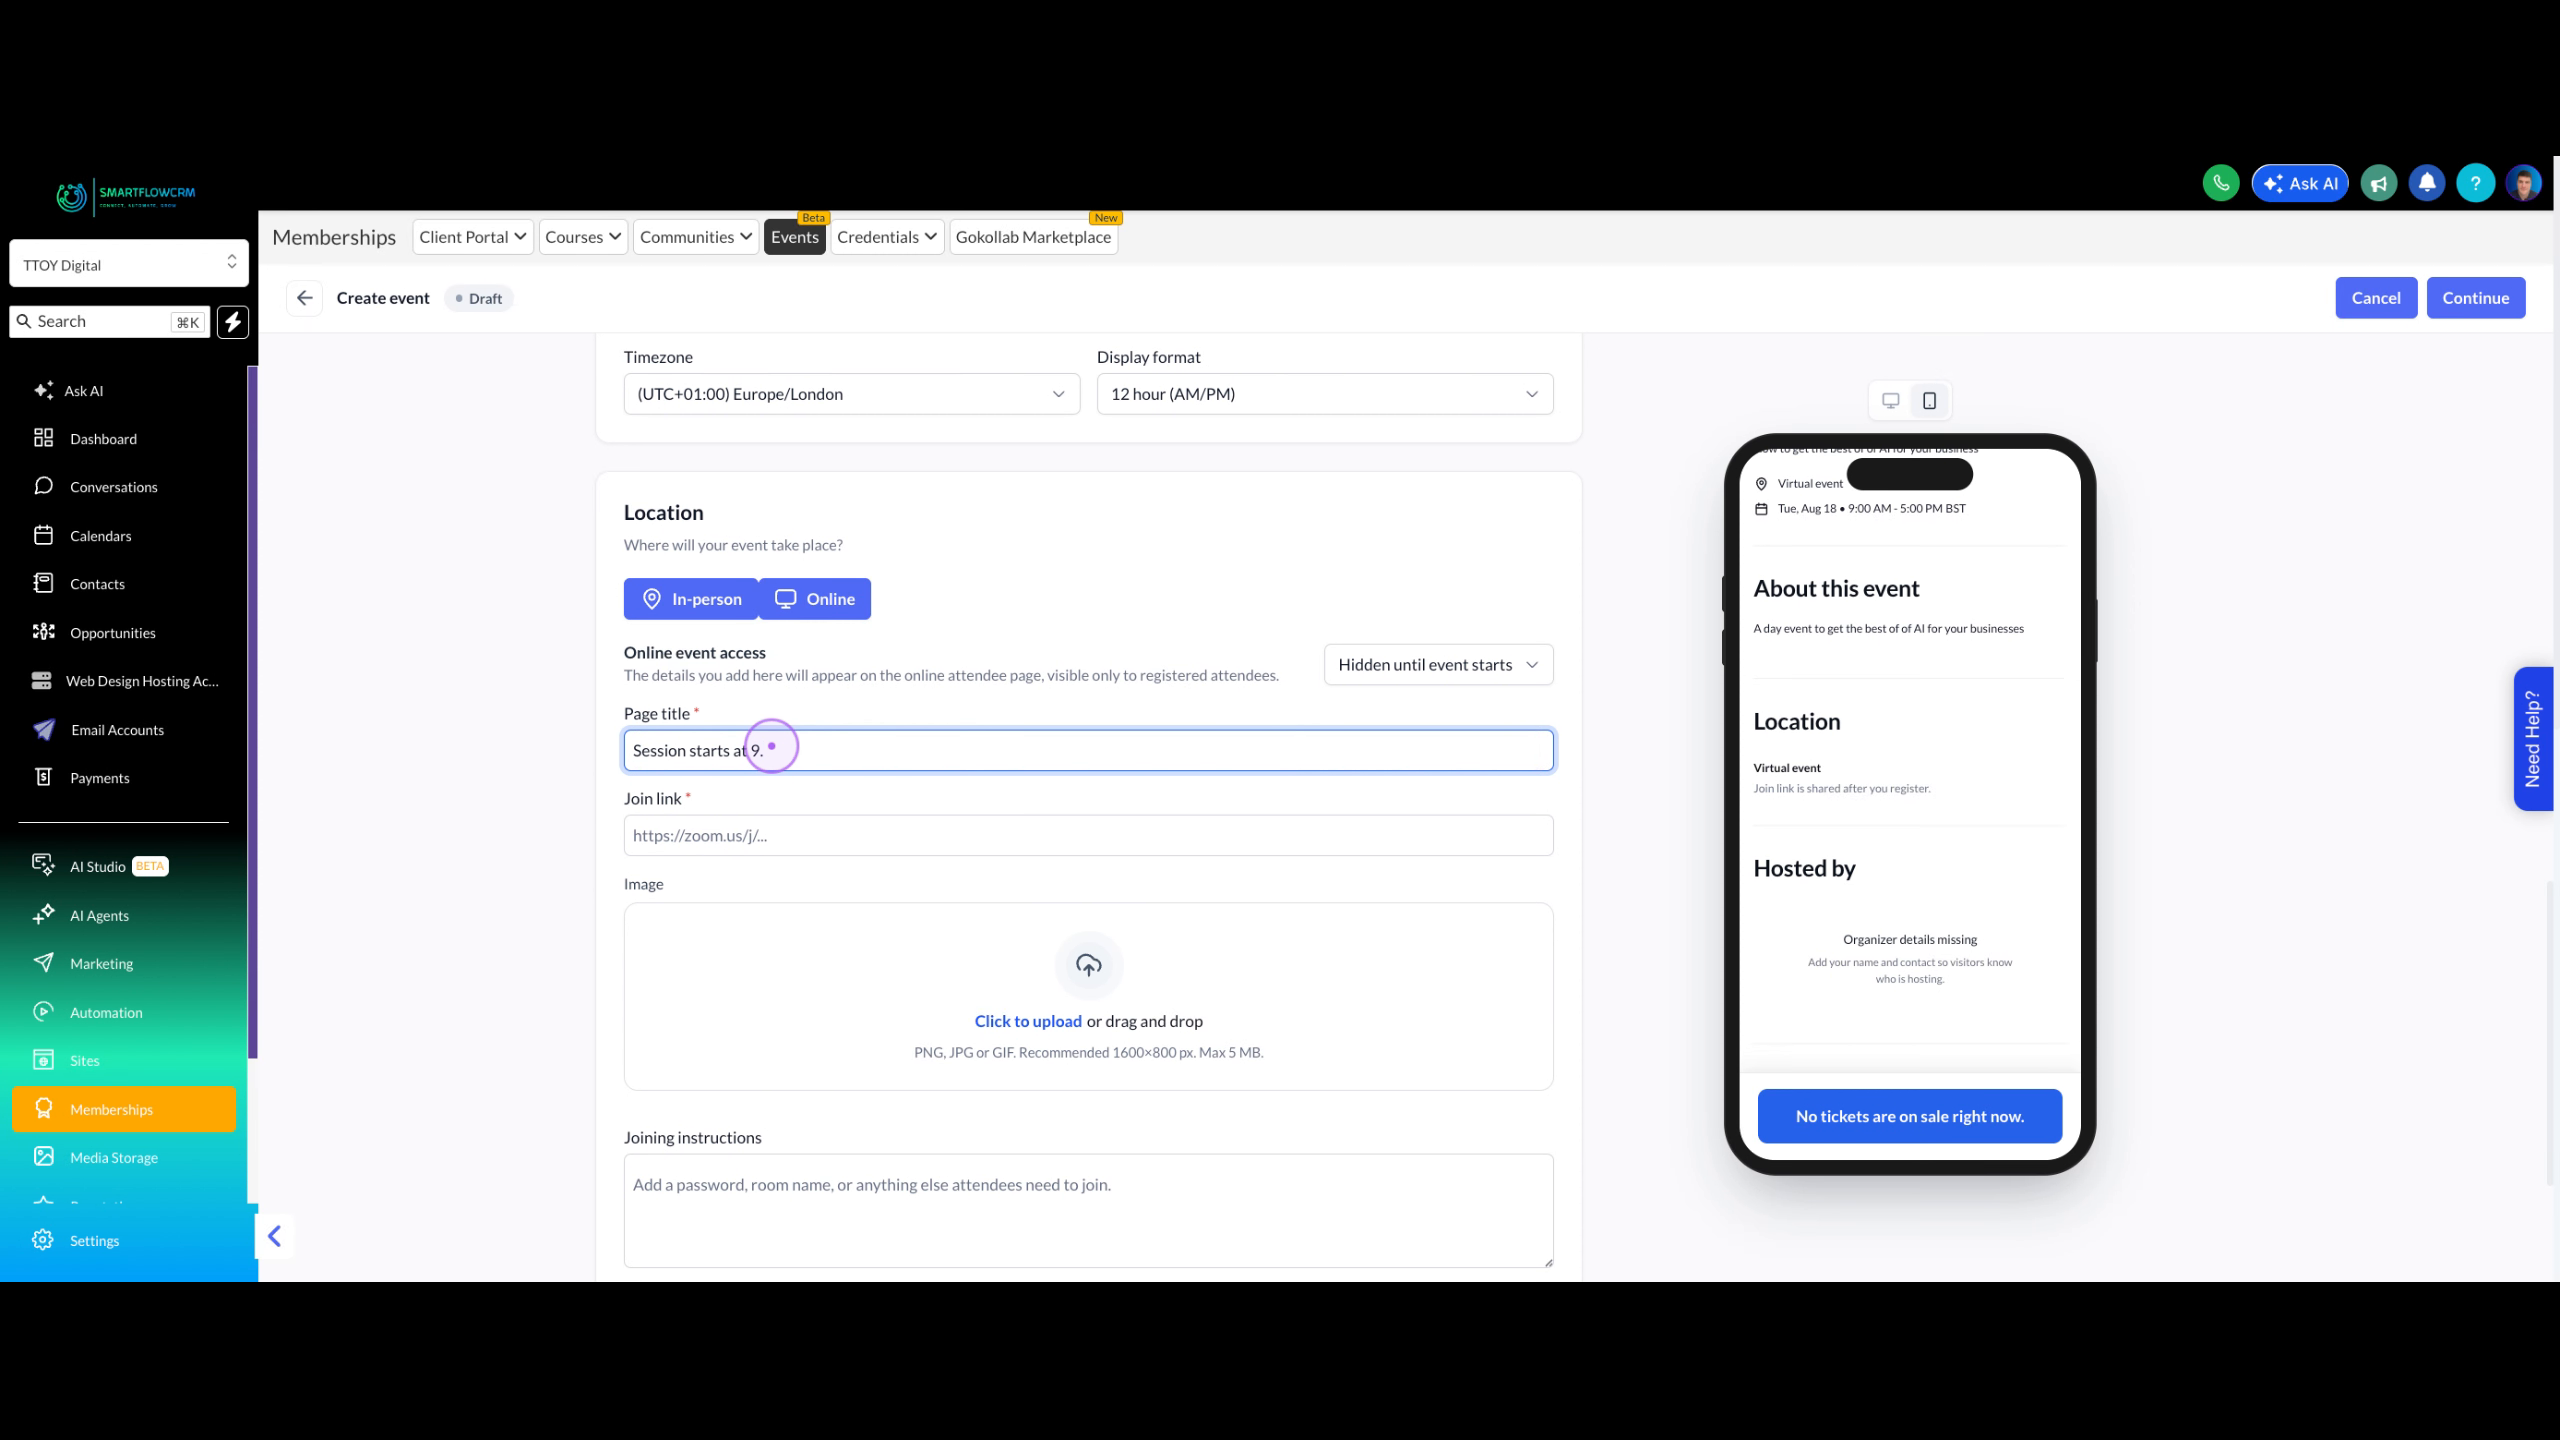
Enter a title for the online attendee page (e.g., 'Session starts at 9') that registered attendees will see when accessing the event.
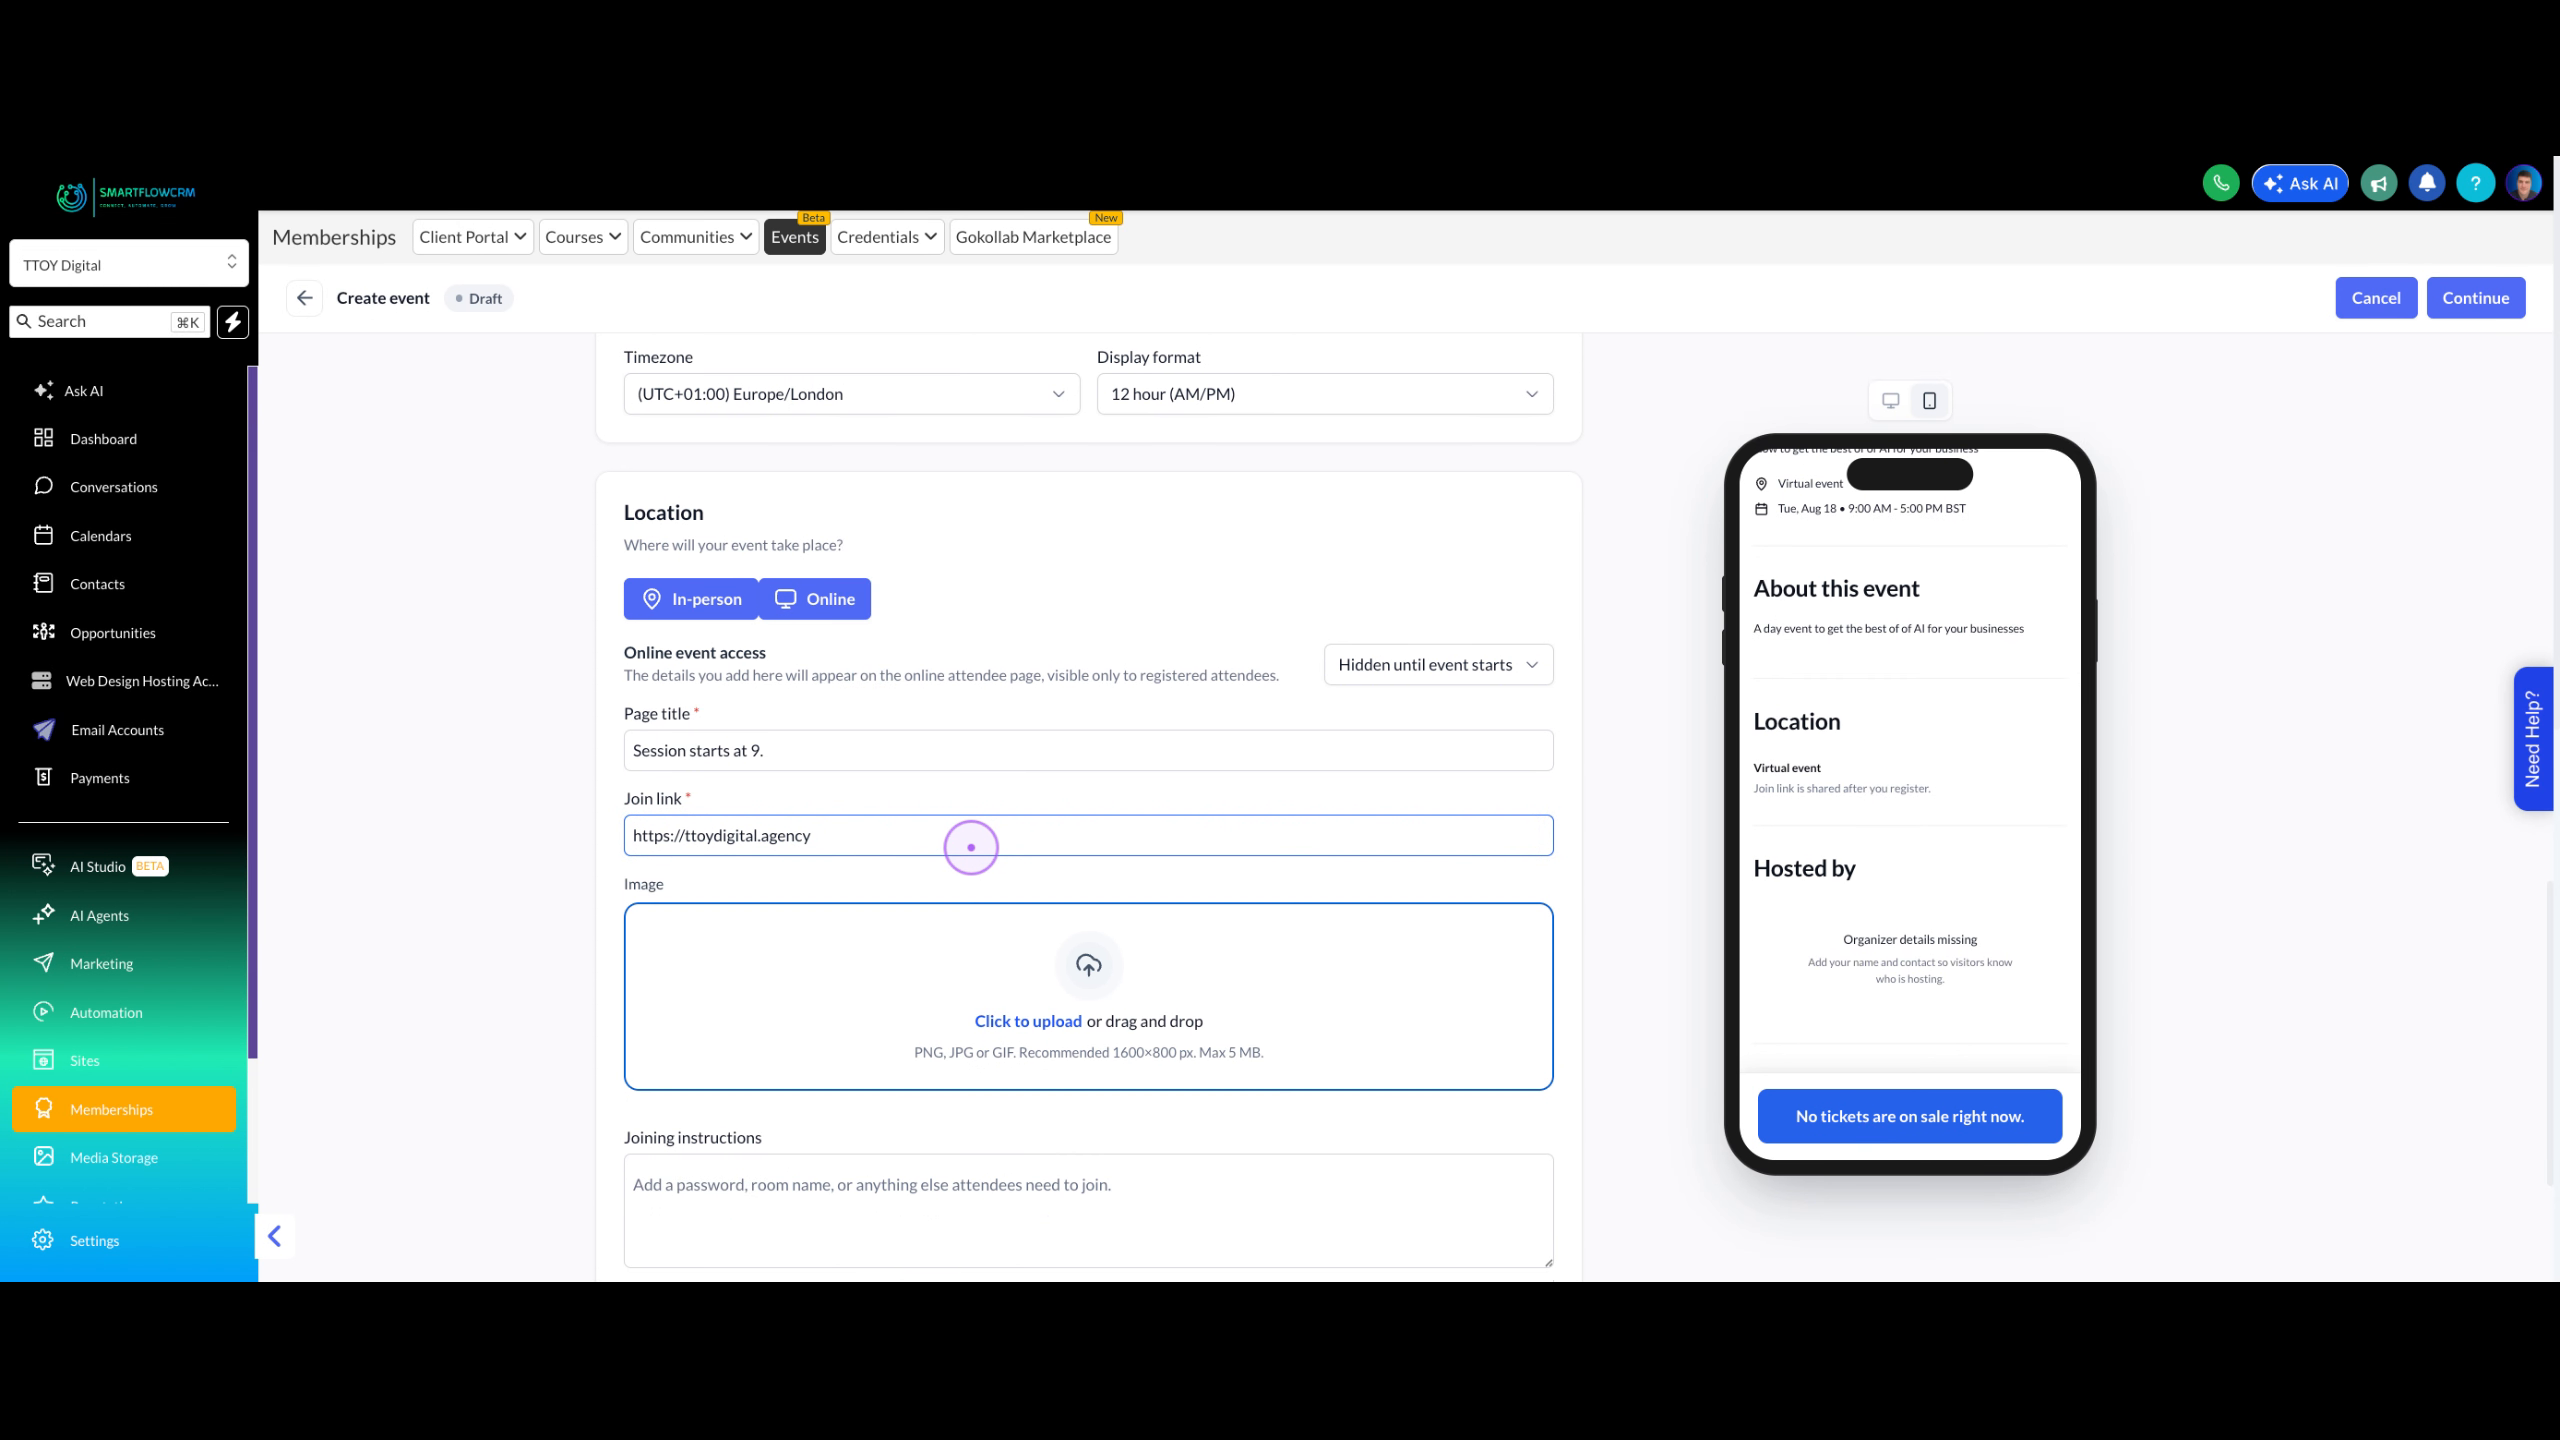
Enter the URL where attendees will join the event, such as a Zoom link or your custom virtual event URL.
Click the upload area for the online event page, select Upload from system, choose an image, and save it to display on the attendee access page.
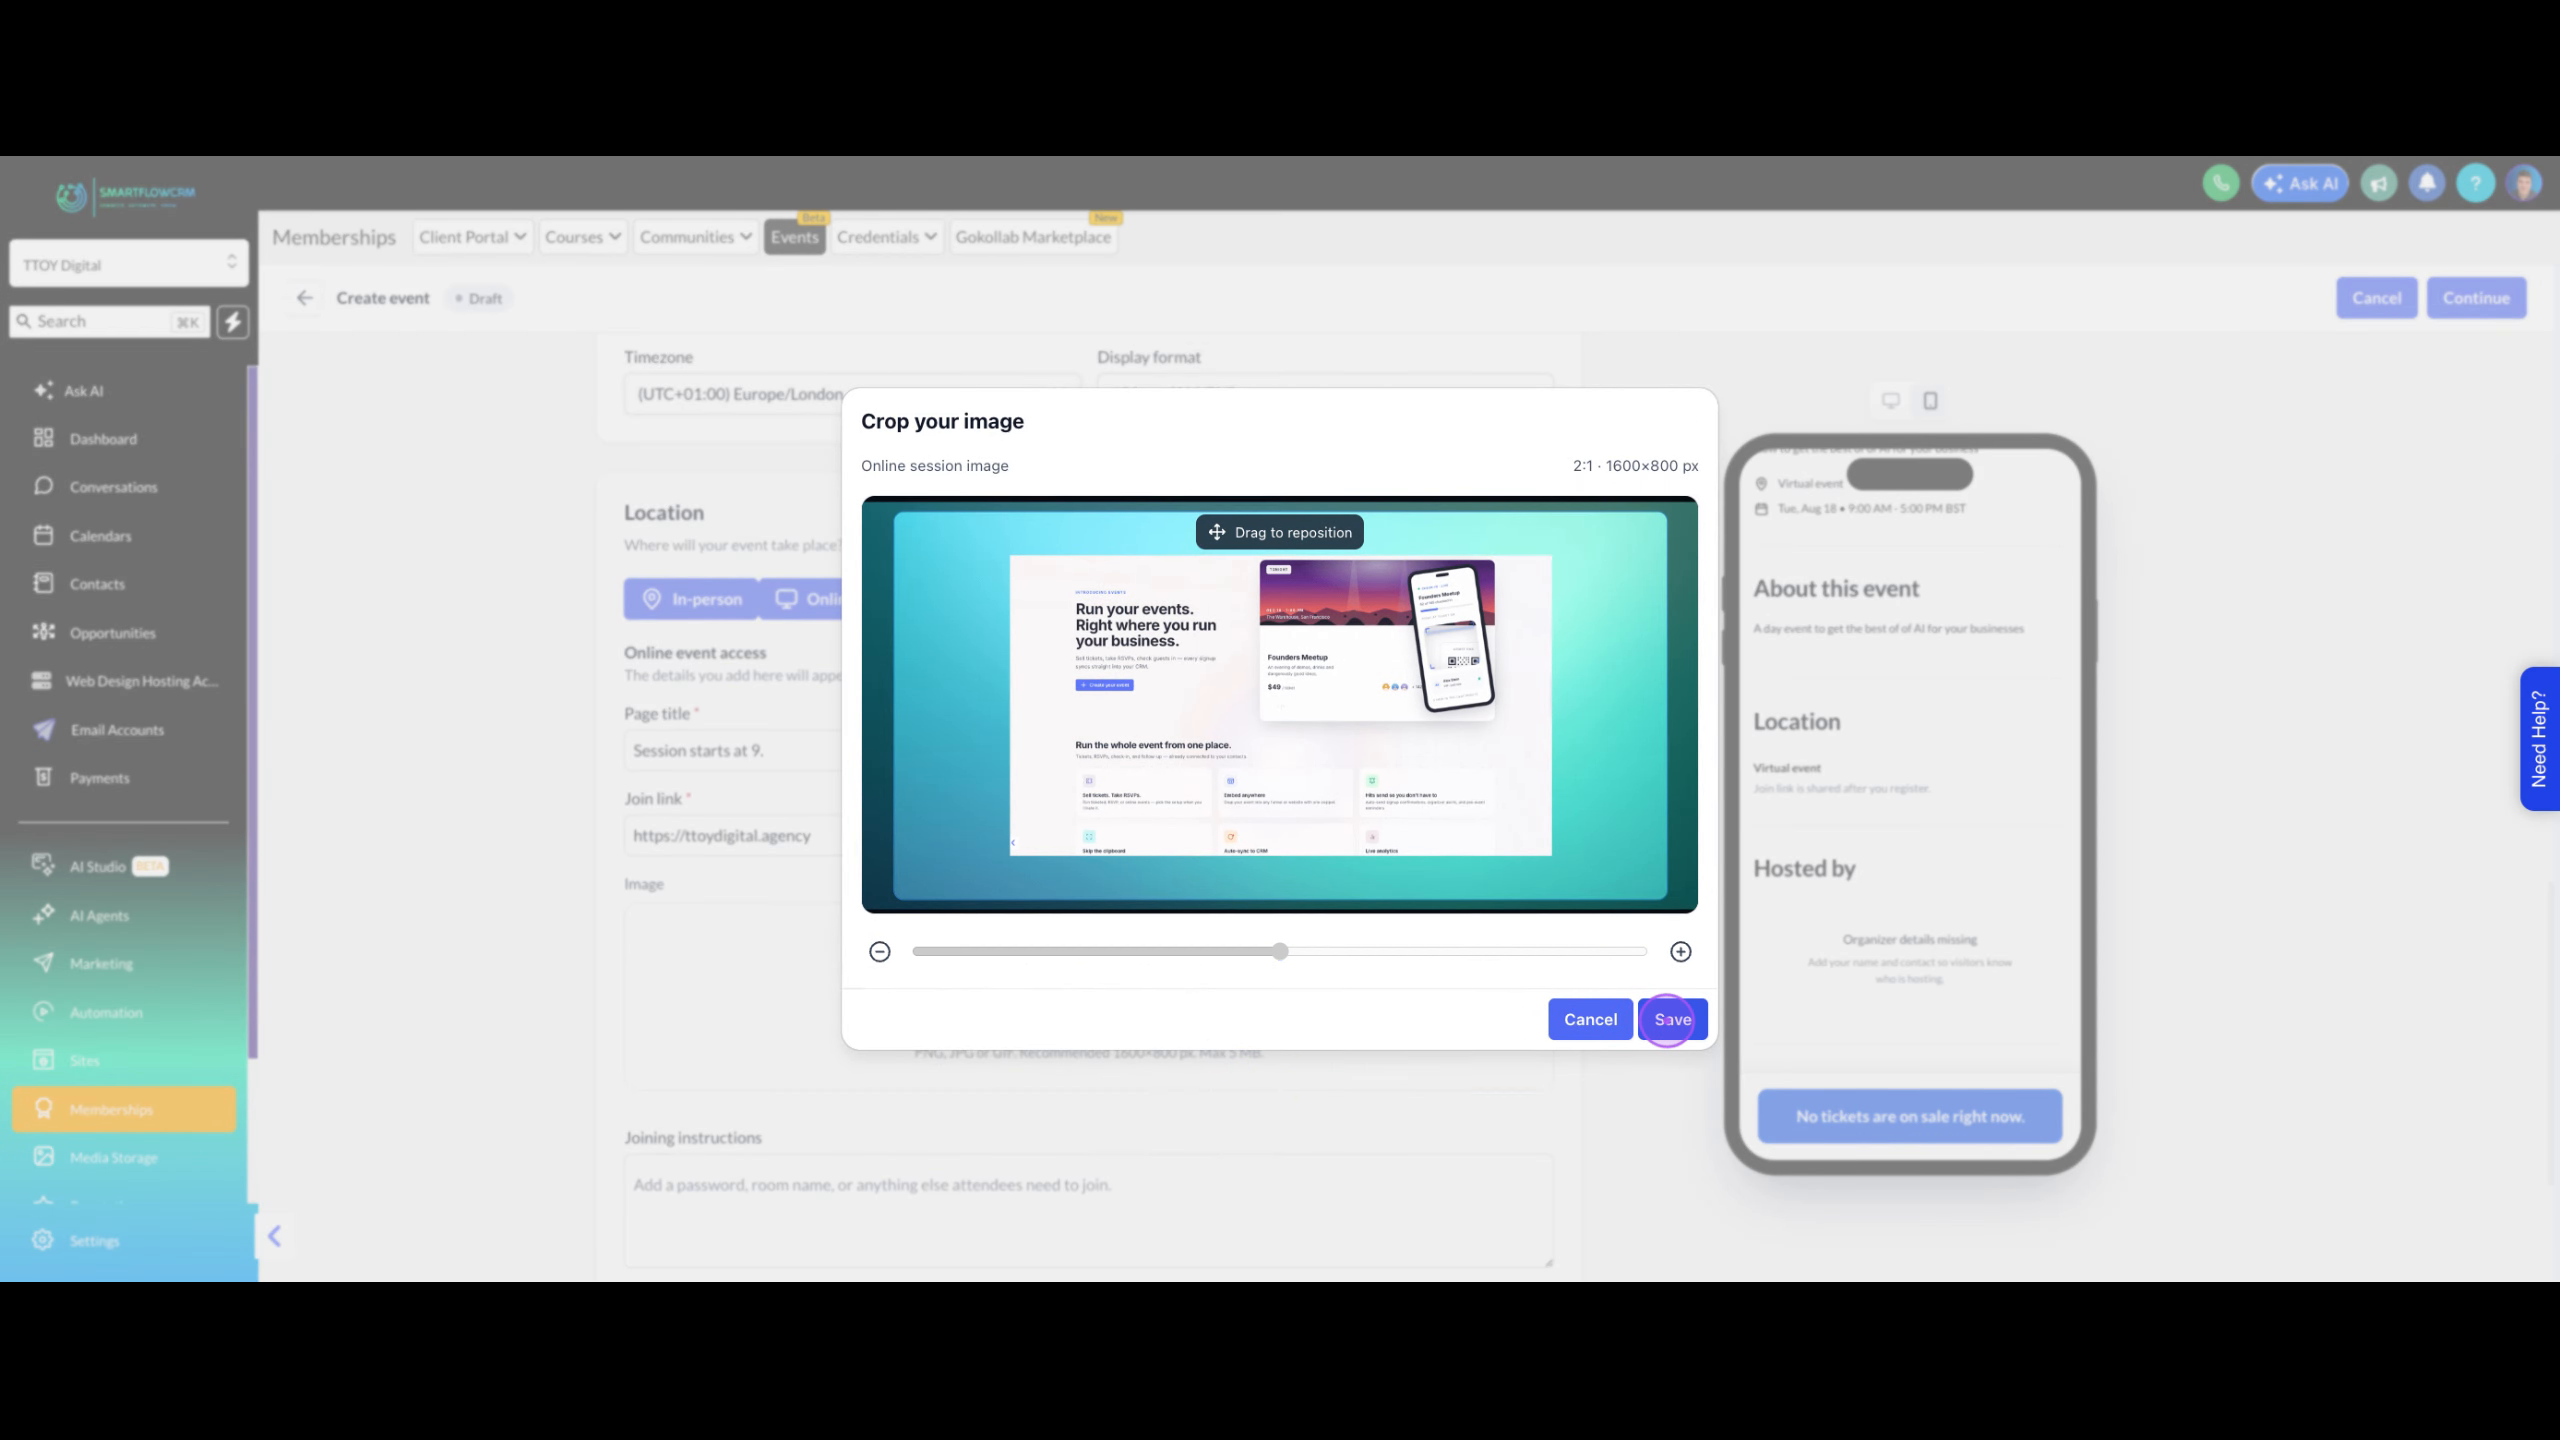
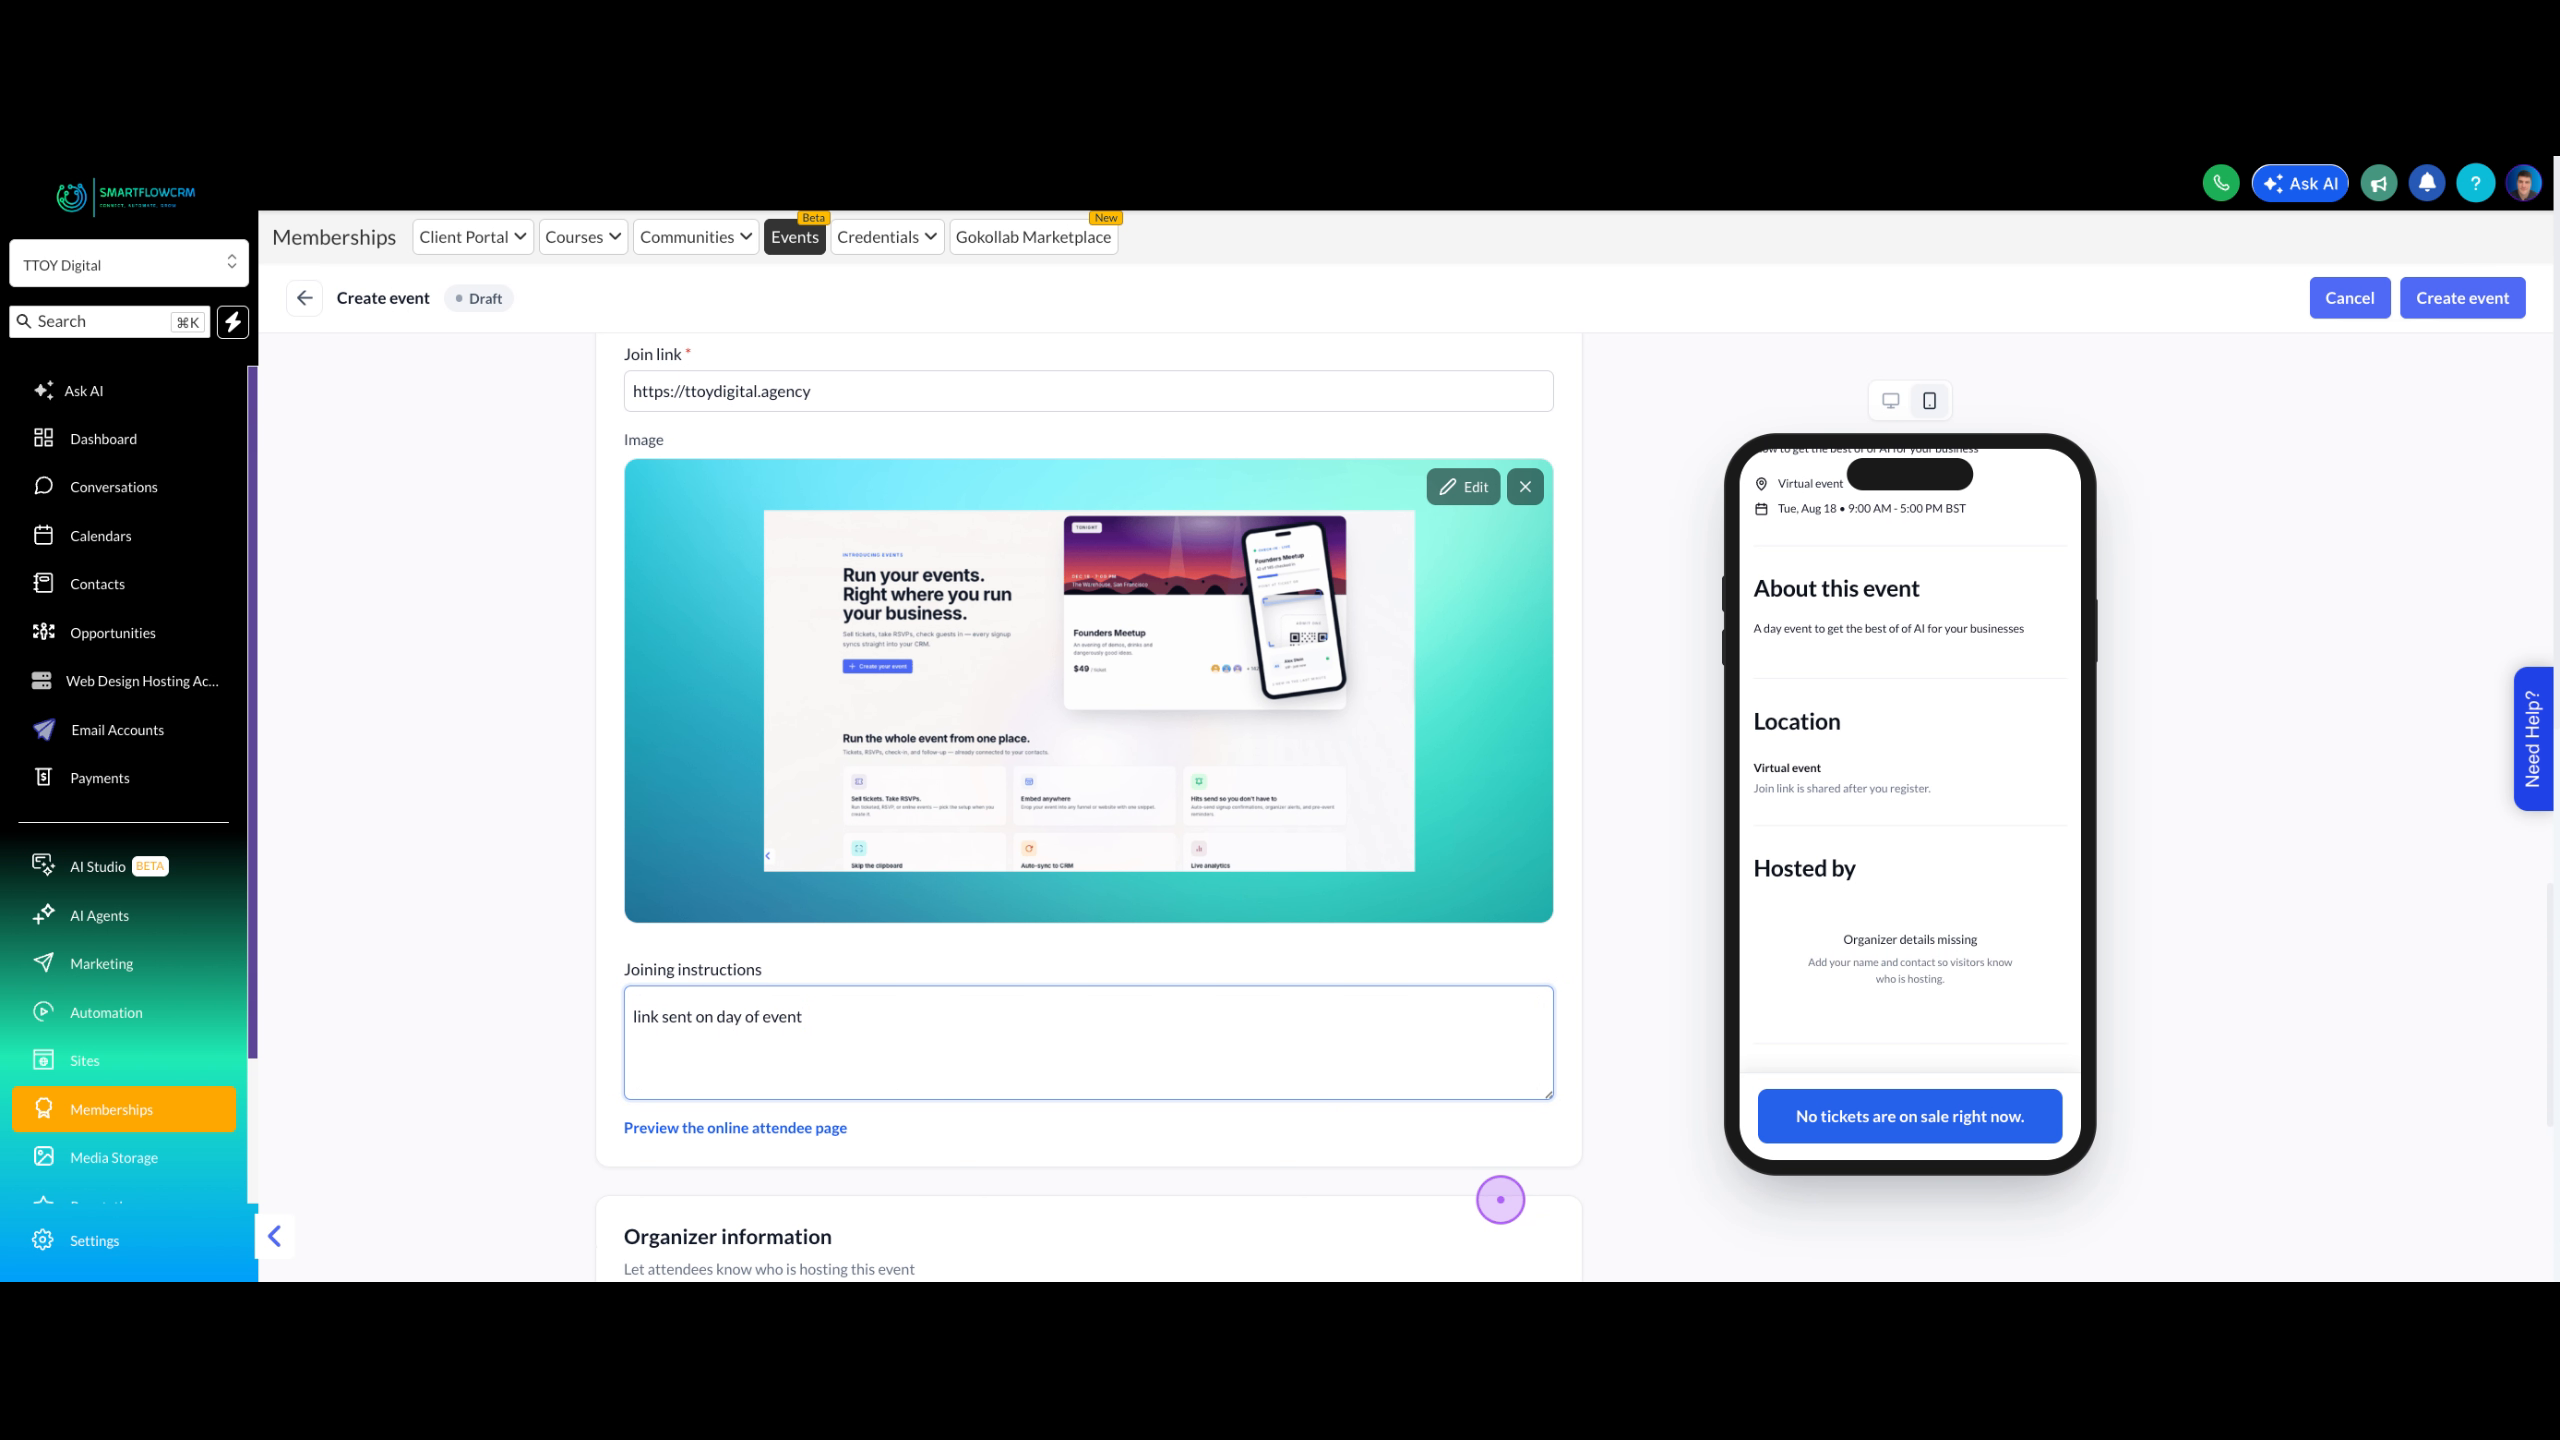
Enter any special instructions attendees need (passwords, room names, or timing details) in the Joining instructions field, then click Continue.
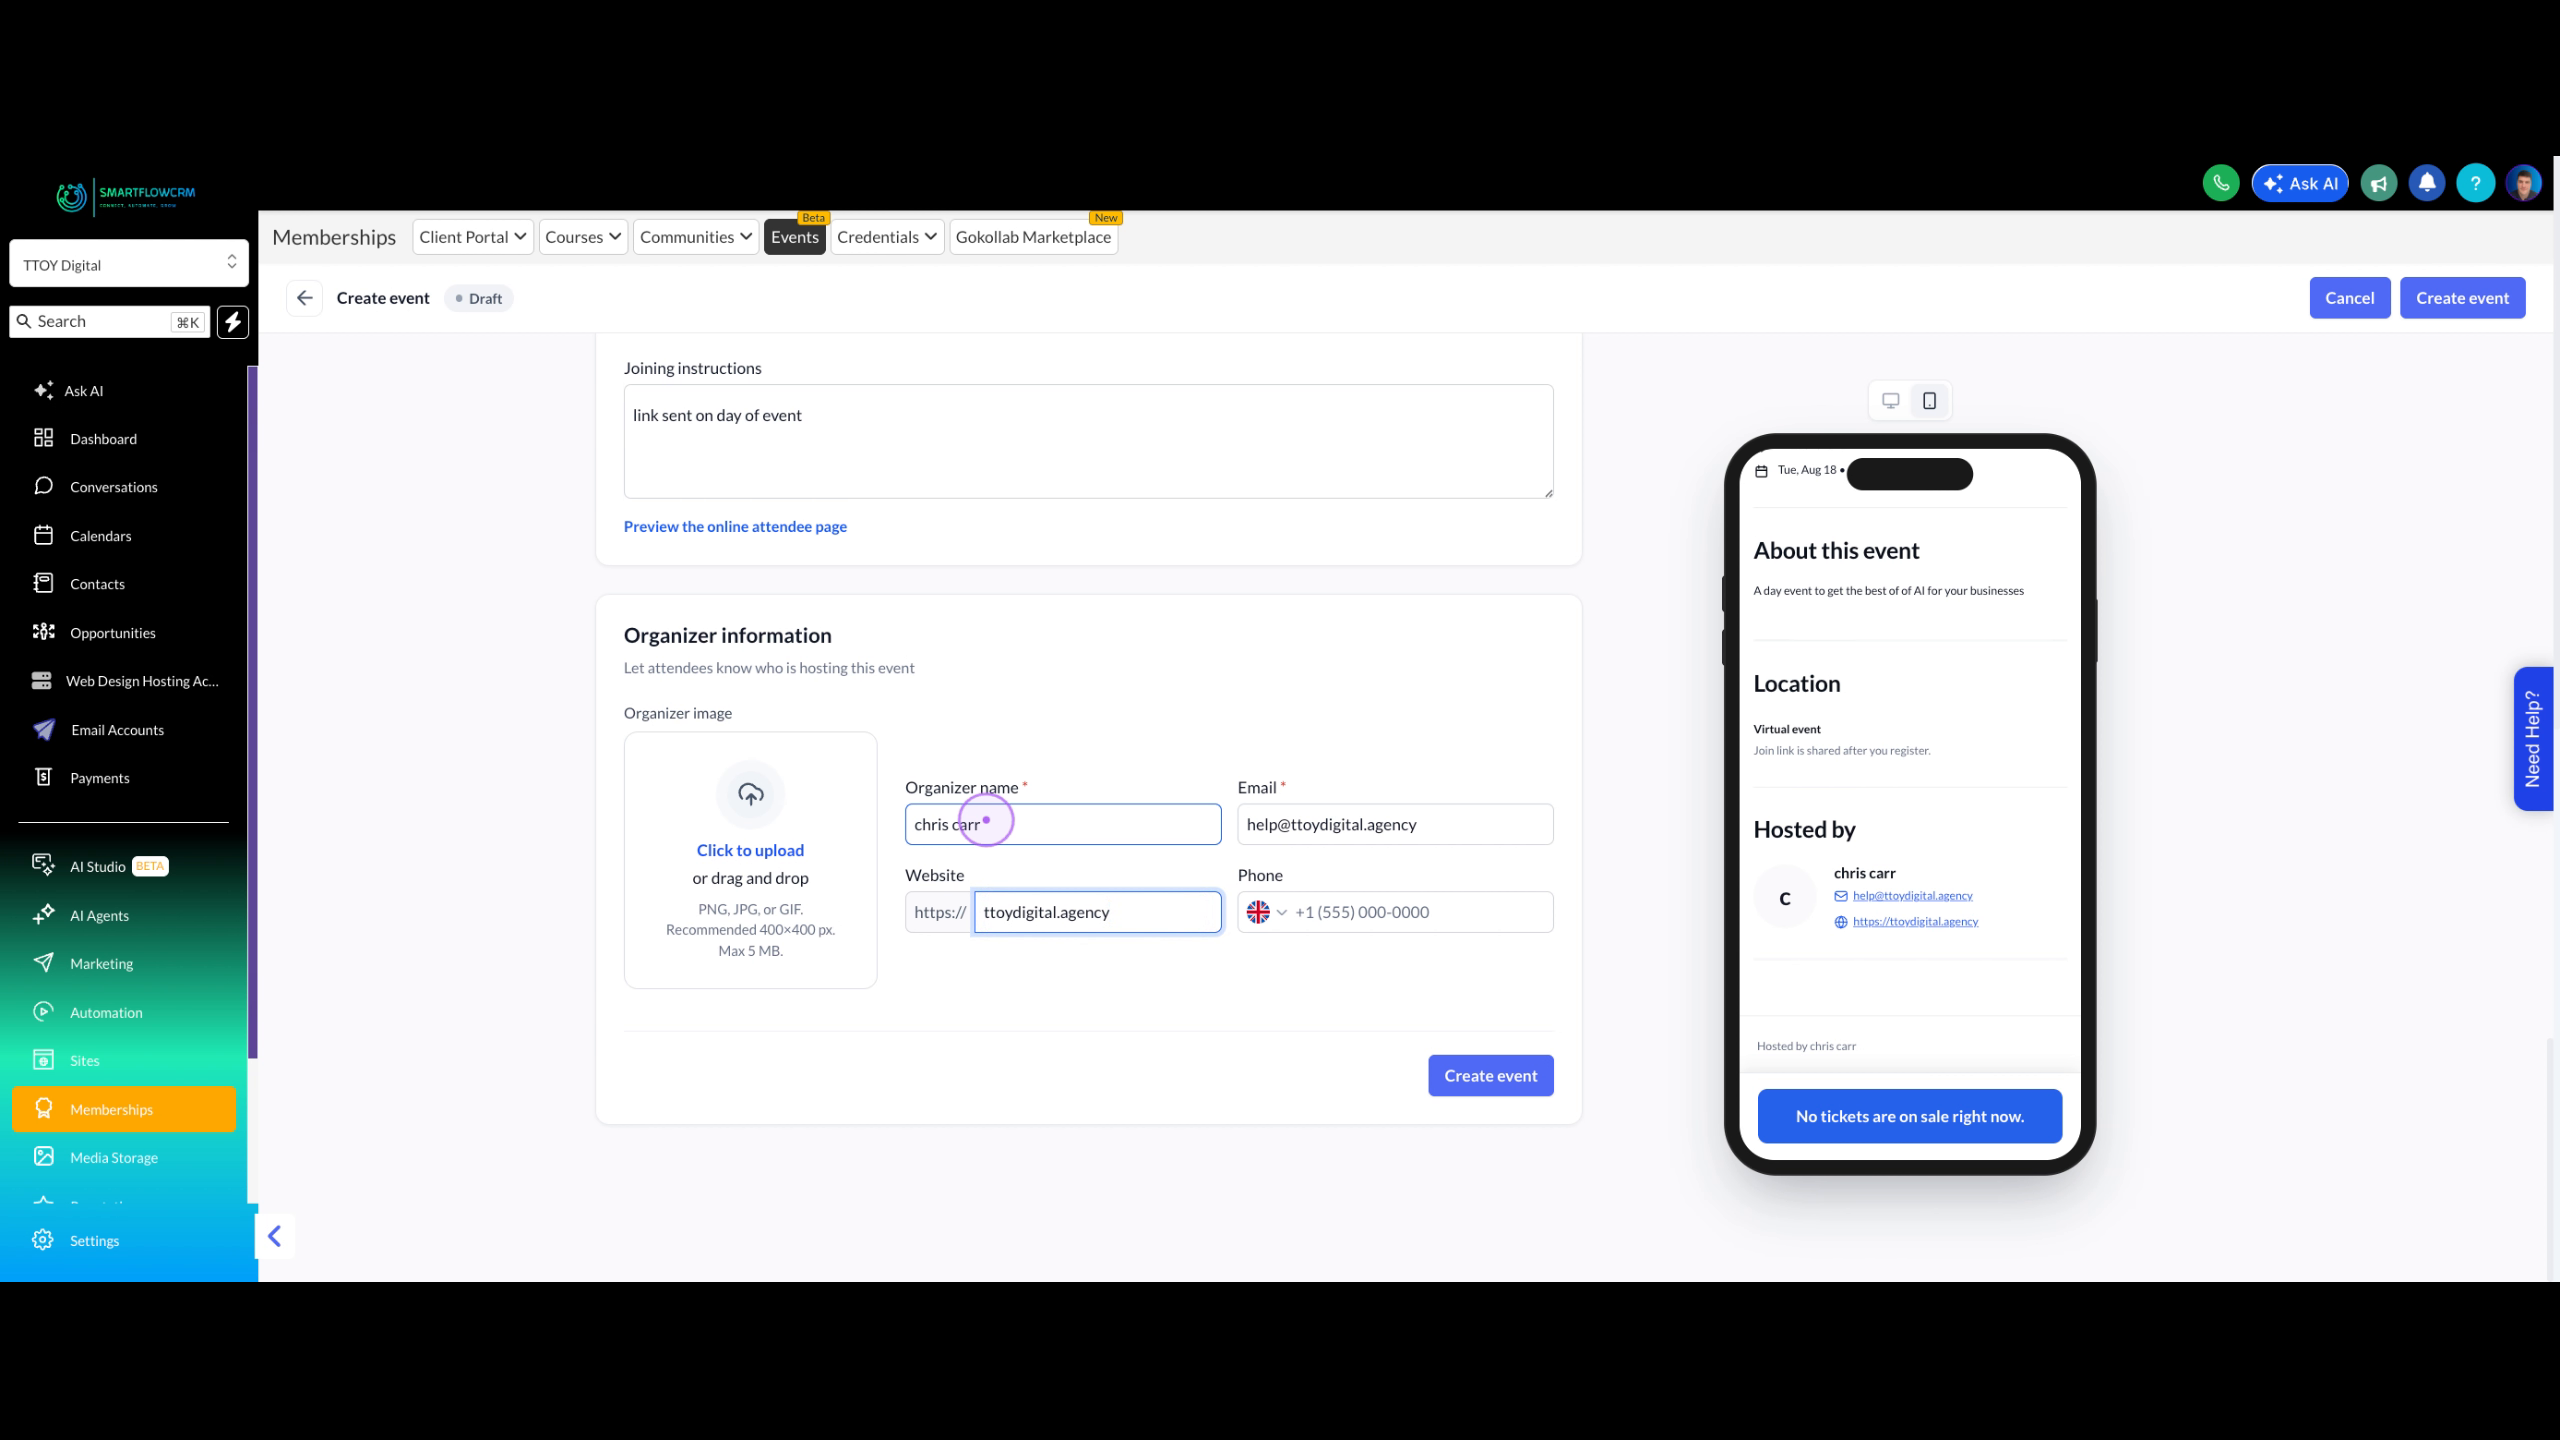
Fill in the Organiser name, Email, and Website fields to let attendees know who is hosting the event and how to contact them.
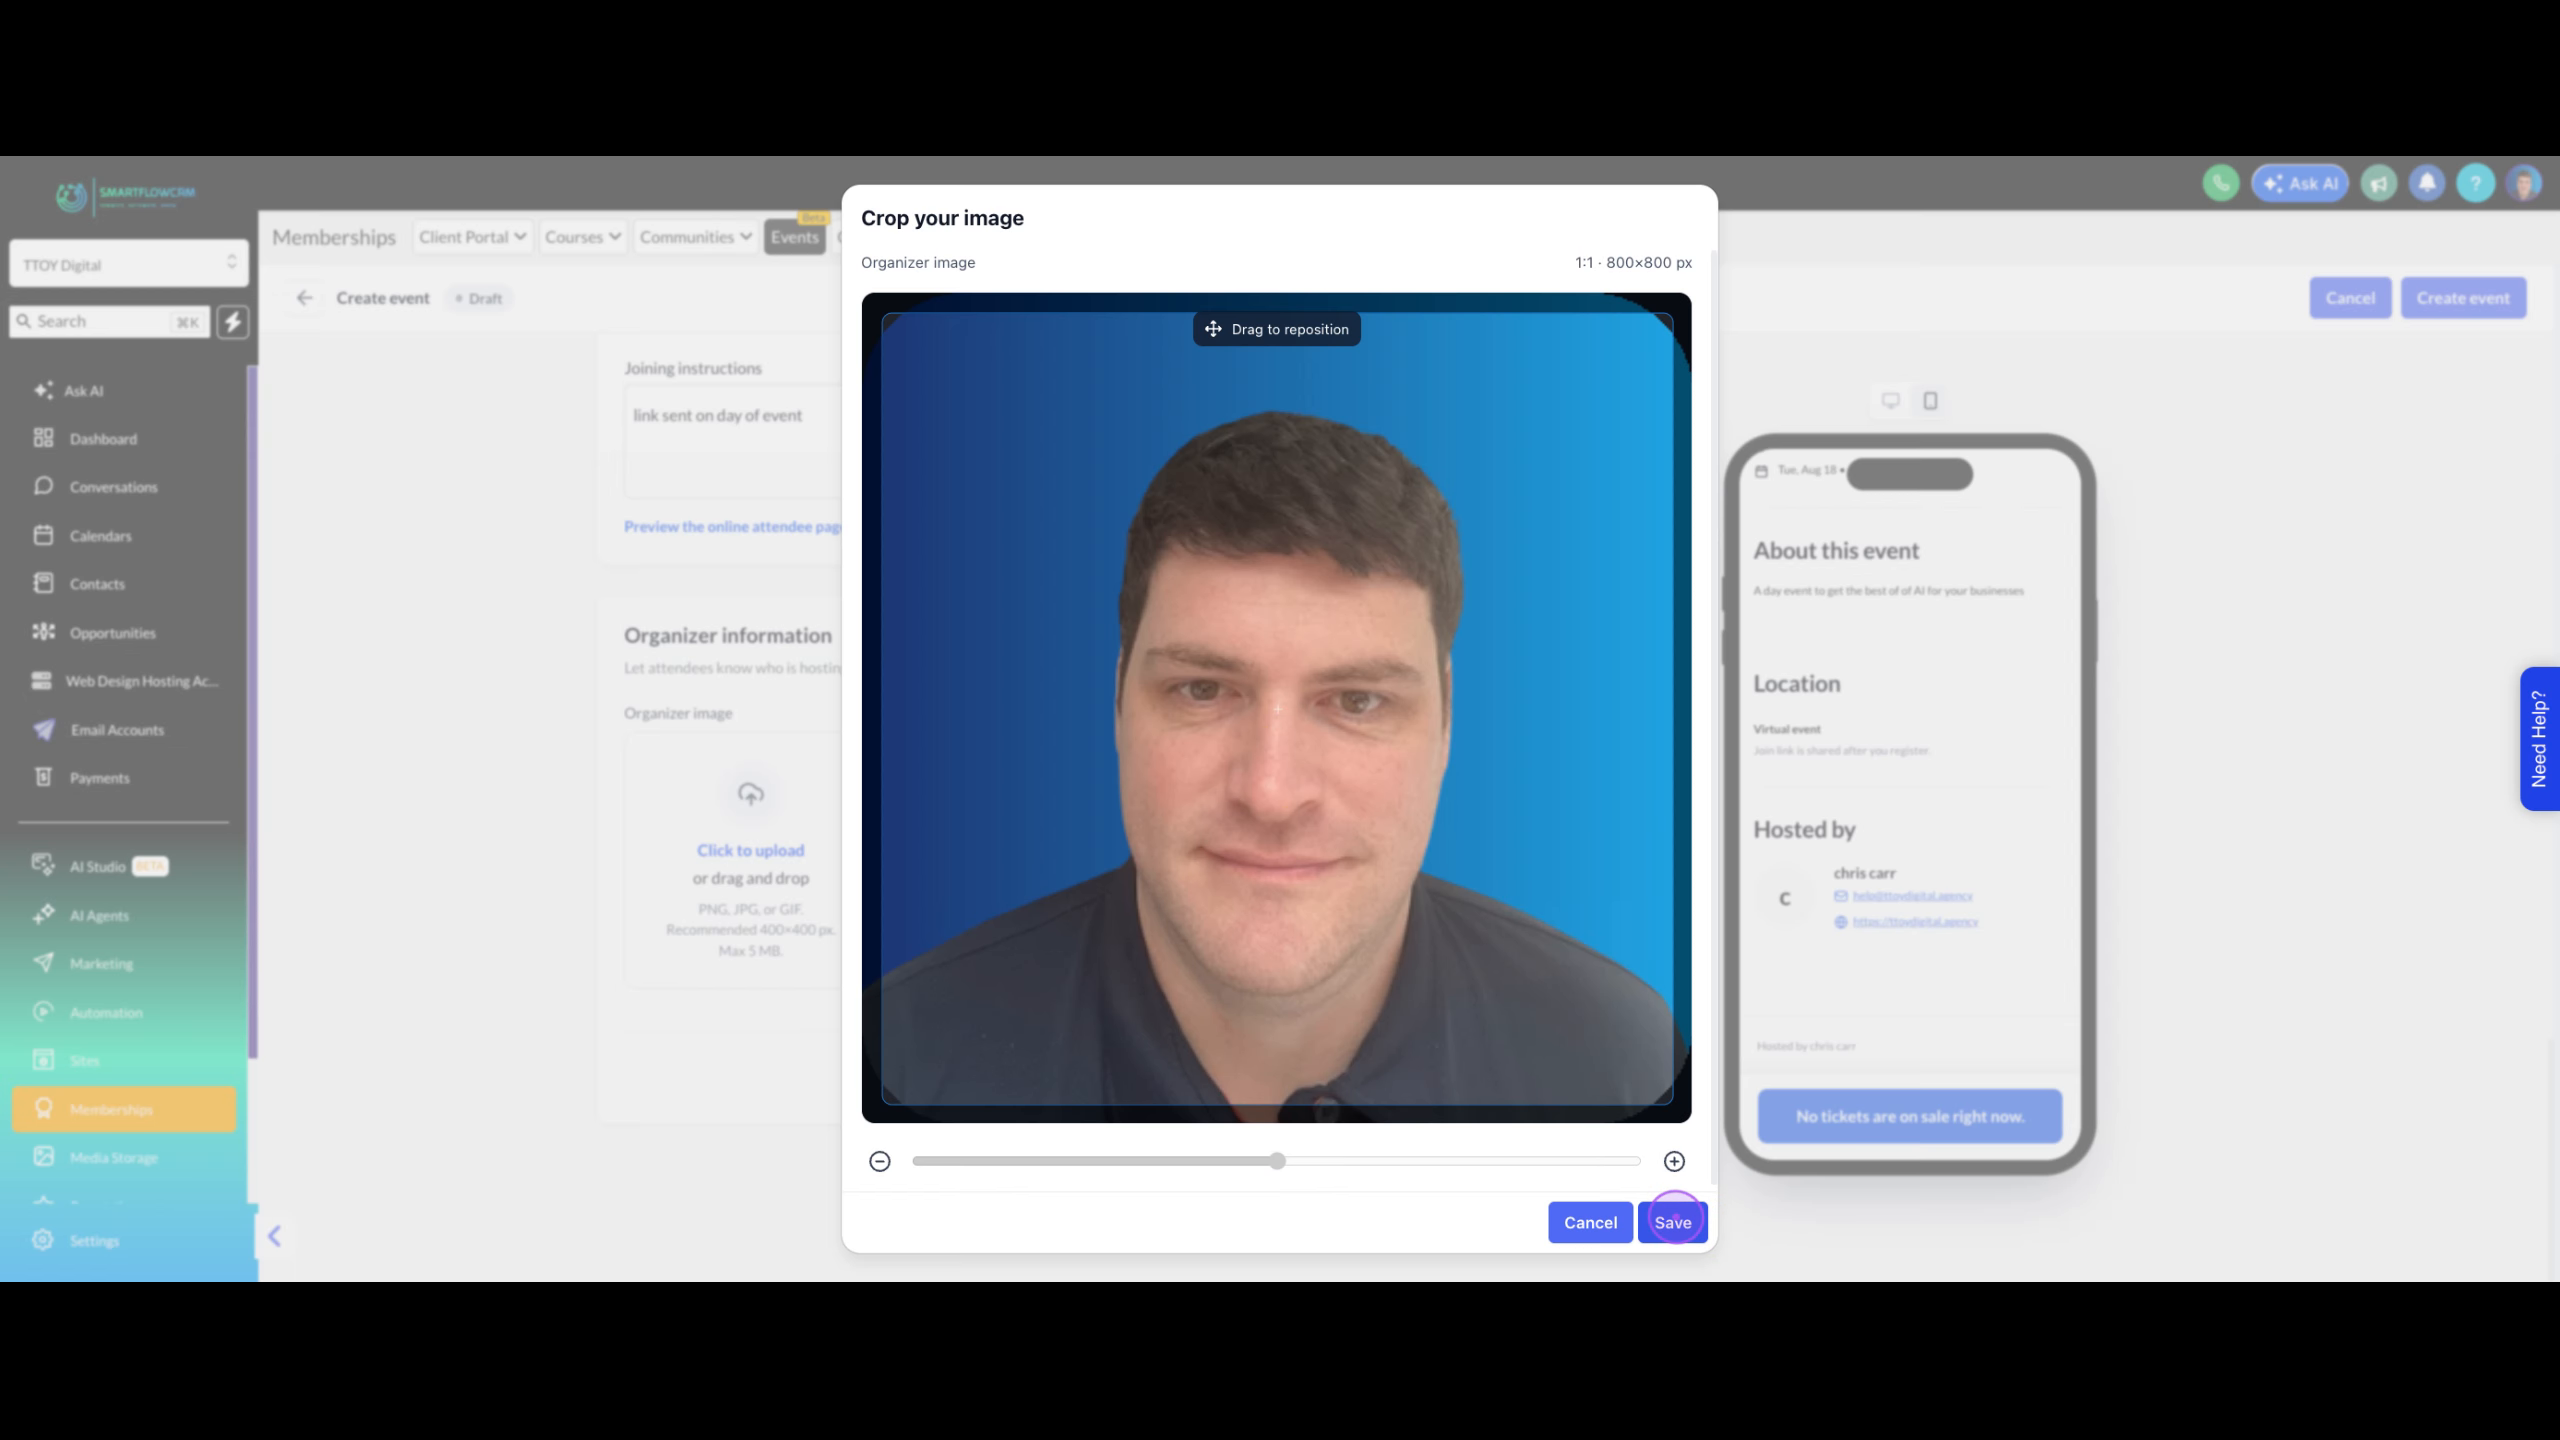
Click the organiser image upload area, select Choose from media storage or upload your own, pick a profile photo, insert it, and save to add a personal touch to your event listing.
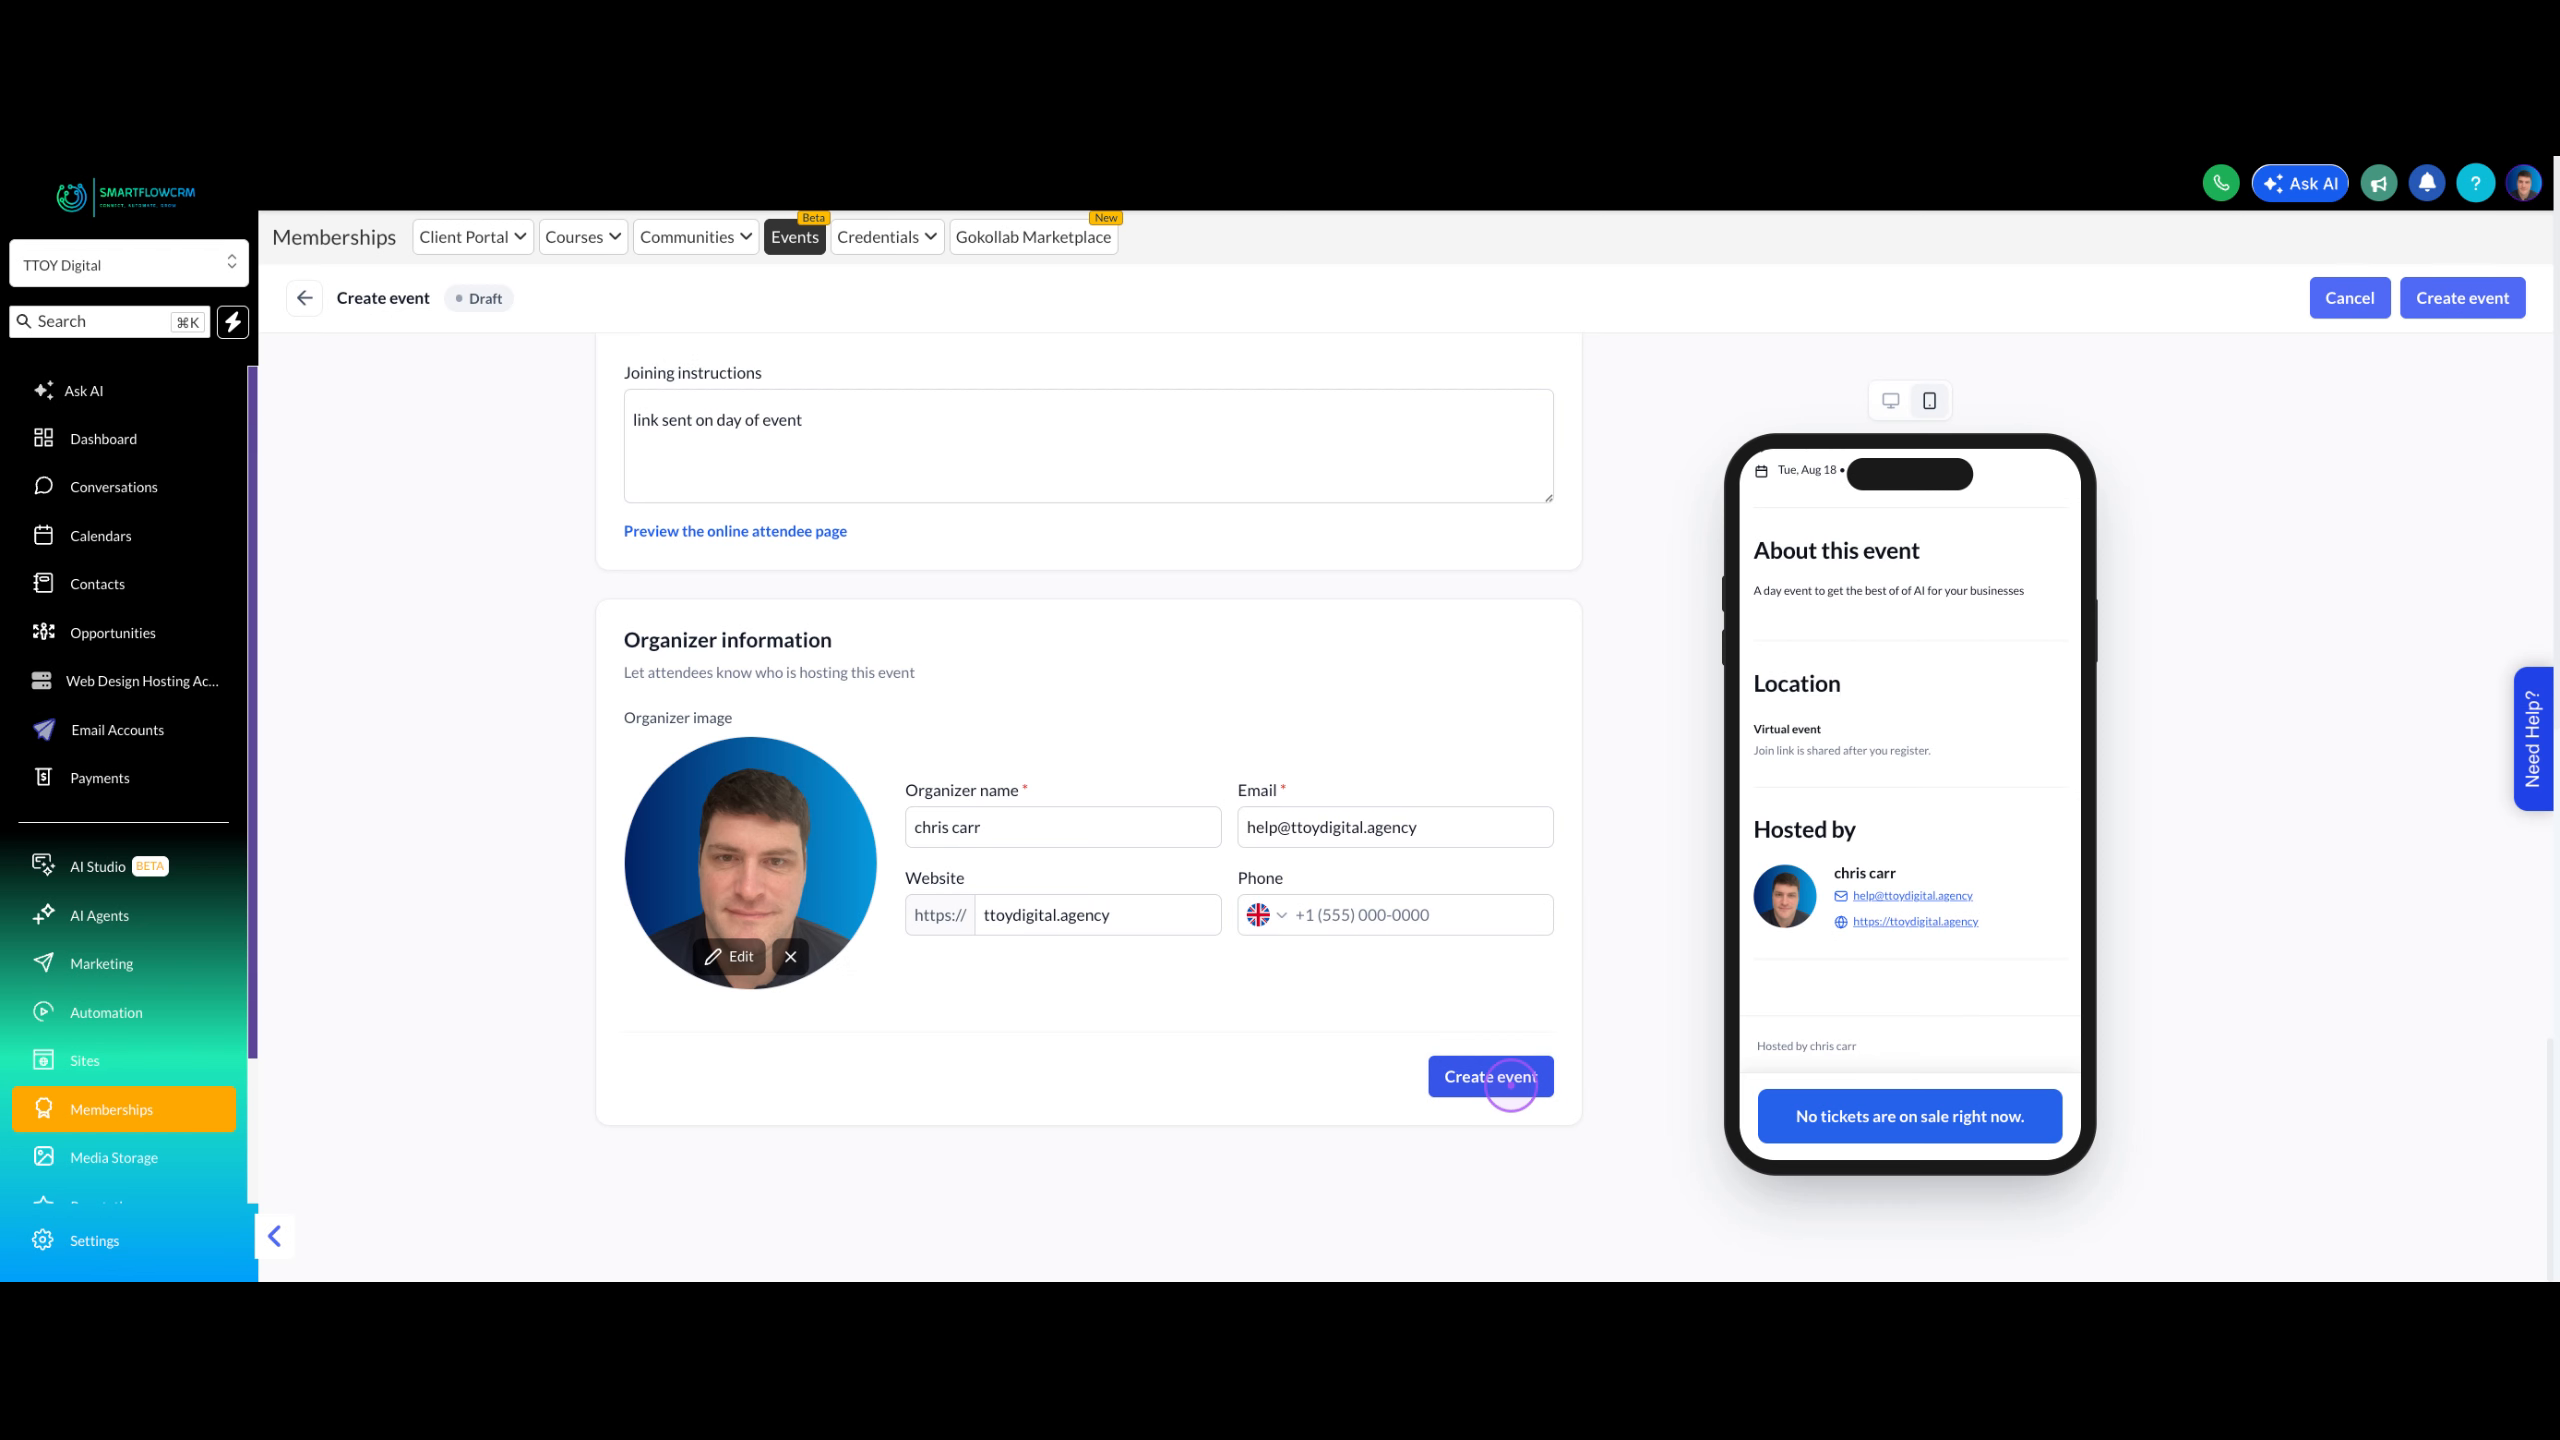
Review all entered details in the preview panel on the right, then click Create event to finalise and publish your ticketed event.