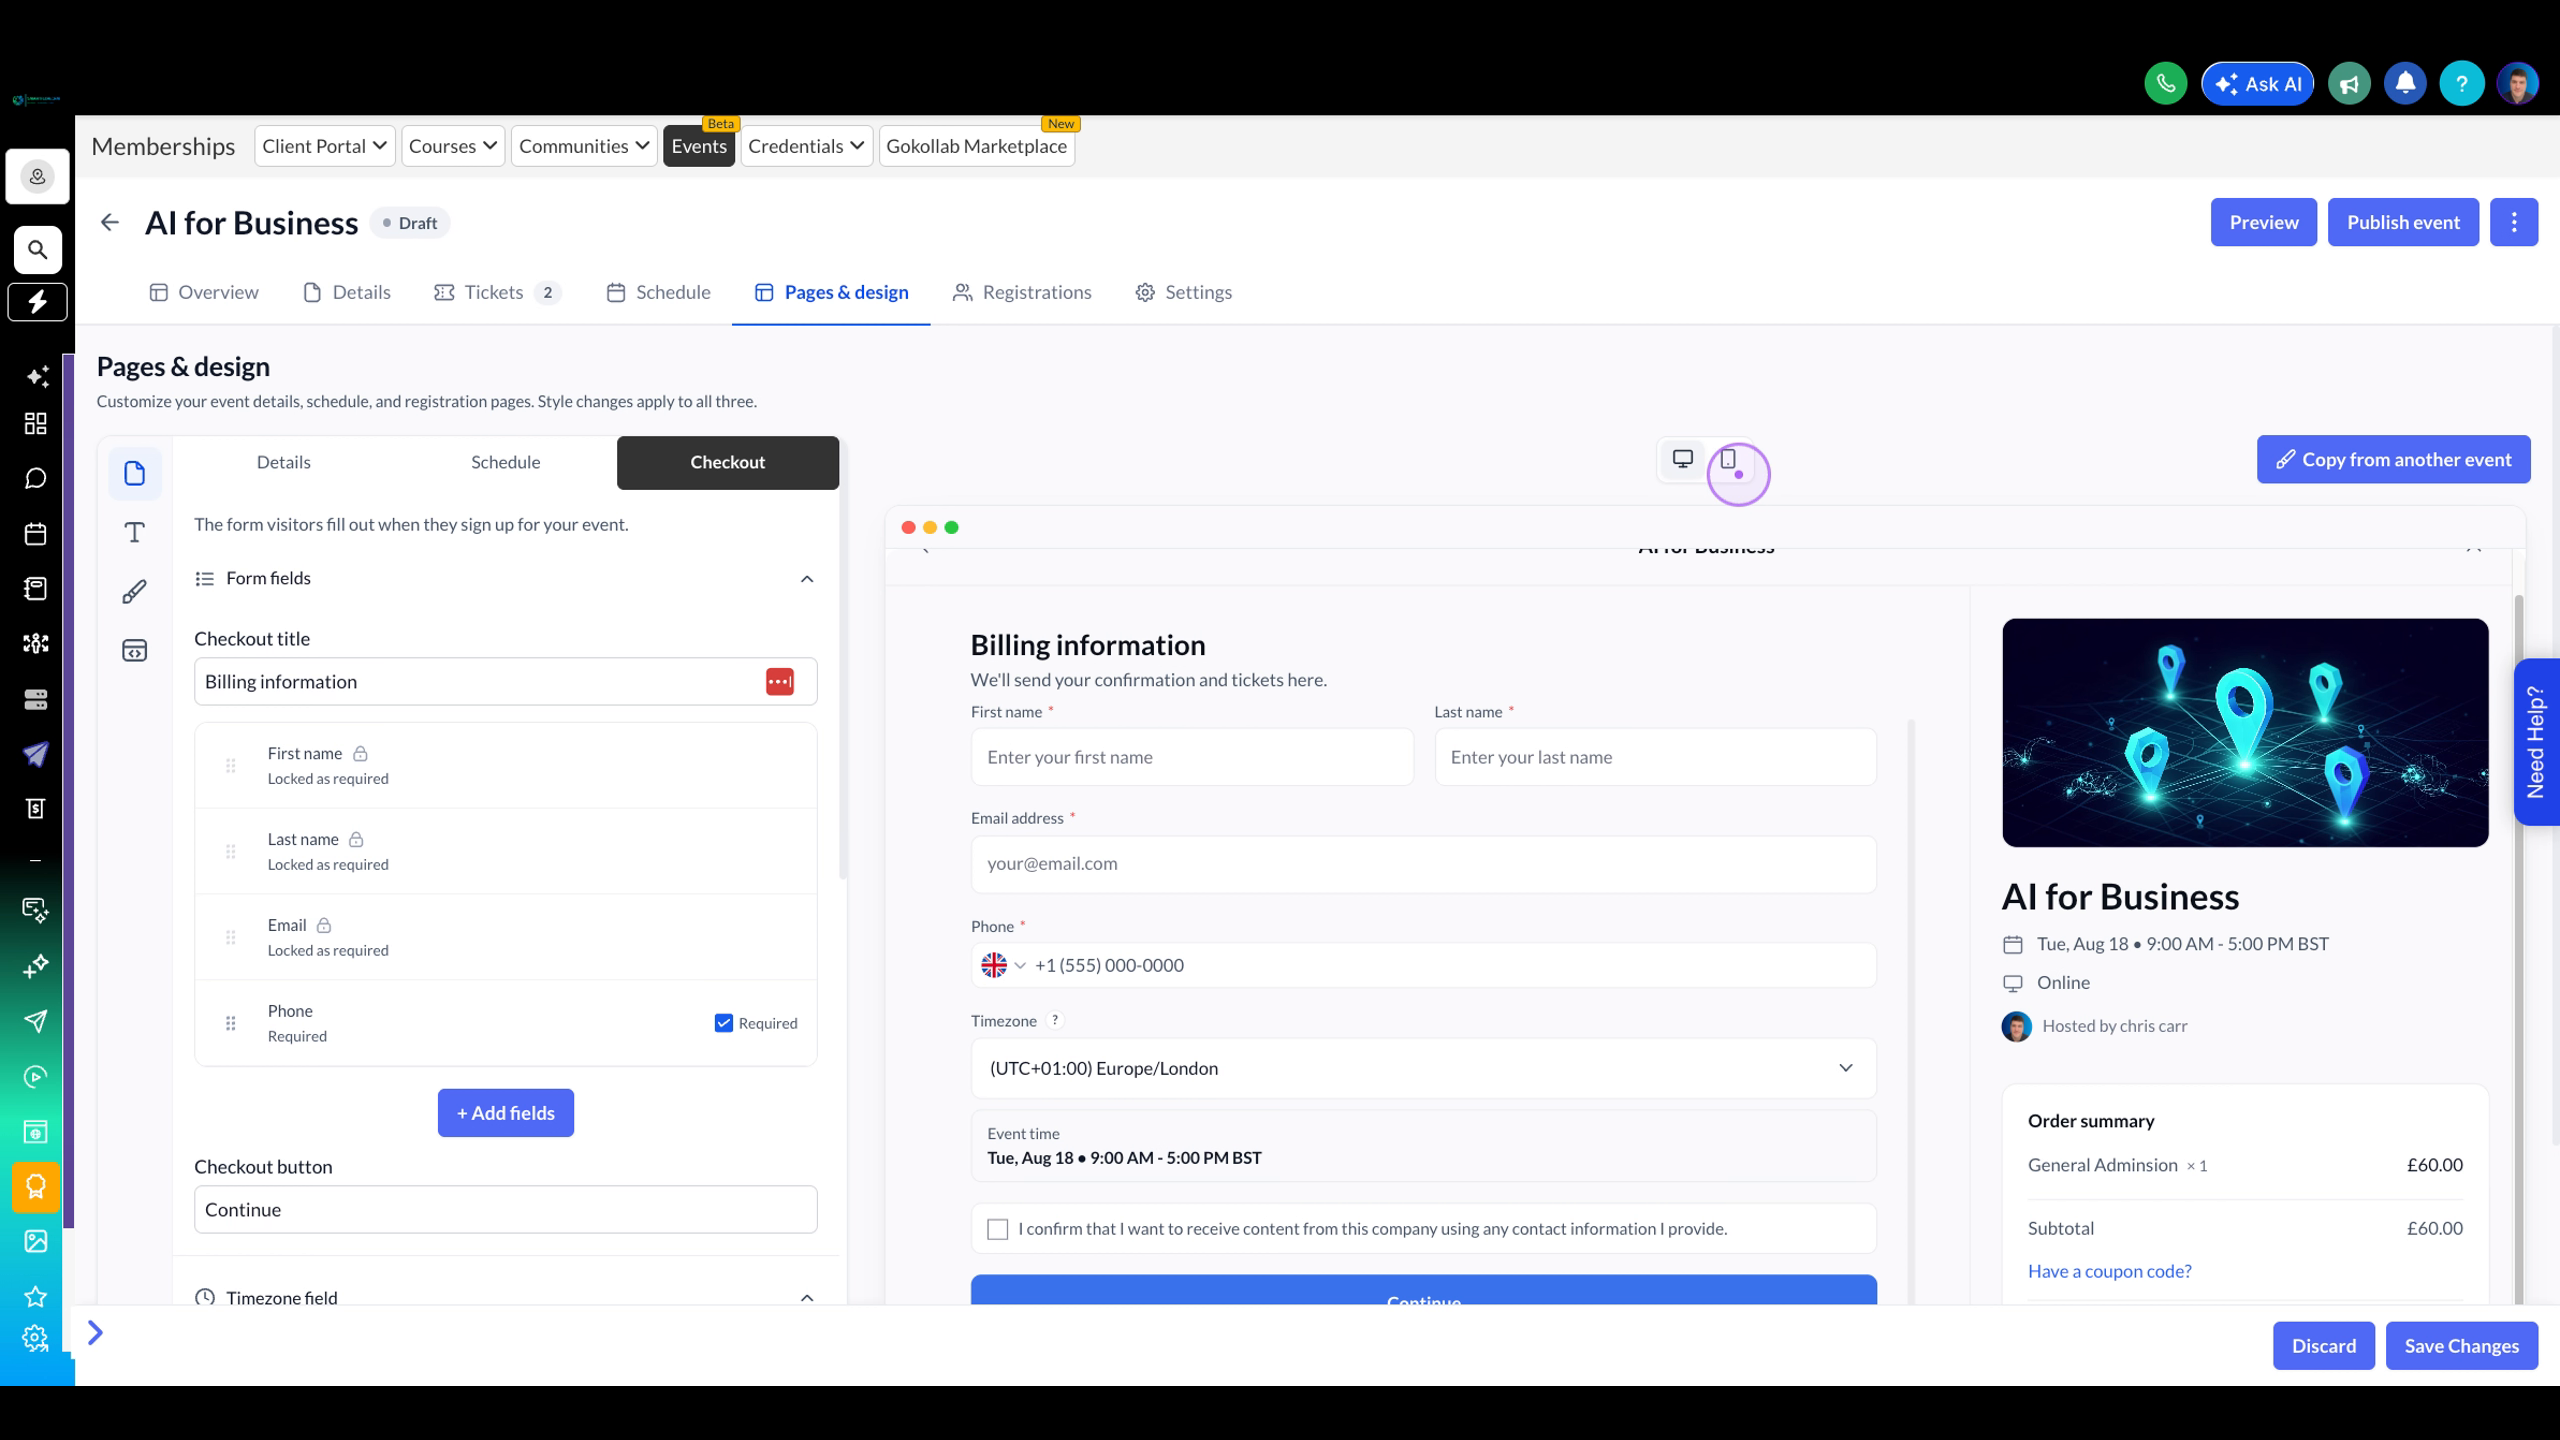
This guide walks you through customising your event's public pages, including the event details, the post-registration schedule, and the checkout registration form.
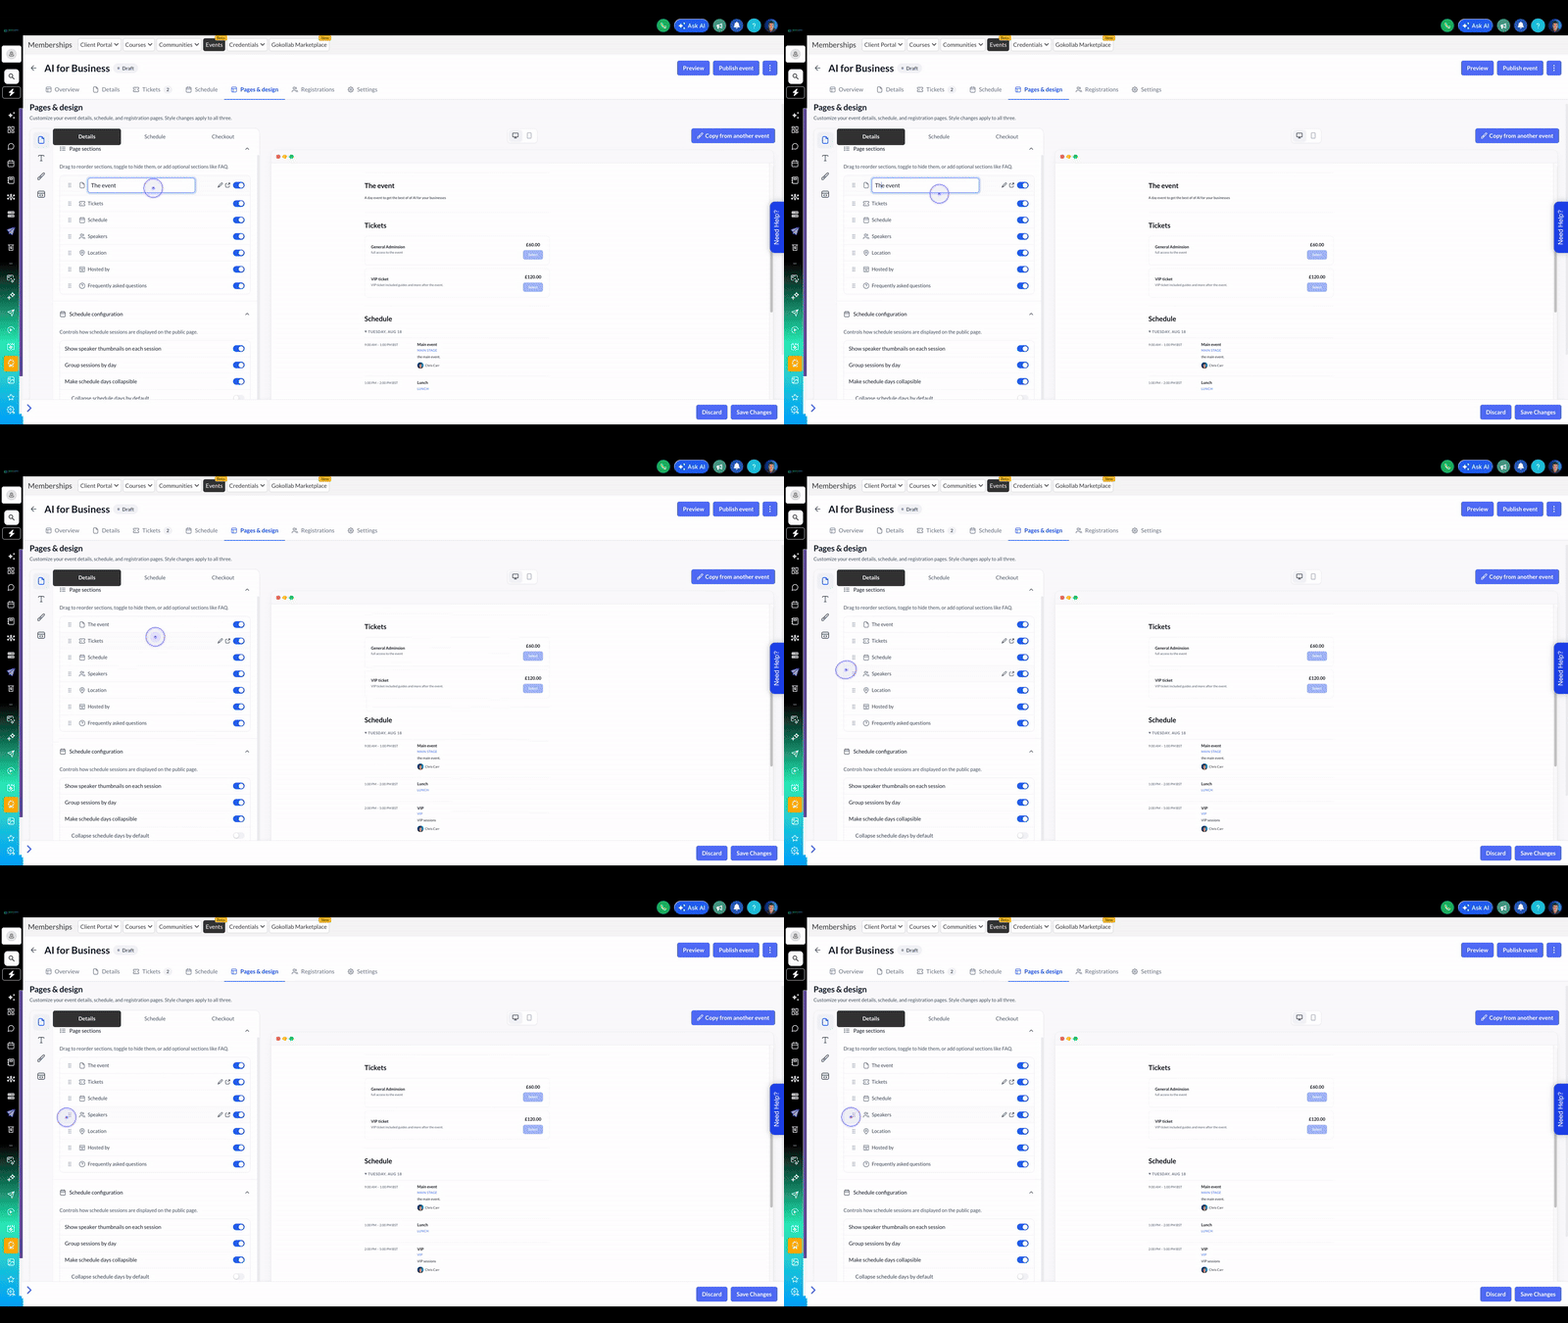
To change the title of any section, click the edit icon next to the section name in the left sidebar. Clear the existing text and type your new title, which will update in real-time on the event preview.
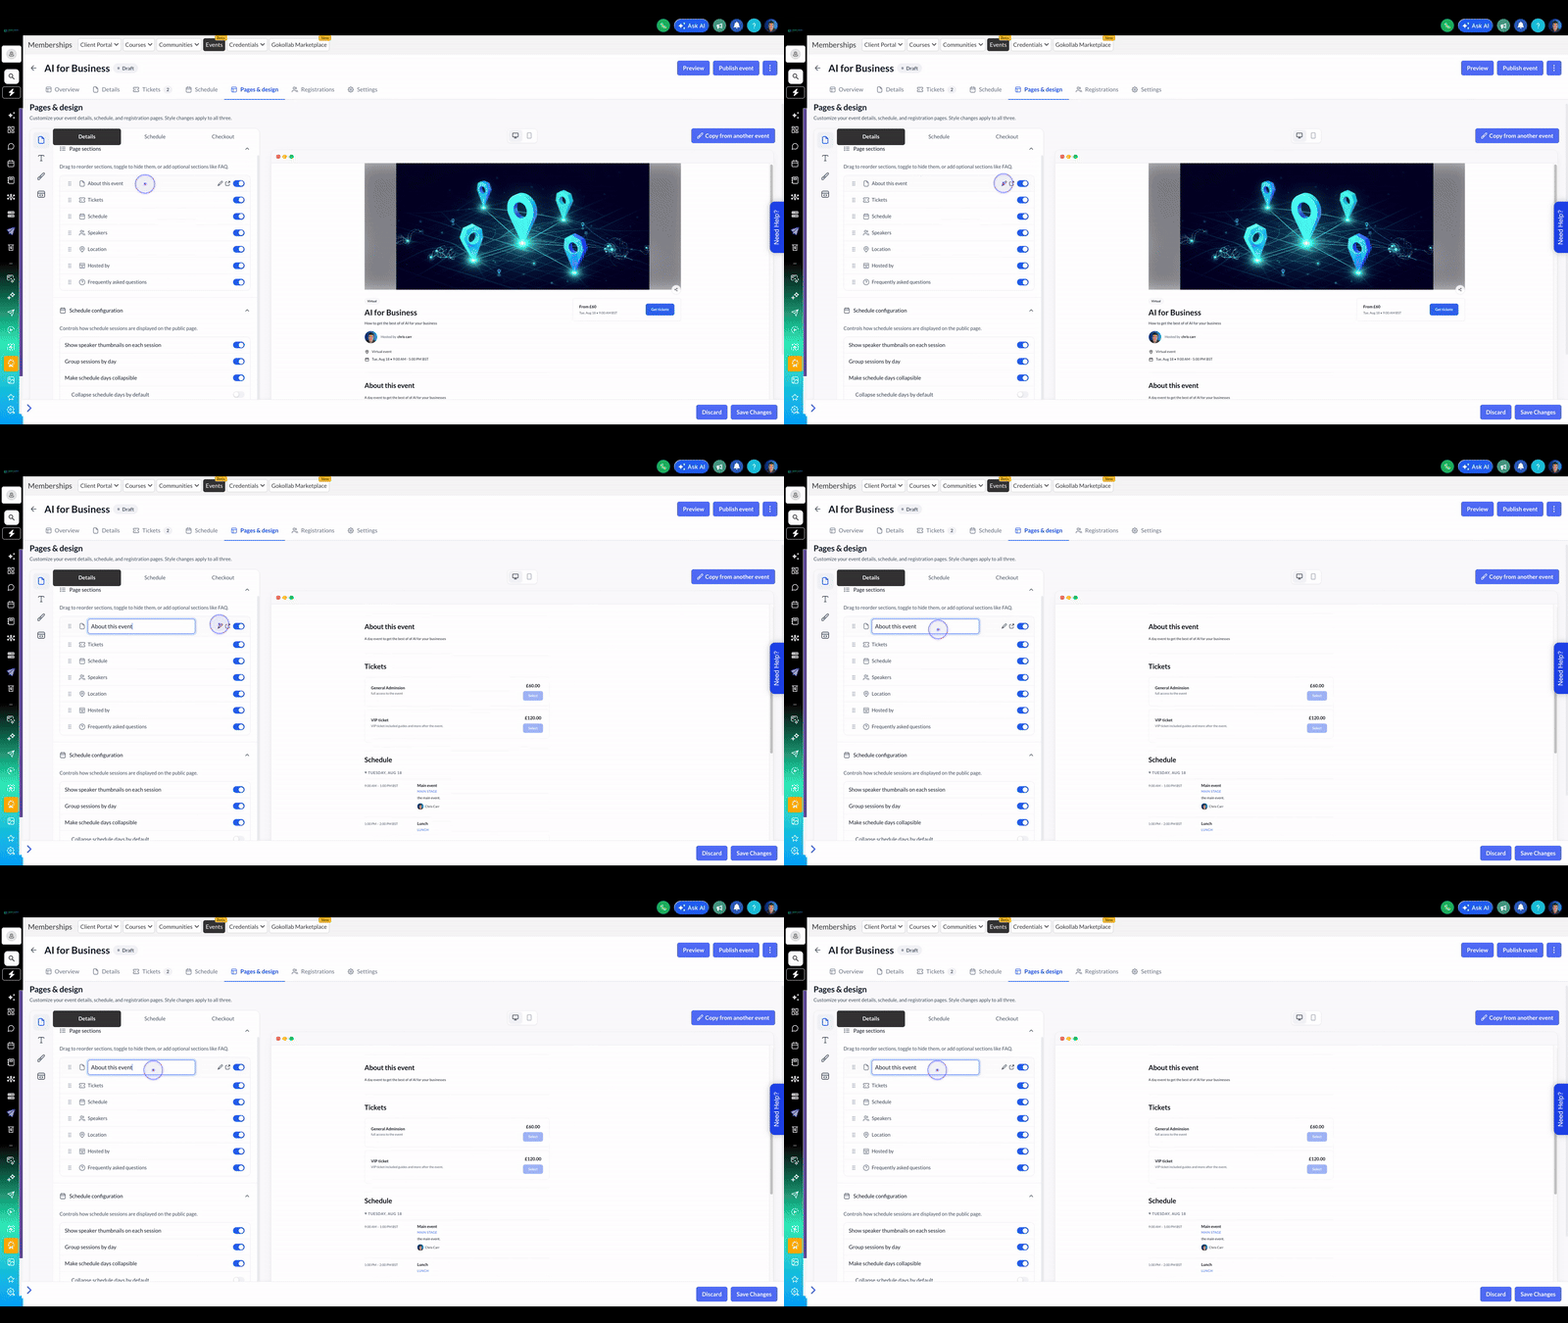
You can rearrange the order of sections on your public event page by dragging and dropping them in the left sidebar. Click and hold the section handle, then move it to your desired position.
Use the toggle switches next to each section to show or hide specific content blocks like Speakers, Schedule, or Hosted by on the public event page.
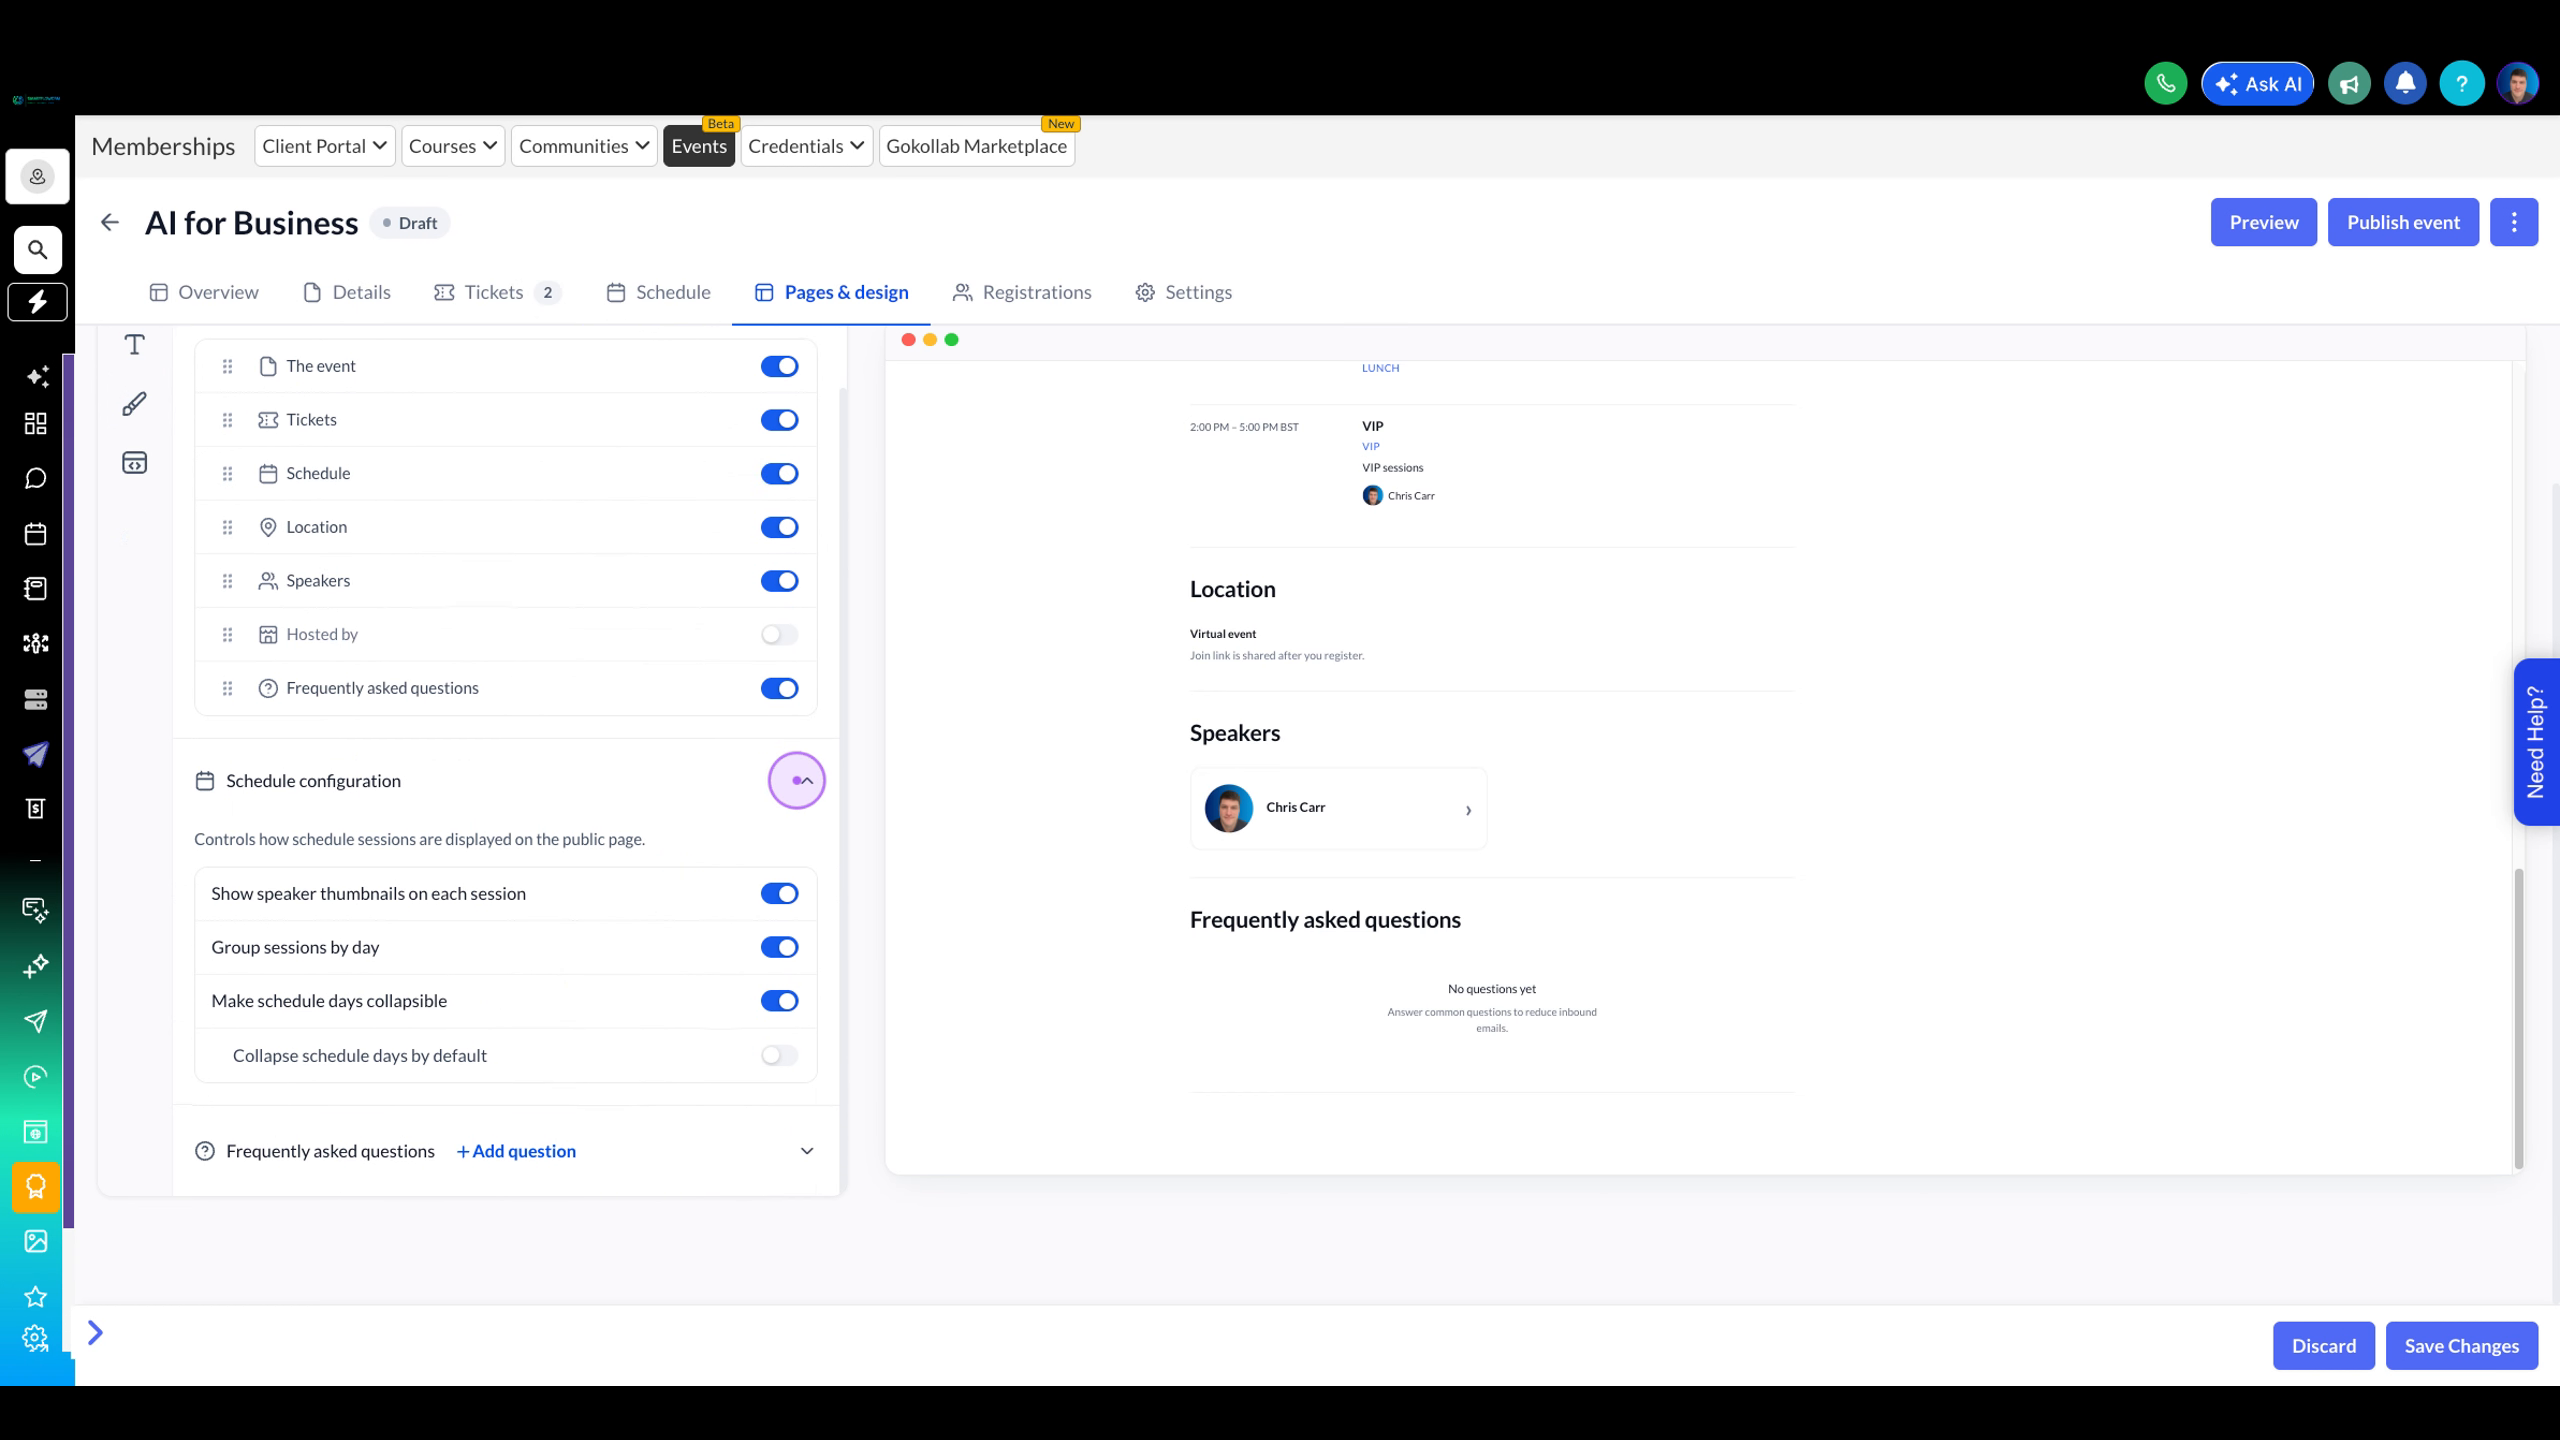
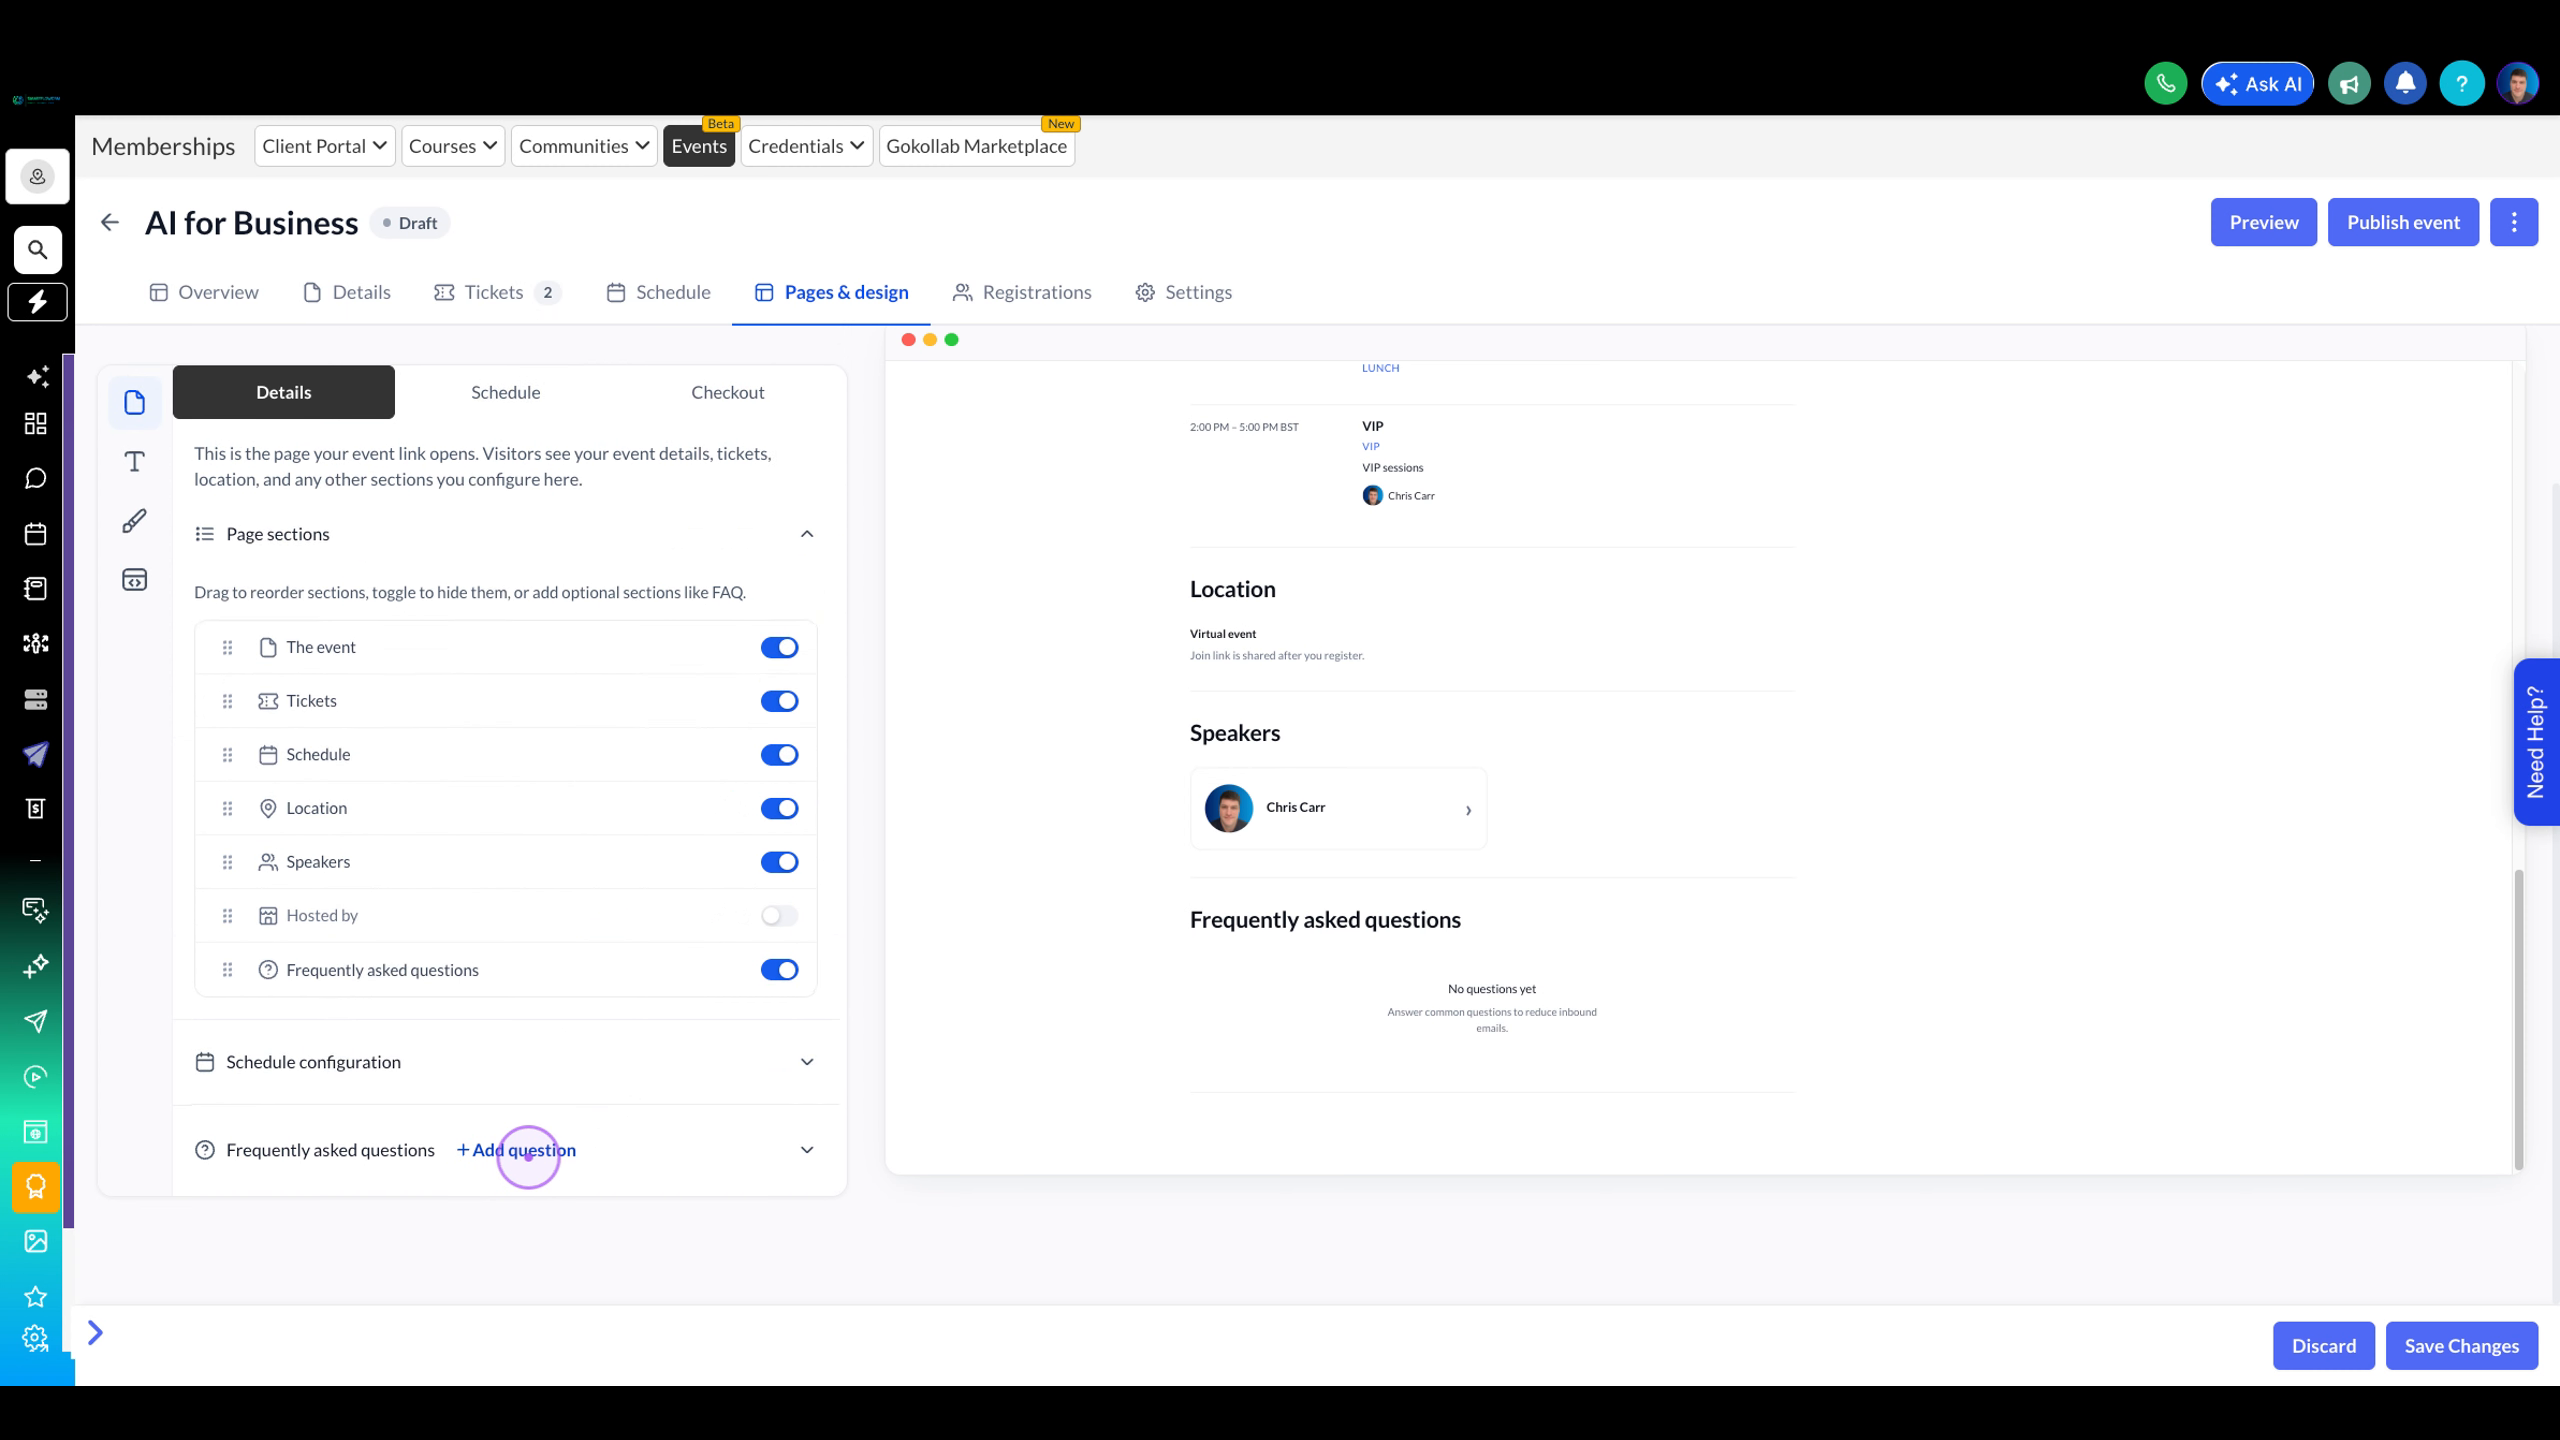
Scroll to the Frequently asked questions section and click the + Add question button to create new FAQ entries for common attendee inquiries.
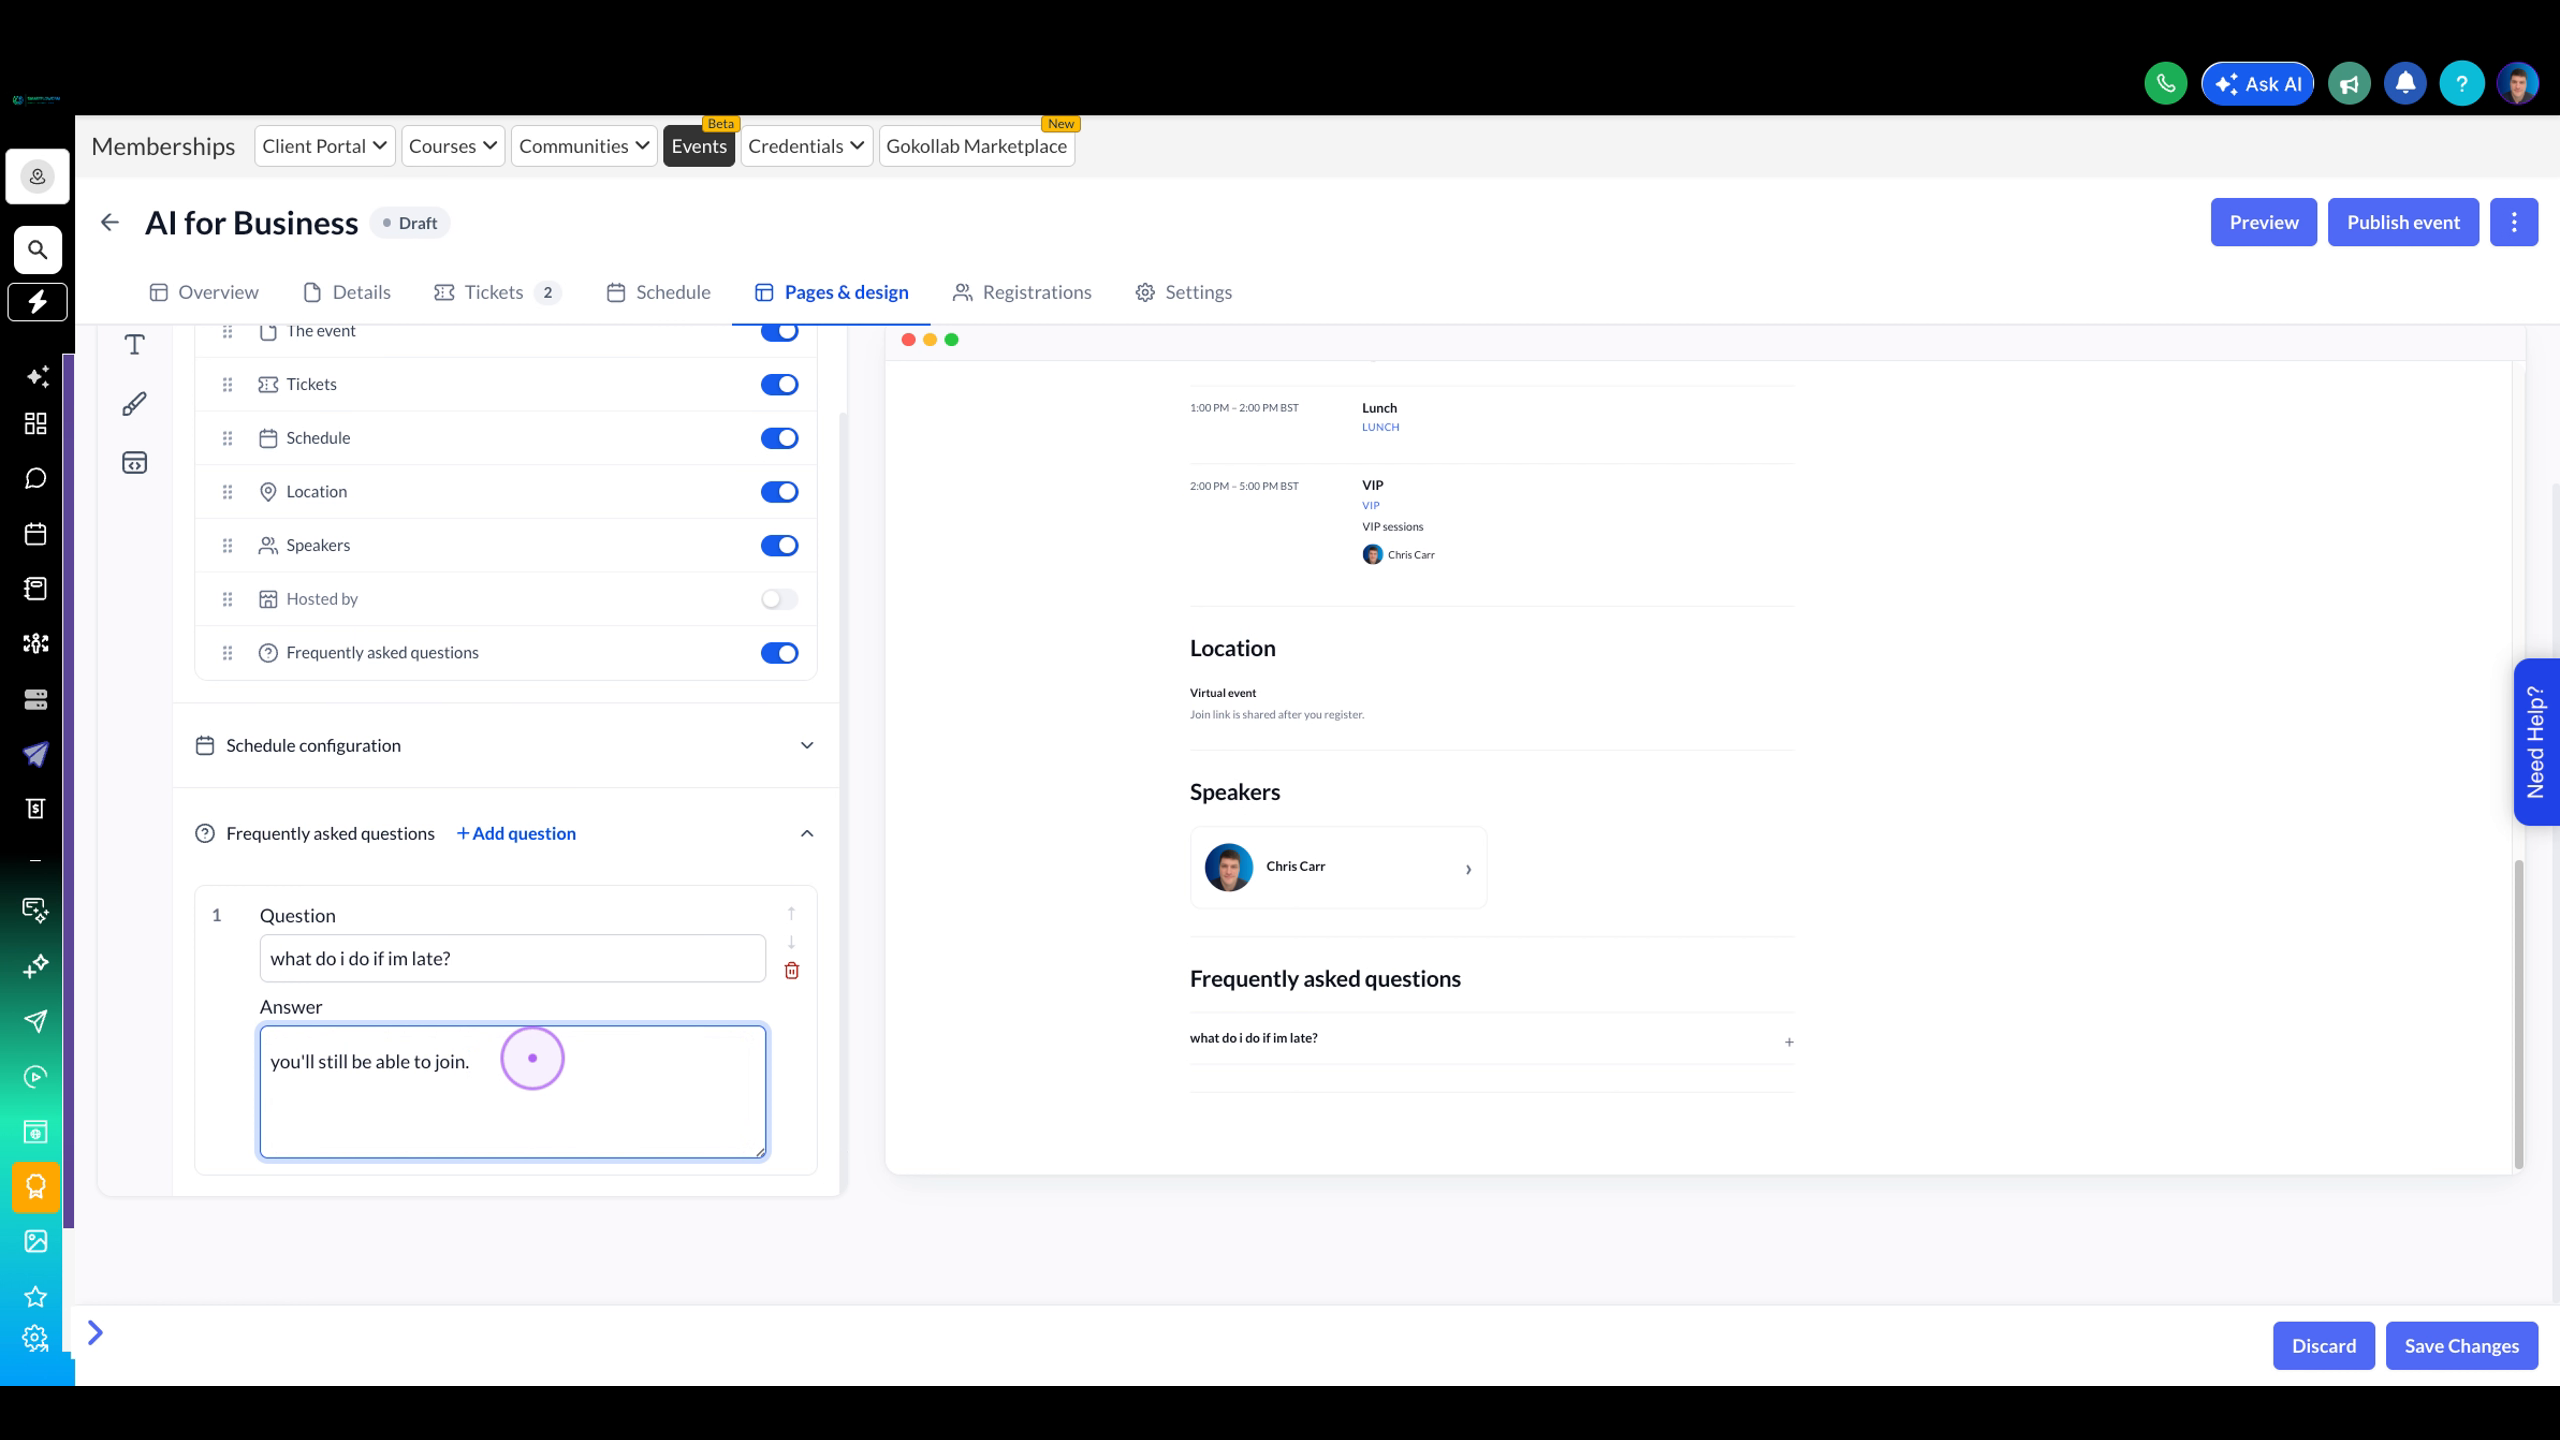
Type your question in the Question field and provide a helpful answer in the Answer textarea. The FAQ will immediately appear in the event preview as an expandable accordion.
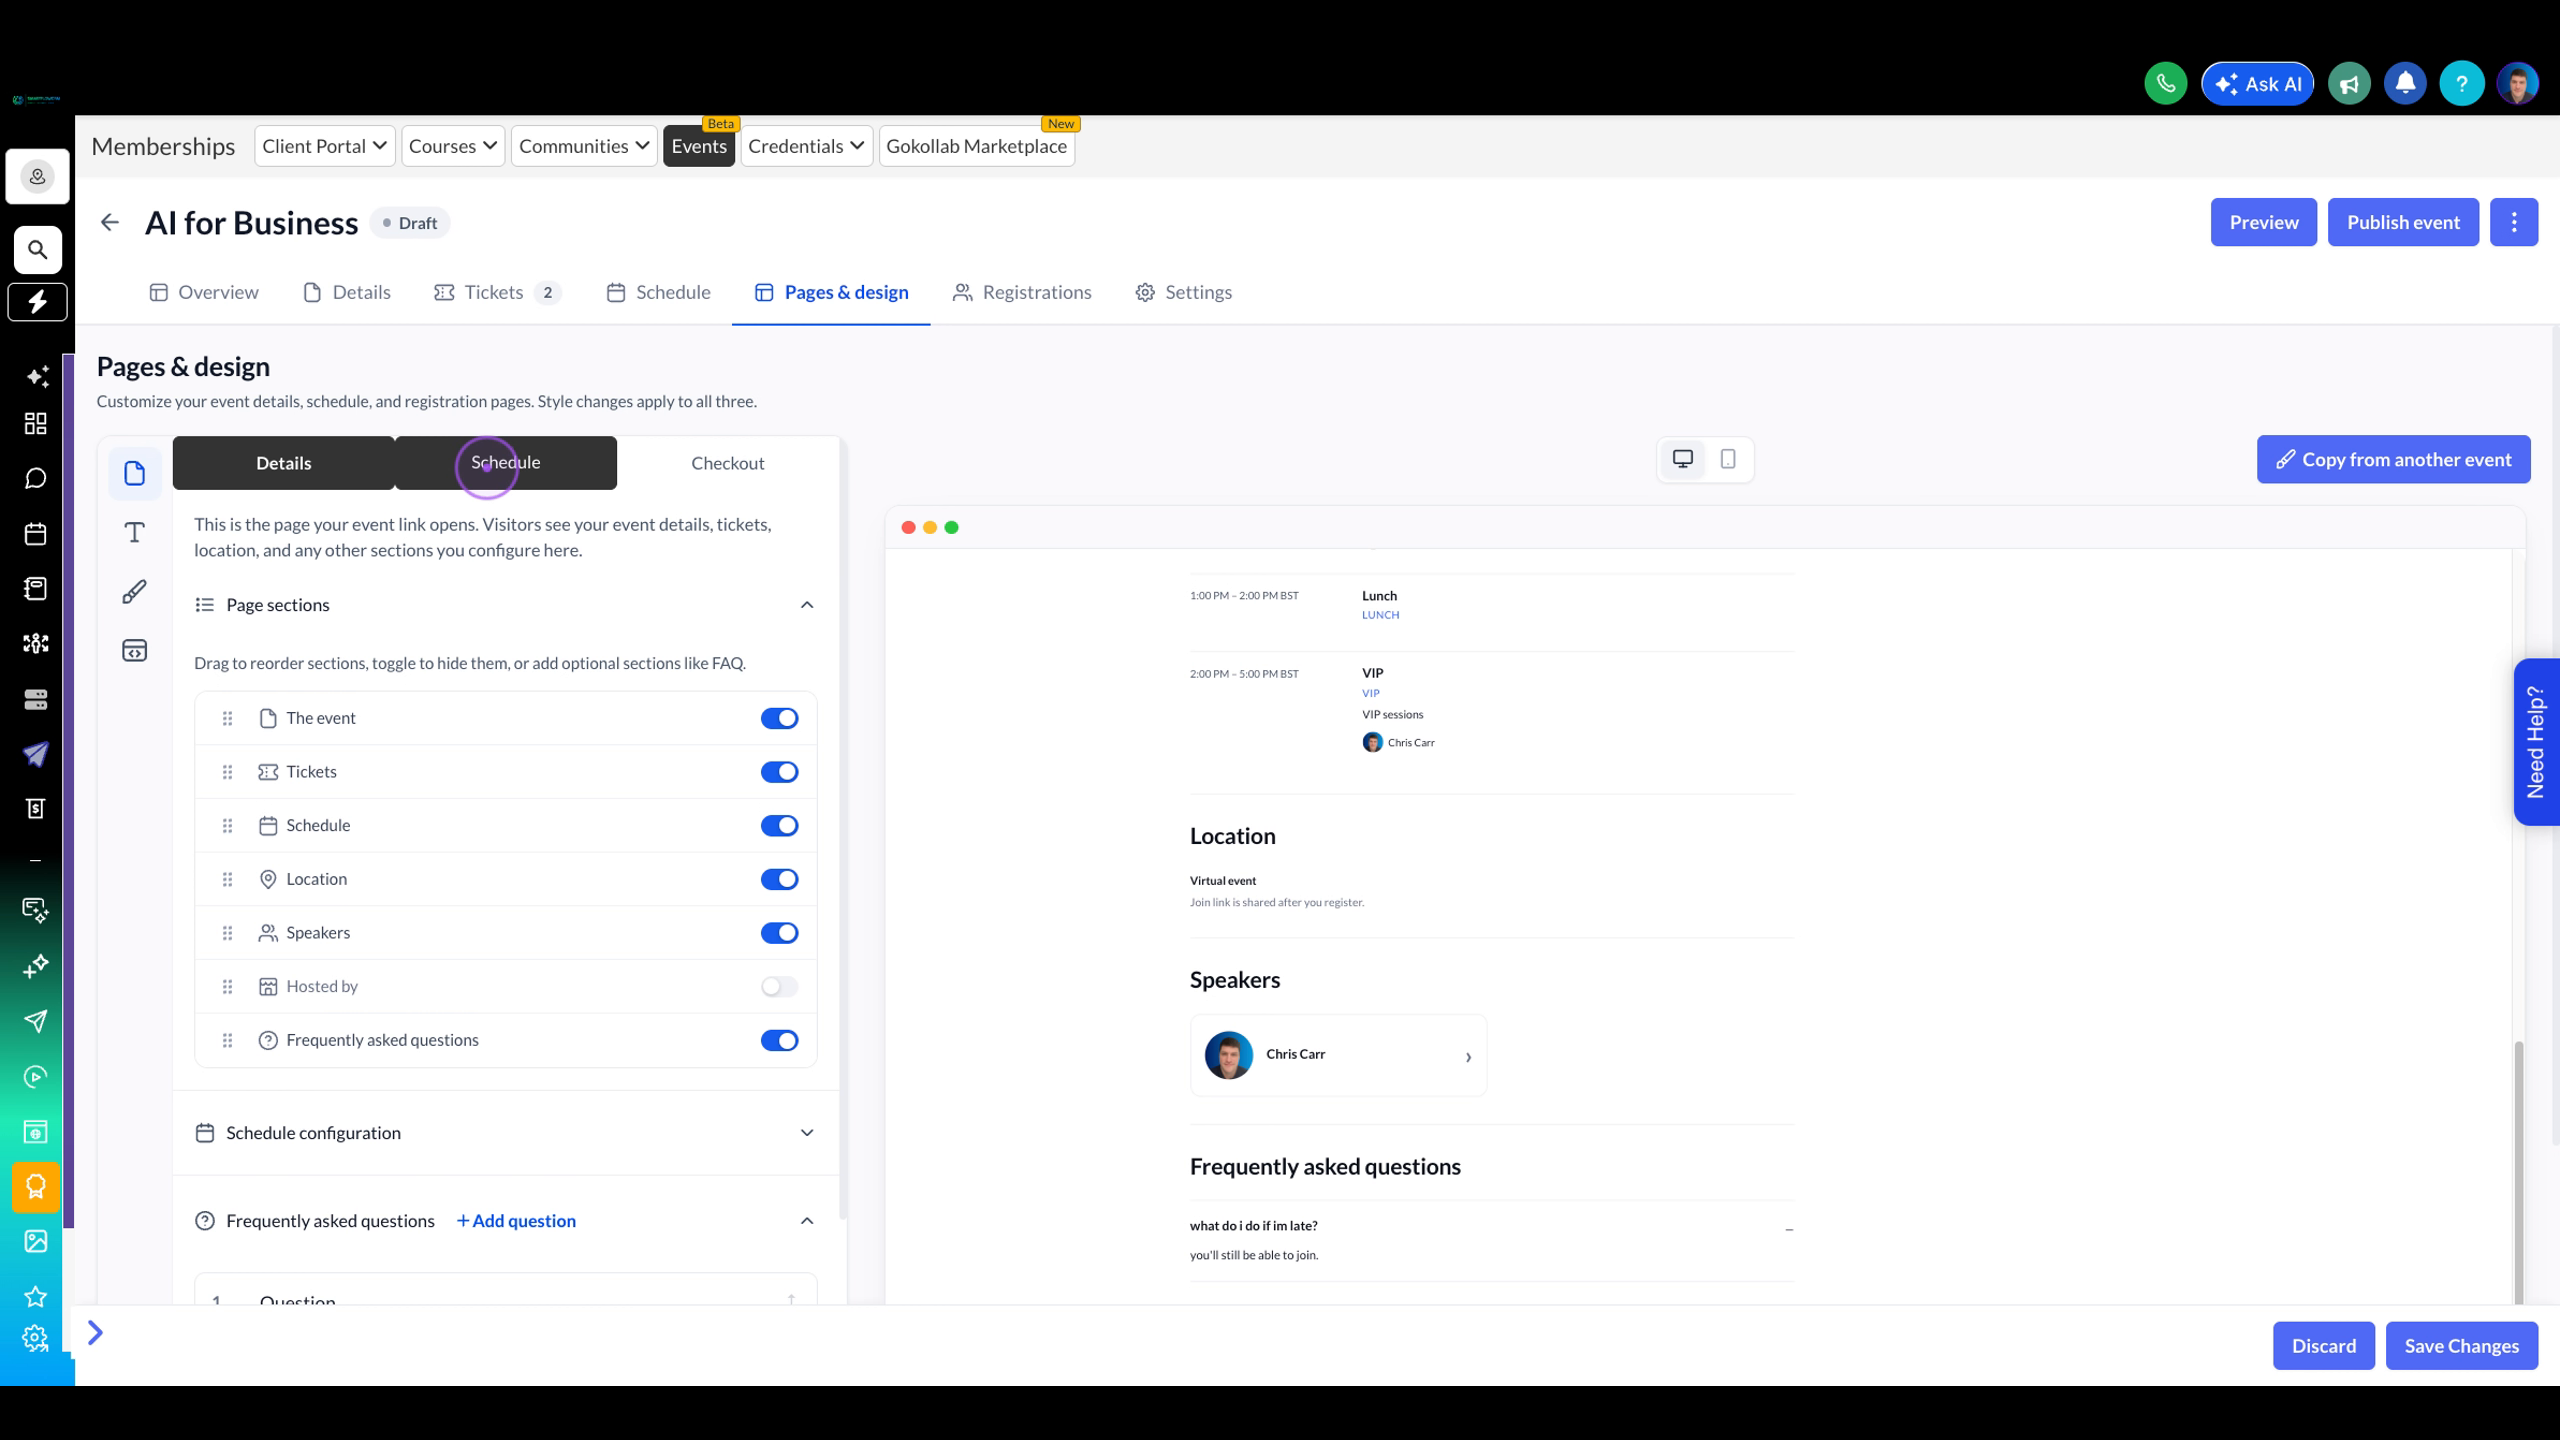
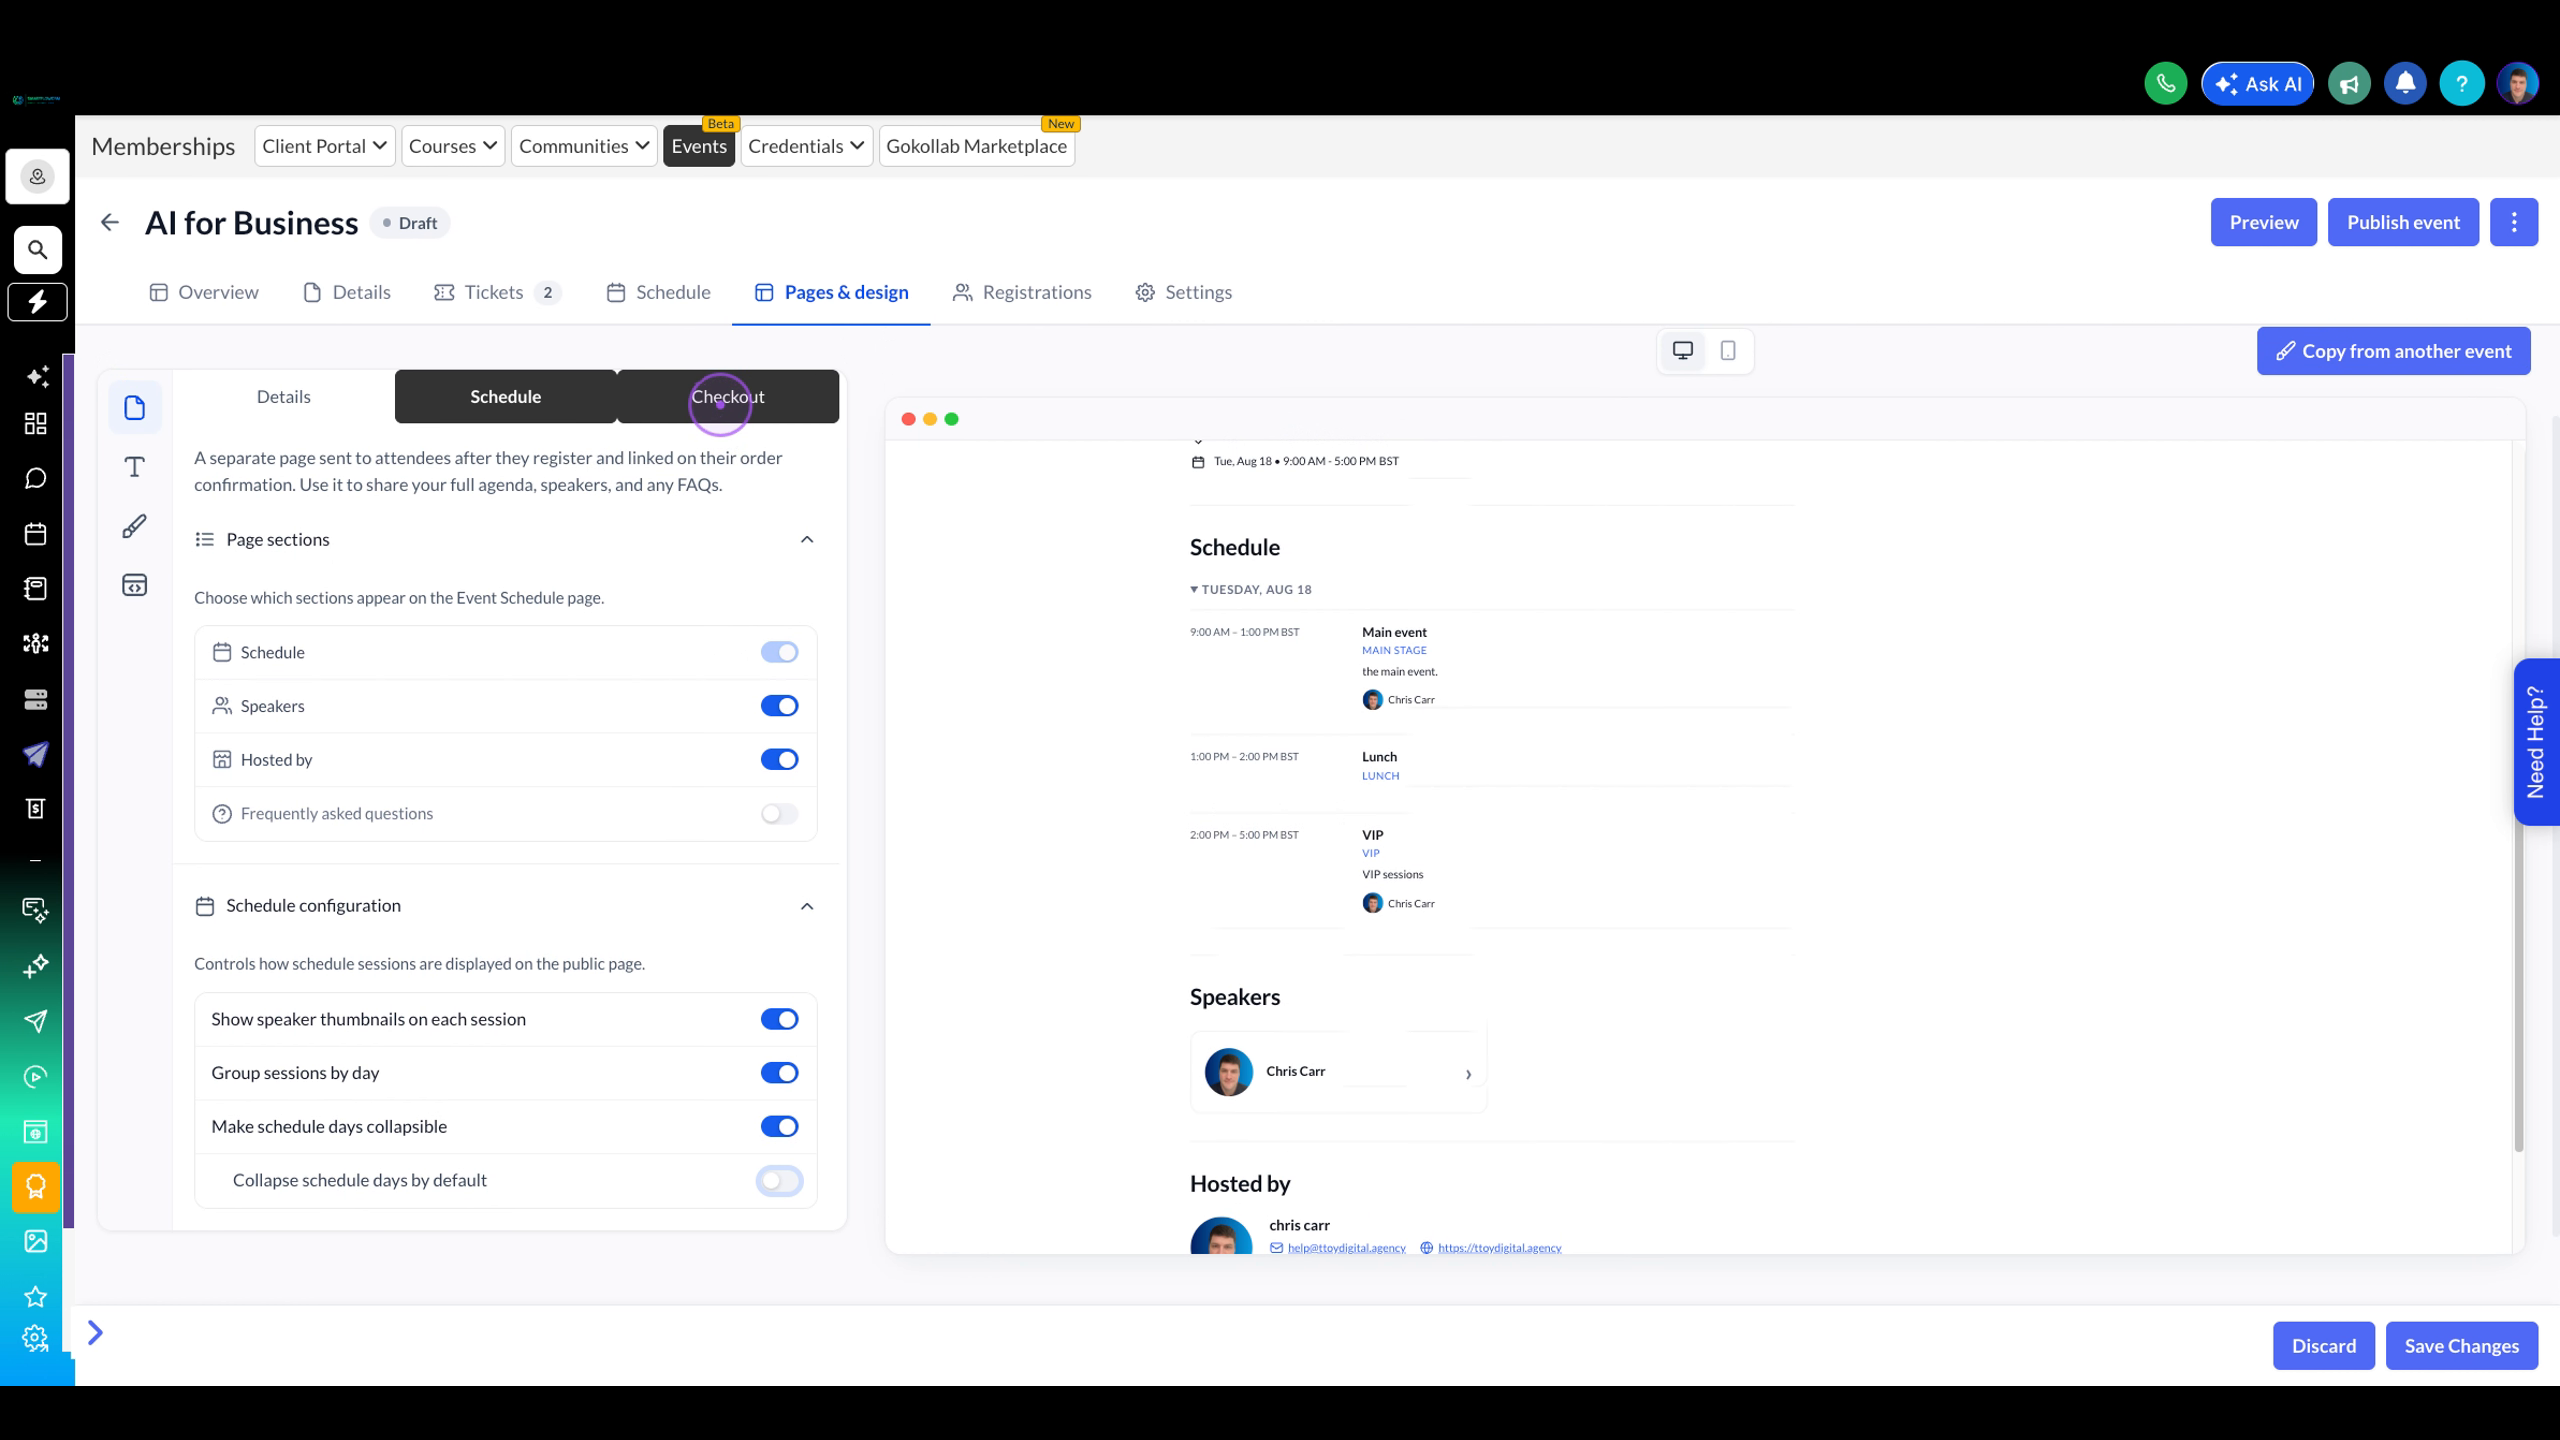
Click the Schedule tab to customise the post-registration schedule page that attendees see after signing up for your event.
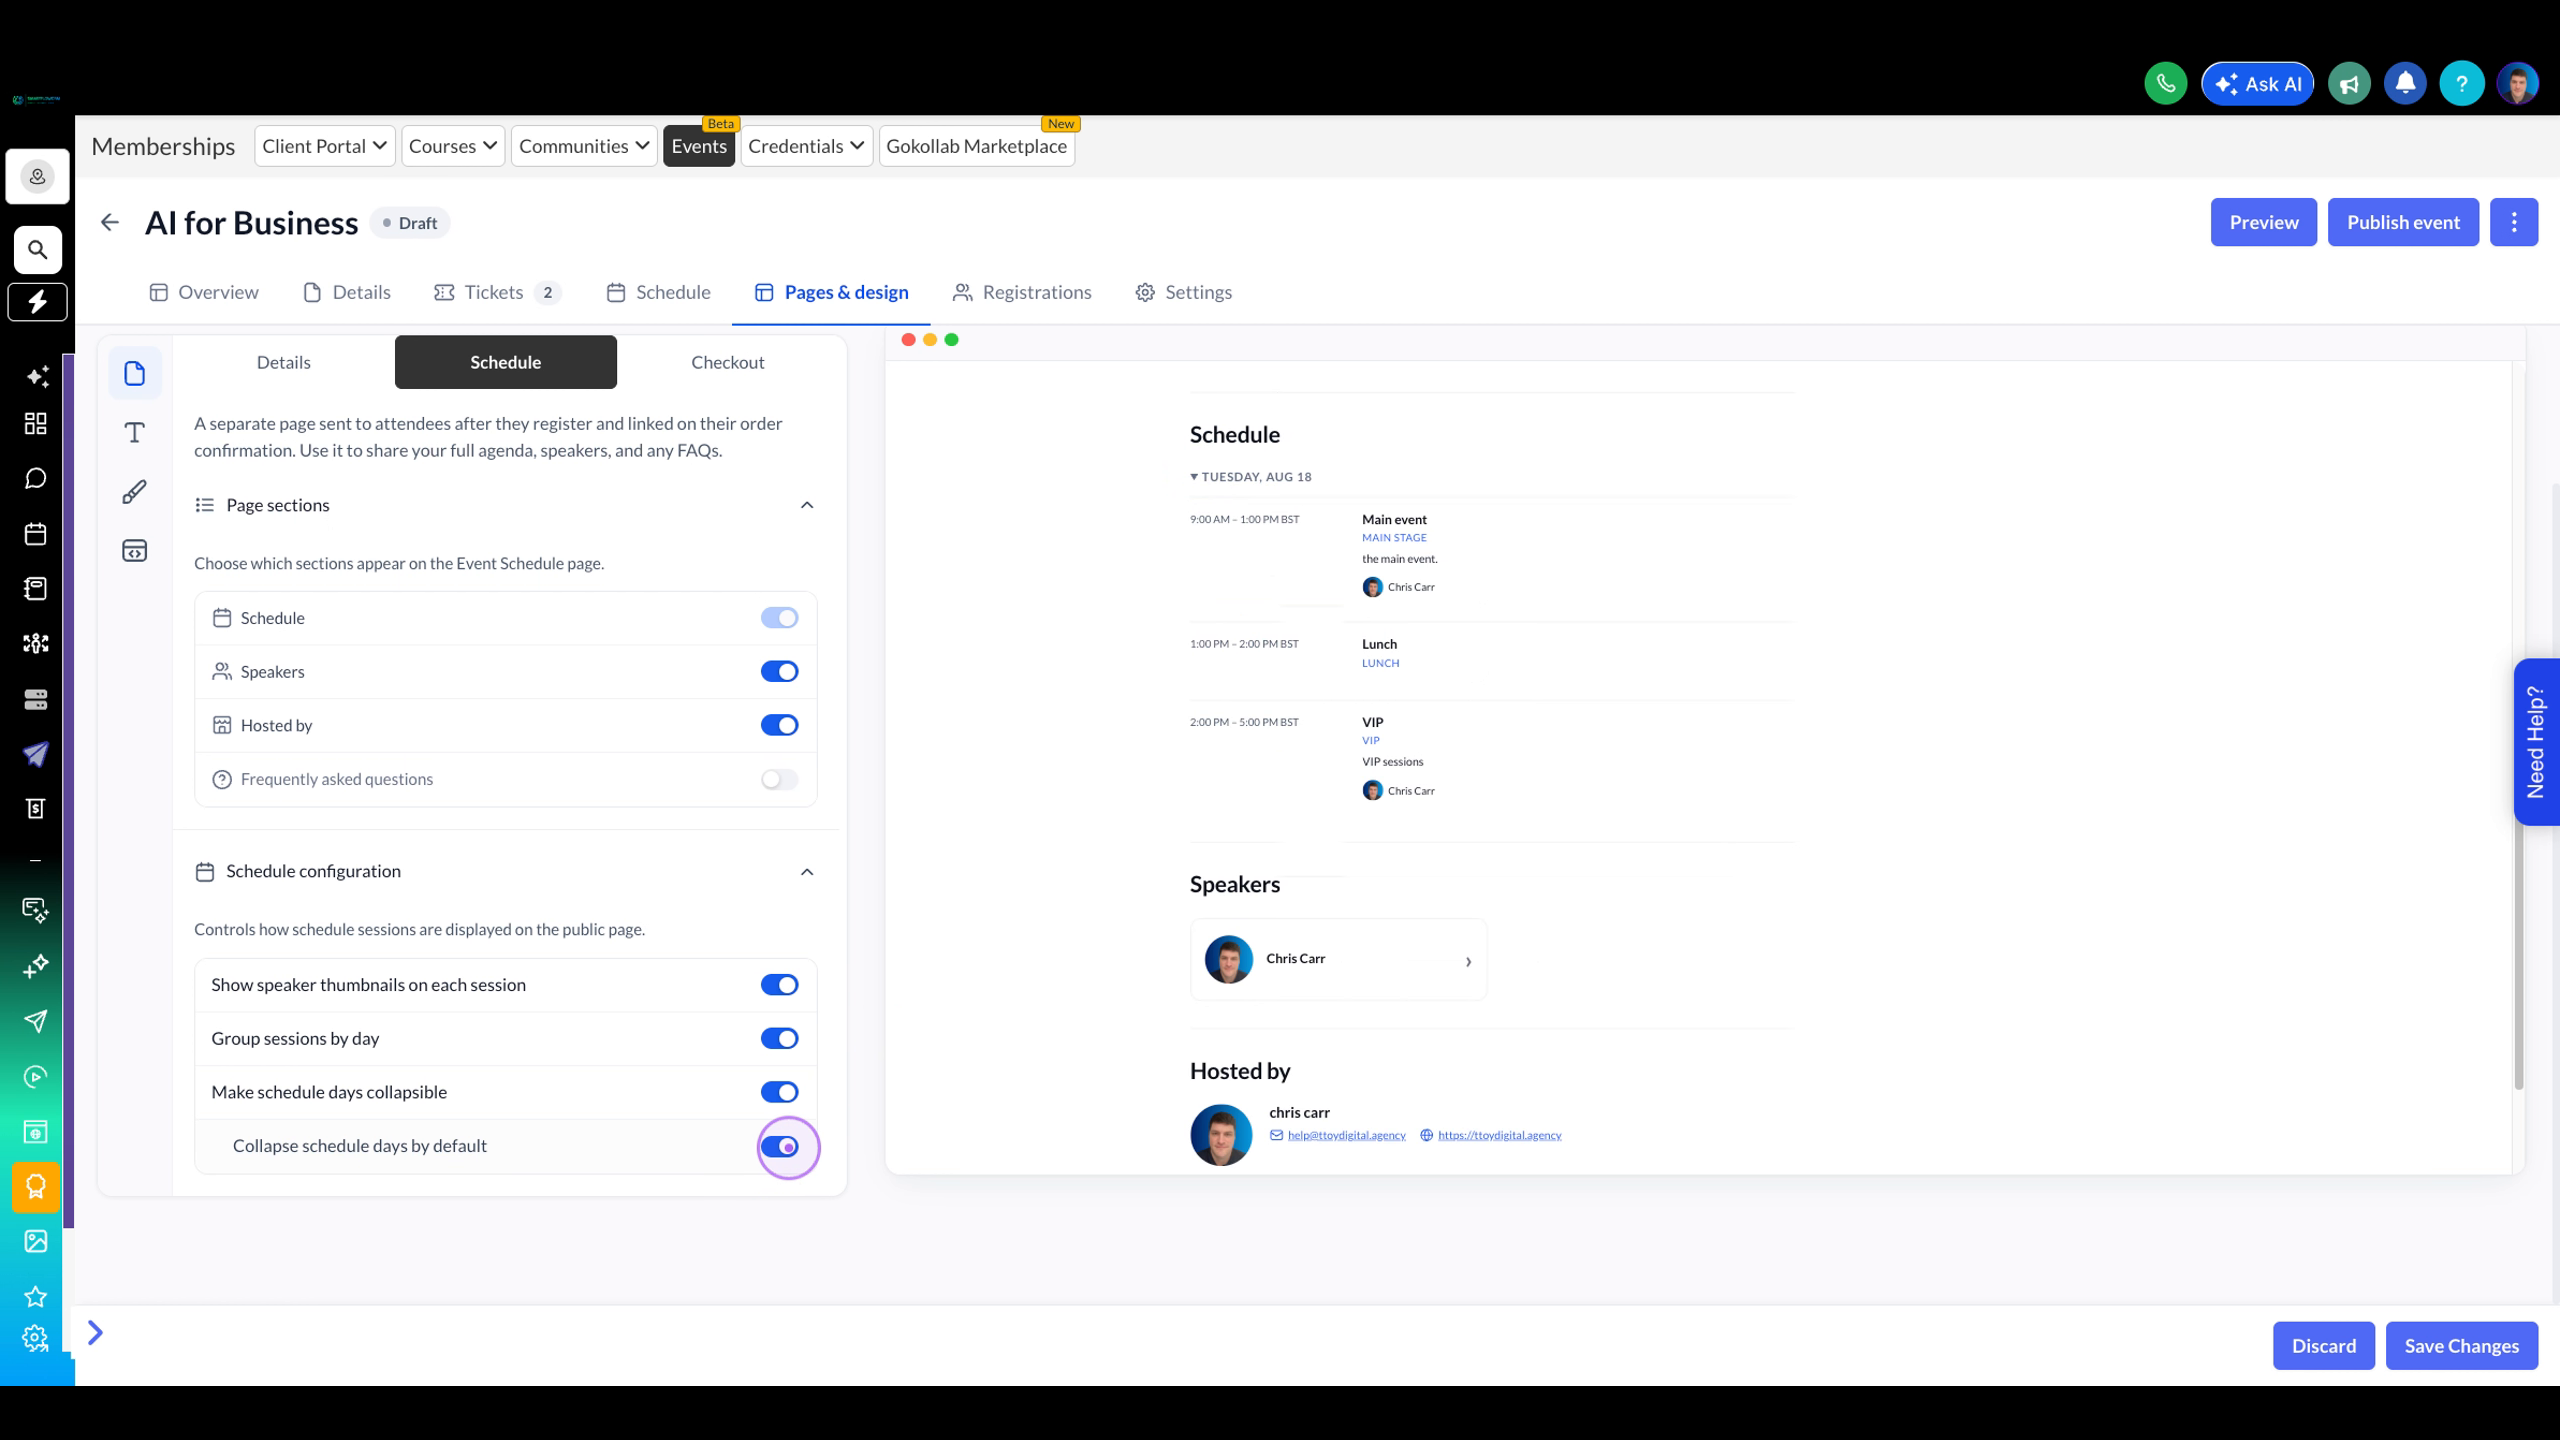
Control which sections appear on the Event Schedule page by toggling options like Schedule, Speakers, and Hosted by on or off.
Switch to the Checkout tab to modify the registration form that visitors fill out when signing up for your event.
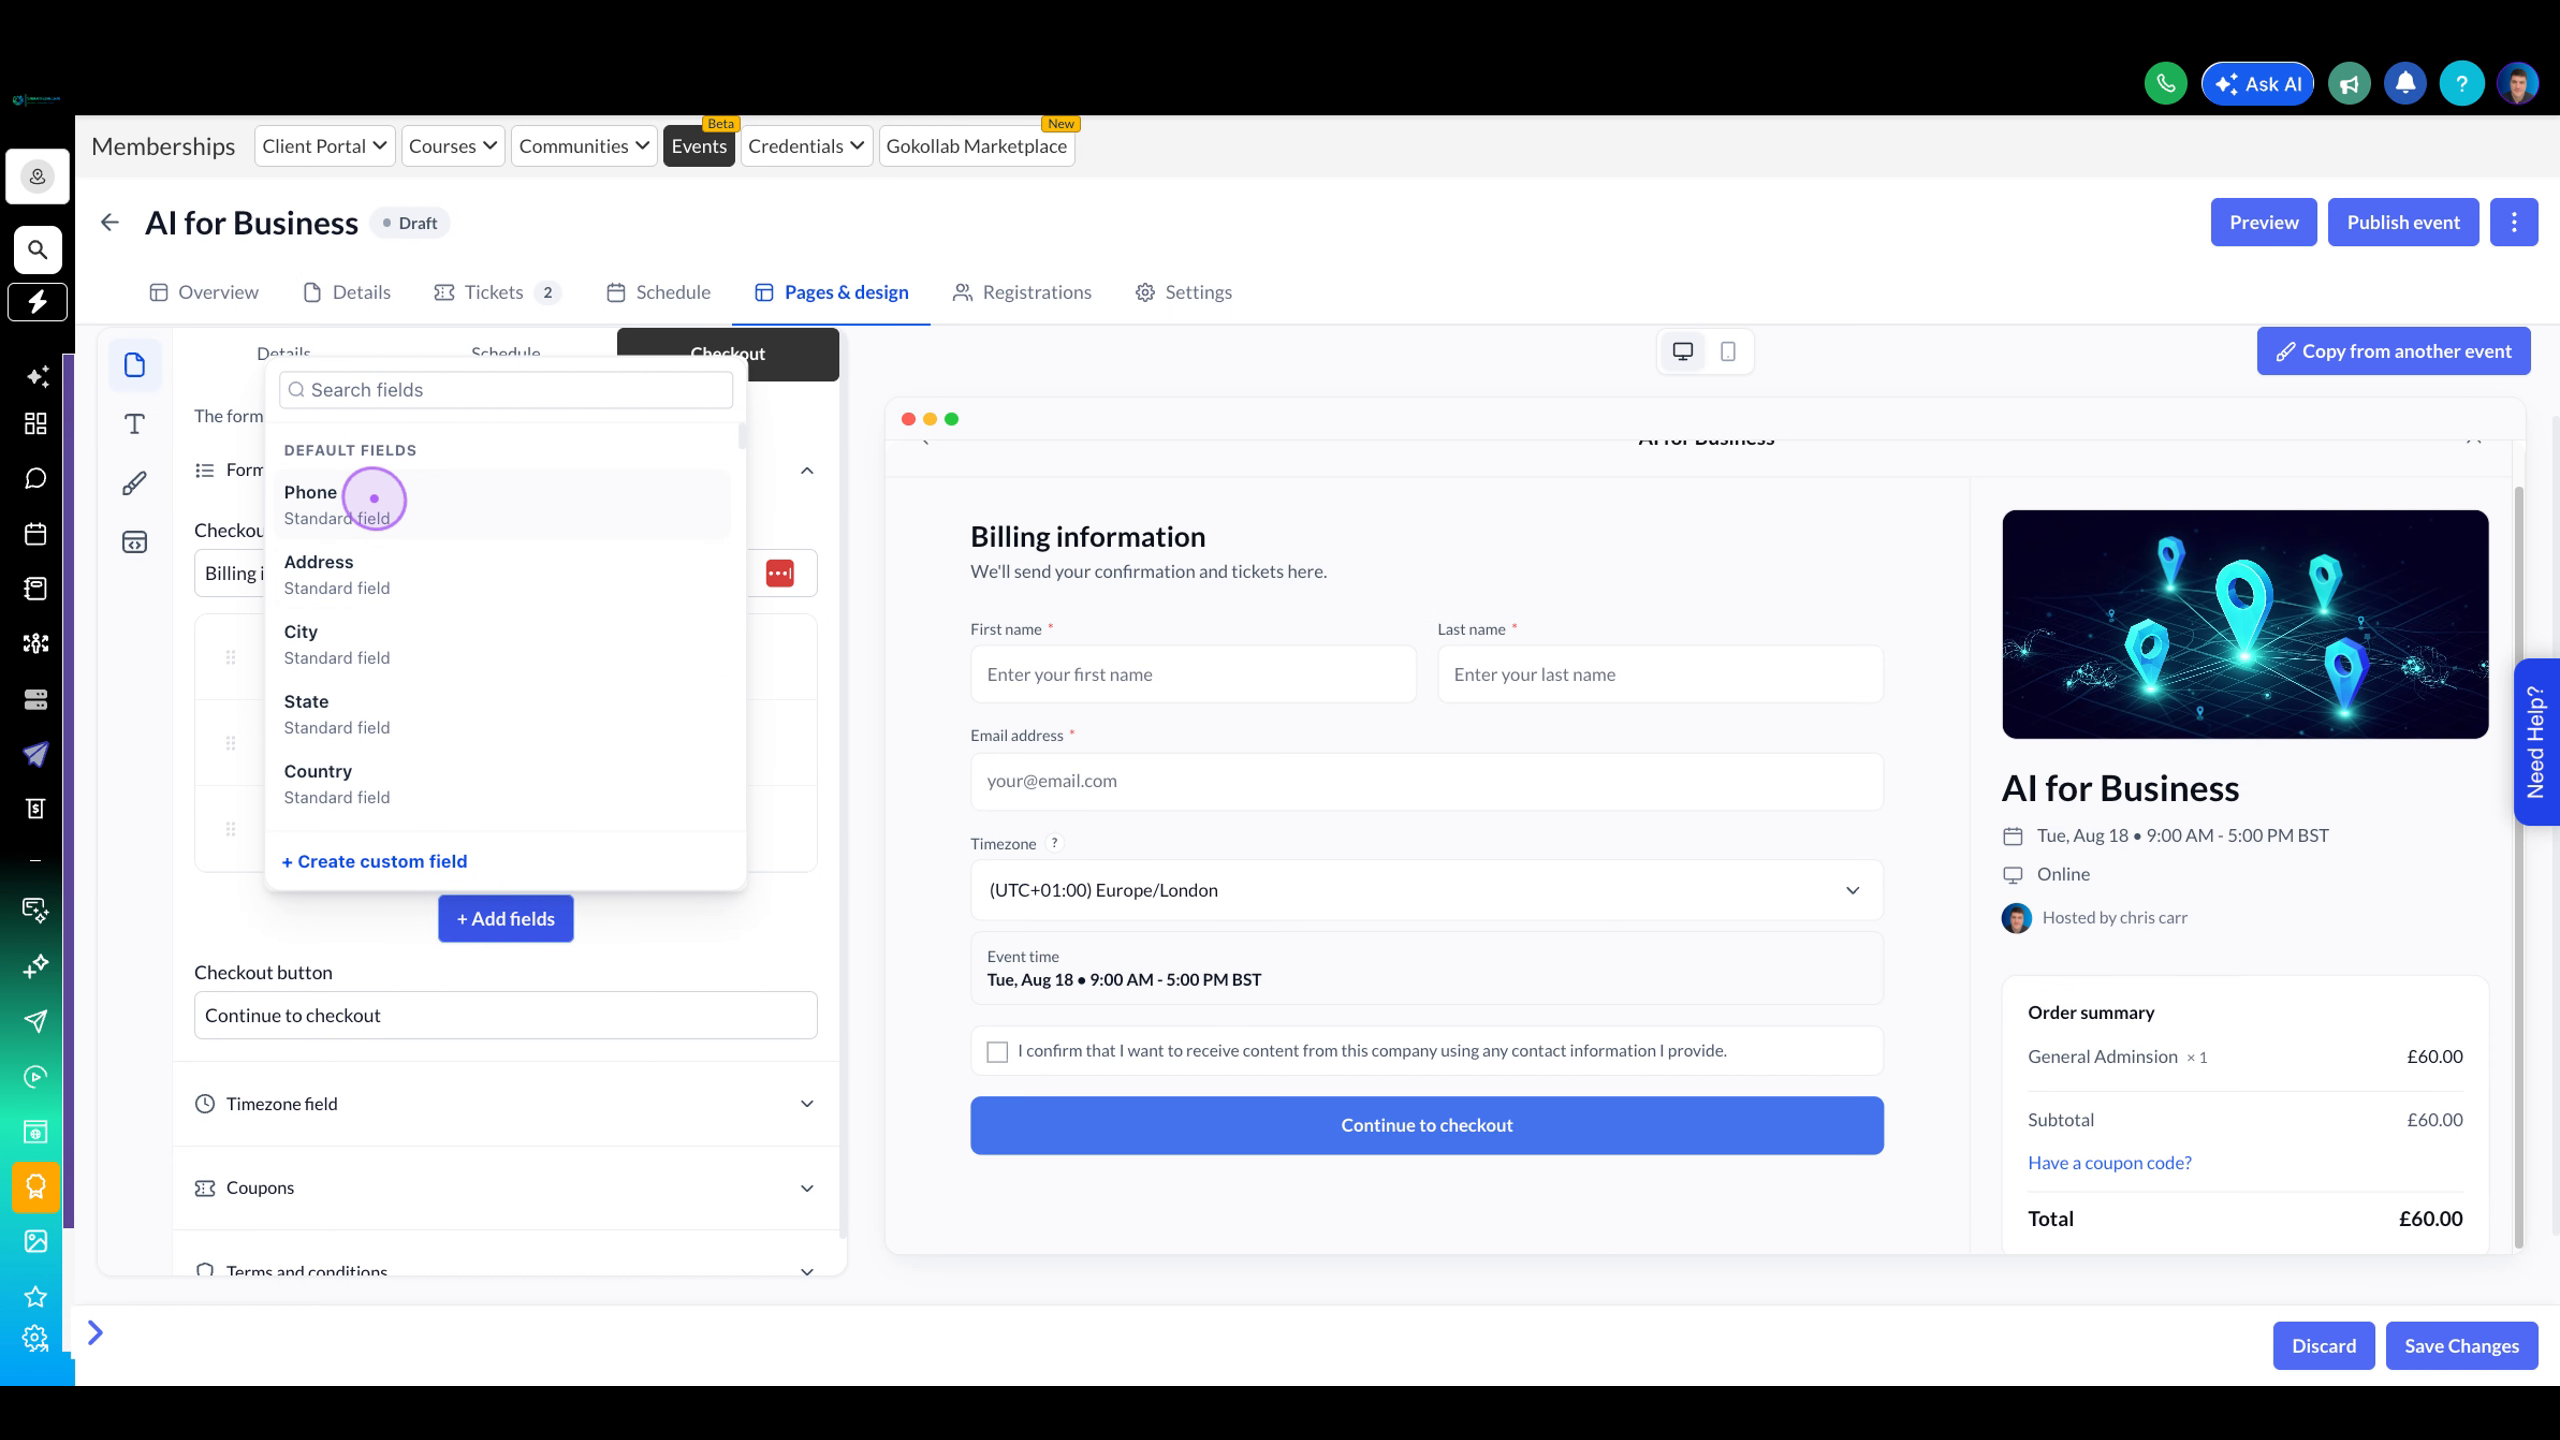
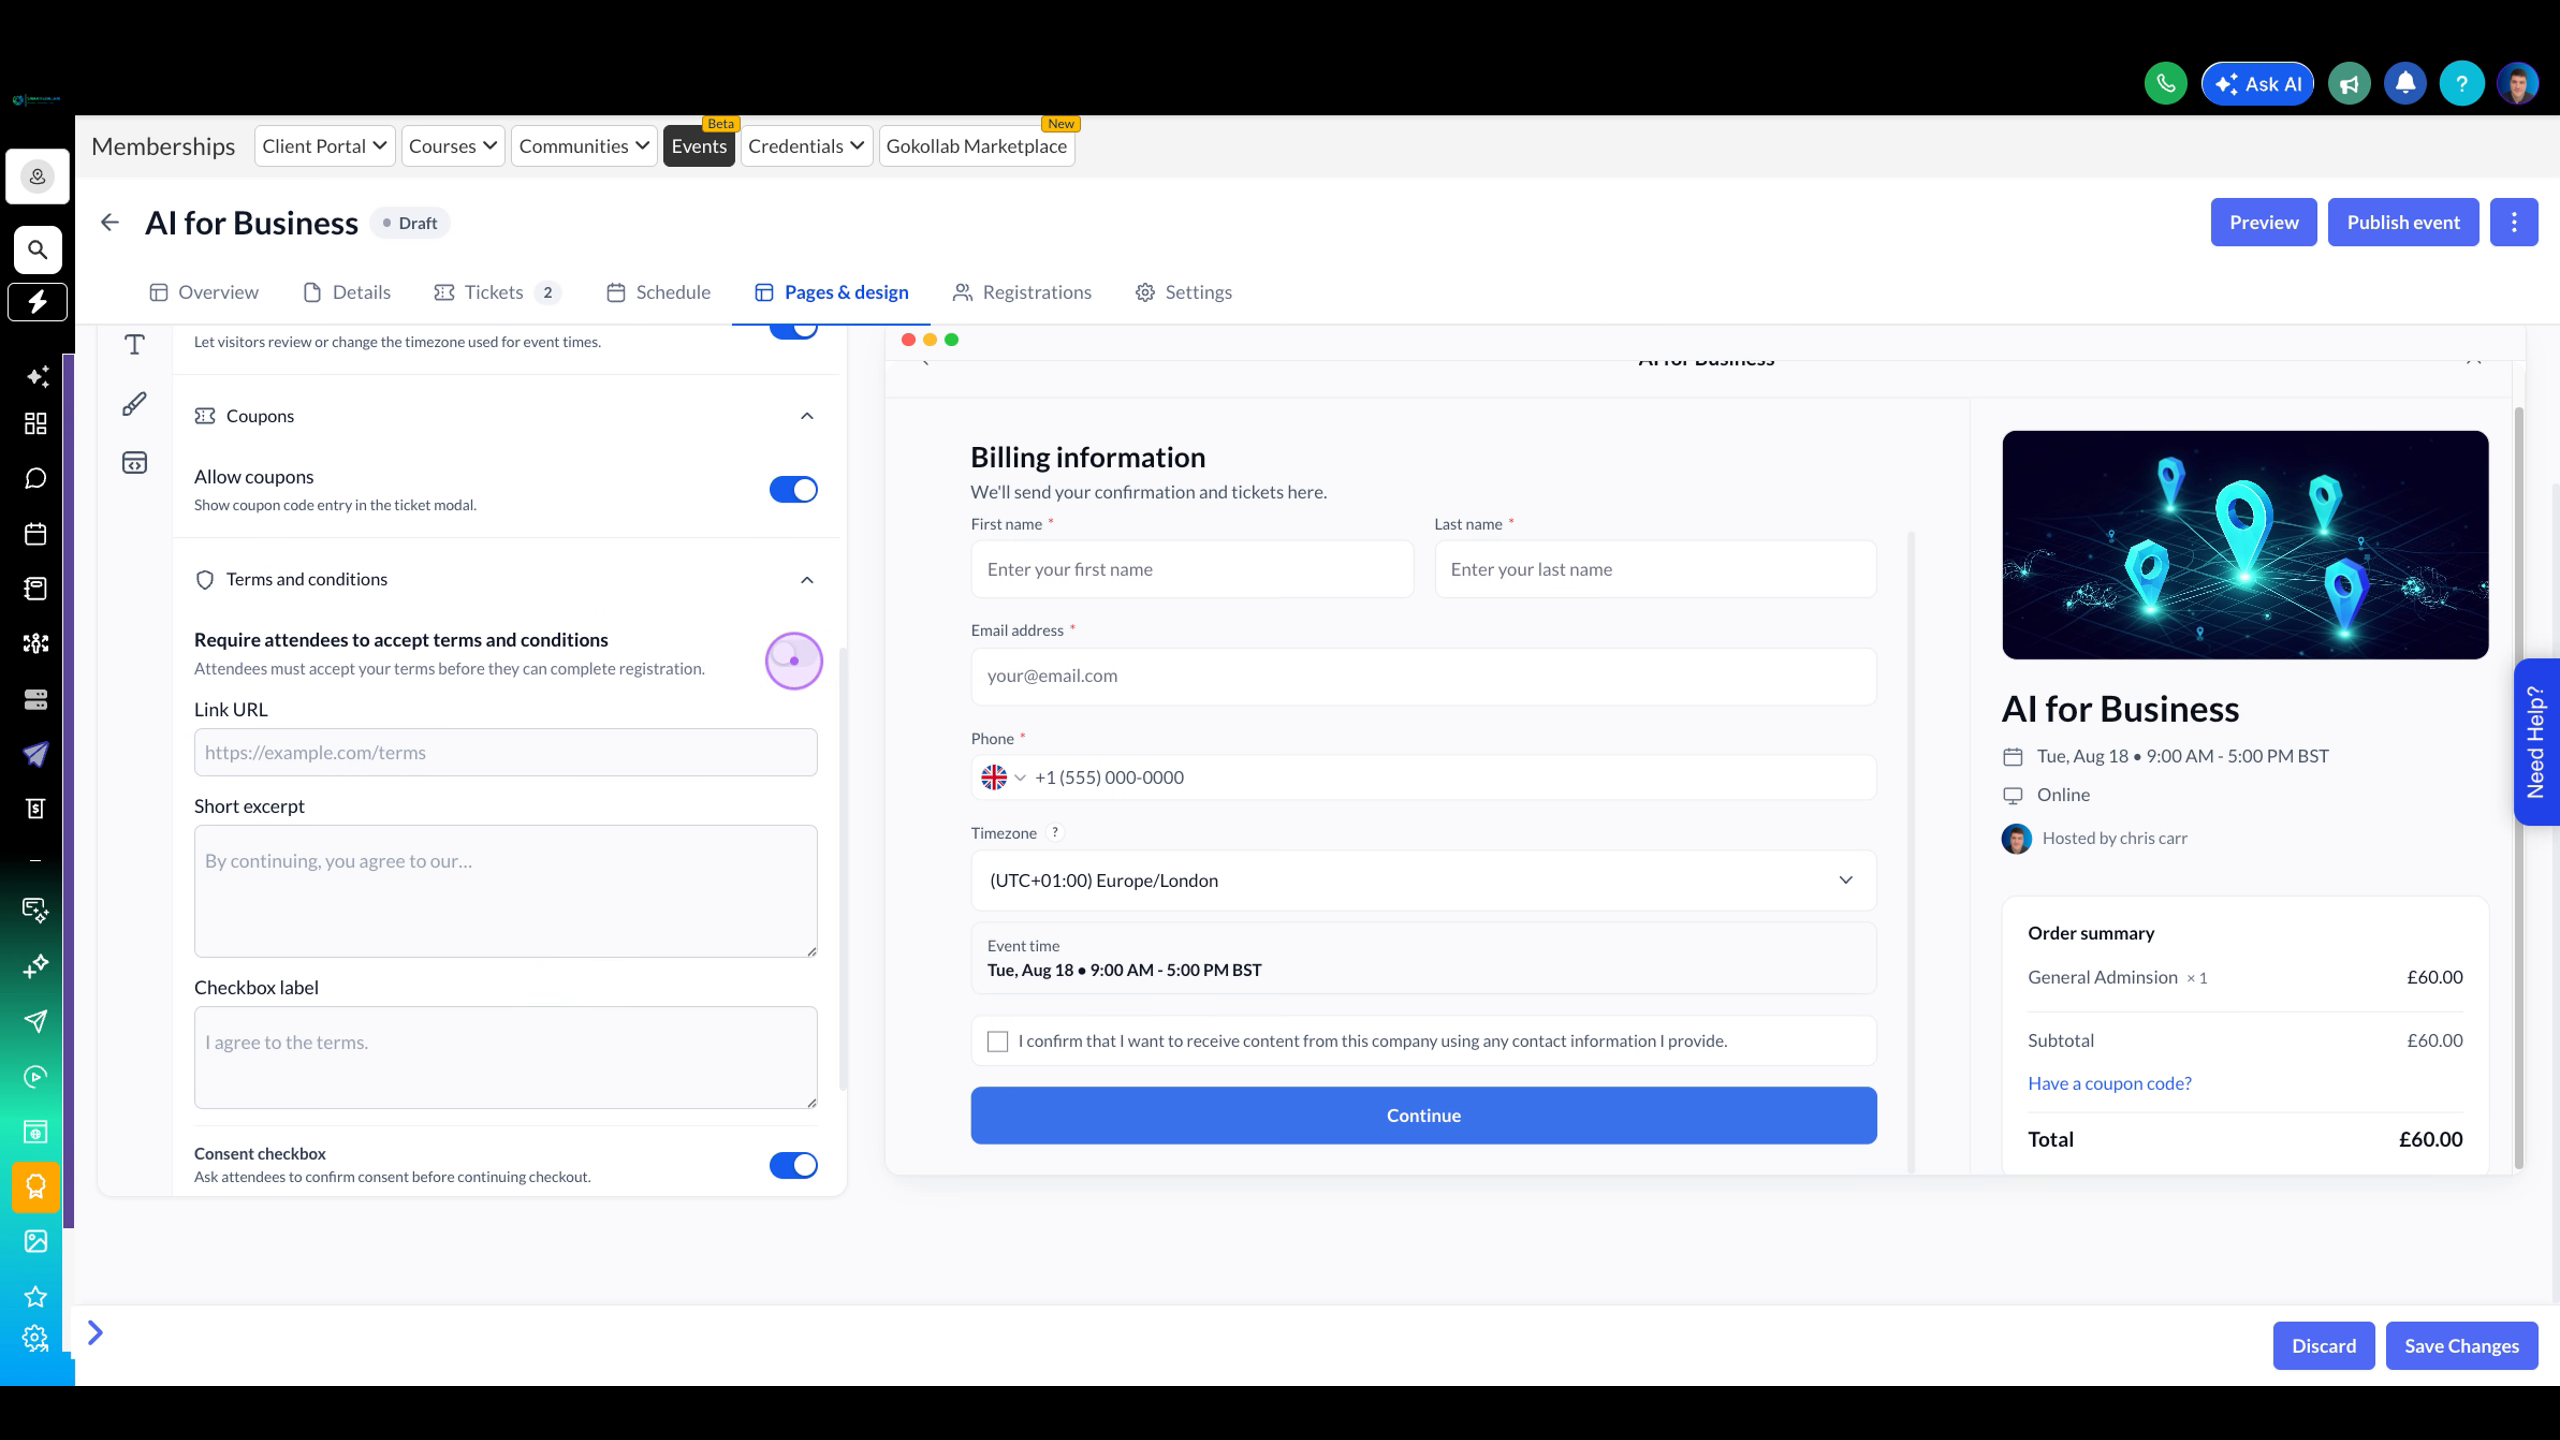
Click + Add fields to open the field selector and insert additional fields like Phone, Address, or custom fields into your checkout form.
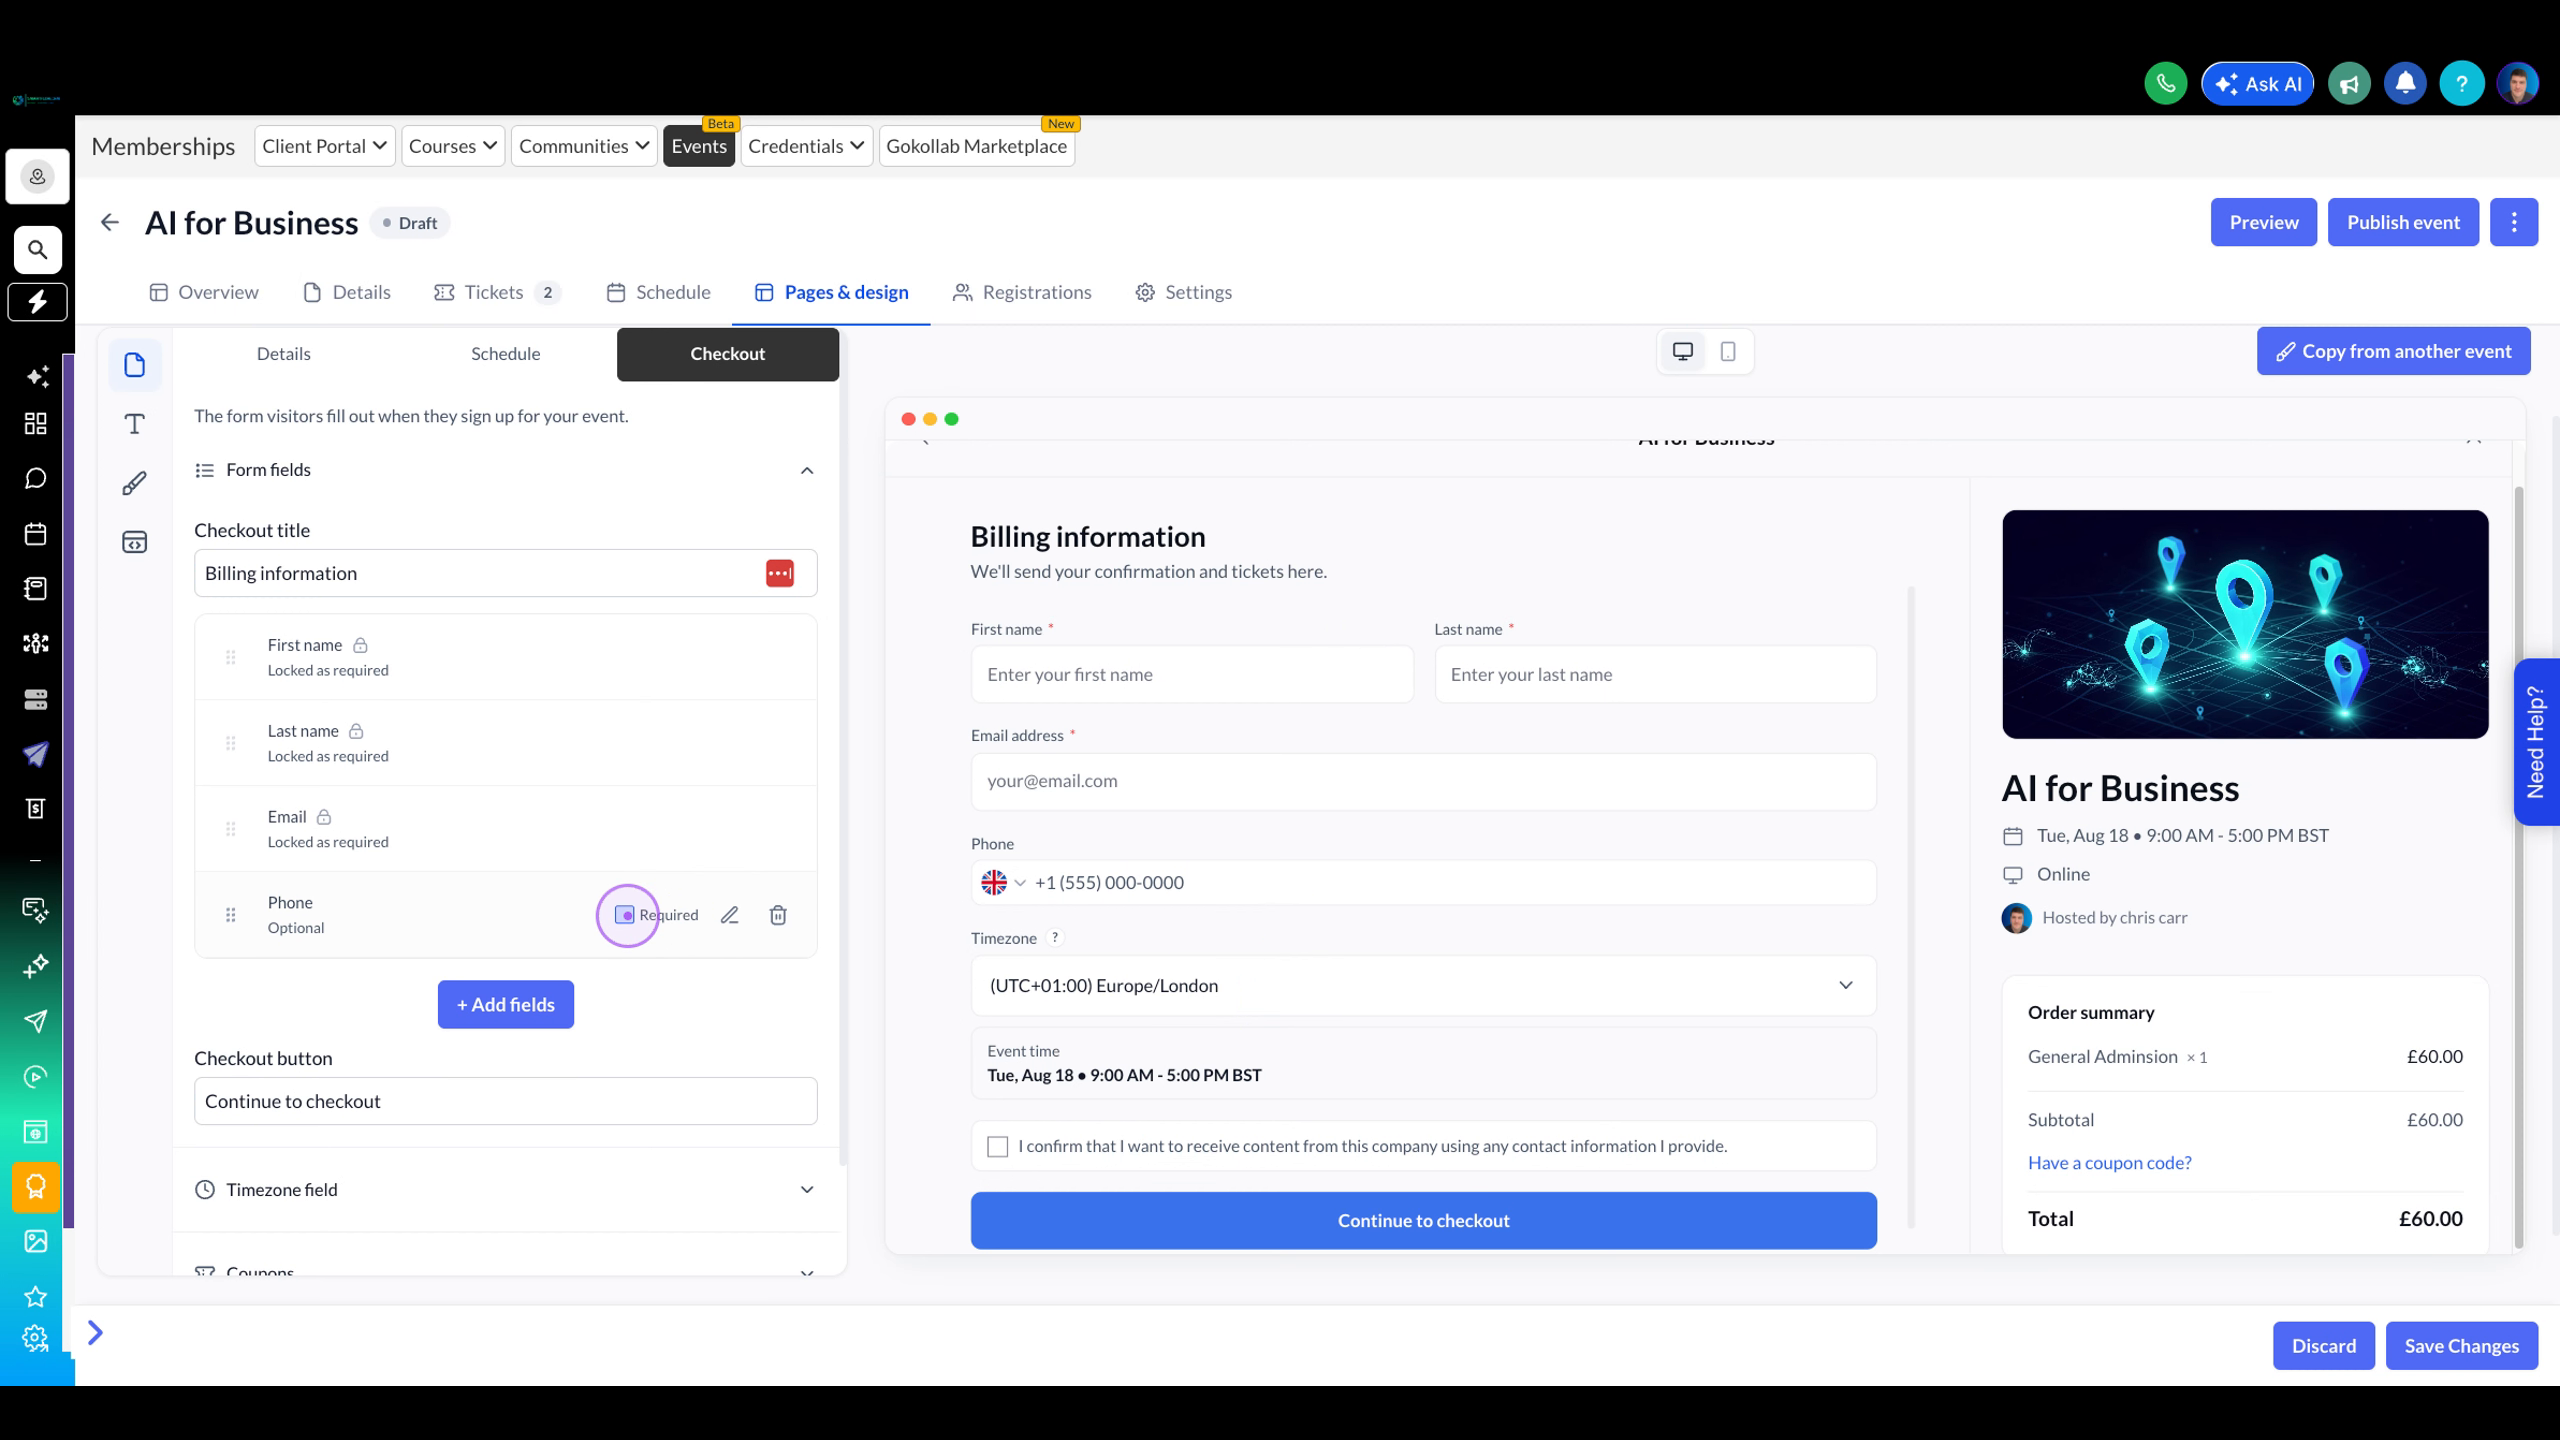
Mark fields as required by checking the Required checkbox next to any form field. This ensures attendees must fill in that information to complete their registration.
Edit the Checkout button text field to change the call-to-action button label from "Continue to checkout" to your preferred text, such as "Continue," to match your brand voice.
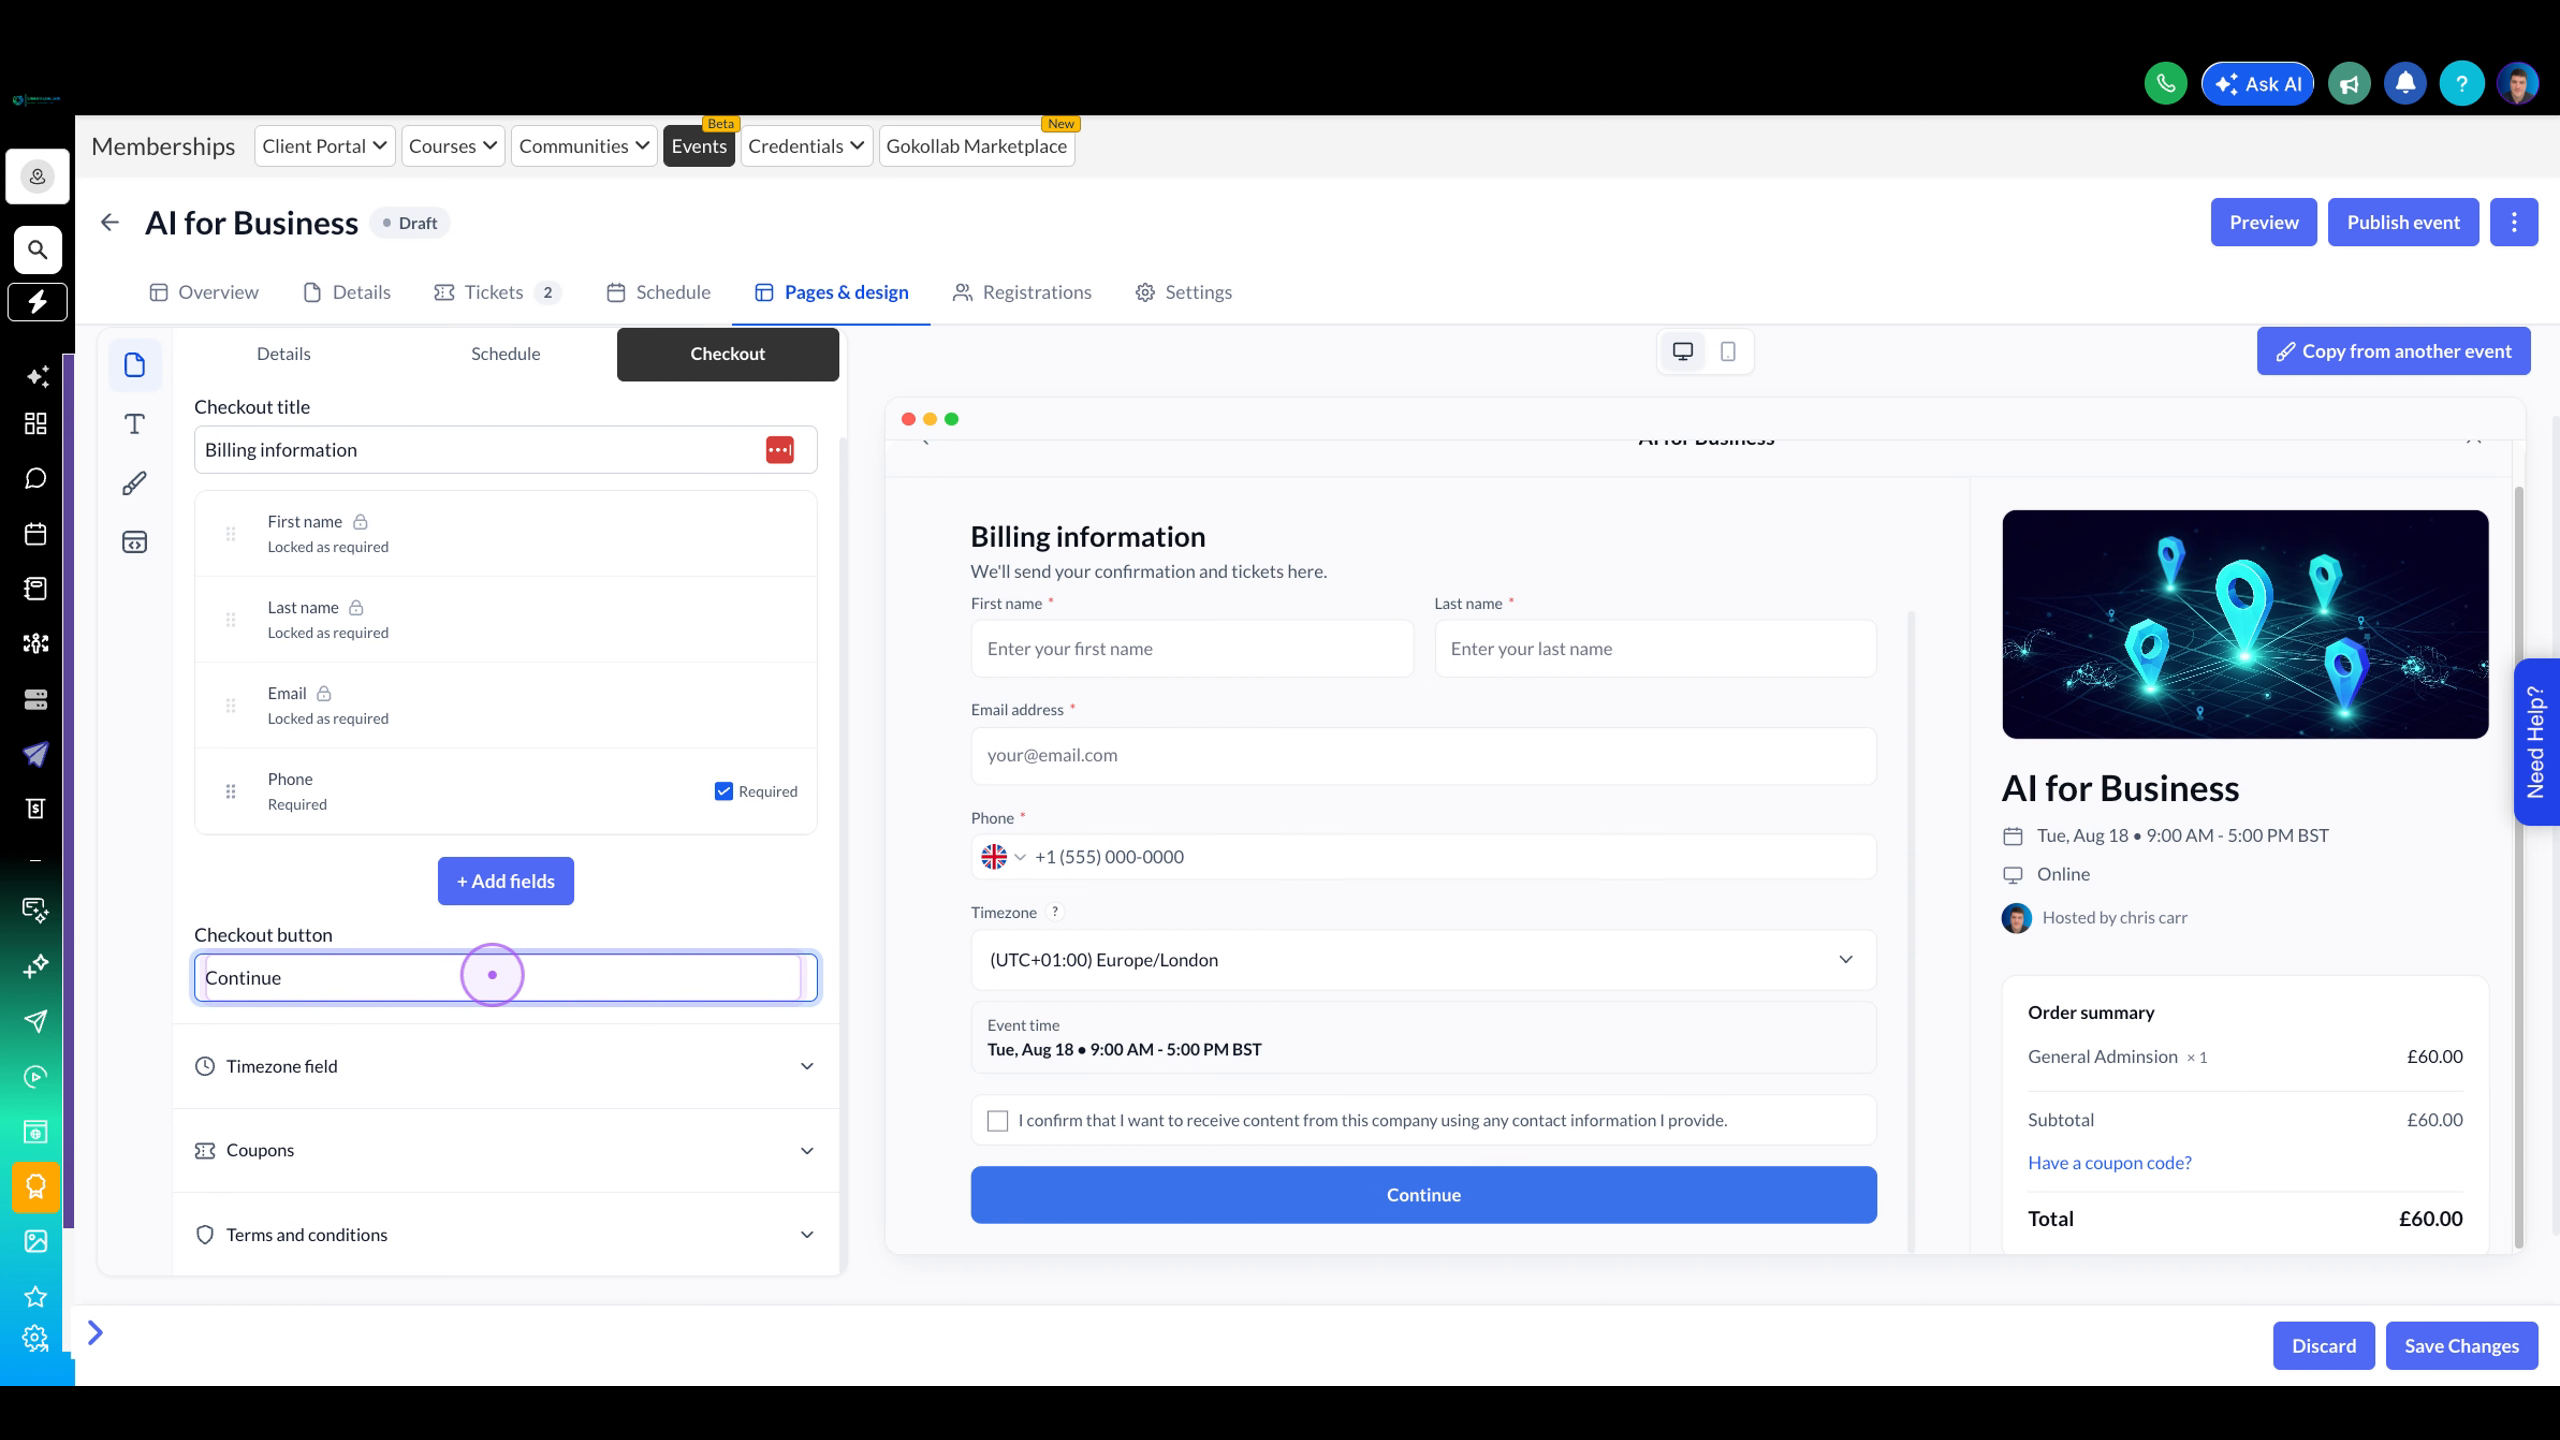
Toggle on additional features like Timezone field, Coupons for discounts, and Terms and conditions that attendees must accept before registering.
Click the mobile preview icon in the top toolbar to see how your event pages will appear on mobile devices, ensuring a responsive experience for all attendees.