SmartFlow allows you to fully customise all text labels across your event's public-facing pages. This guide walks you through customising text for the event details page and checkout flow to match your brand voice and event type.
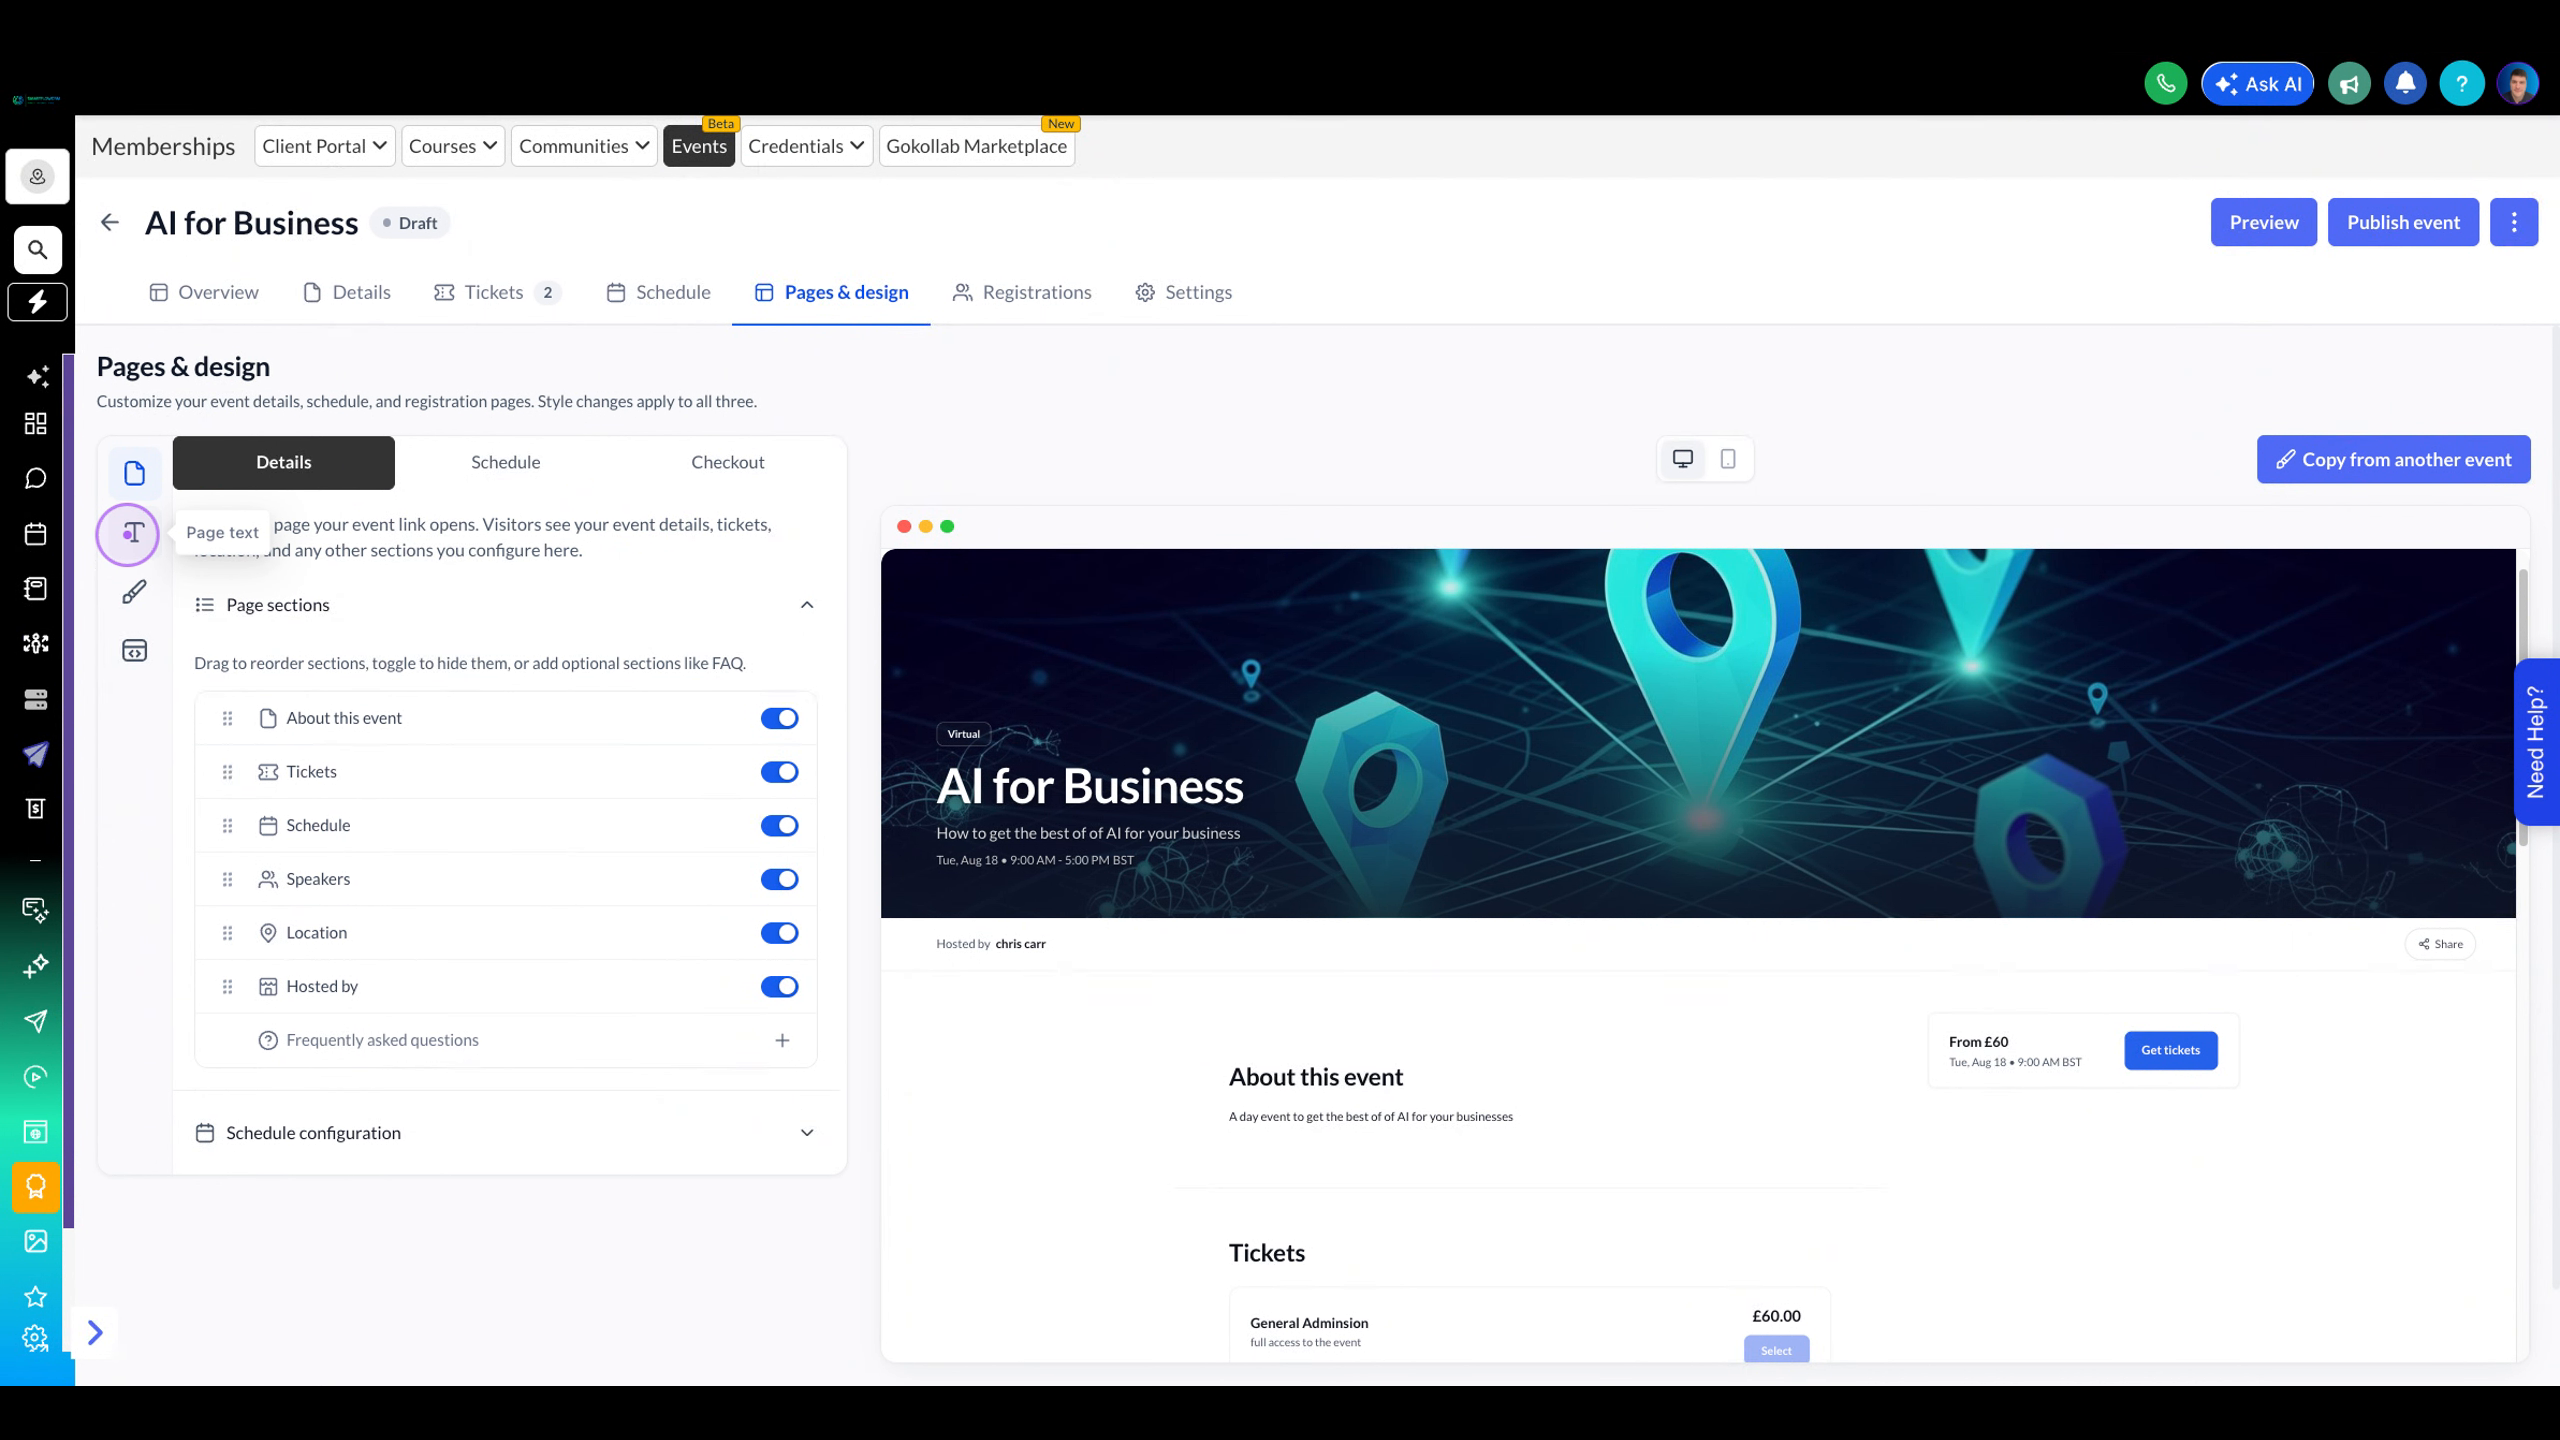
Click the text icon (T) in the left sidebar to open the text customisation panel where you can edit all public-facing text labels.
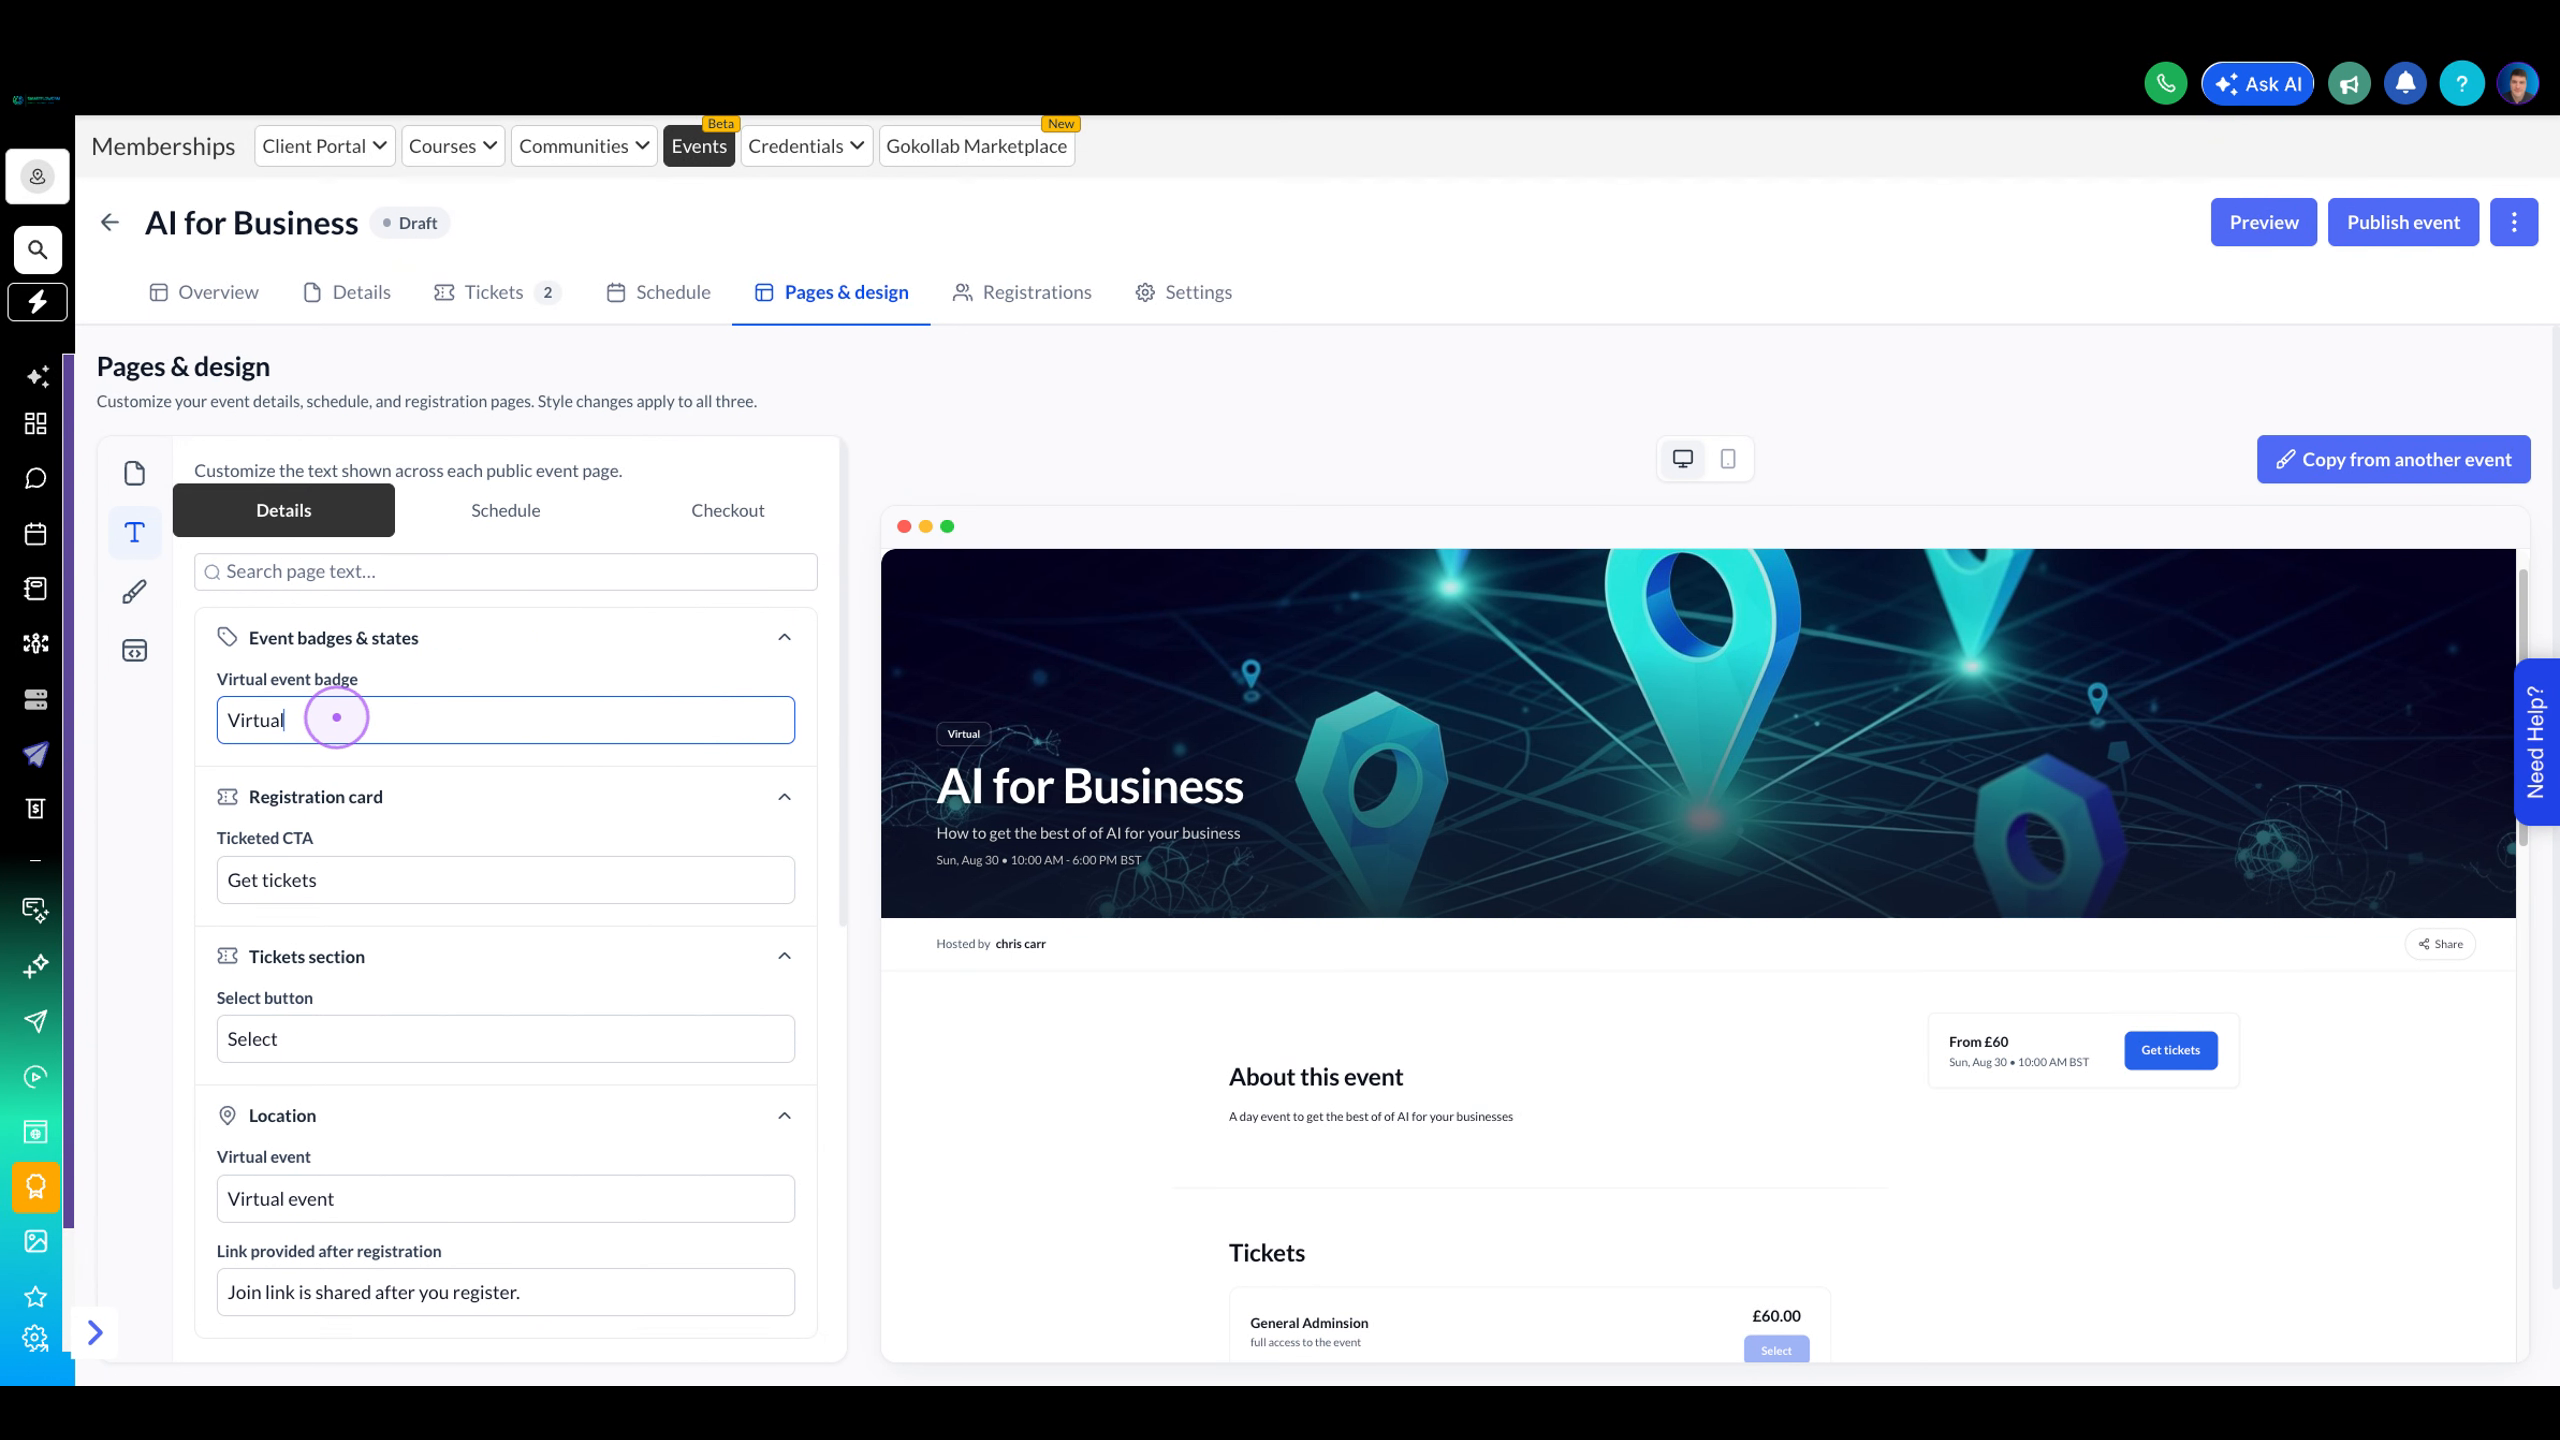
Locate the Virtual event badge field under Event badges & states and update the text to reflect your event type, such as changing "Virtual" to "Virtual meeting."
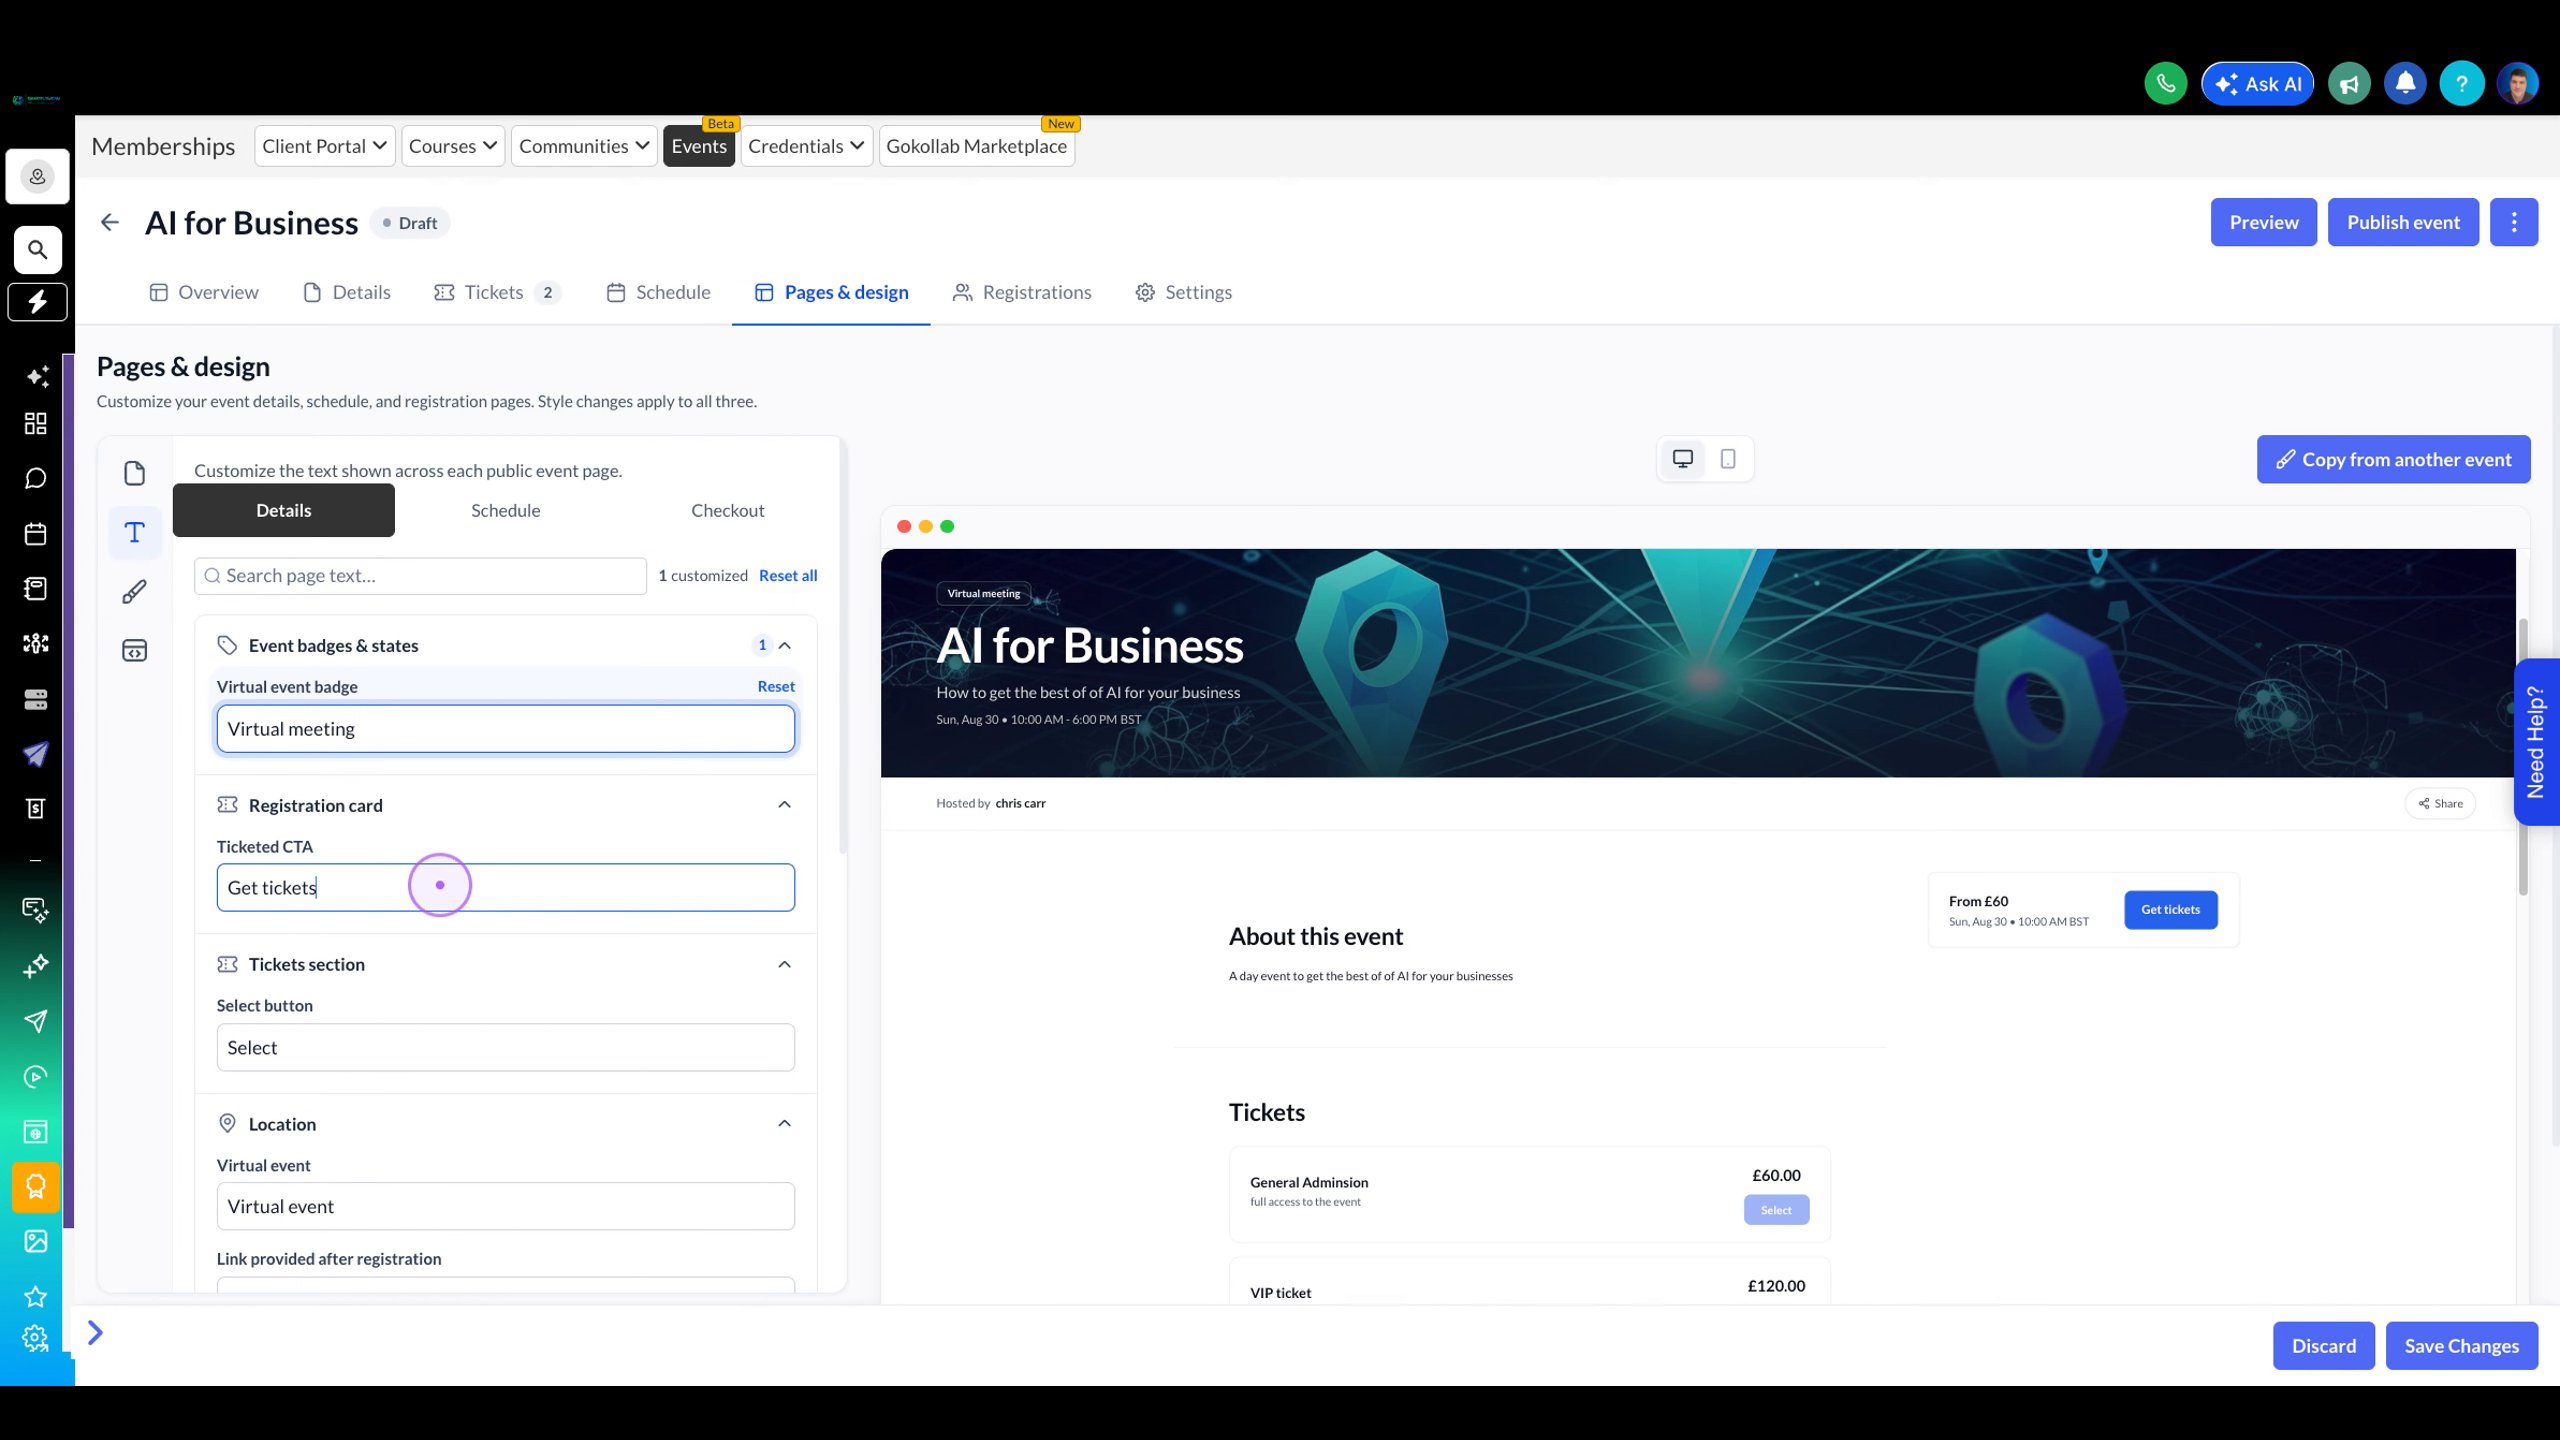
Find the Ticketed CTA field in the Registration card section and modify the call-to-action button text from "Get tickets" to your preferred wording like "buy tickets."
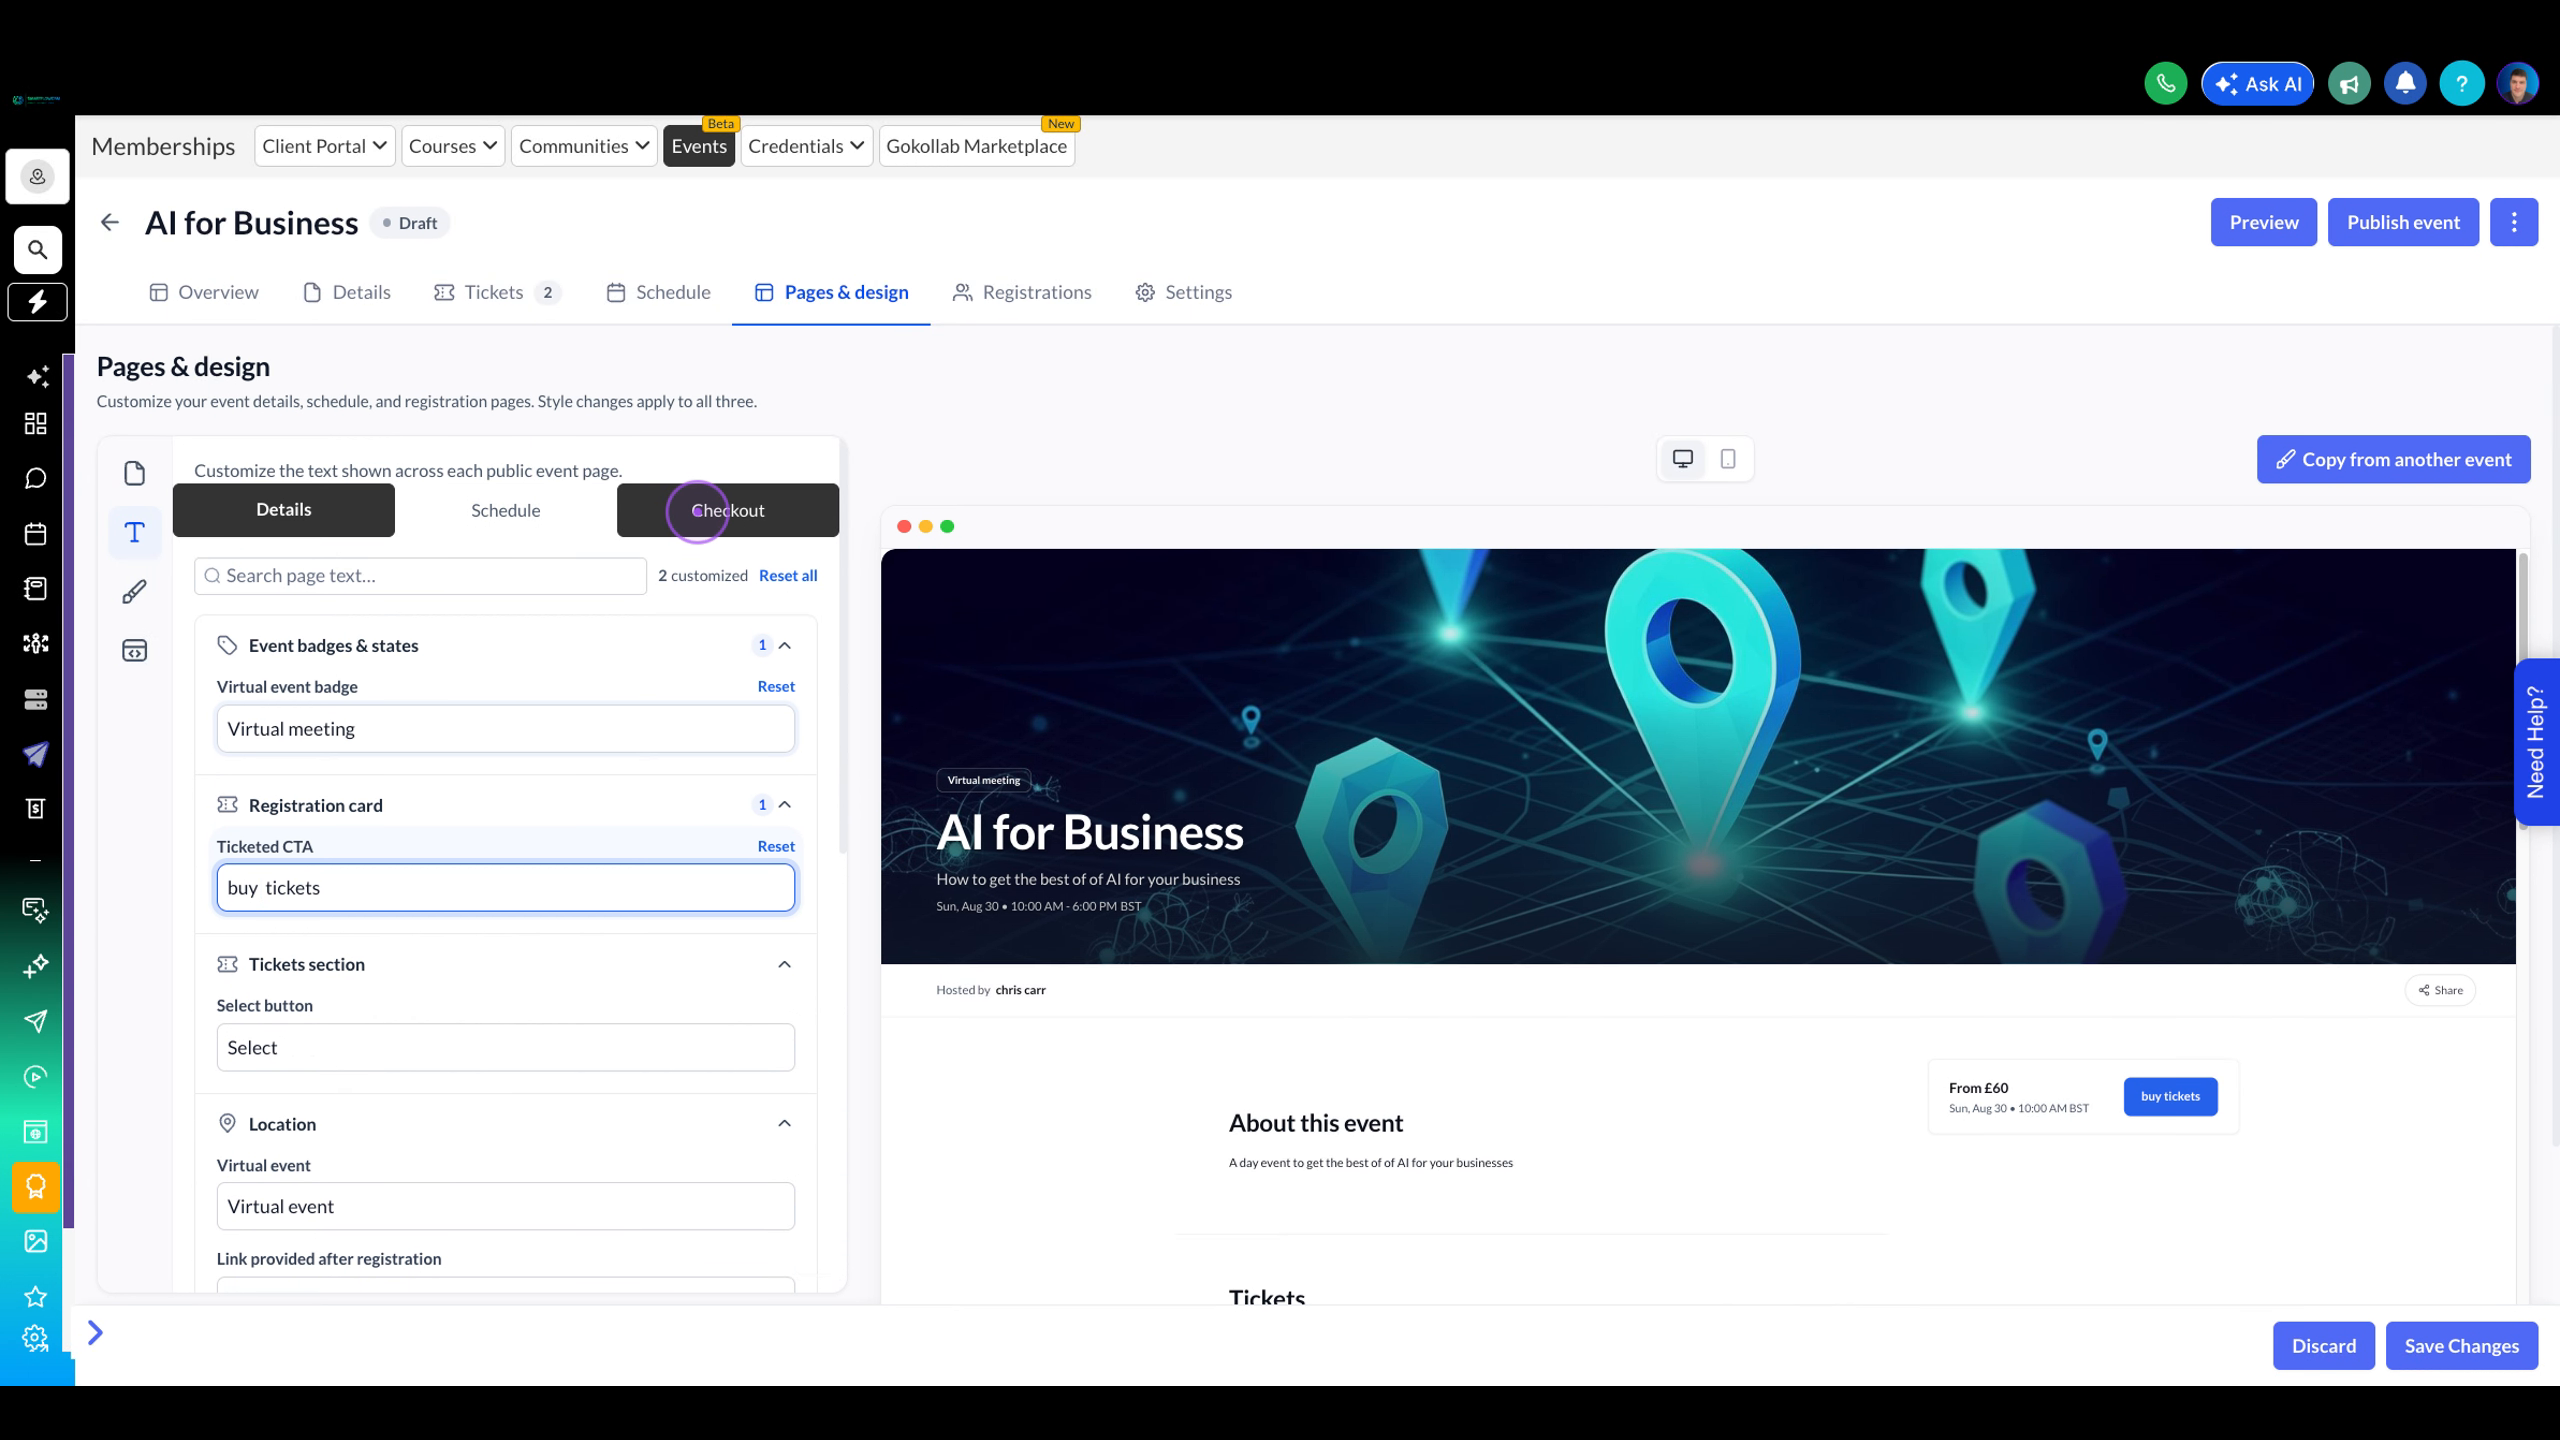
Click the Checkout tab at the top of the customisation panel to access text labels for the registration and payment flow.
In the Tickets section, locate the Coupon prompt field and update the discount code prompt text from "Have a coupon code?" to "Have a discount code?"
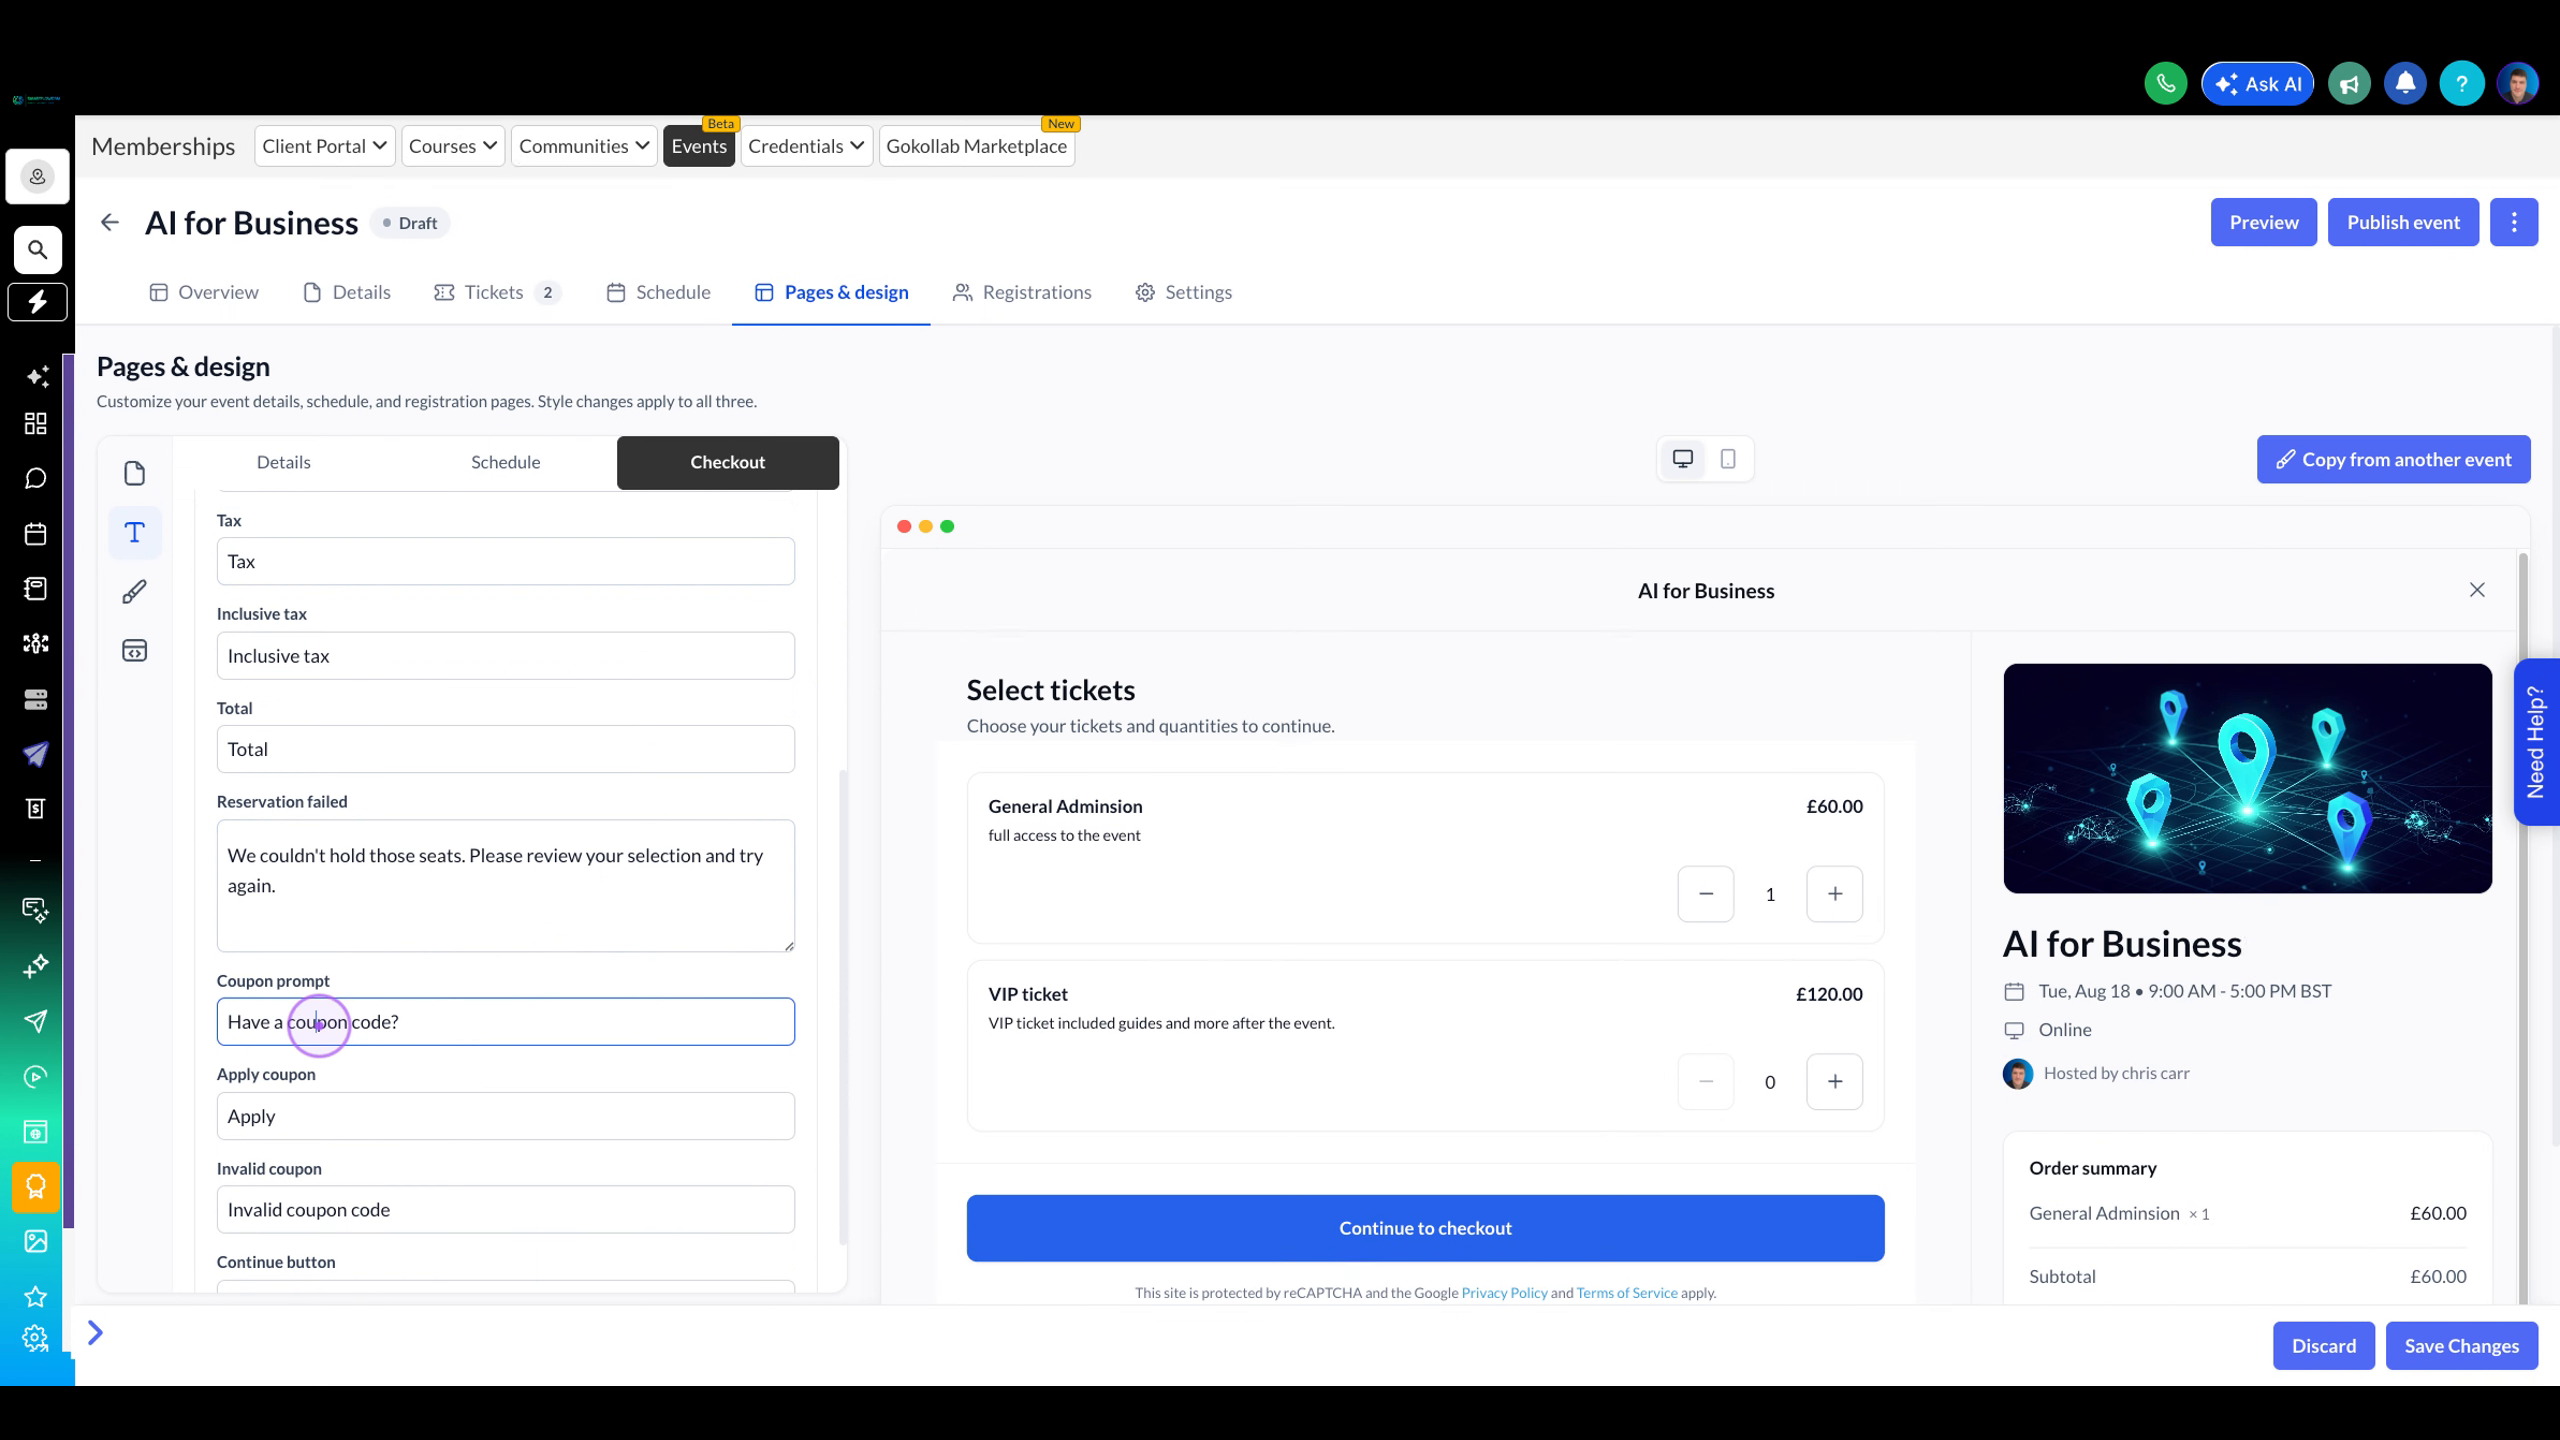
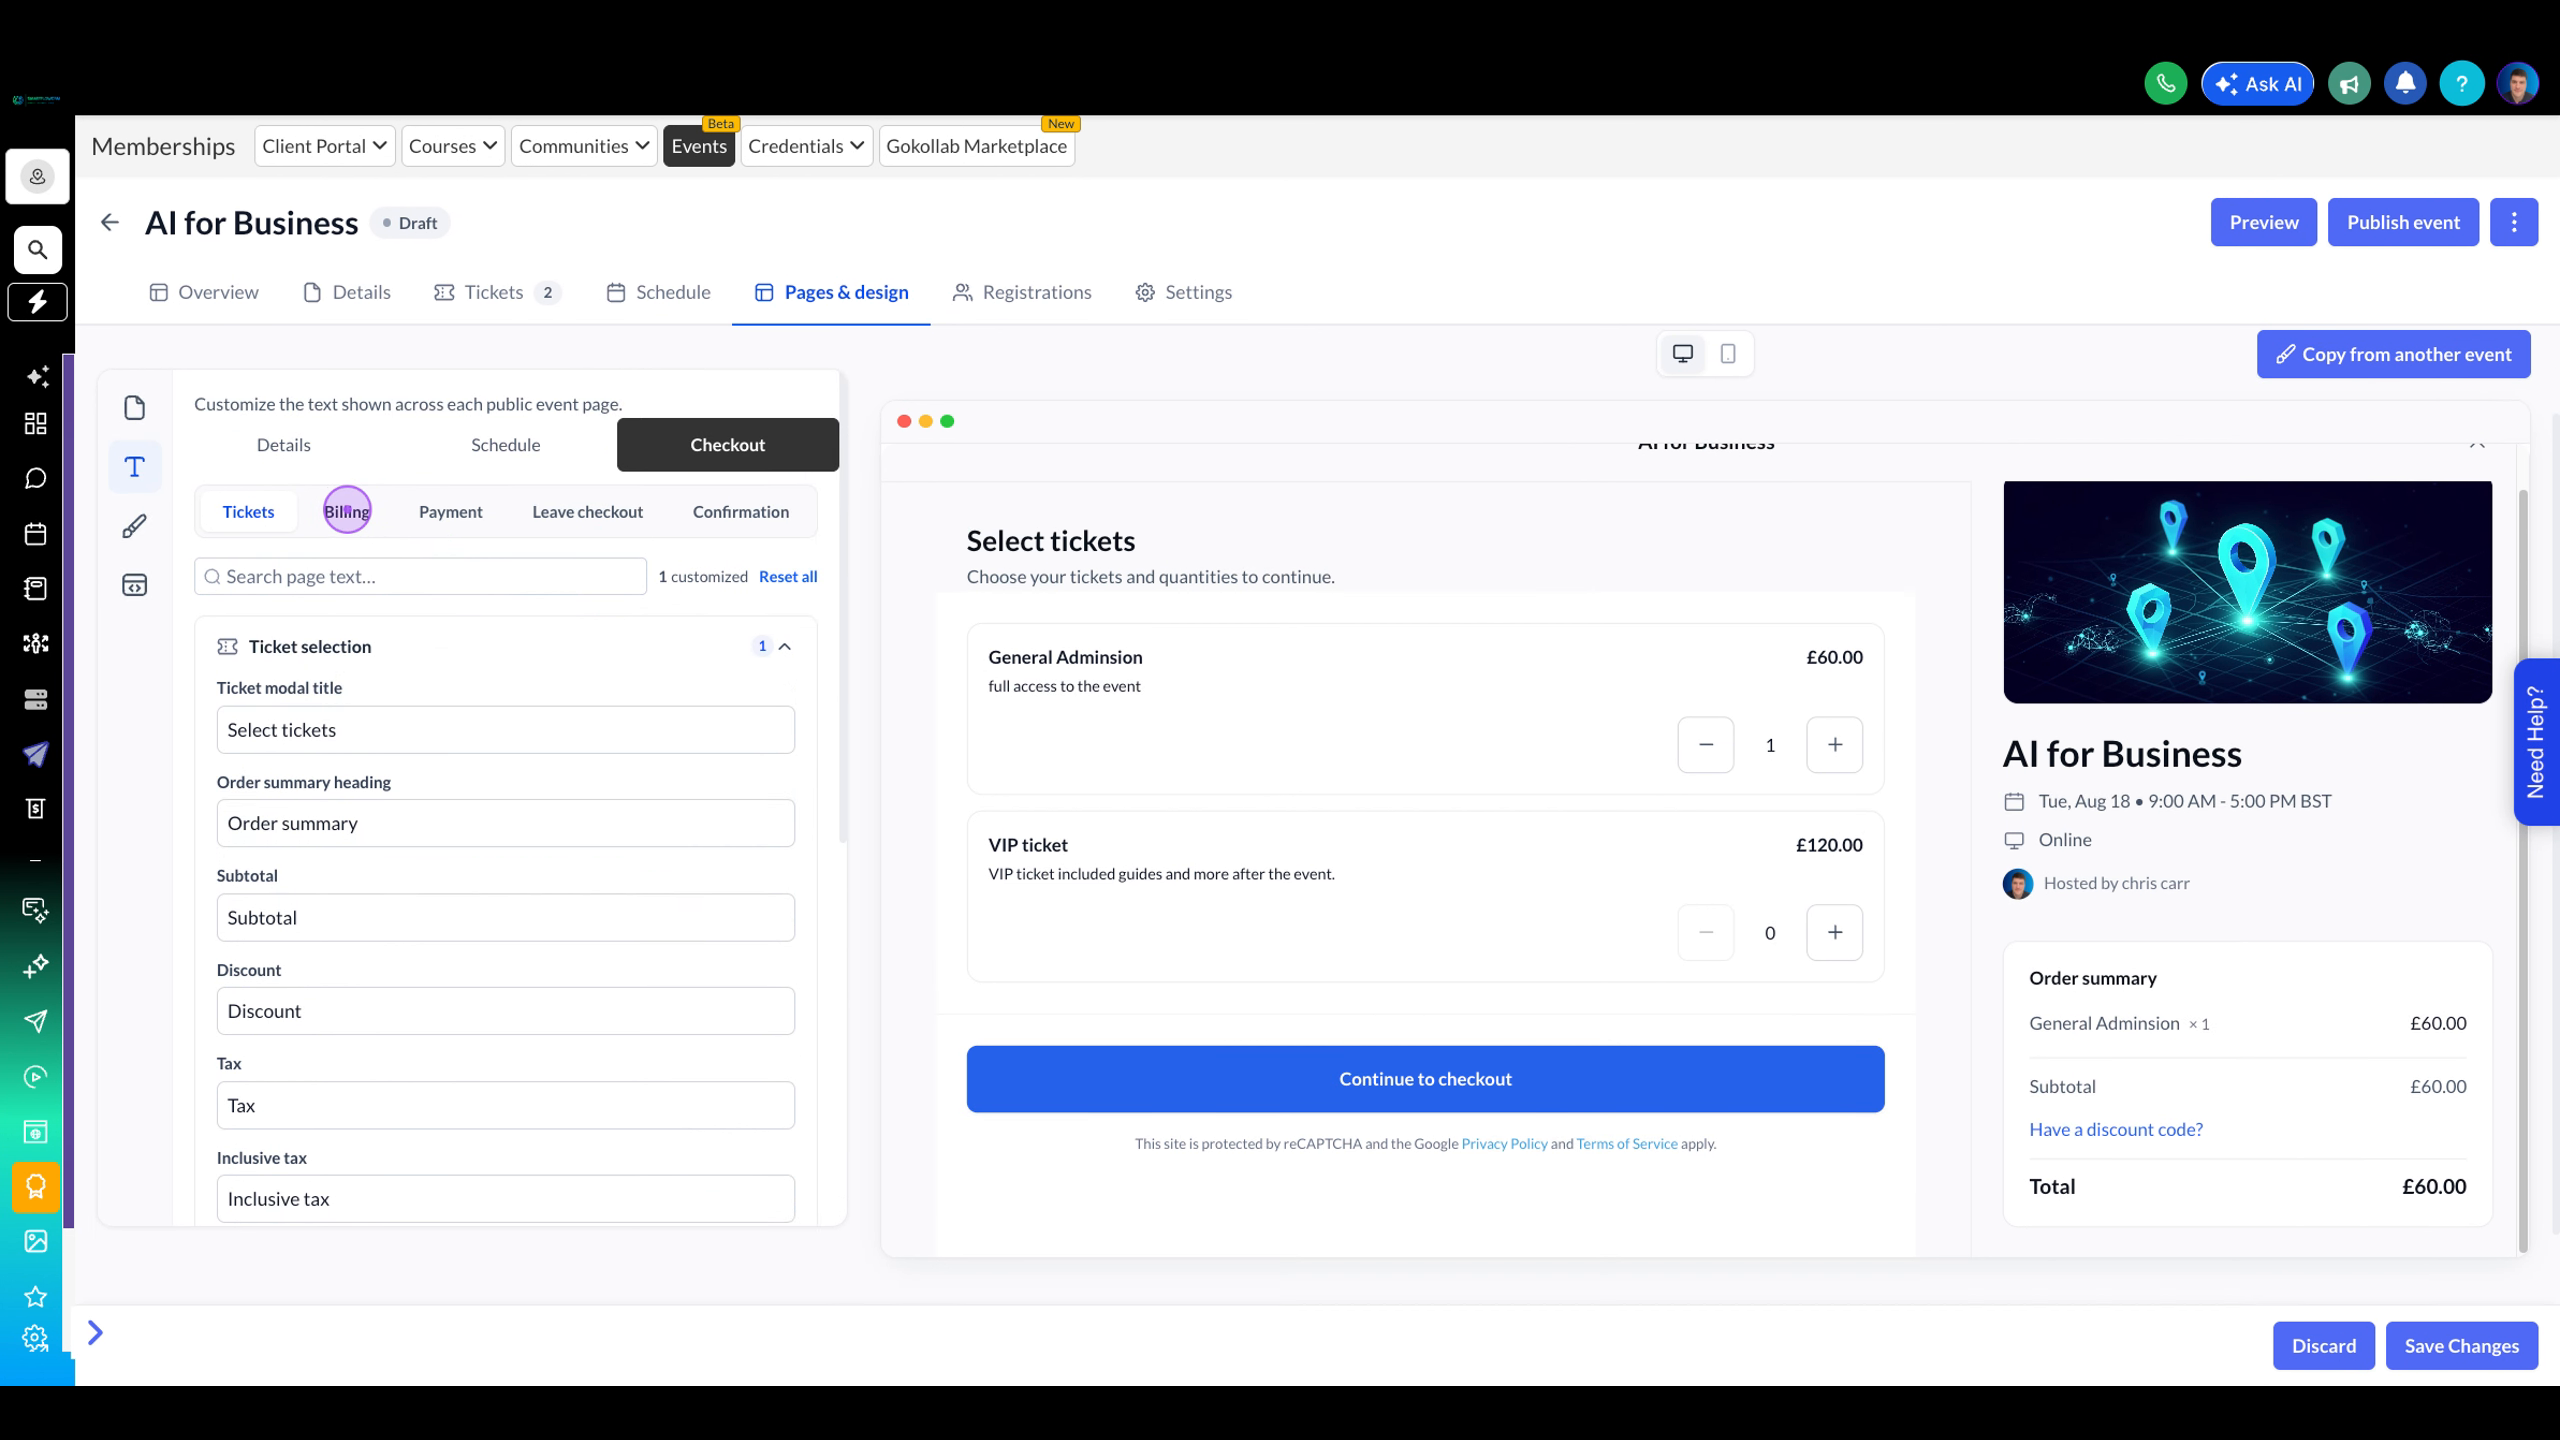
Click the Billing sub-tab to view and customise labels for the billing information form, including attendee details and form field labels.
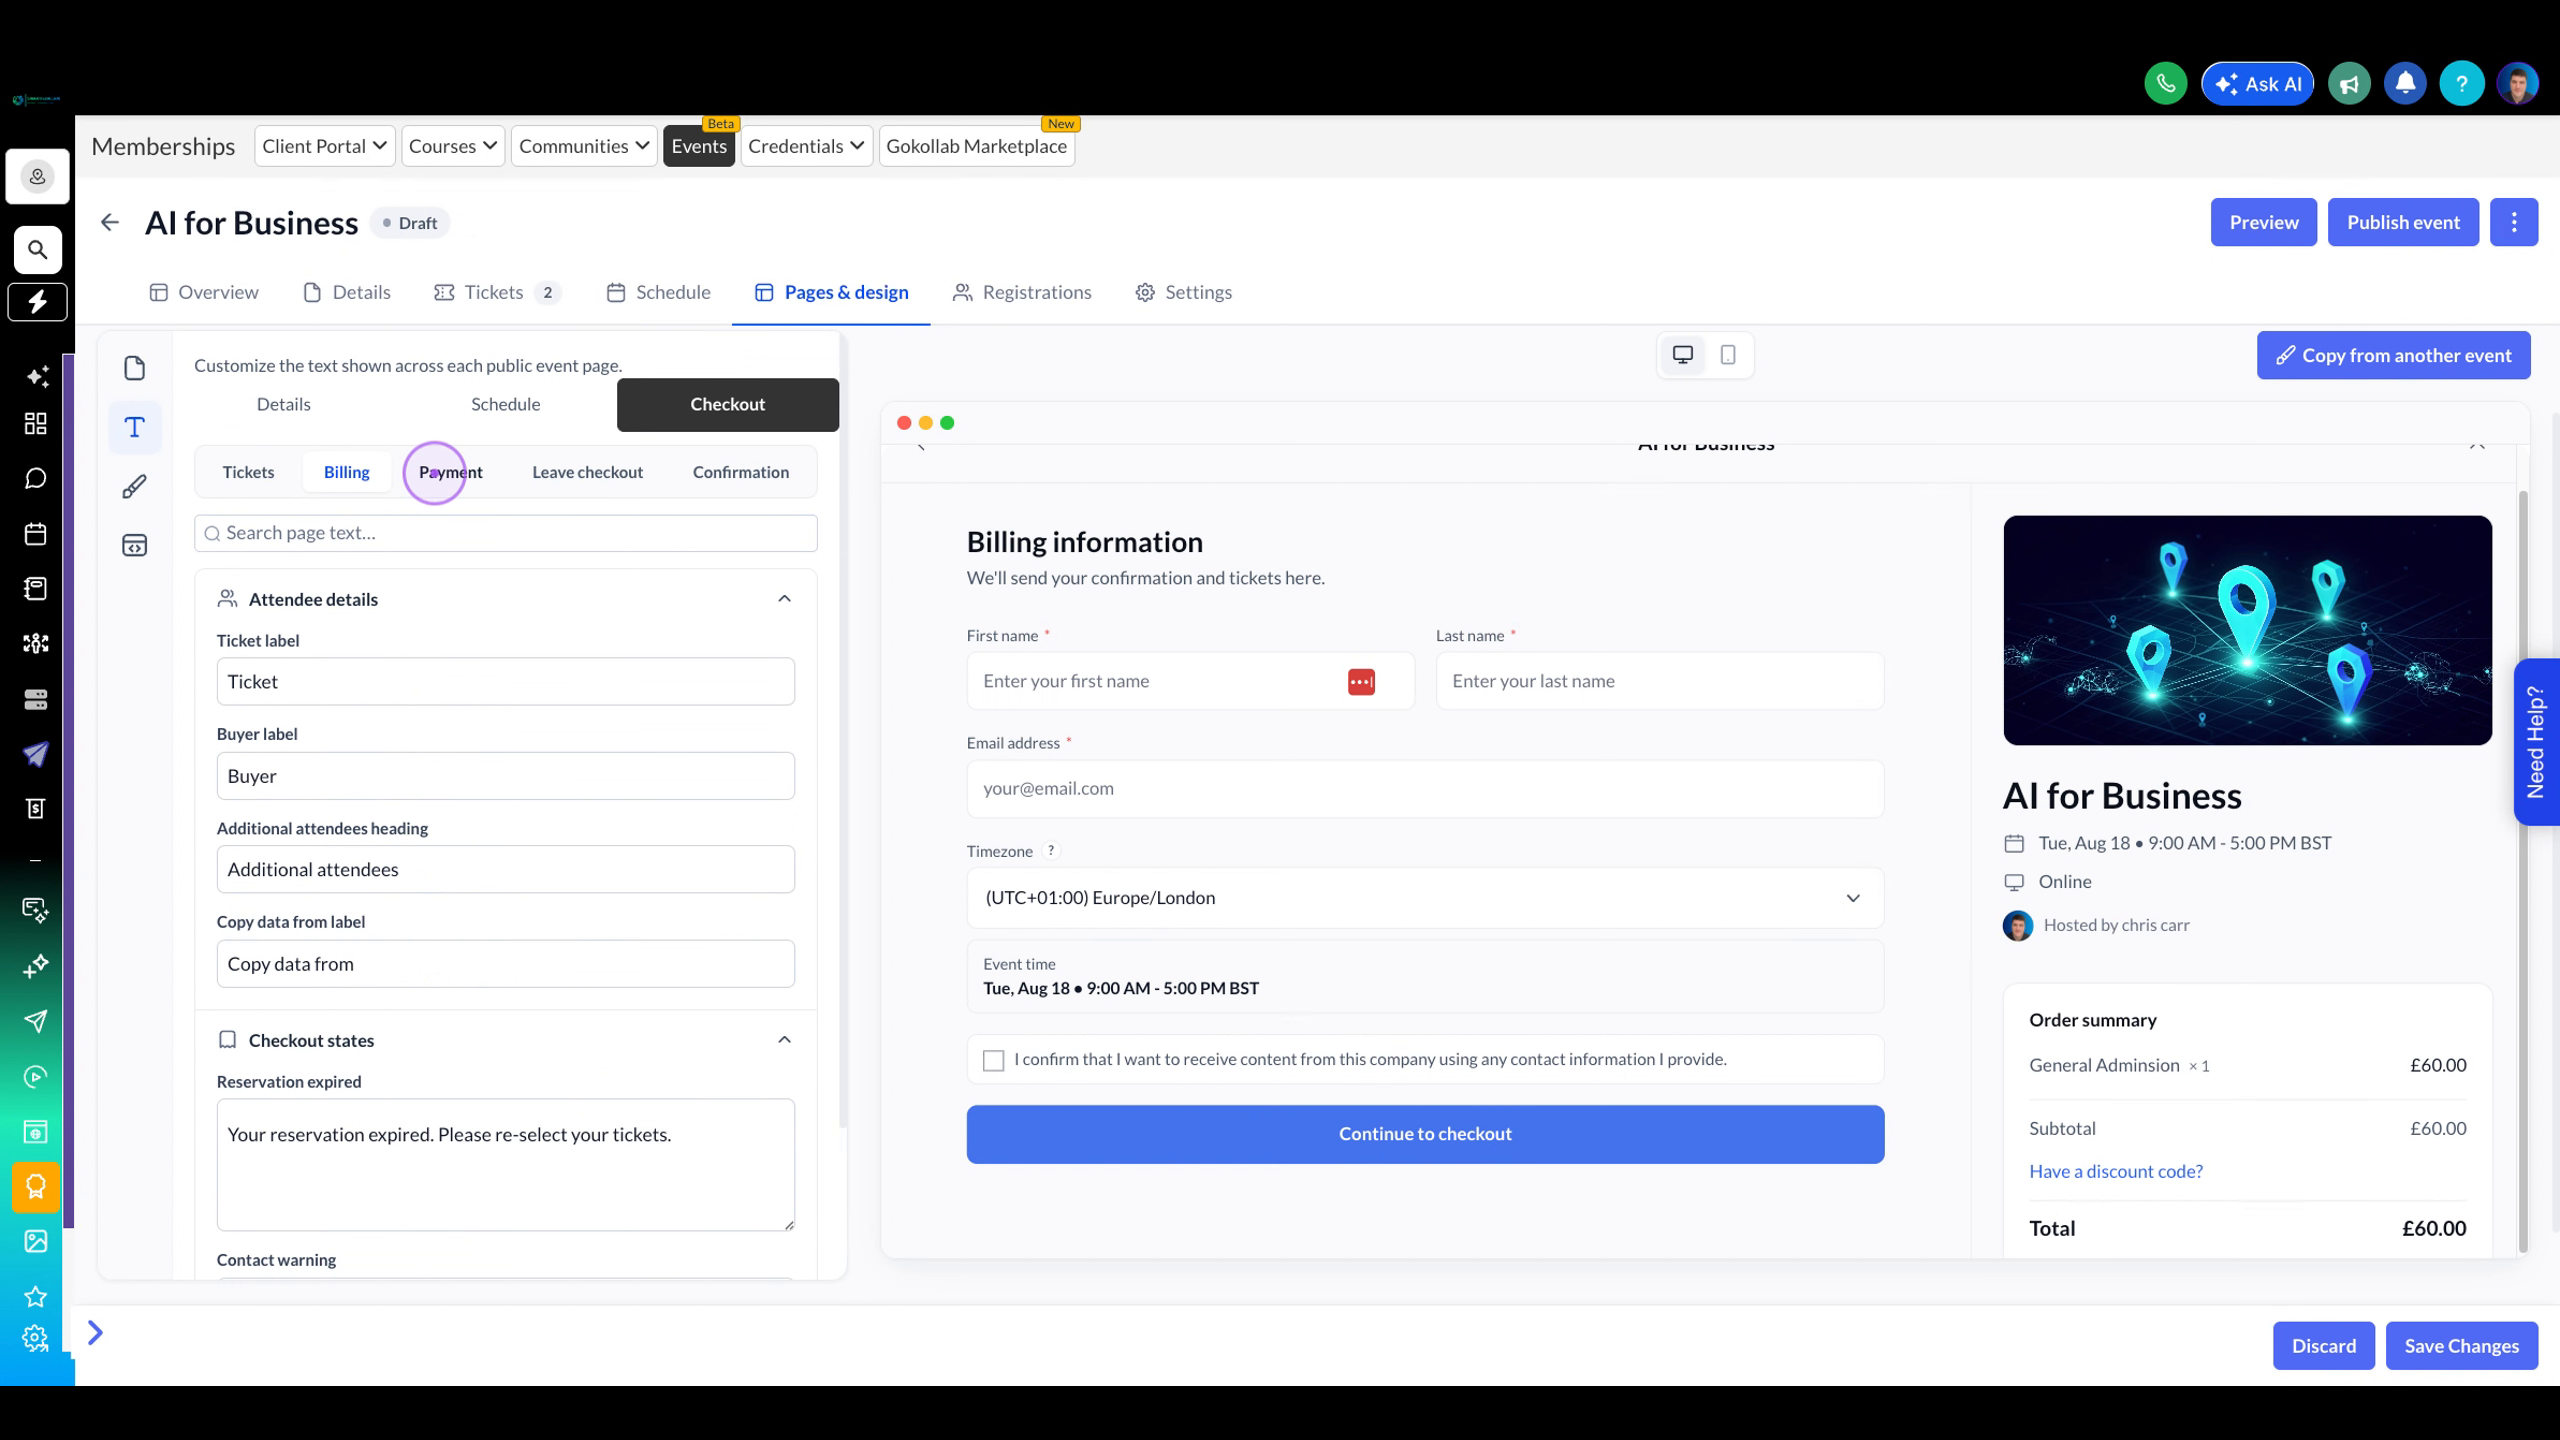
Navigate to the Payment sub-tab to customise text related to payment processing, including the place order button and error messages.
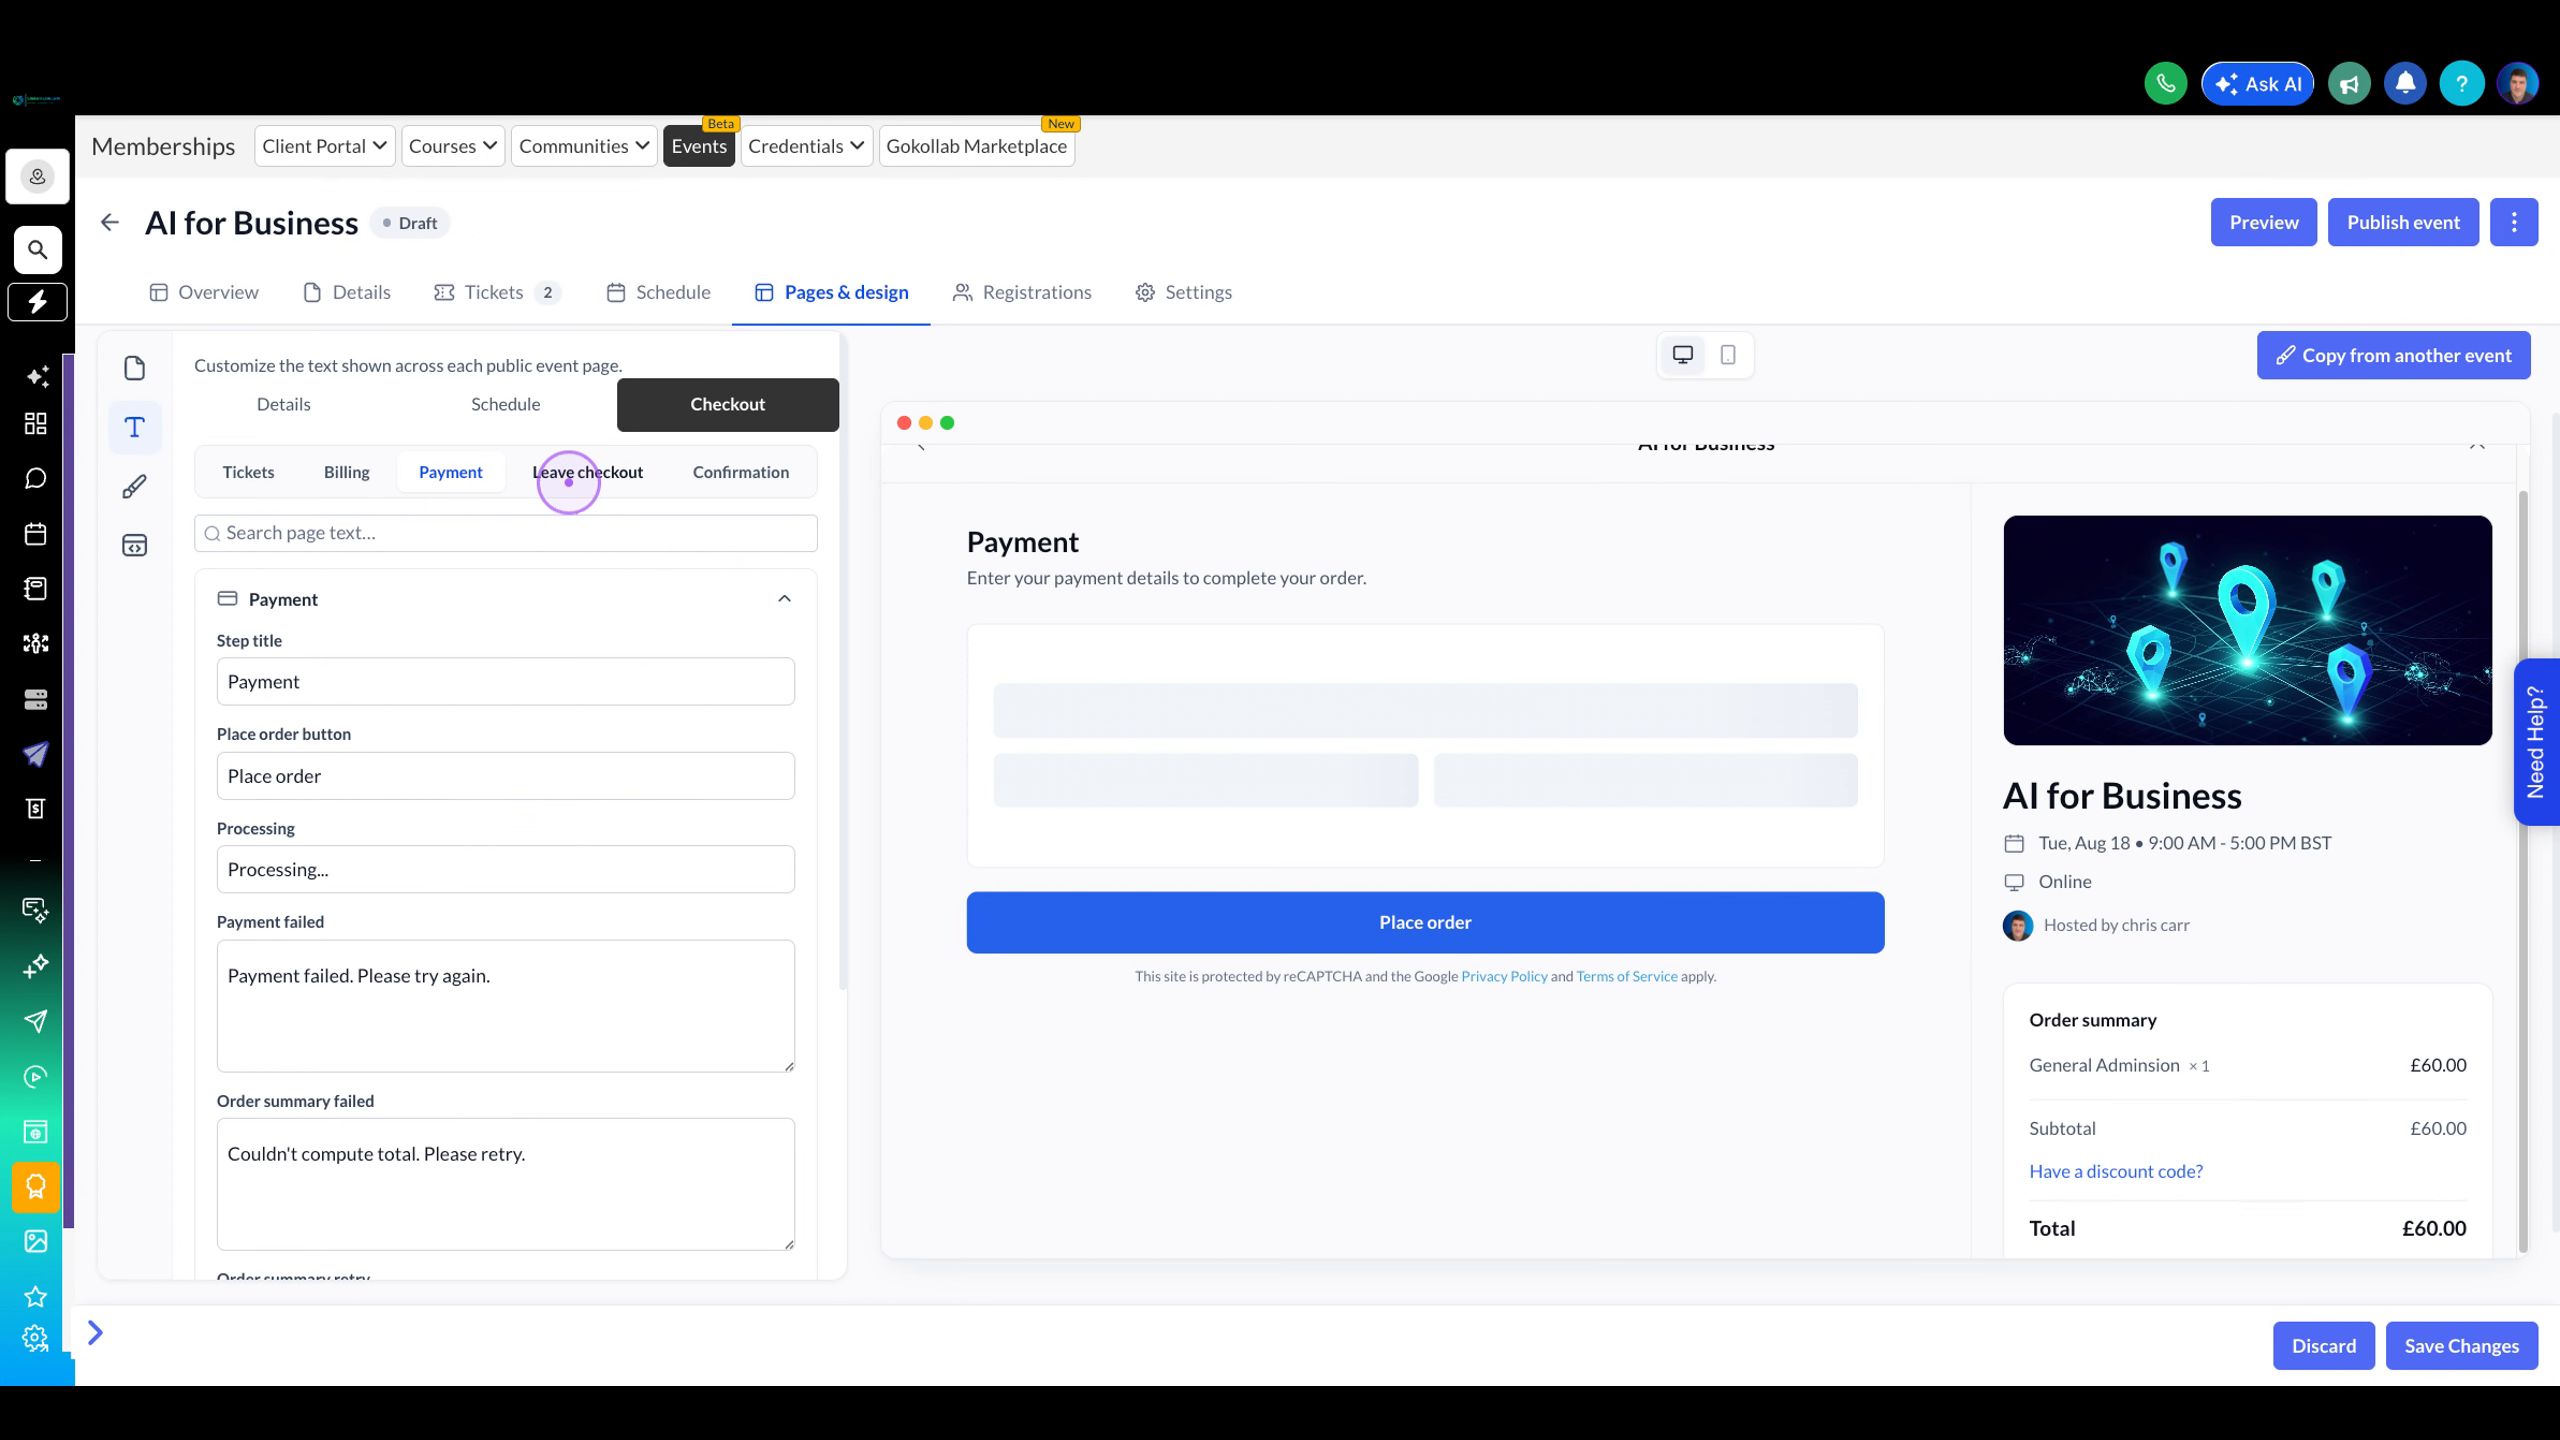
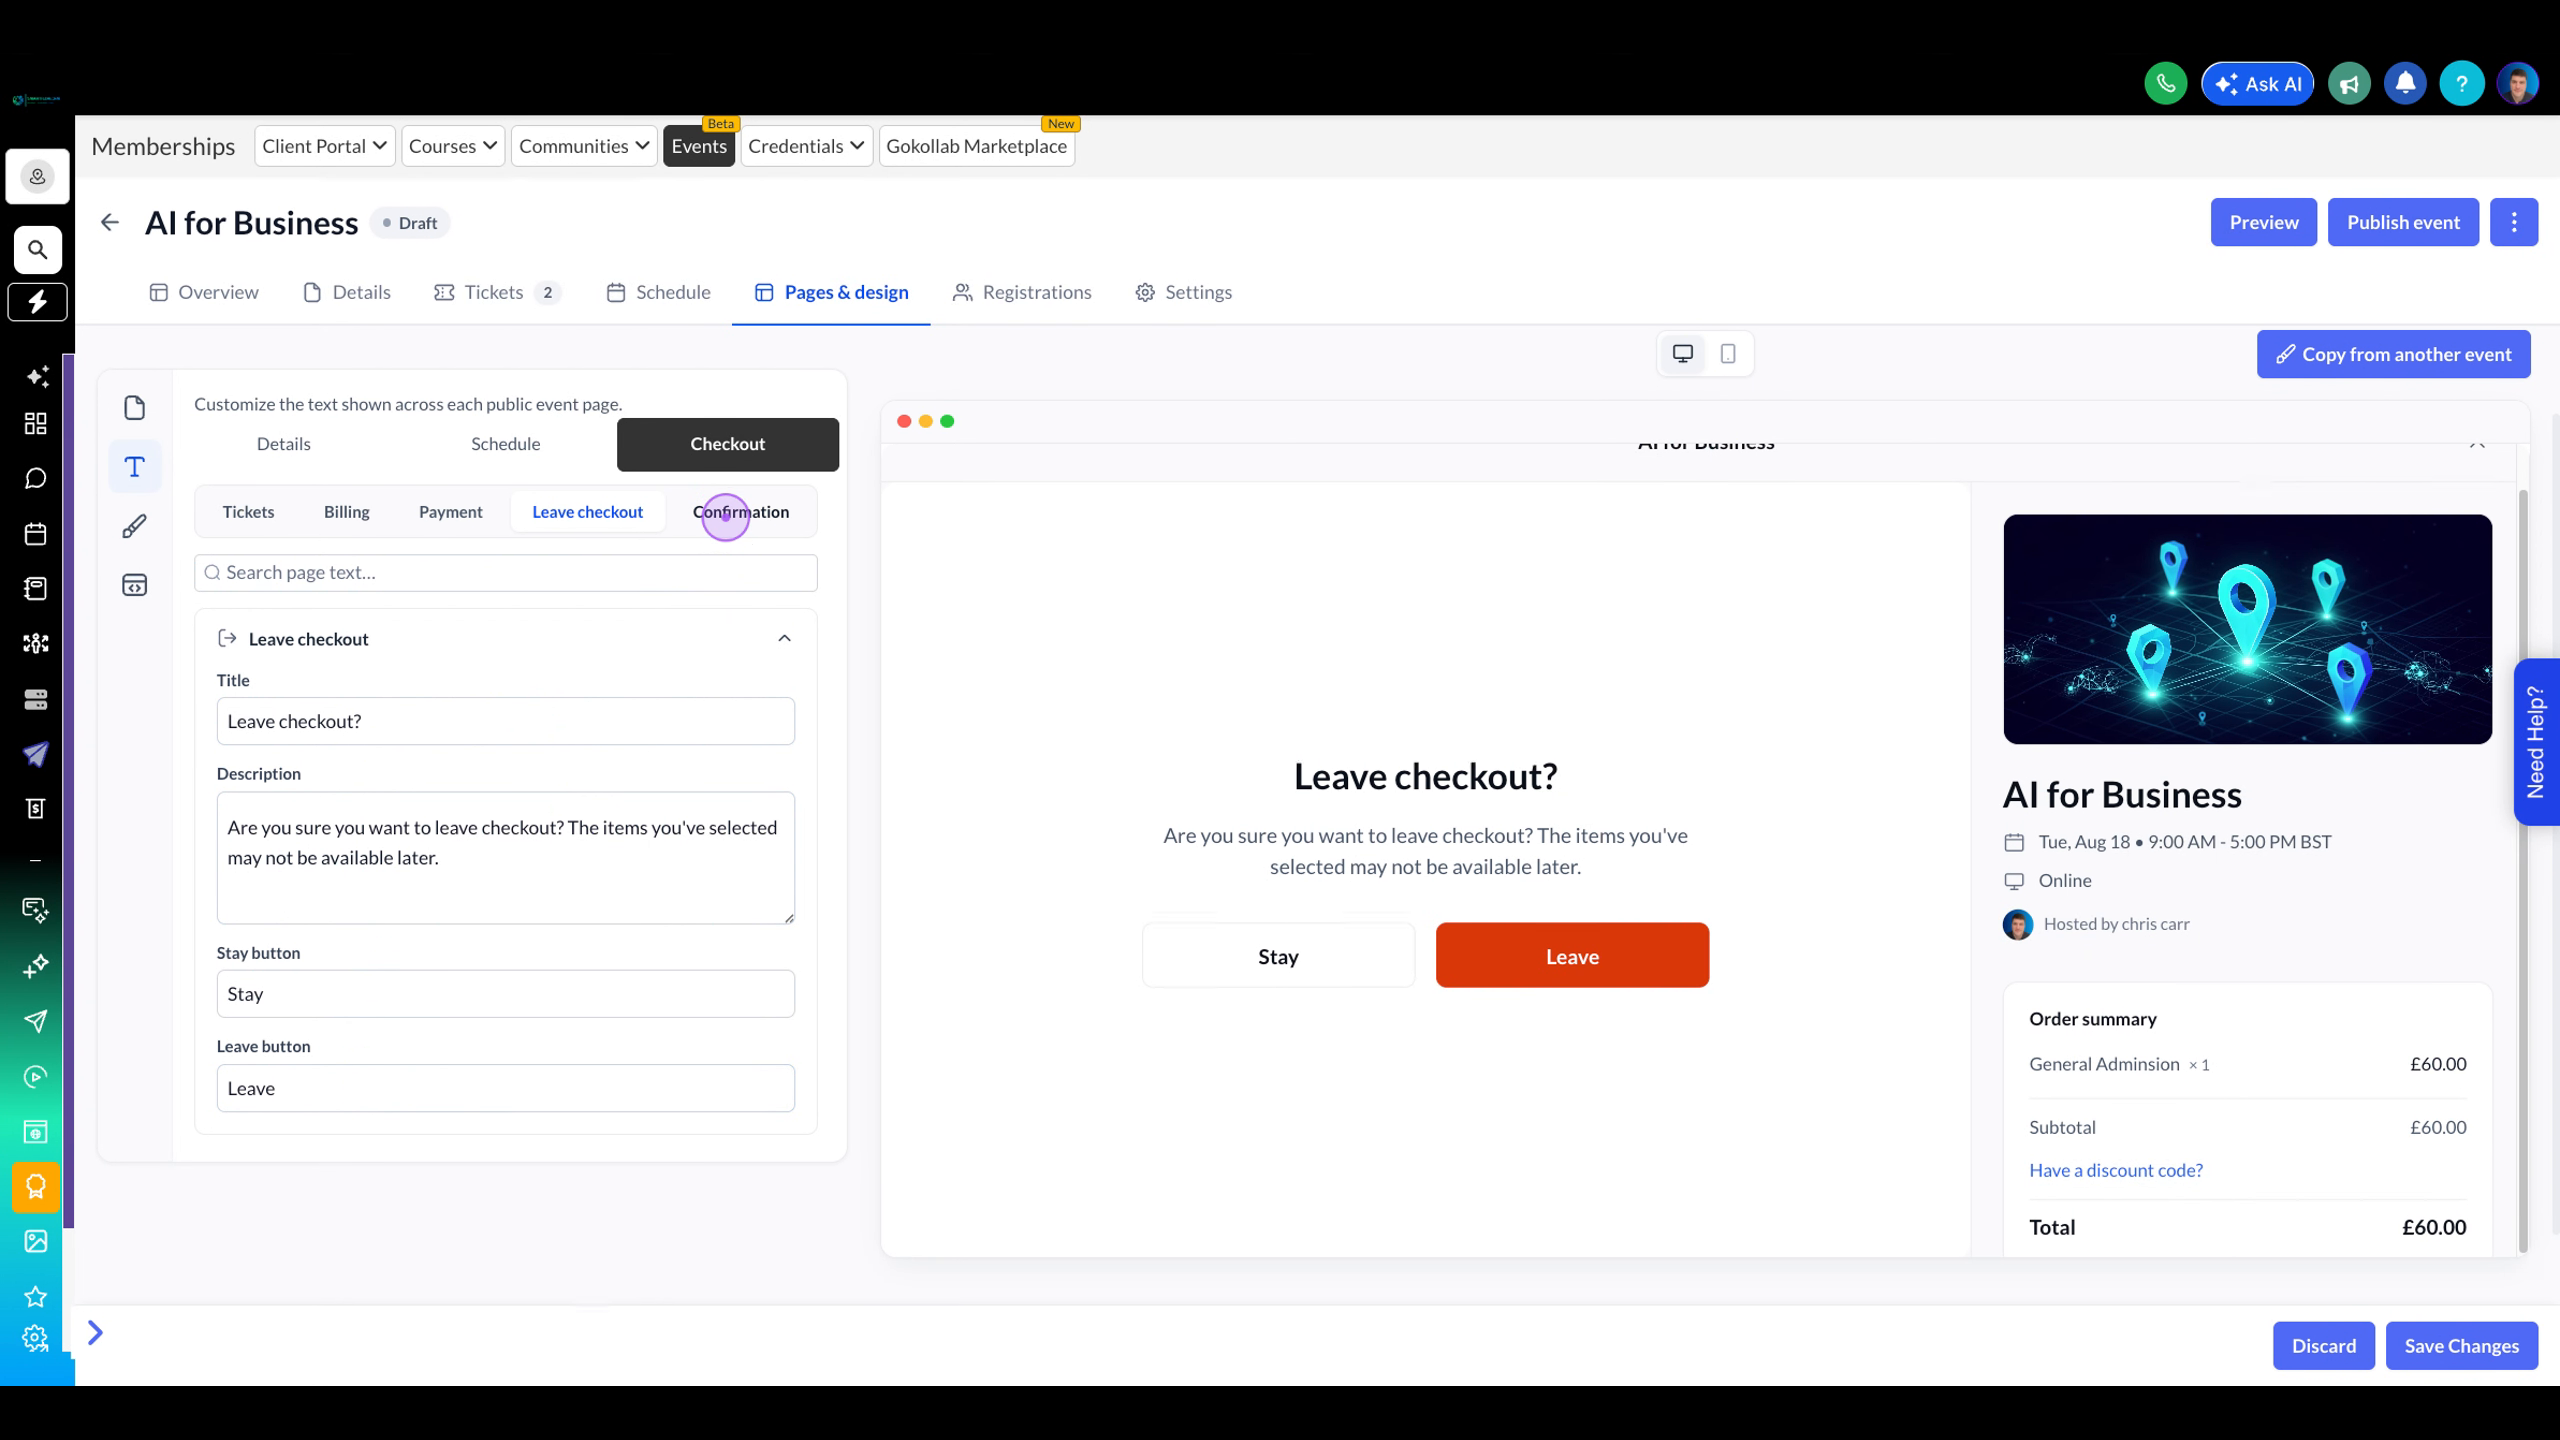
Click the Leave checkout sub-tab to edit the text shown when attendees attempt to exit the checkout process, including dialog titles and button labels.
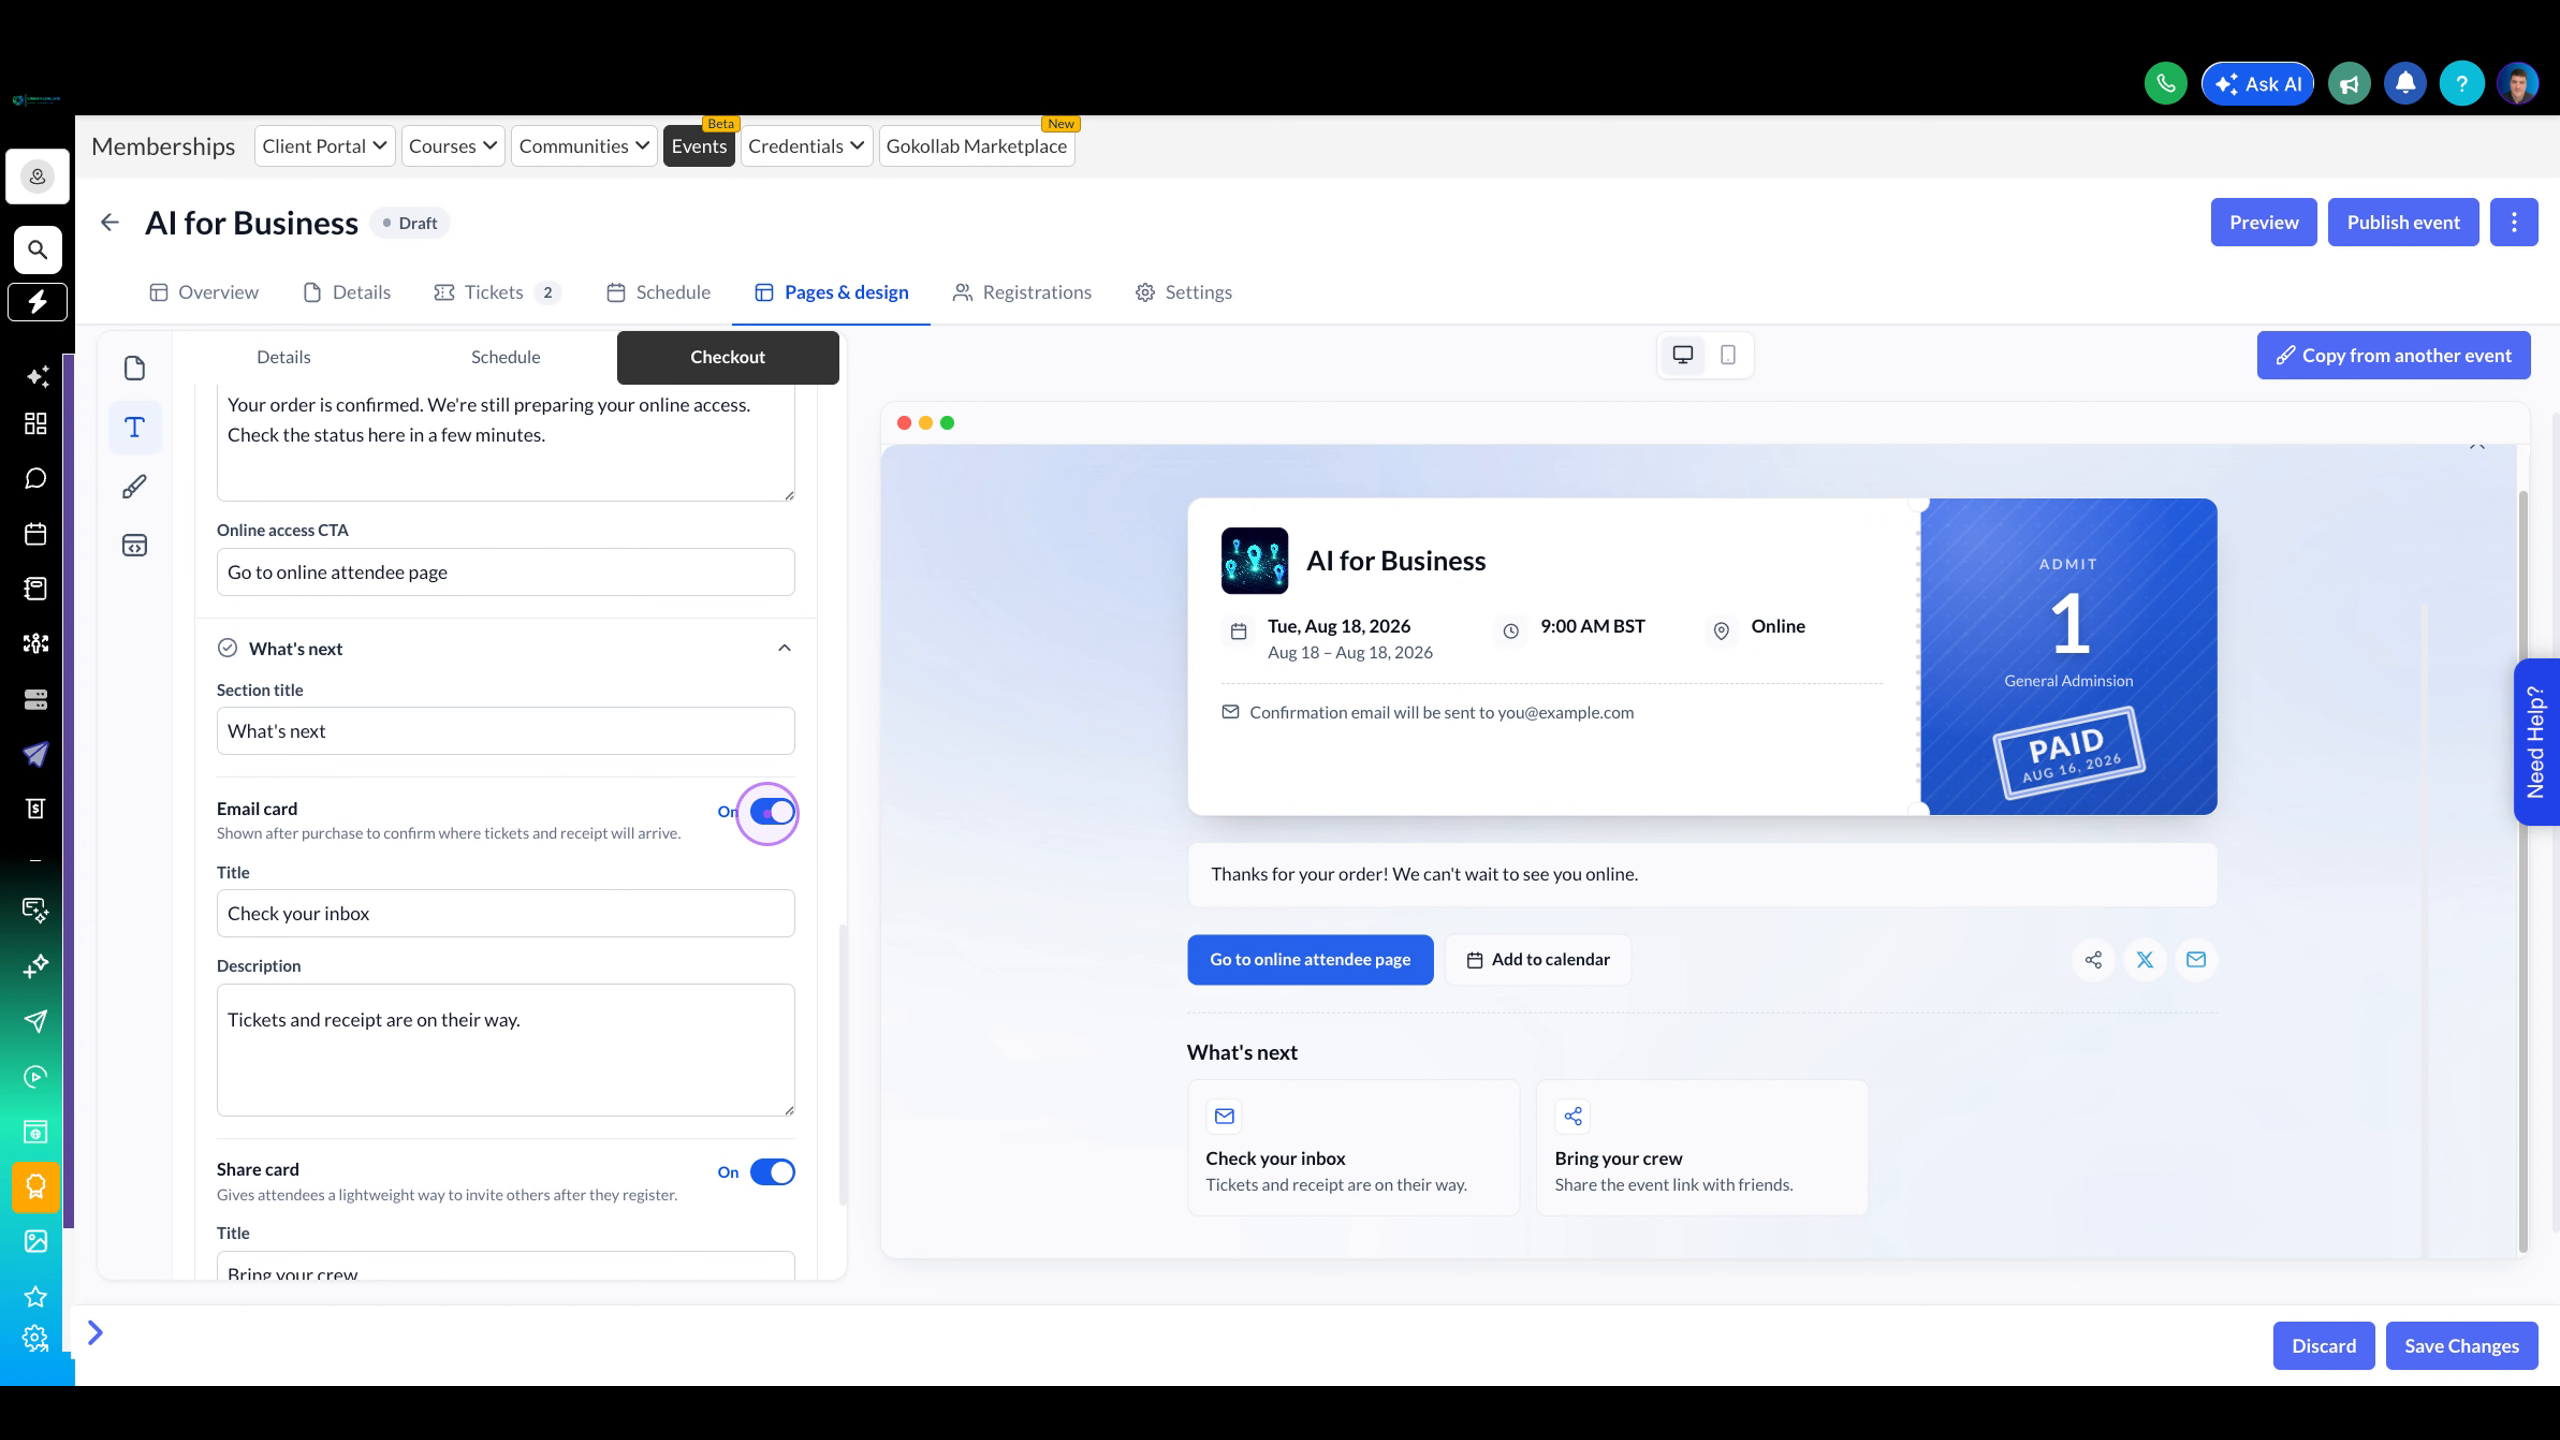
Navigate to the Confirmation sub-tab to customise the post-purchase success page, including success messages, ticket labels, and action button text.
Click the mobile preview icon in the top toolbar to verify how your customised text appears on mobile devices before saving your changes.
Pro Tip: Changes are automatically tracked with a "customised" badge next to modified fields. Use the Reset link next to any field to restore the default text, or click Reset all at the top of a section to clear all customisations. Remember to click Save Changes at the bottom right when you're finished editing.