This guide walks you through configuring comprehensive event settings in SmartFlow, including payment collection, multi-channel notifications (Email, SMS, WhatsApp), and event sharing options.
Click on the Payments tab in the left sidebar to configure payment collection and checkout behaviour for your event.
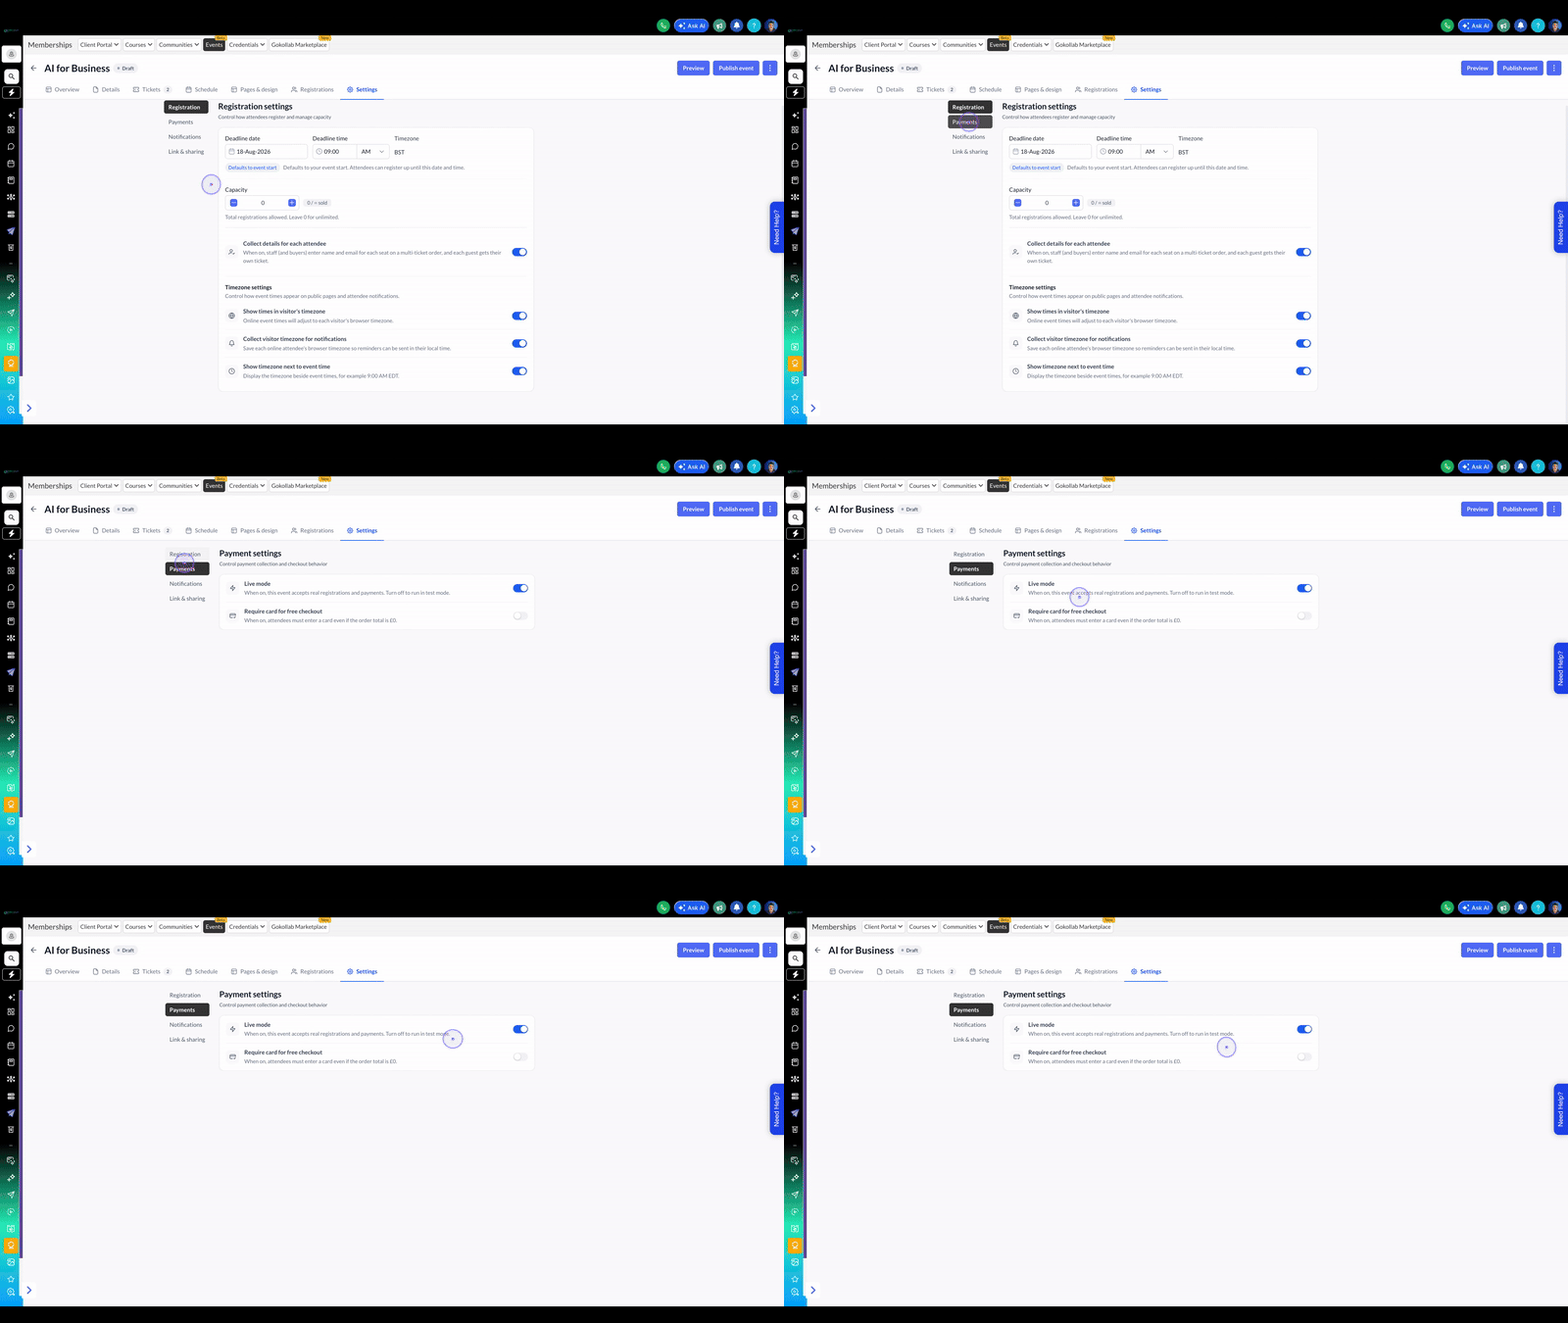
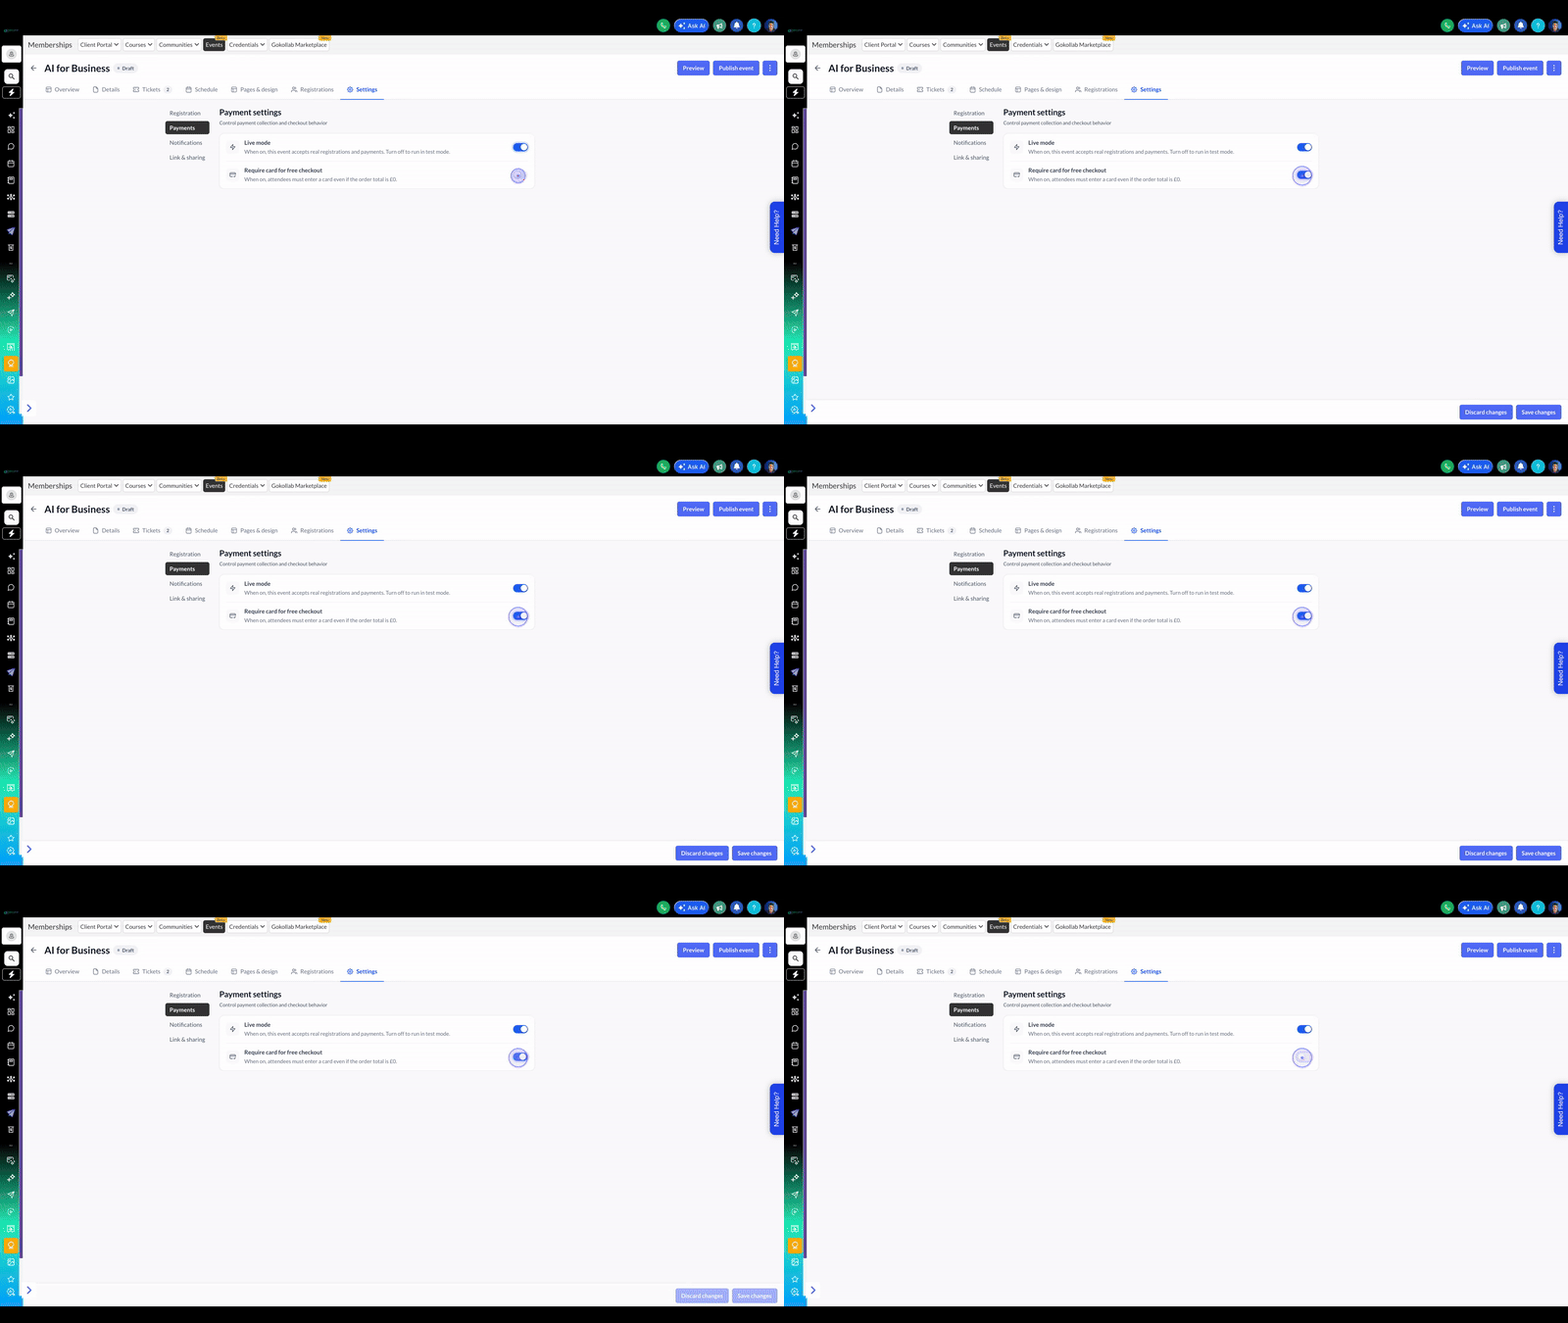
Toggle the Live mode switch to accept real registrations and payments, and enable Require card for free checkout if needed.
Click on the Notifications tab to configure emails sent to organizers and attendees.
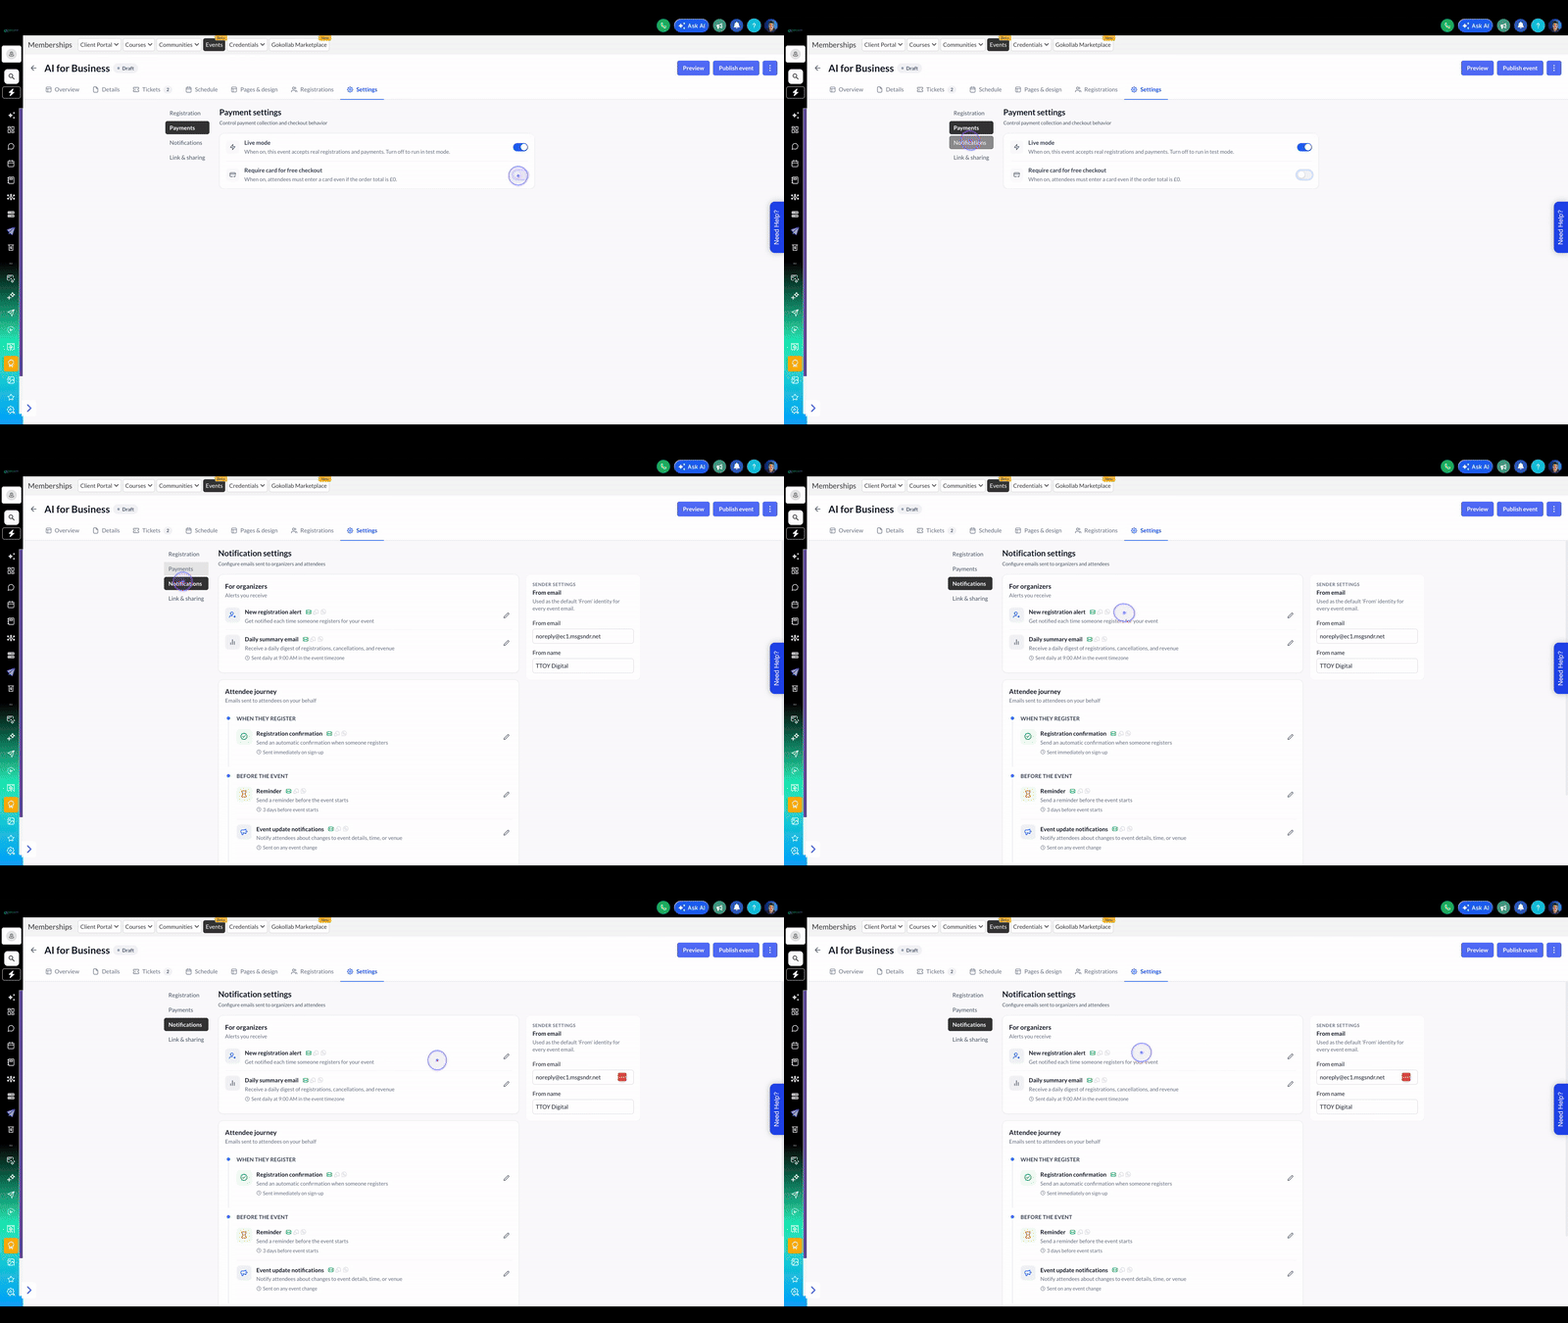
Click the edit icon next to New registration alert under 'For organisers' to customise the notification sent when someone registers.
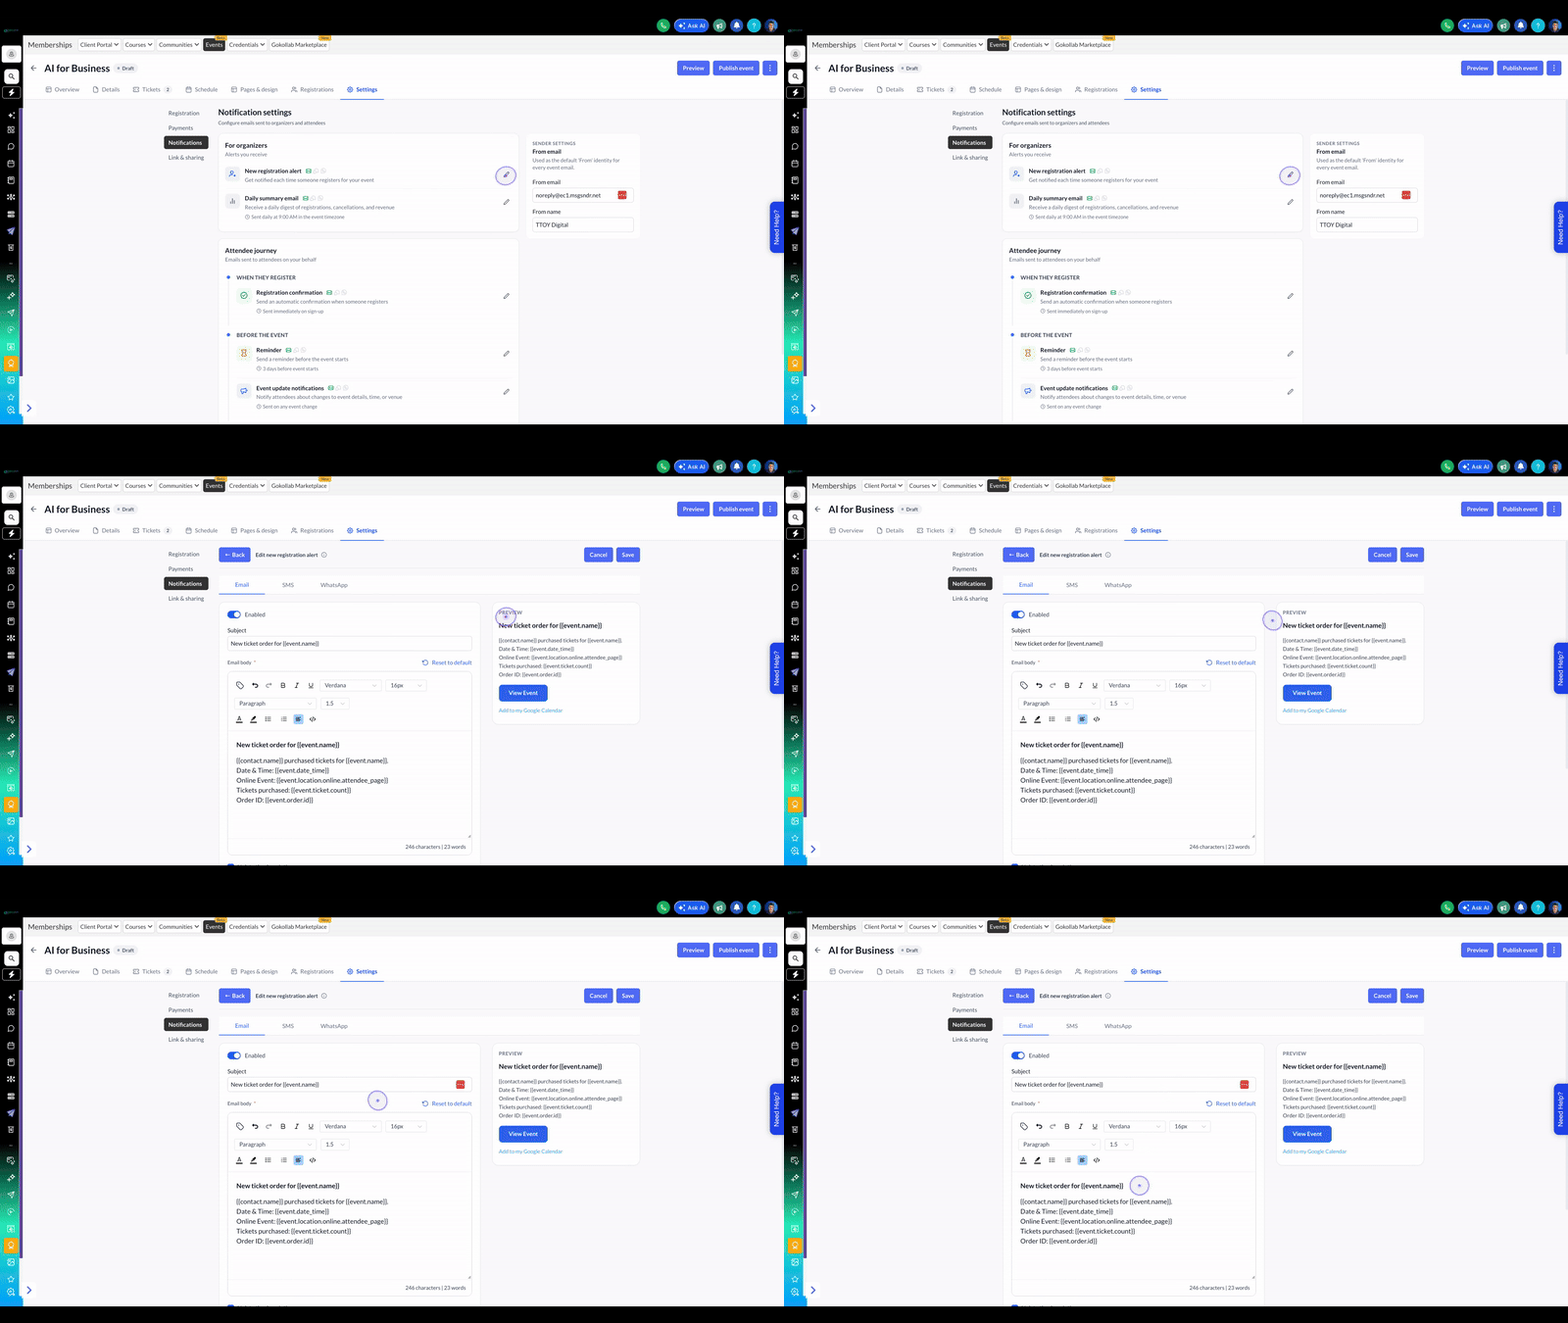
Click the SMS tab to configure text message notifications for new registrations.
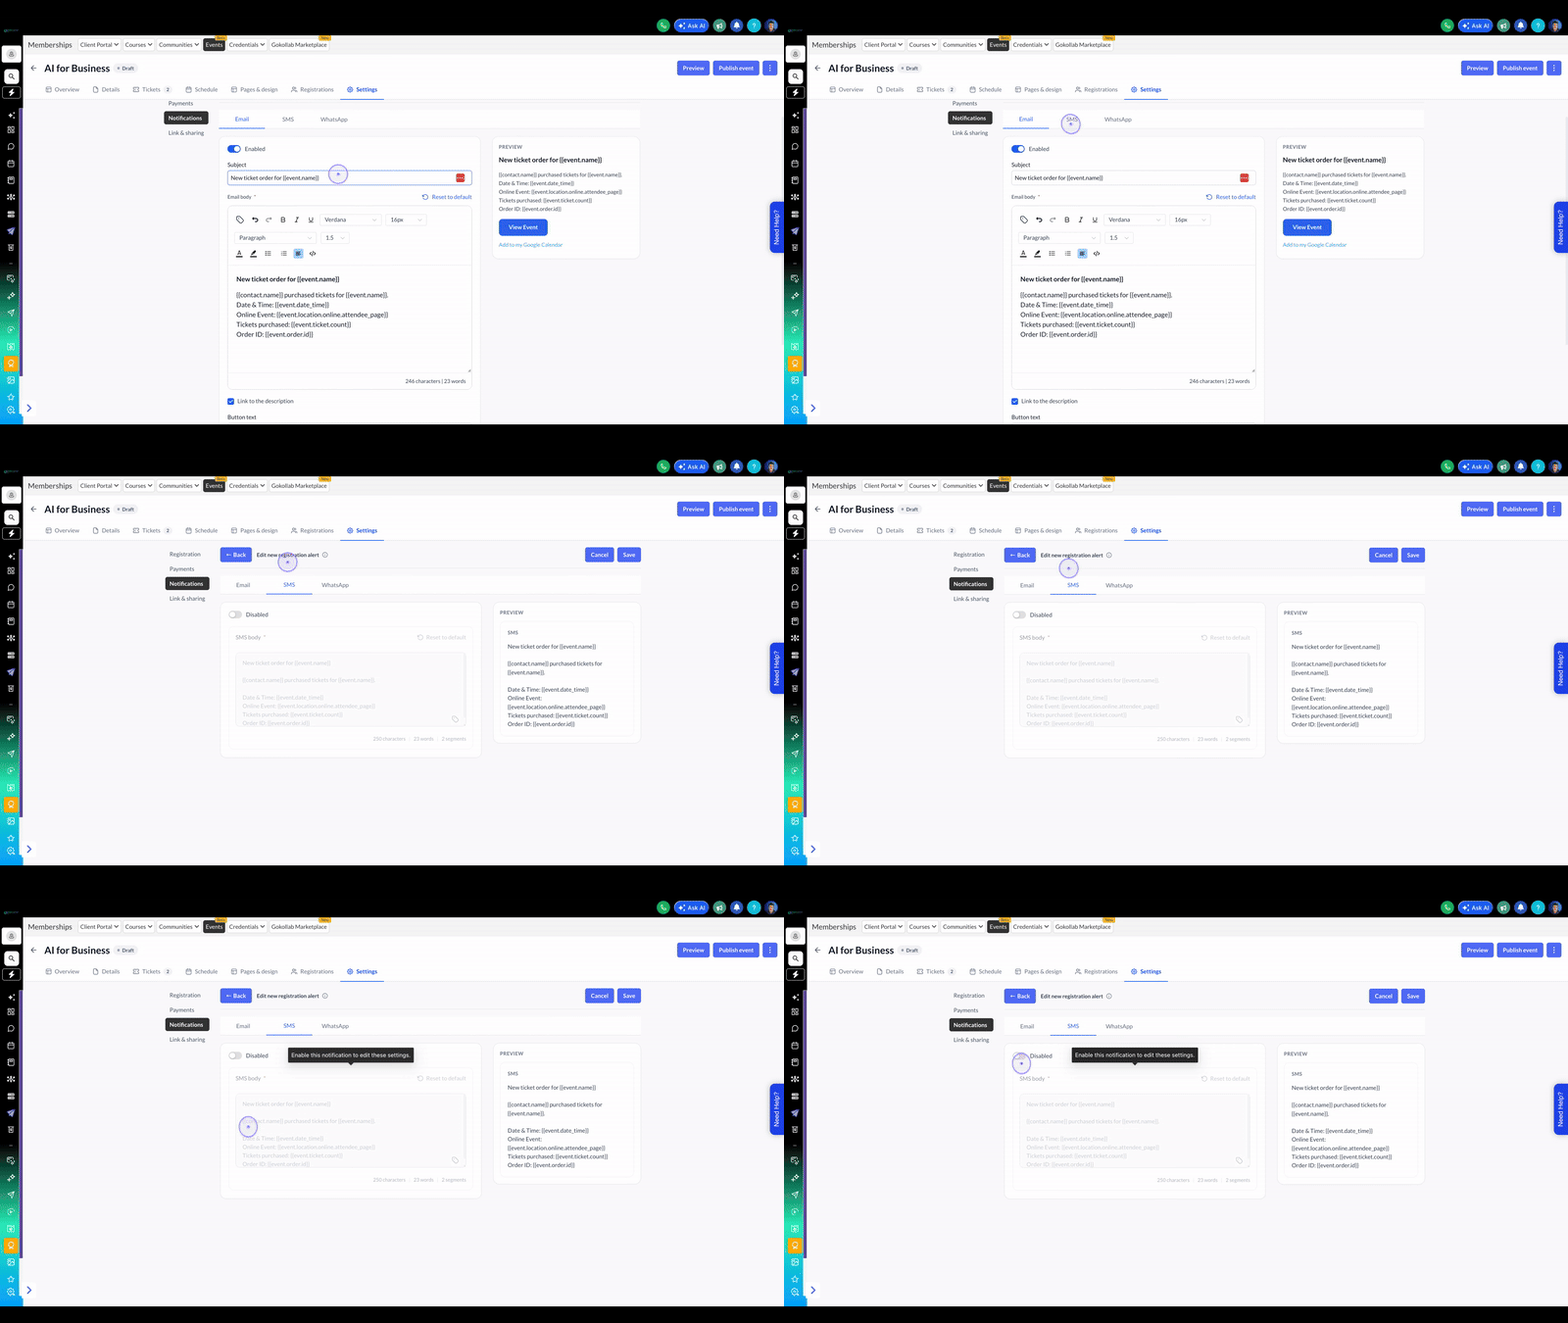
Click the toggle switch to enable SMS notifications for this alert.
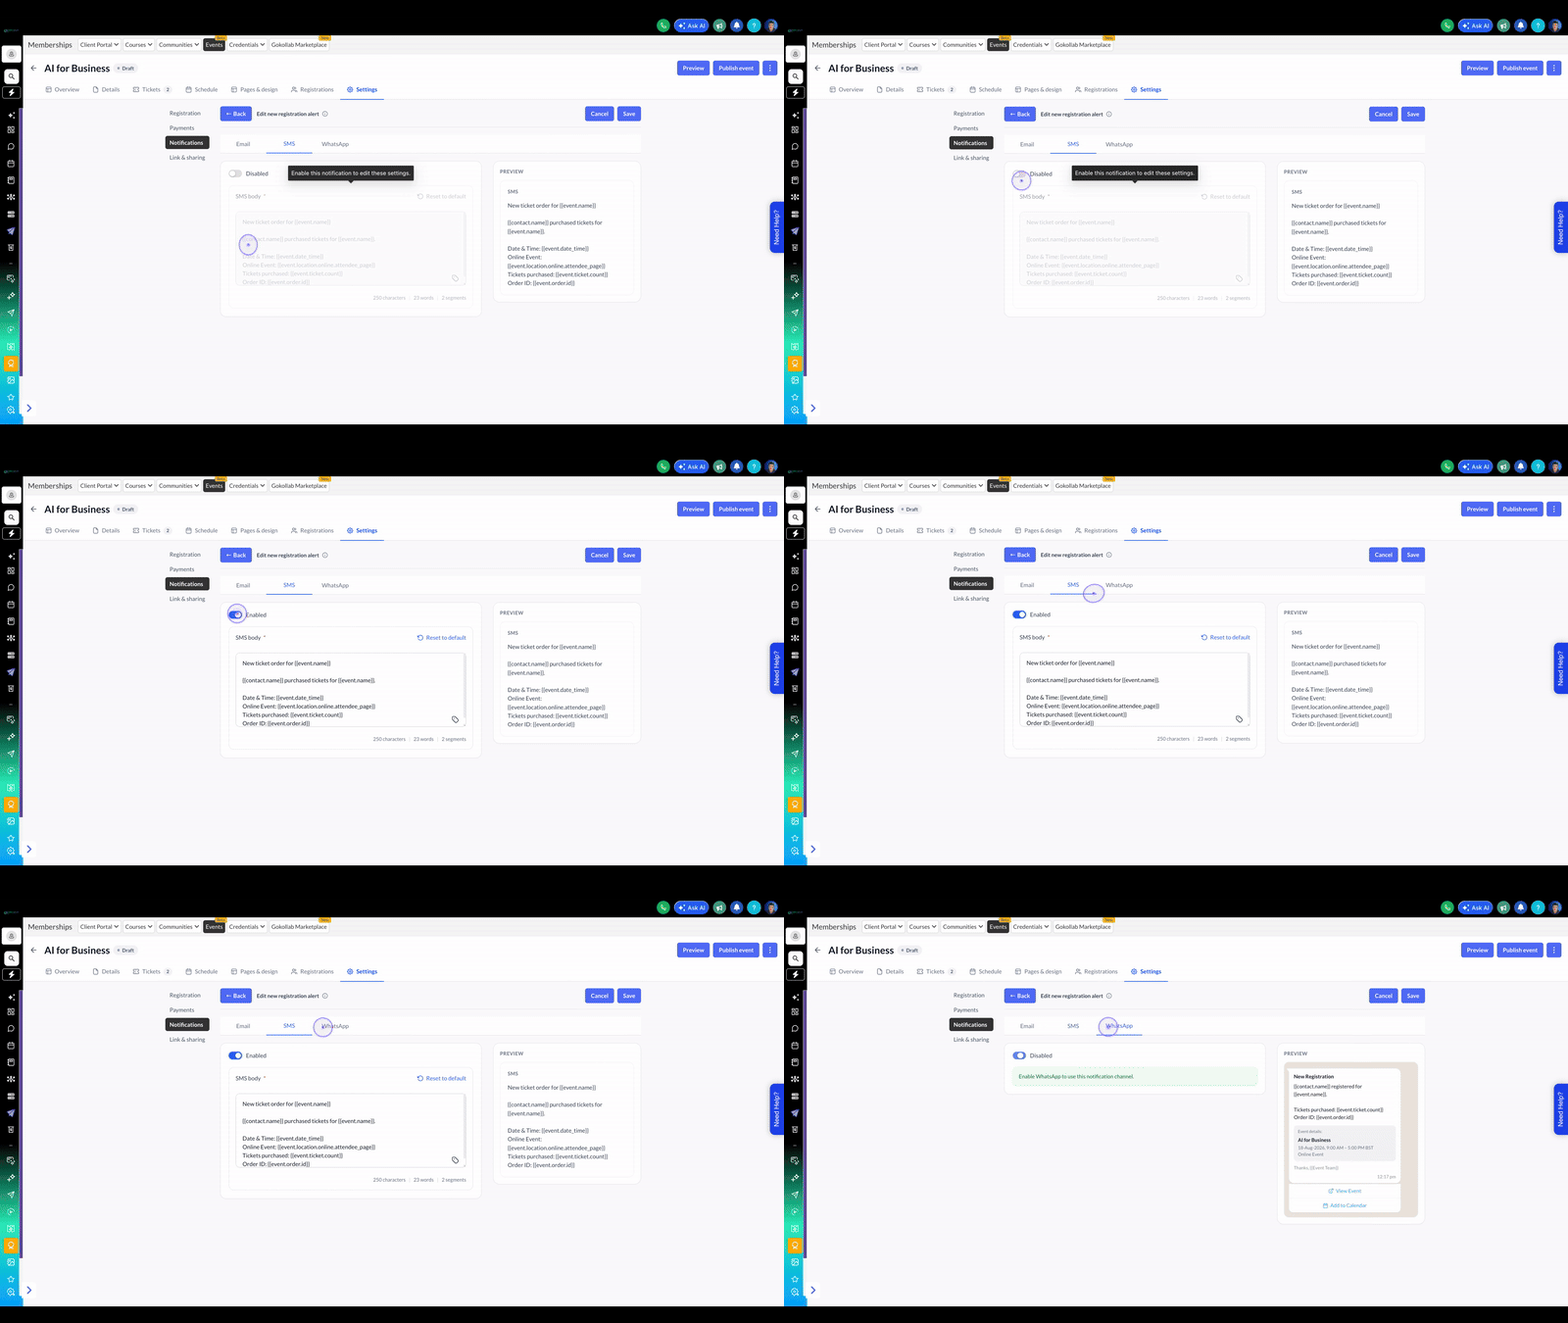
Click the WhatsApp tab to configure WhatsApp notifications for new registrations.
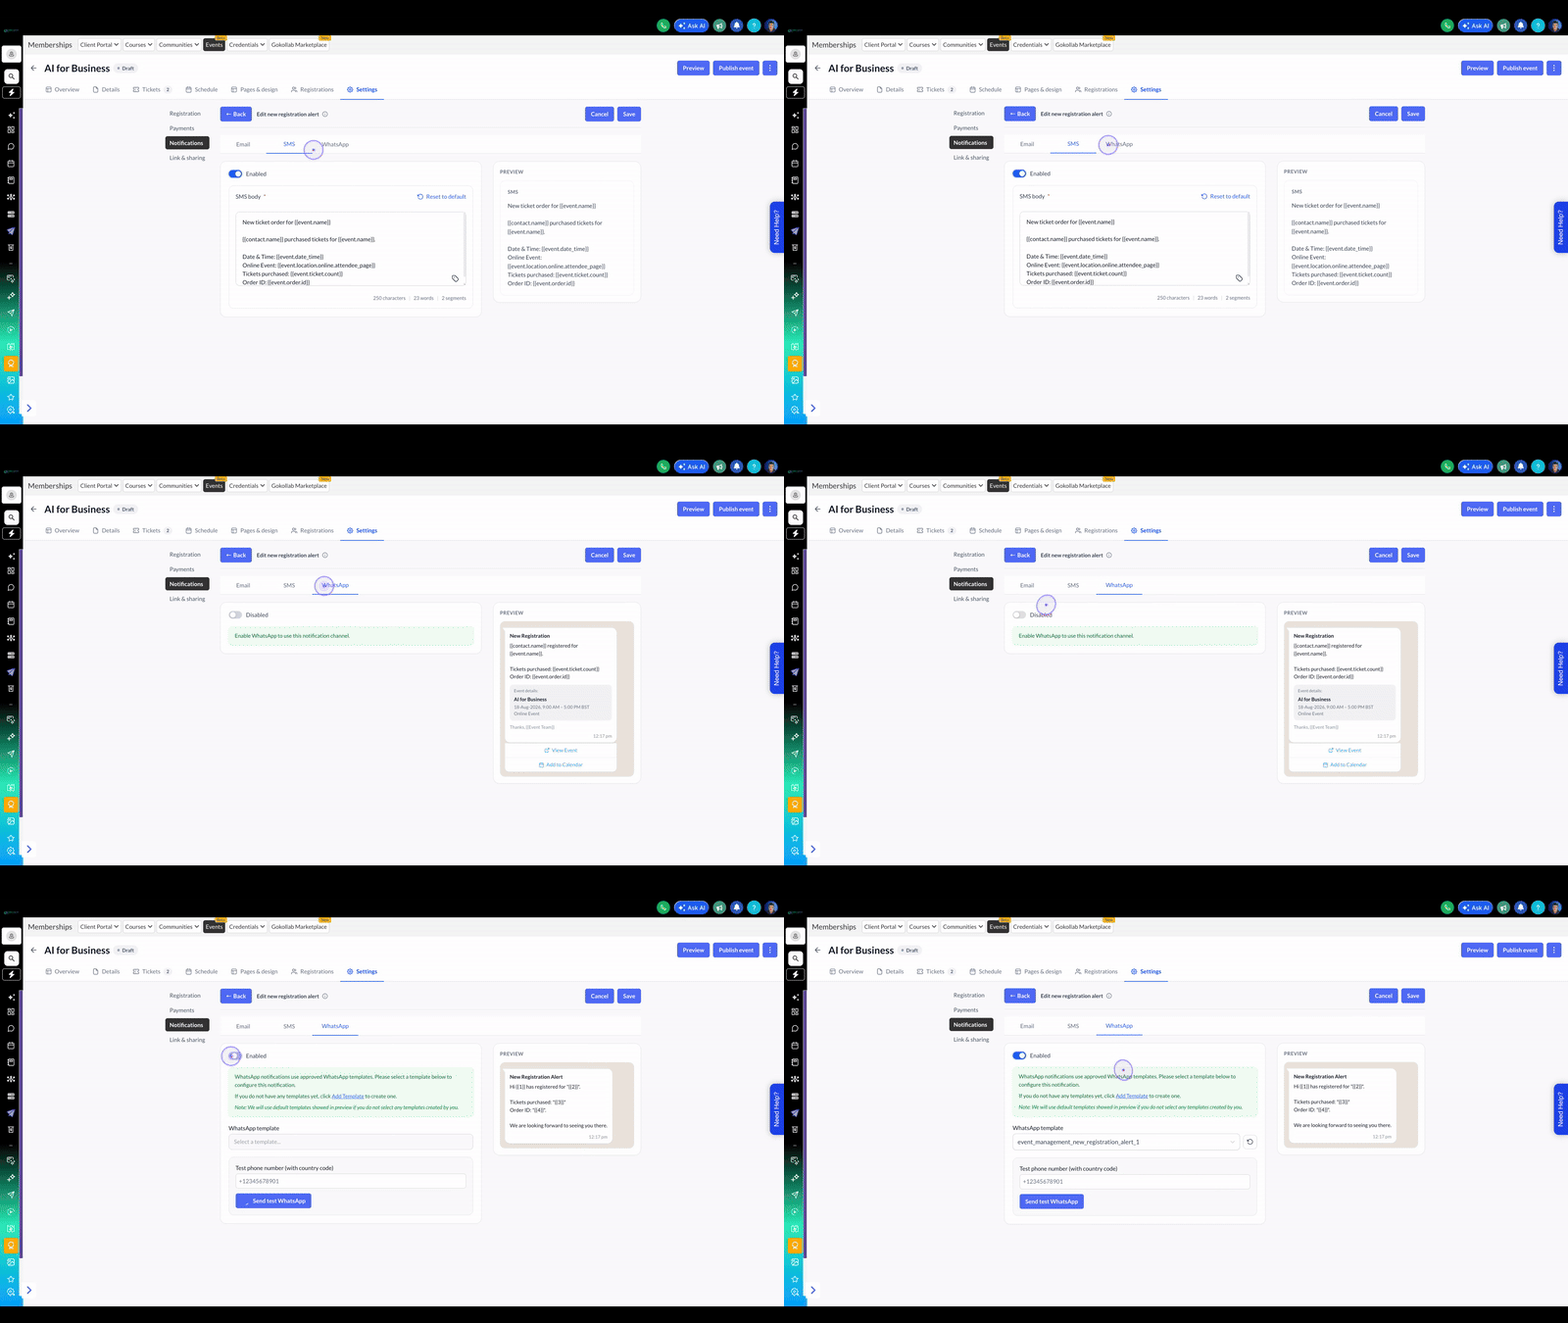
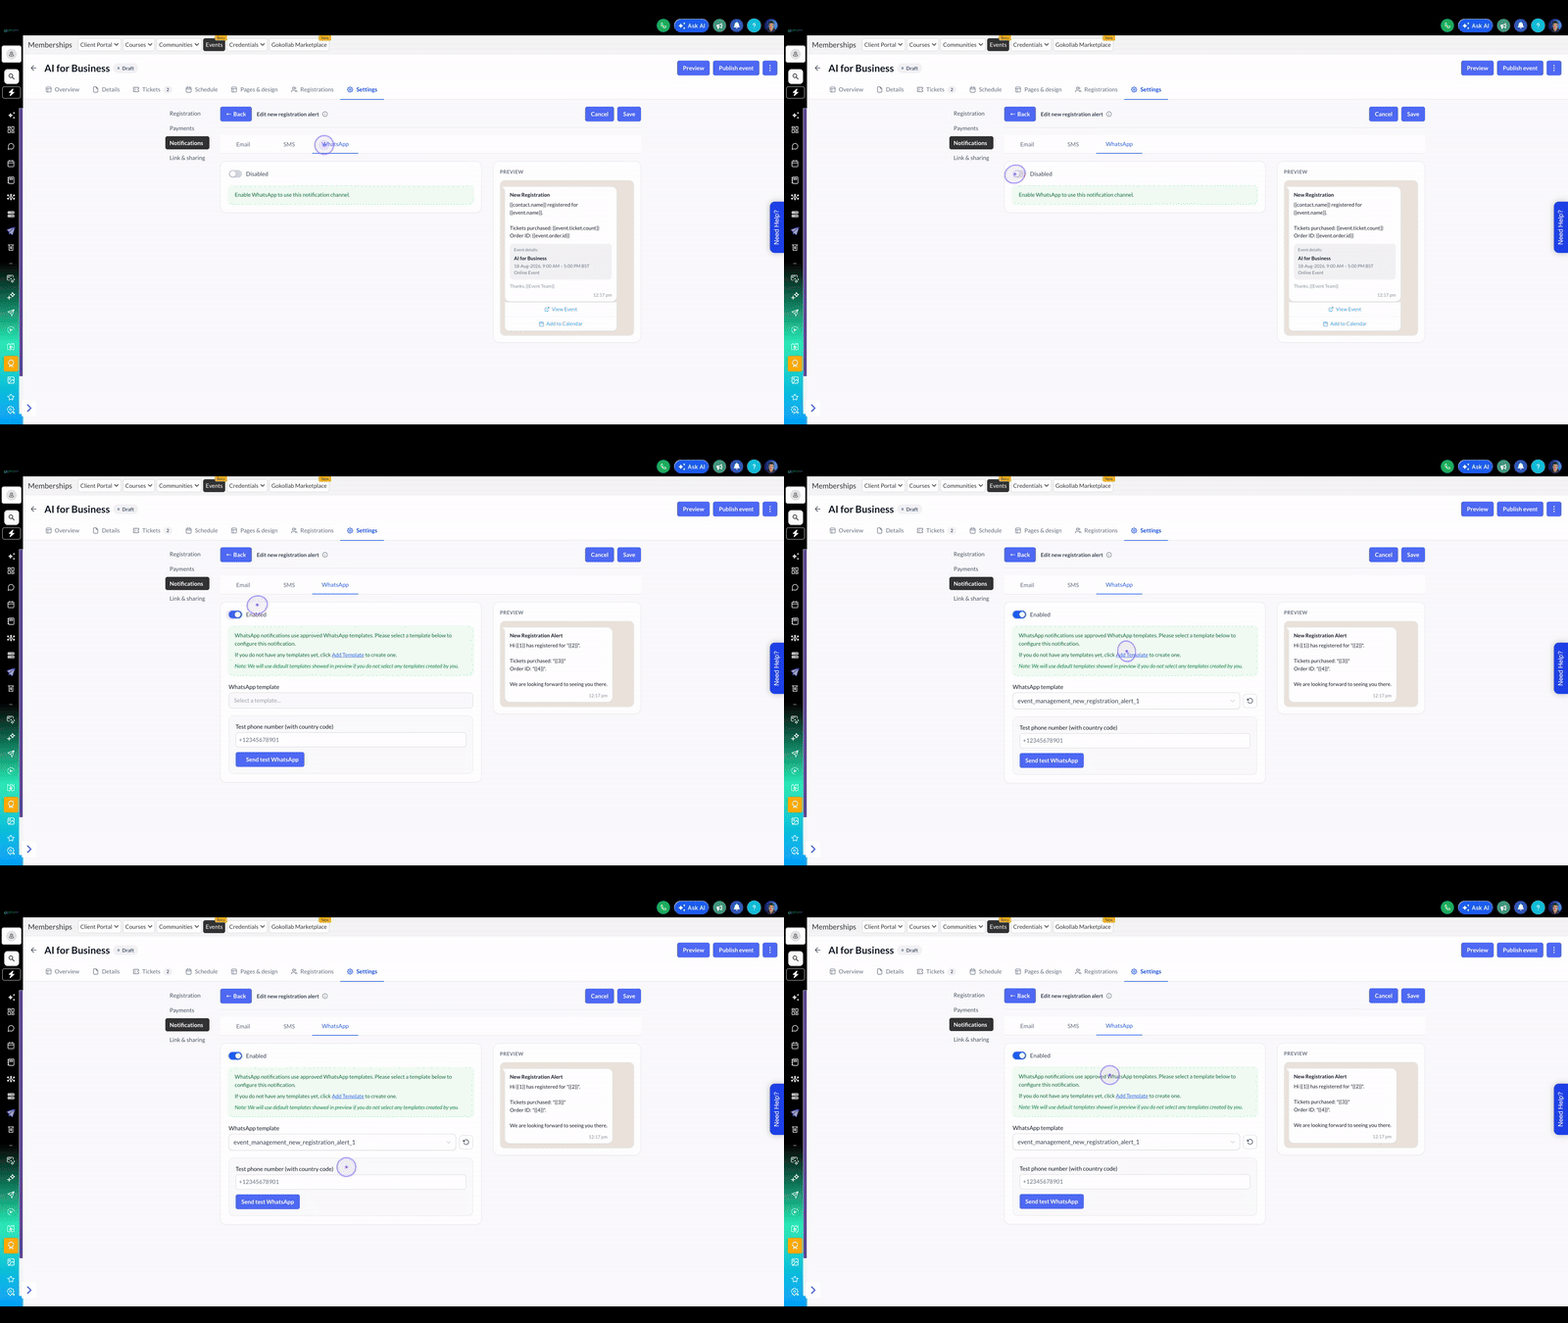
Click the toggle to enable WhatsApp notifications and select an approved template.
Click the Save and continue button to save your notification channel settings.
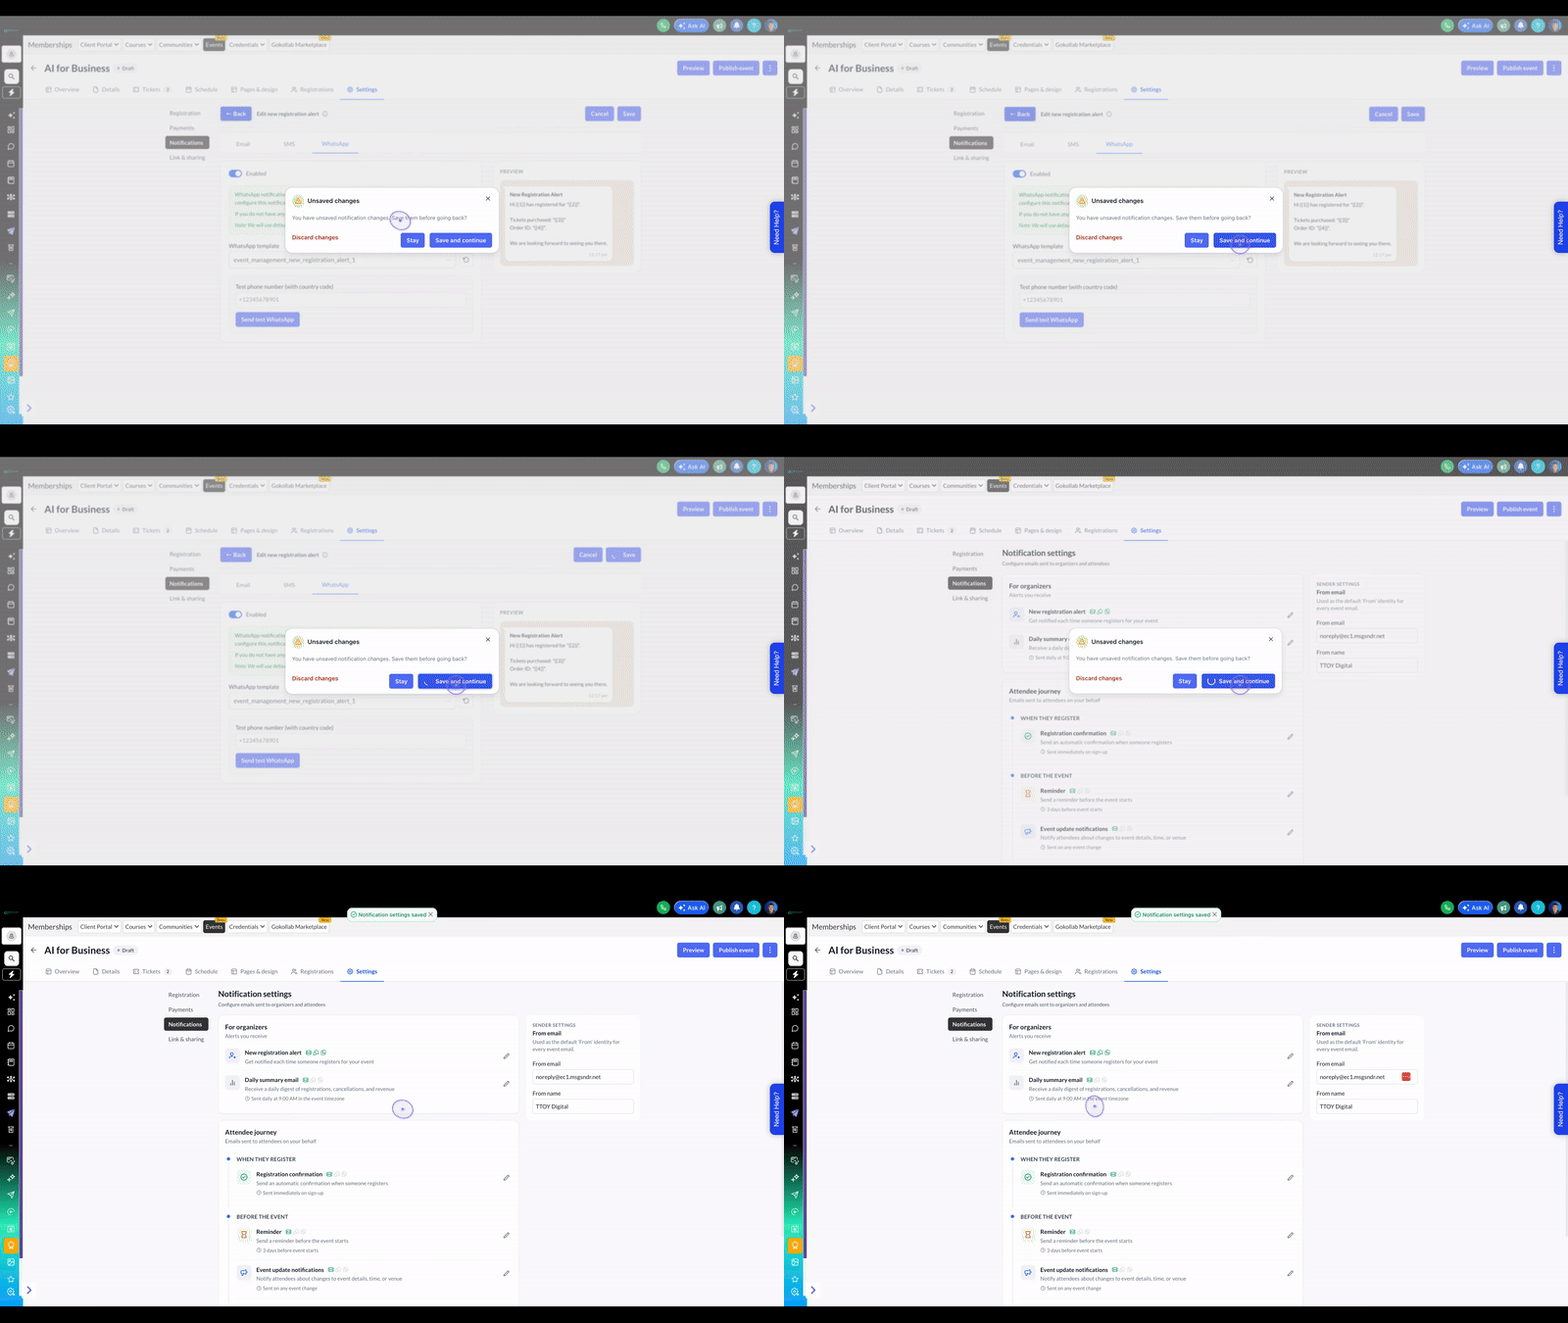
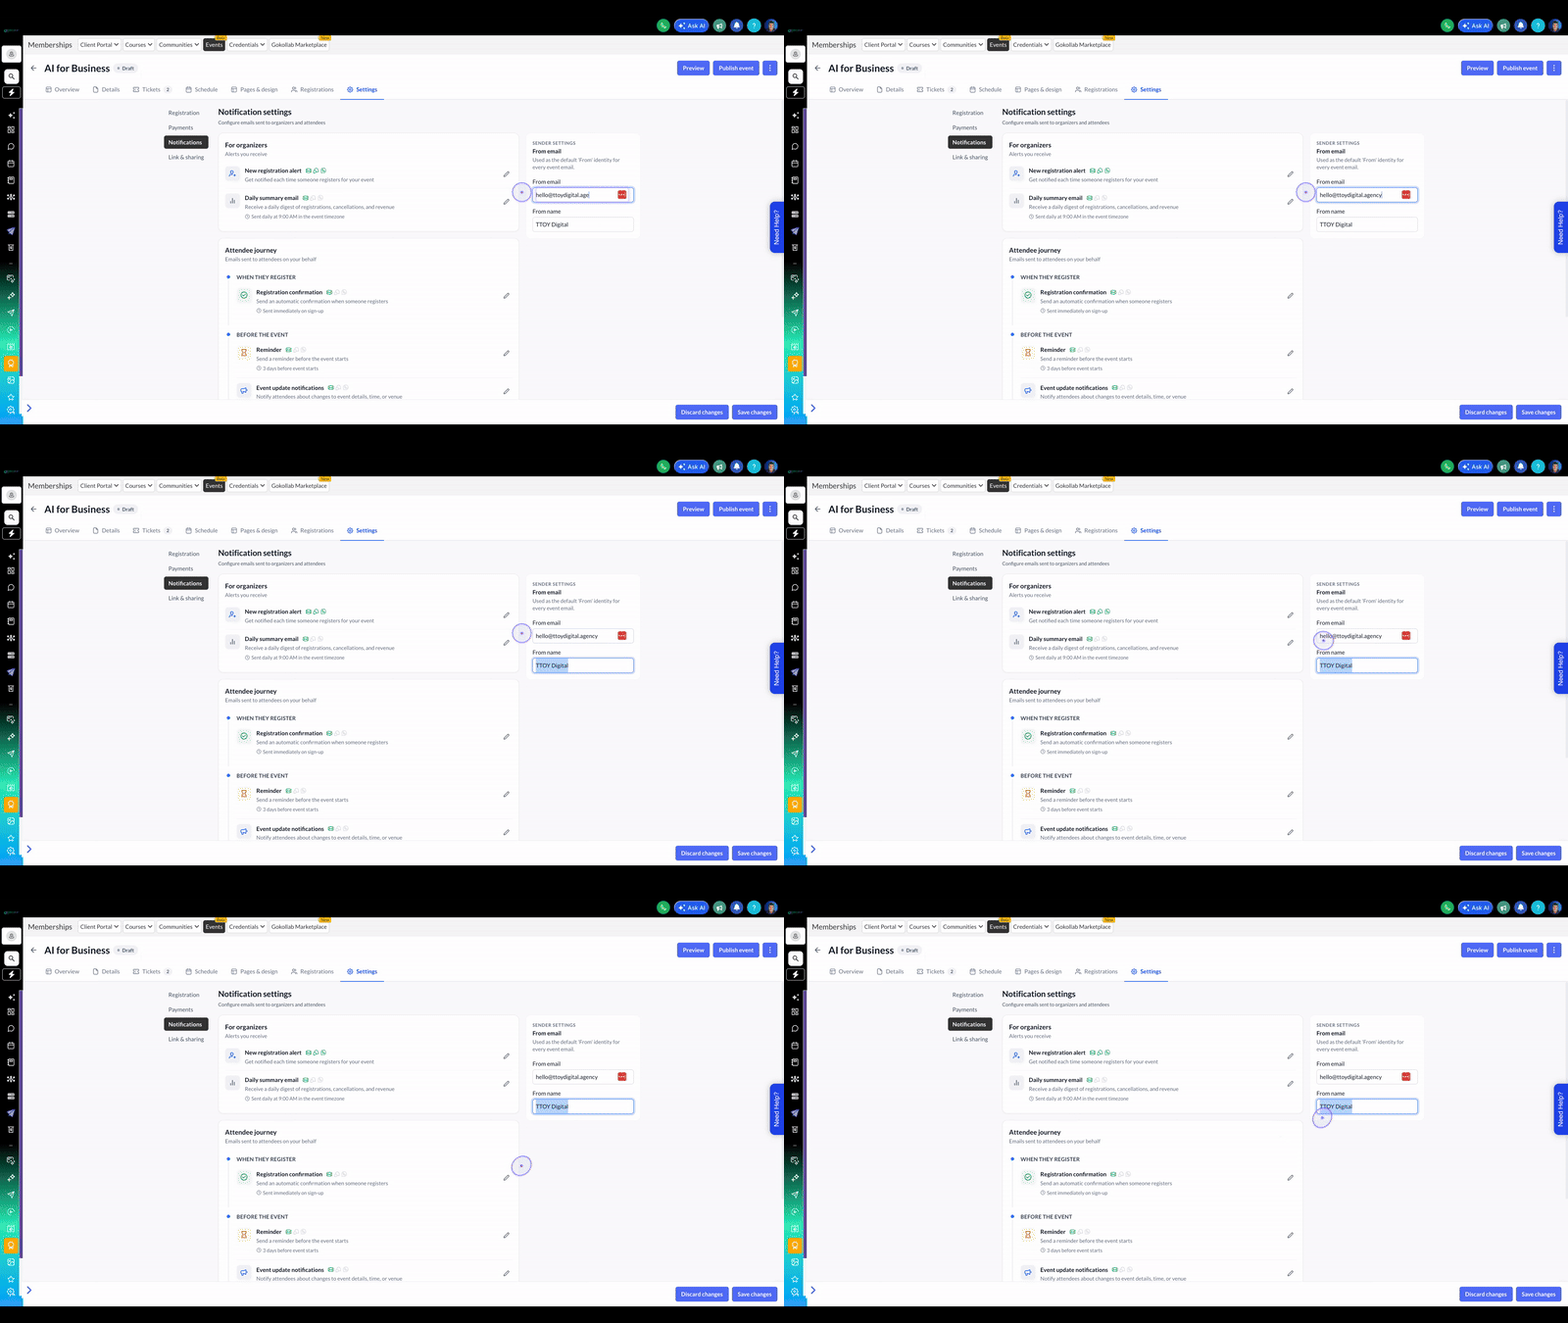
In the Sender Settings section, update the From email field to your custom email address (e.g., [email protected]).
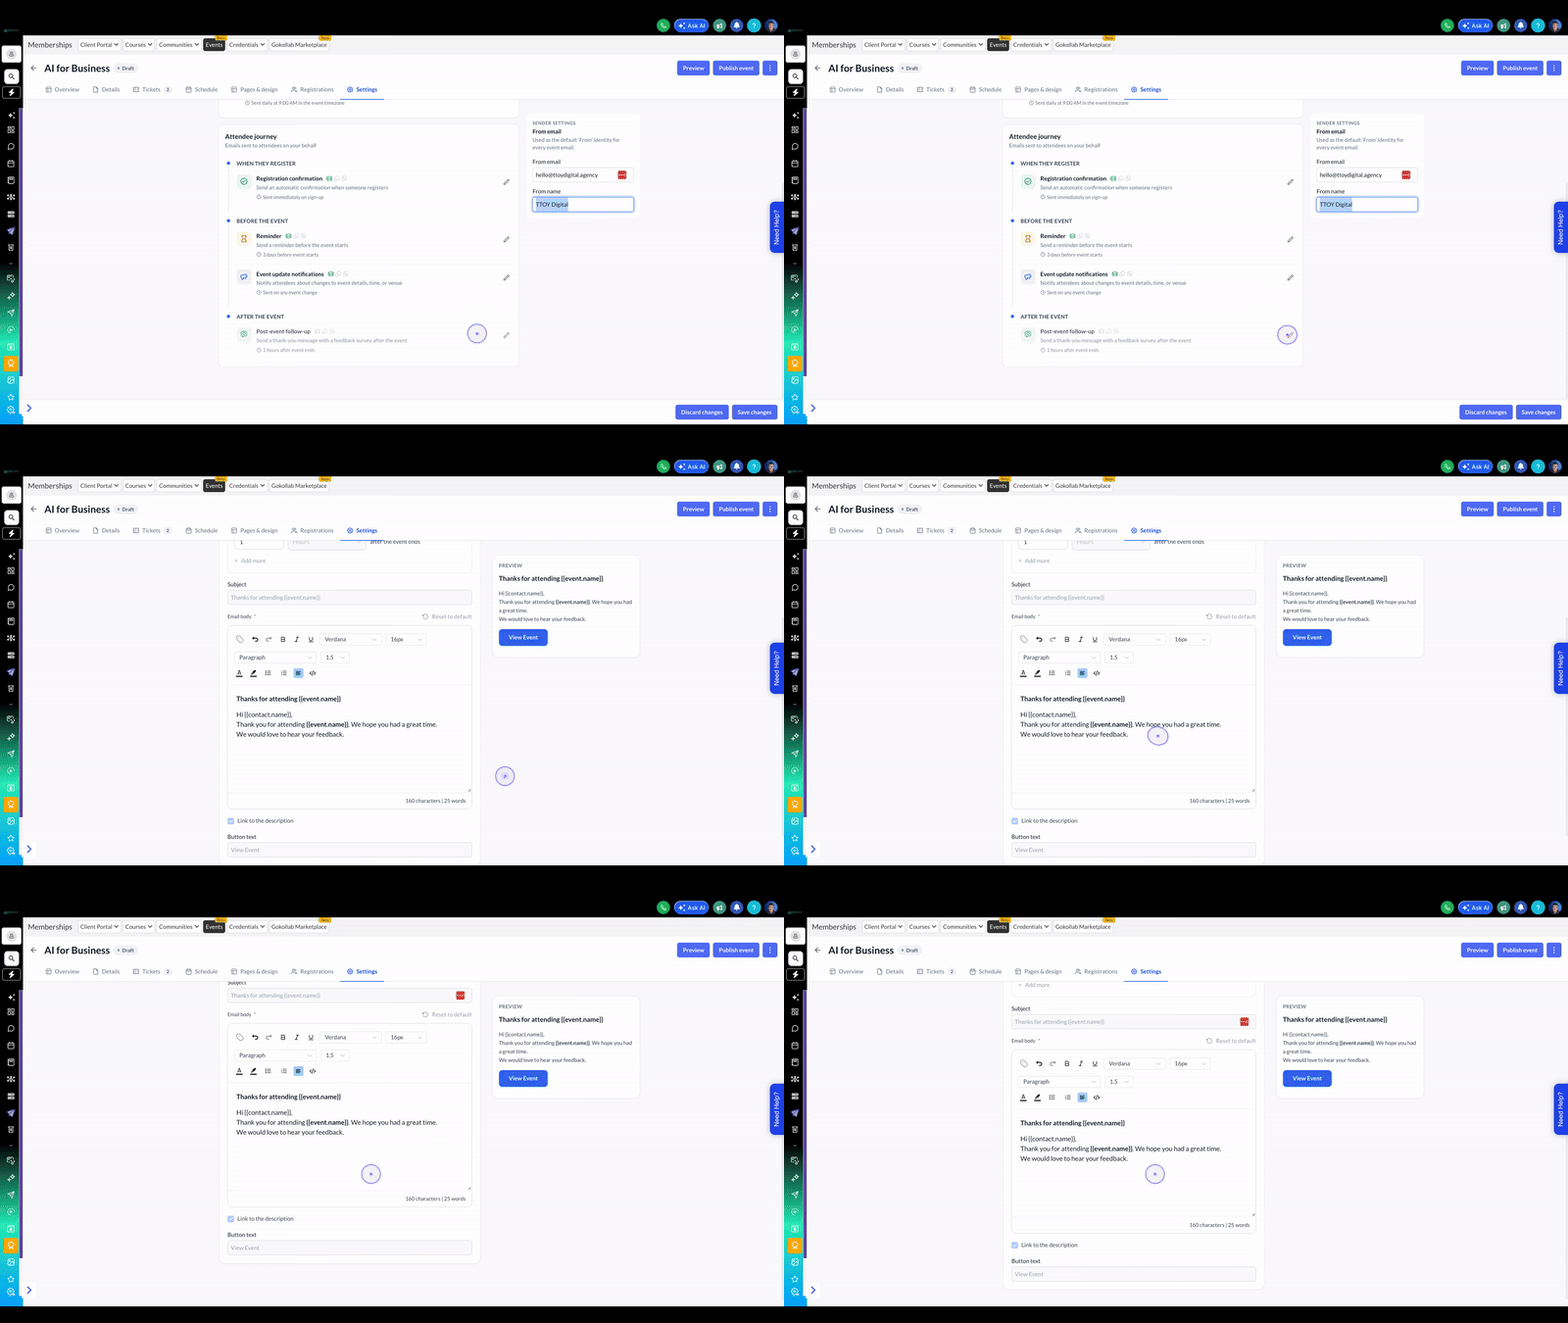
Scroll down to the 'AFTER THE EVENT' section and click the edit icon next to Post-event follow-up.
Click the toggle to enable the post-event follow-up email that sends a thank-you message after the event ends.
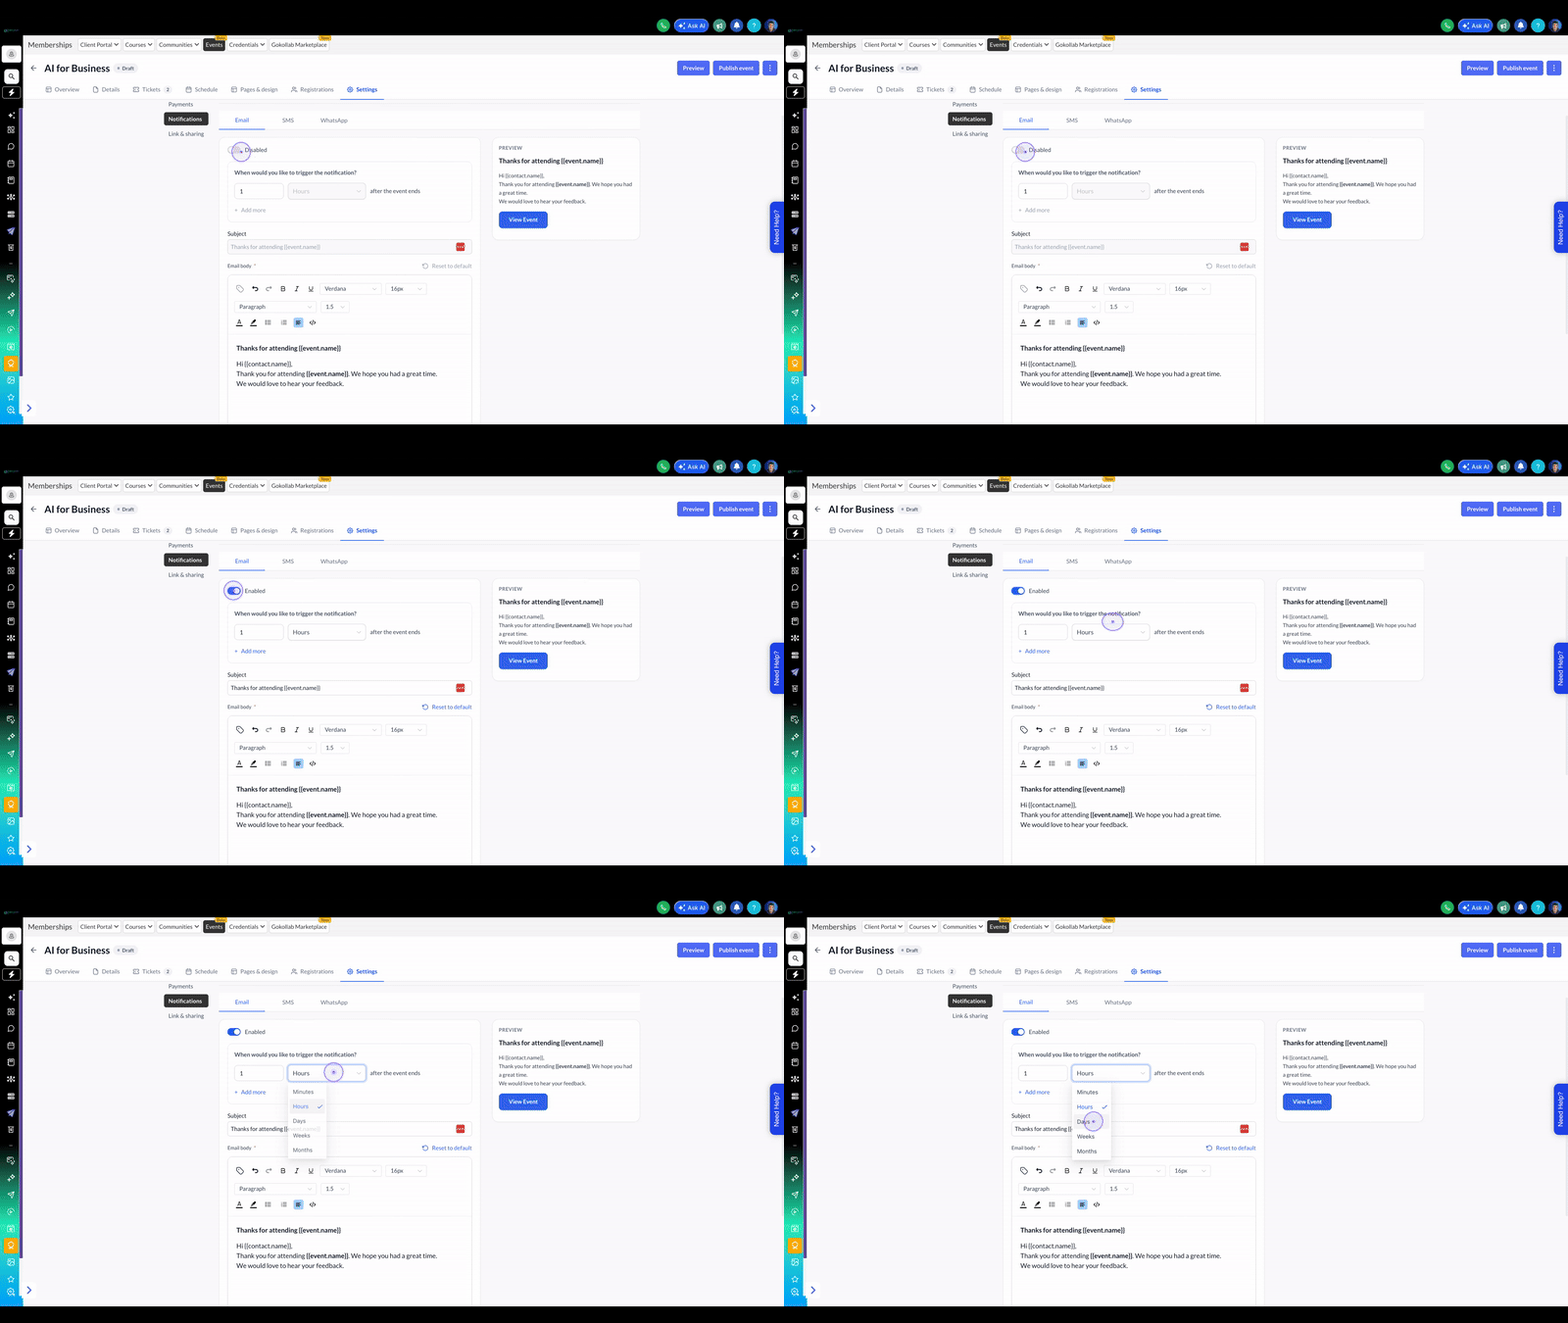
Click the timing dropdown (currently showing 'Hours') and select Days to change when the notification triggers after the event ends.
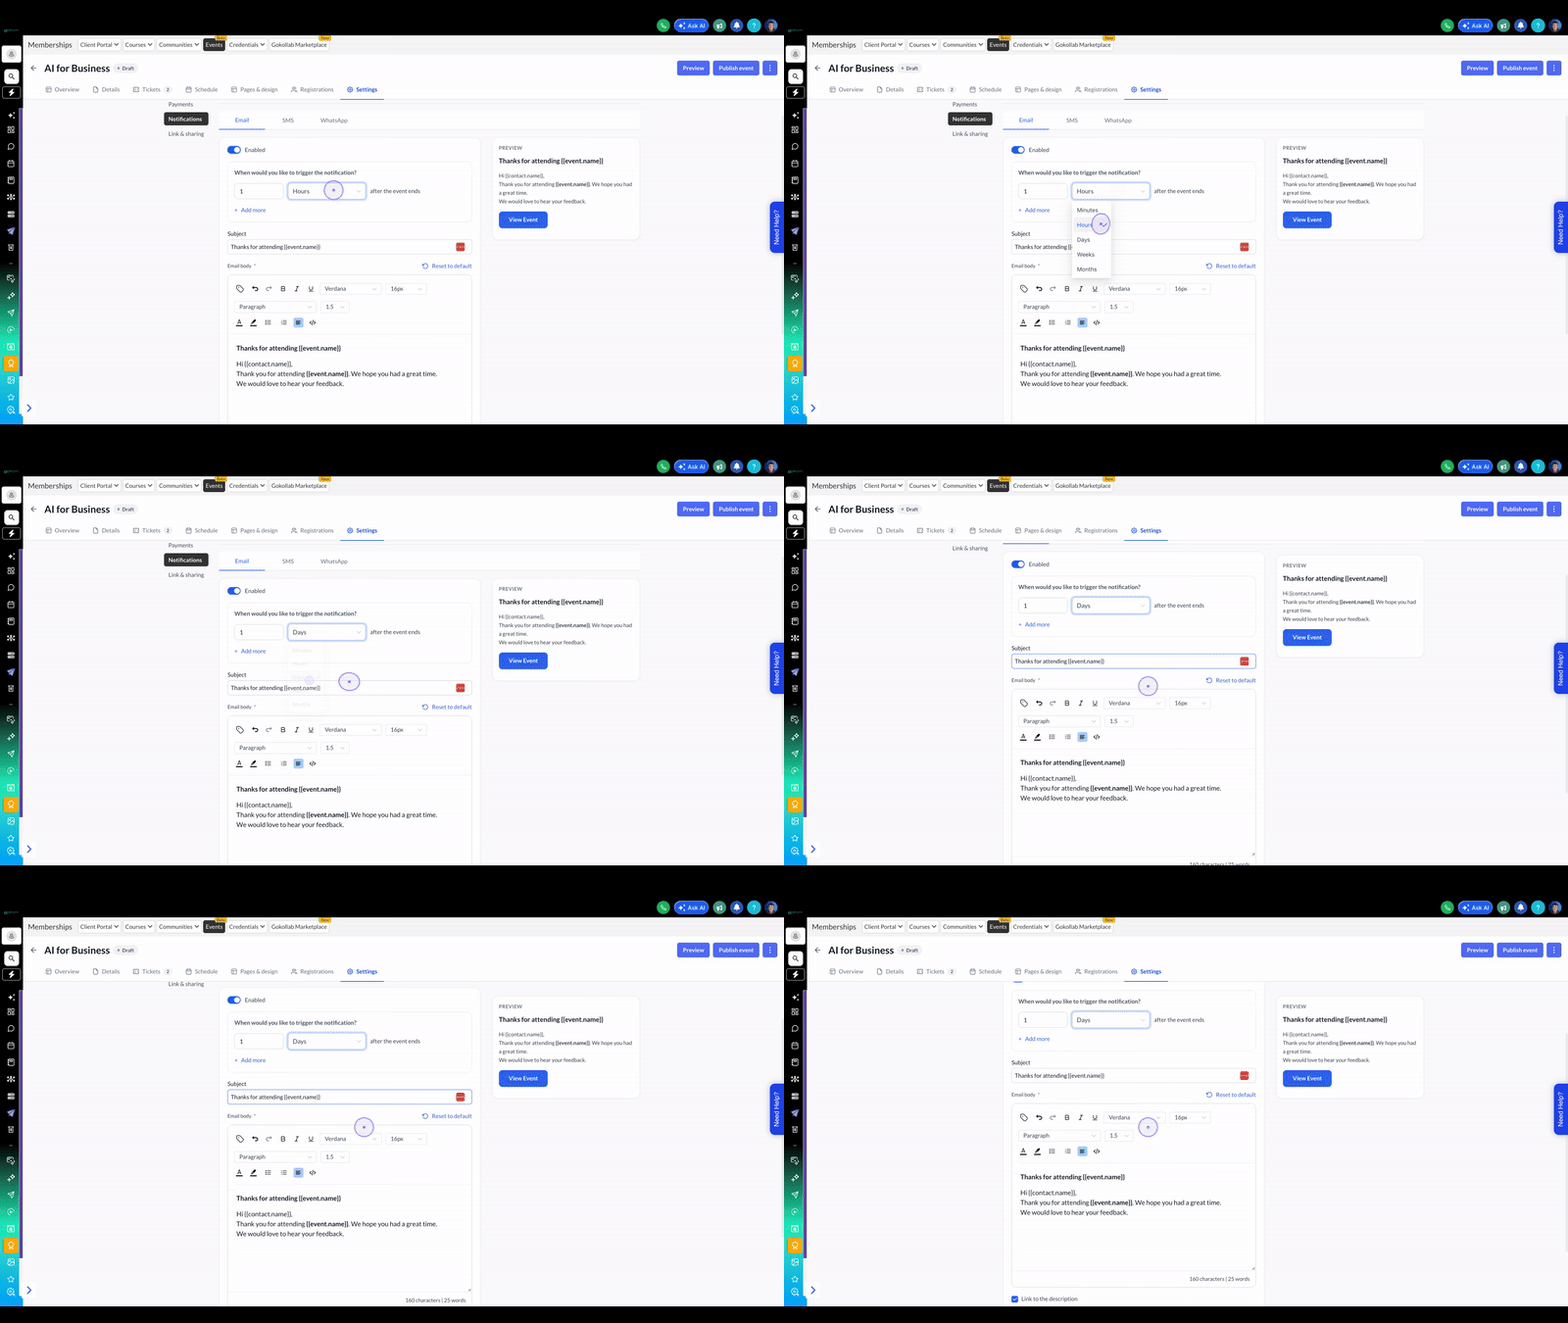
Click the Save button to save all notification configuration changes.
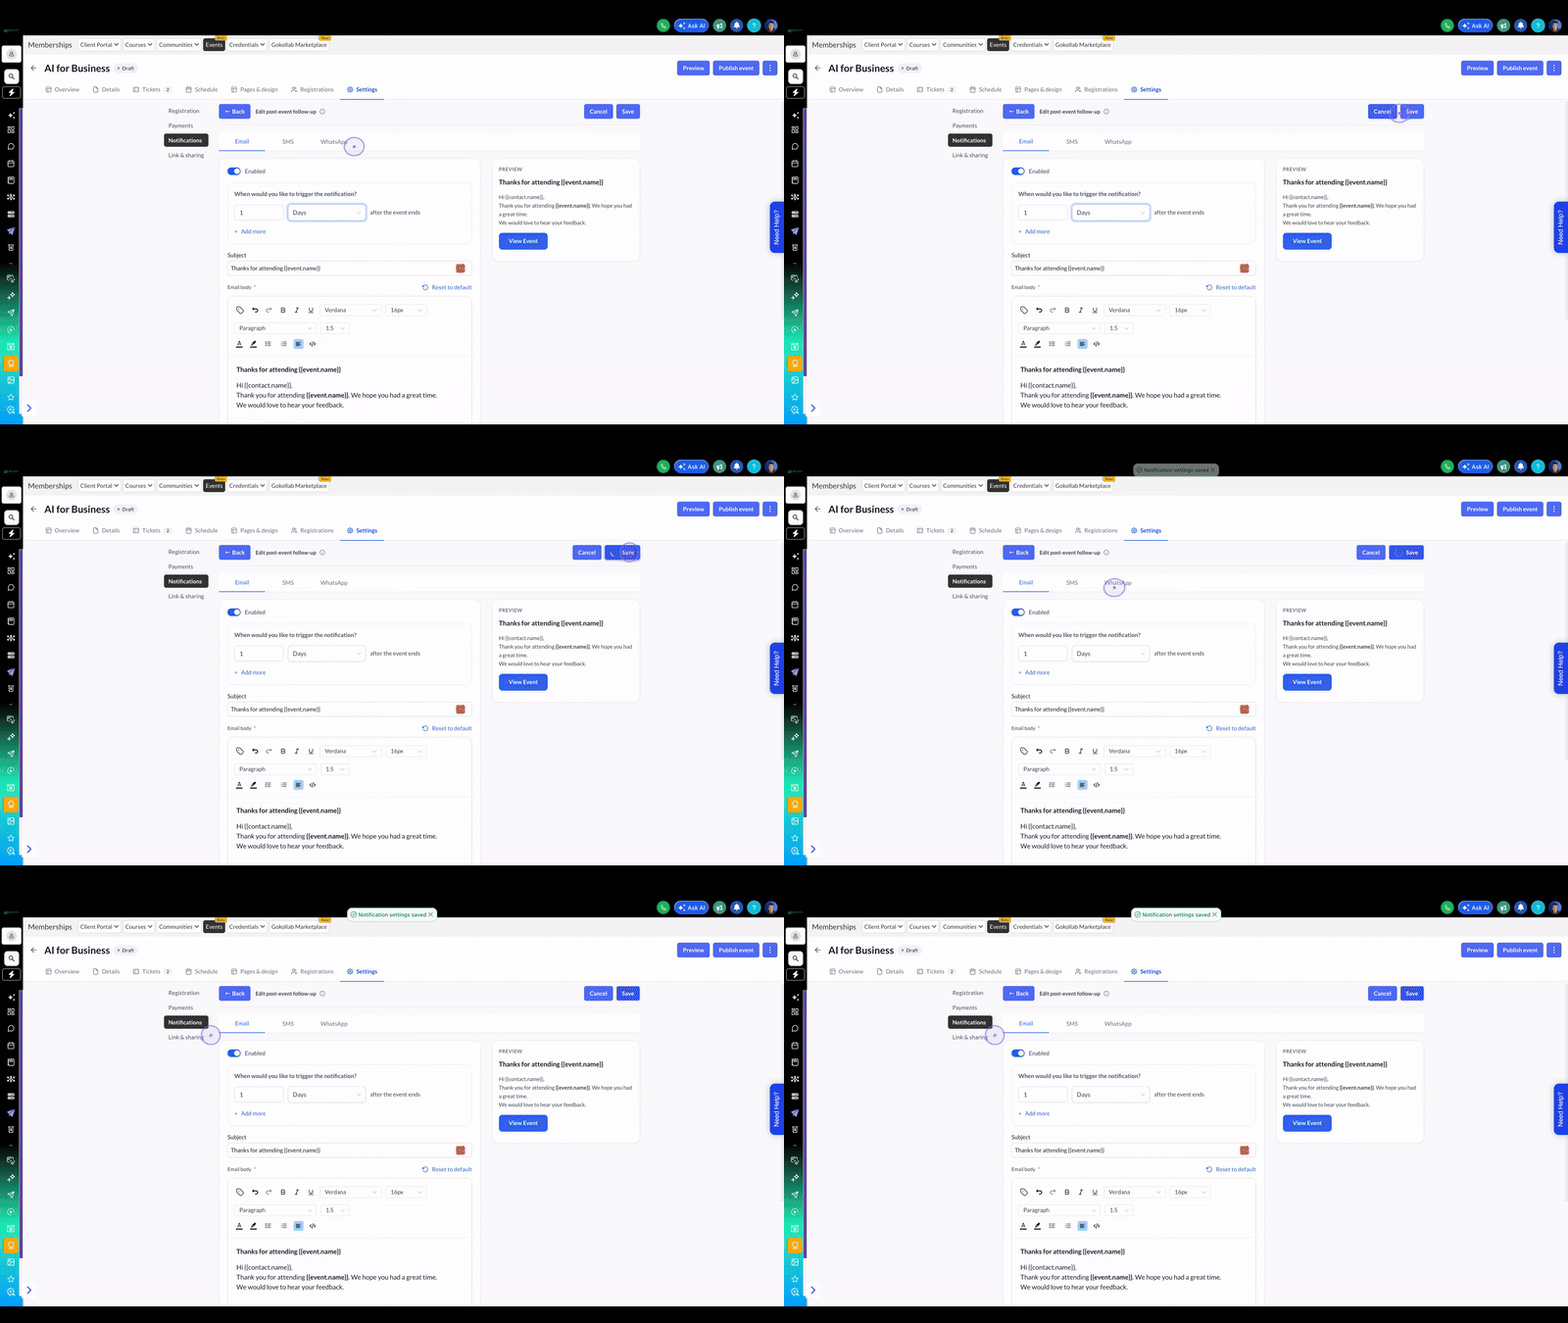
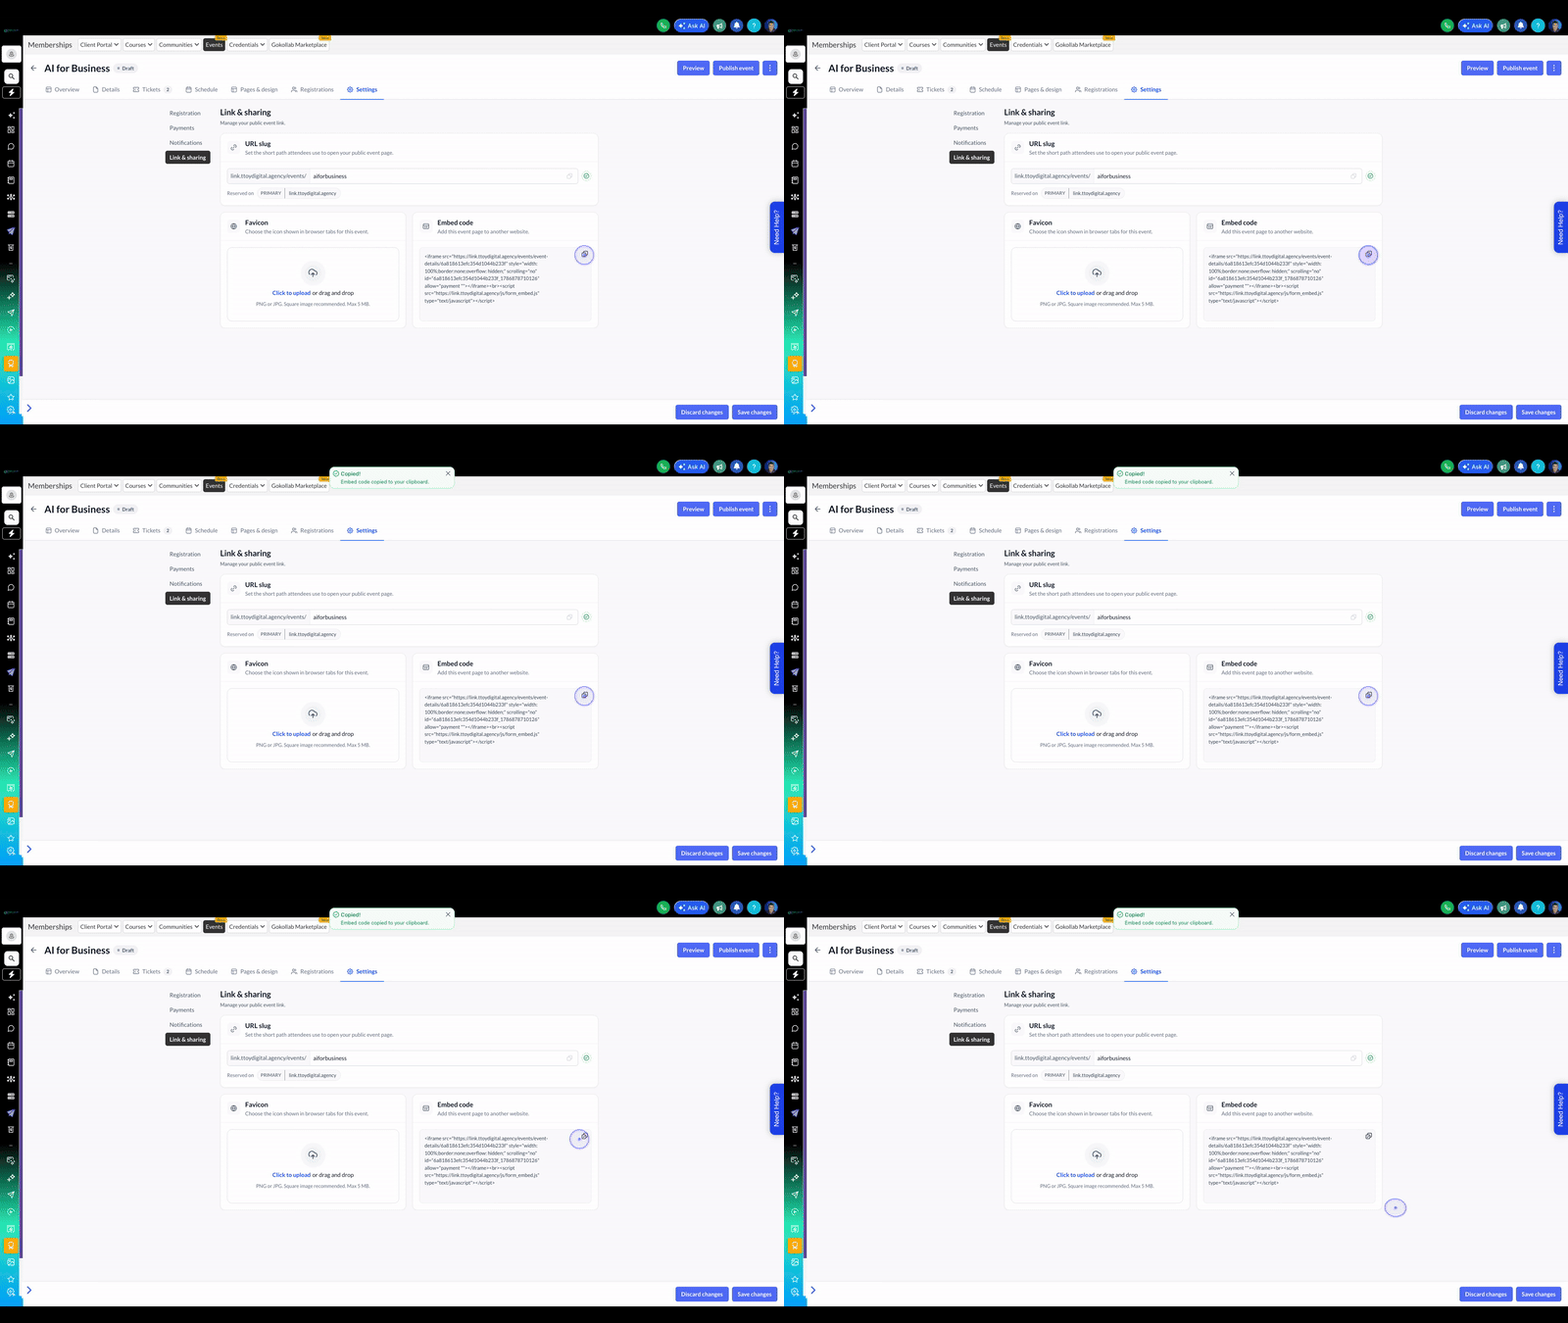
Click on the Link & sharing tab to manage your public event link and embed options.
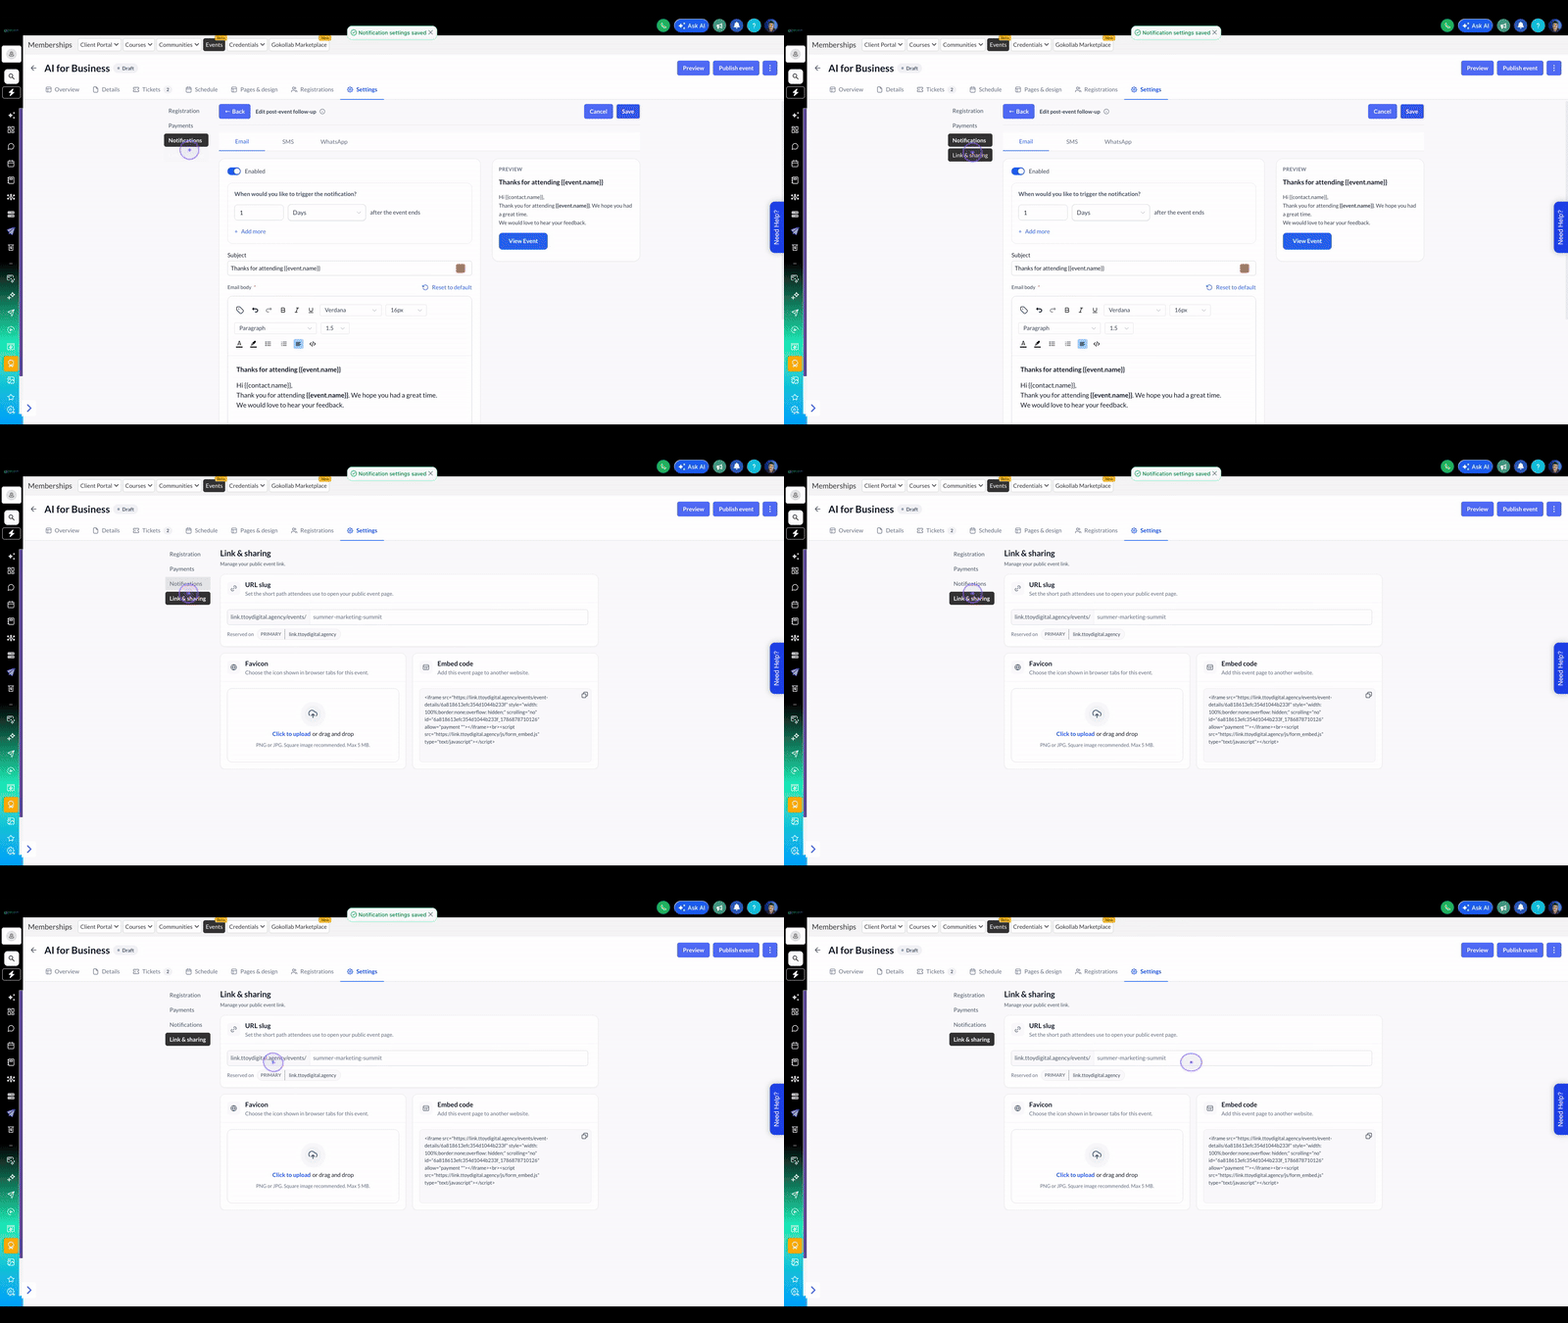
Click on the URL slug input field and type your custom path (e.g., 'aiforbusiness') to create a memorable event URL.
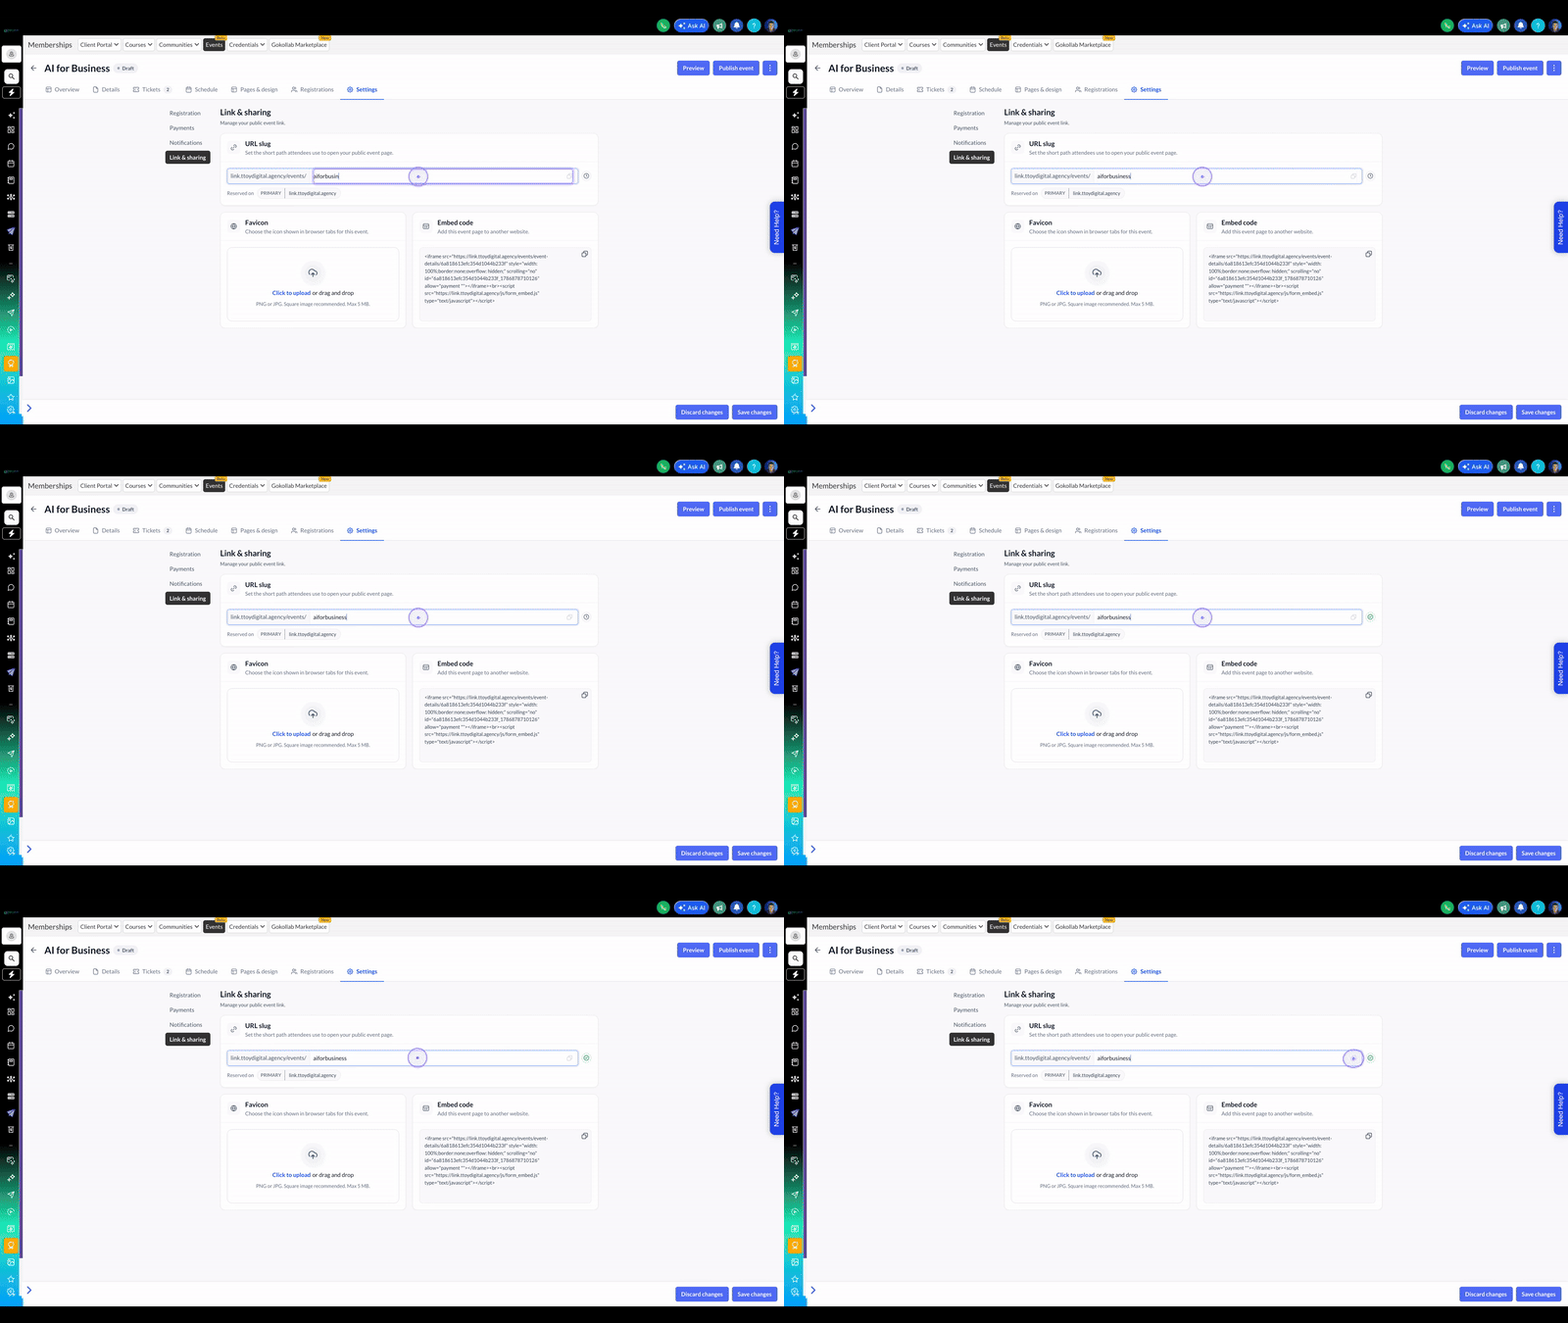
Click the copy icon next to the Embed code section to copy the HTML code for embedding the event on another website.
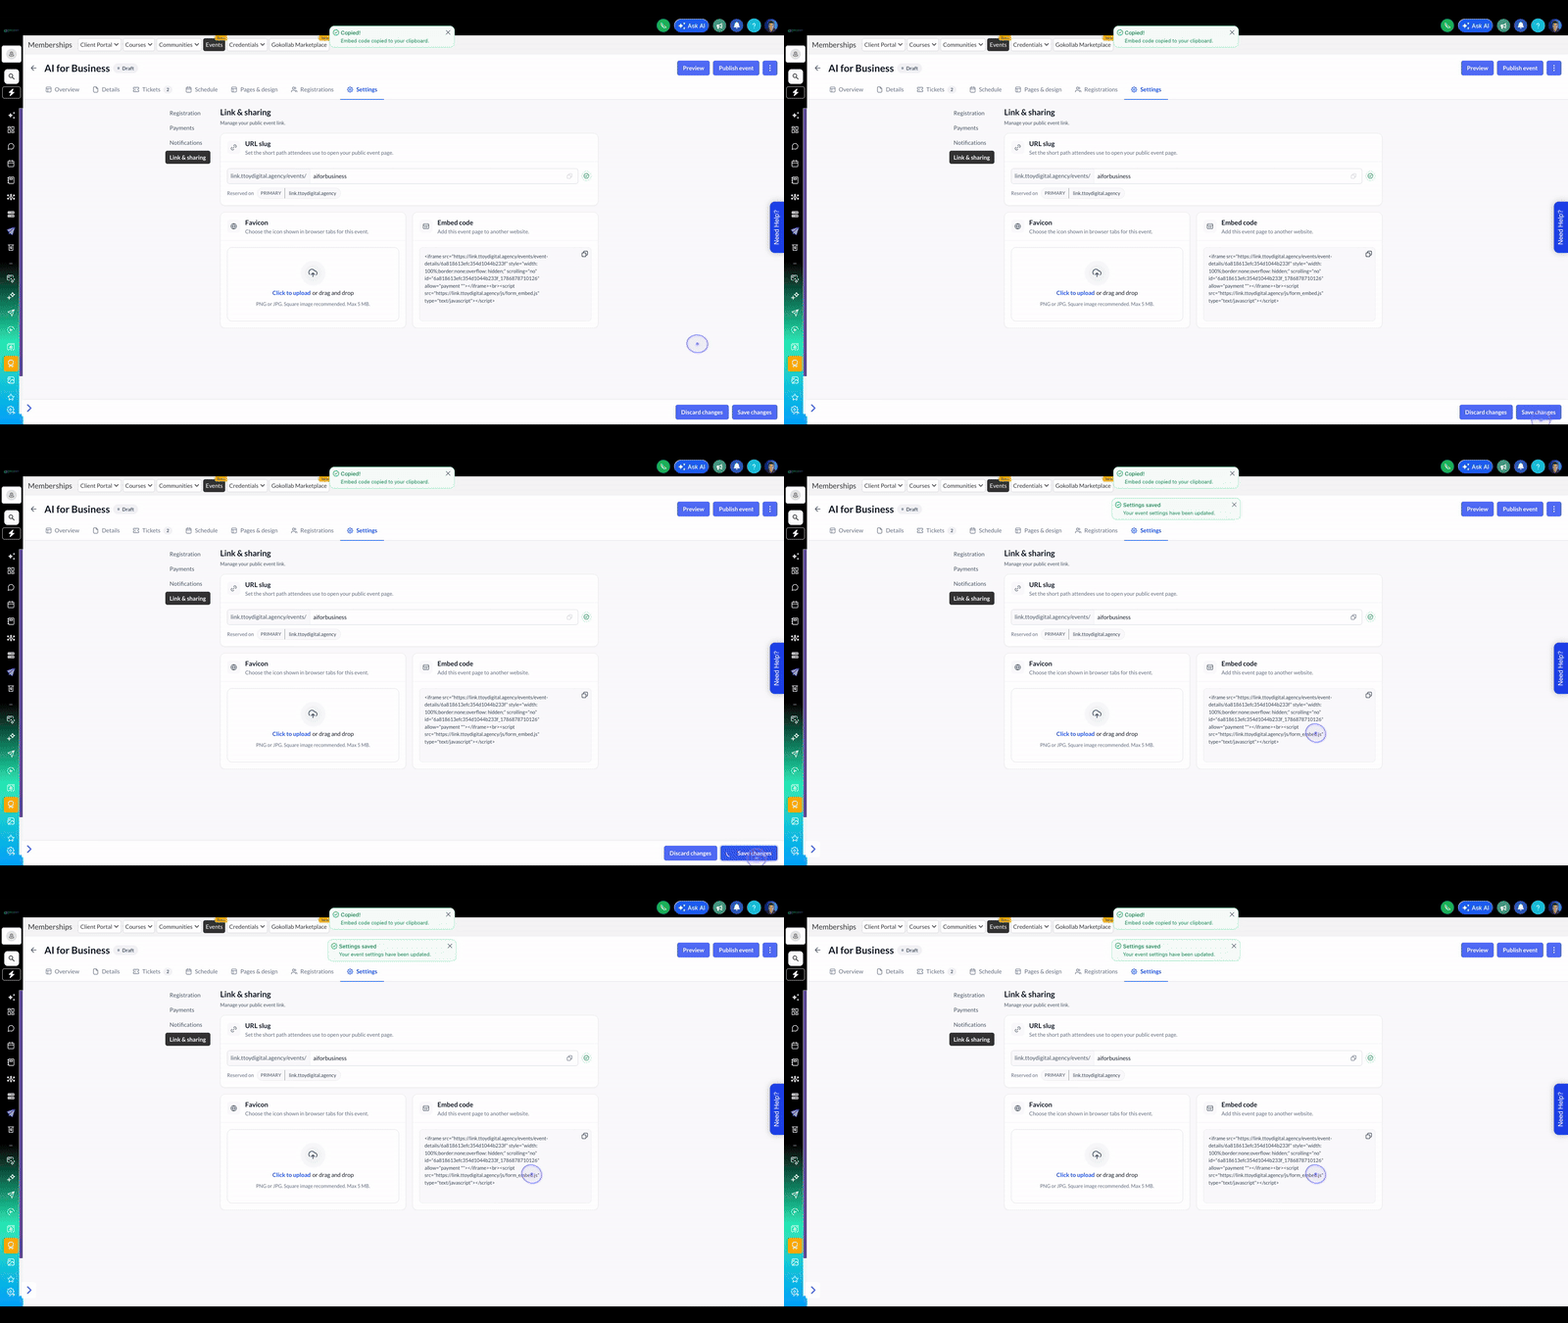
Click the Save changes button at the bottom right to finalize all your event settings.
Test Mode: Keep Live mode off until you're ready to accept real payments and registrations.
Sender Email: Use a custom domain email (not a free email provider) for better deliverability and brand consistency.
URL Slug: Choose a short, memorable slug that matches your event name or marketing campaign.
Multi-Channel: Enable Email, SMS, and WhatsApp notifications to maximize reach - different attendees prefer different channels.
Timing: For post-event follow-ups, 1-3 days is typically optimal for gathering feedback while the event is fresh in attendees' minds.