This guide covers how to manage event registrations, view attendee details, add manual registrations, and export data.
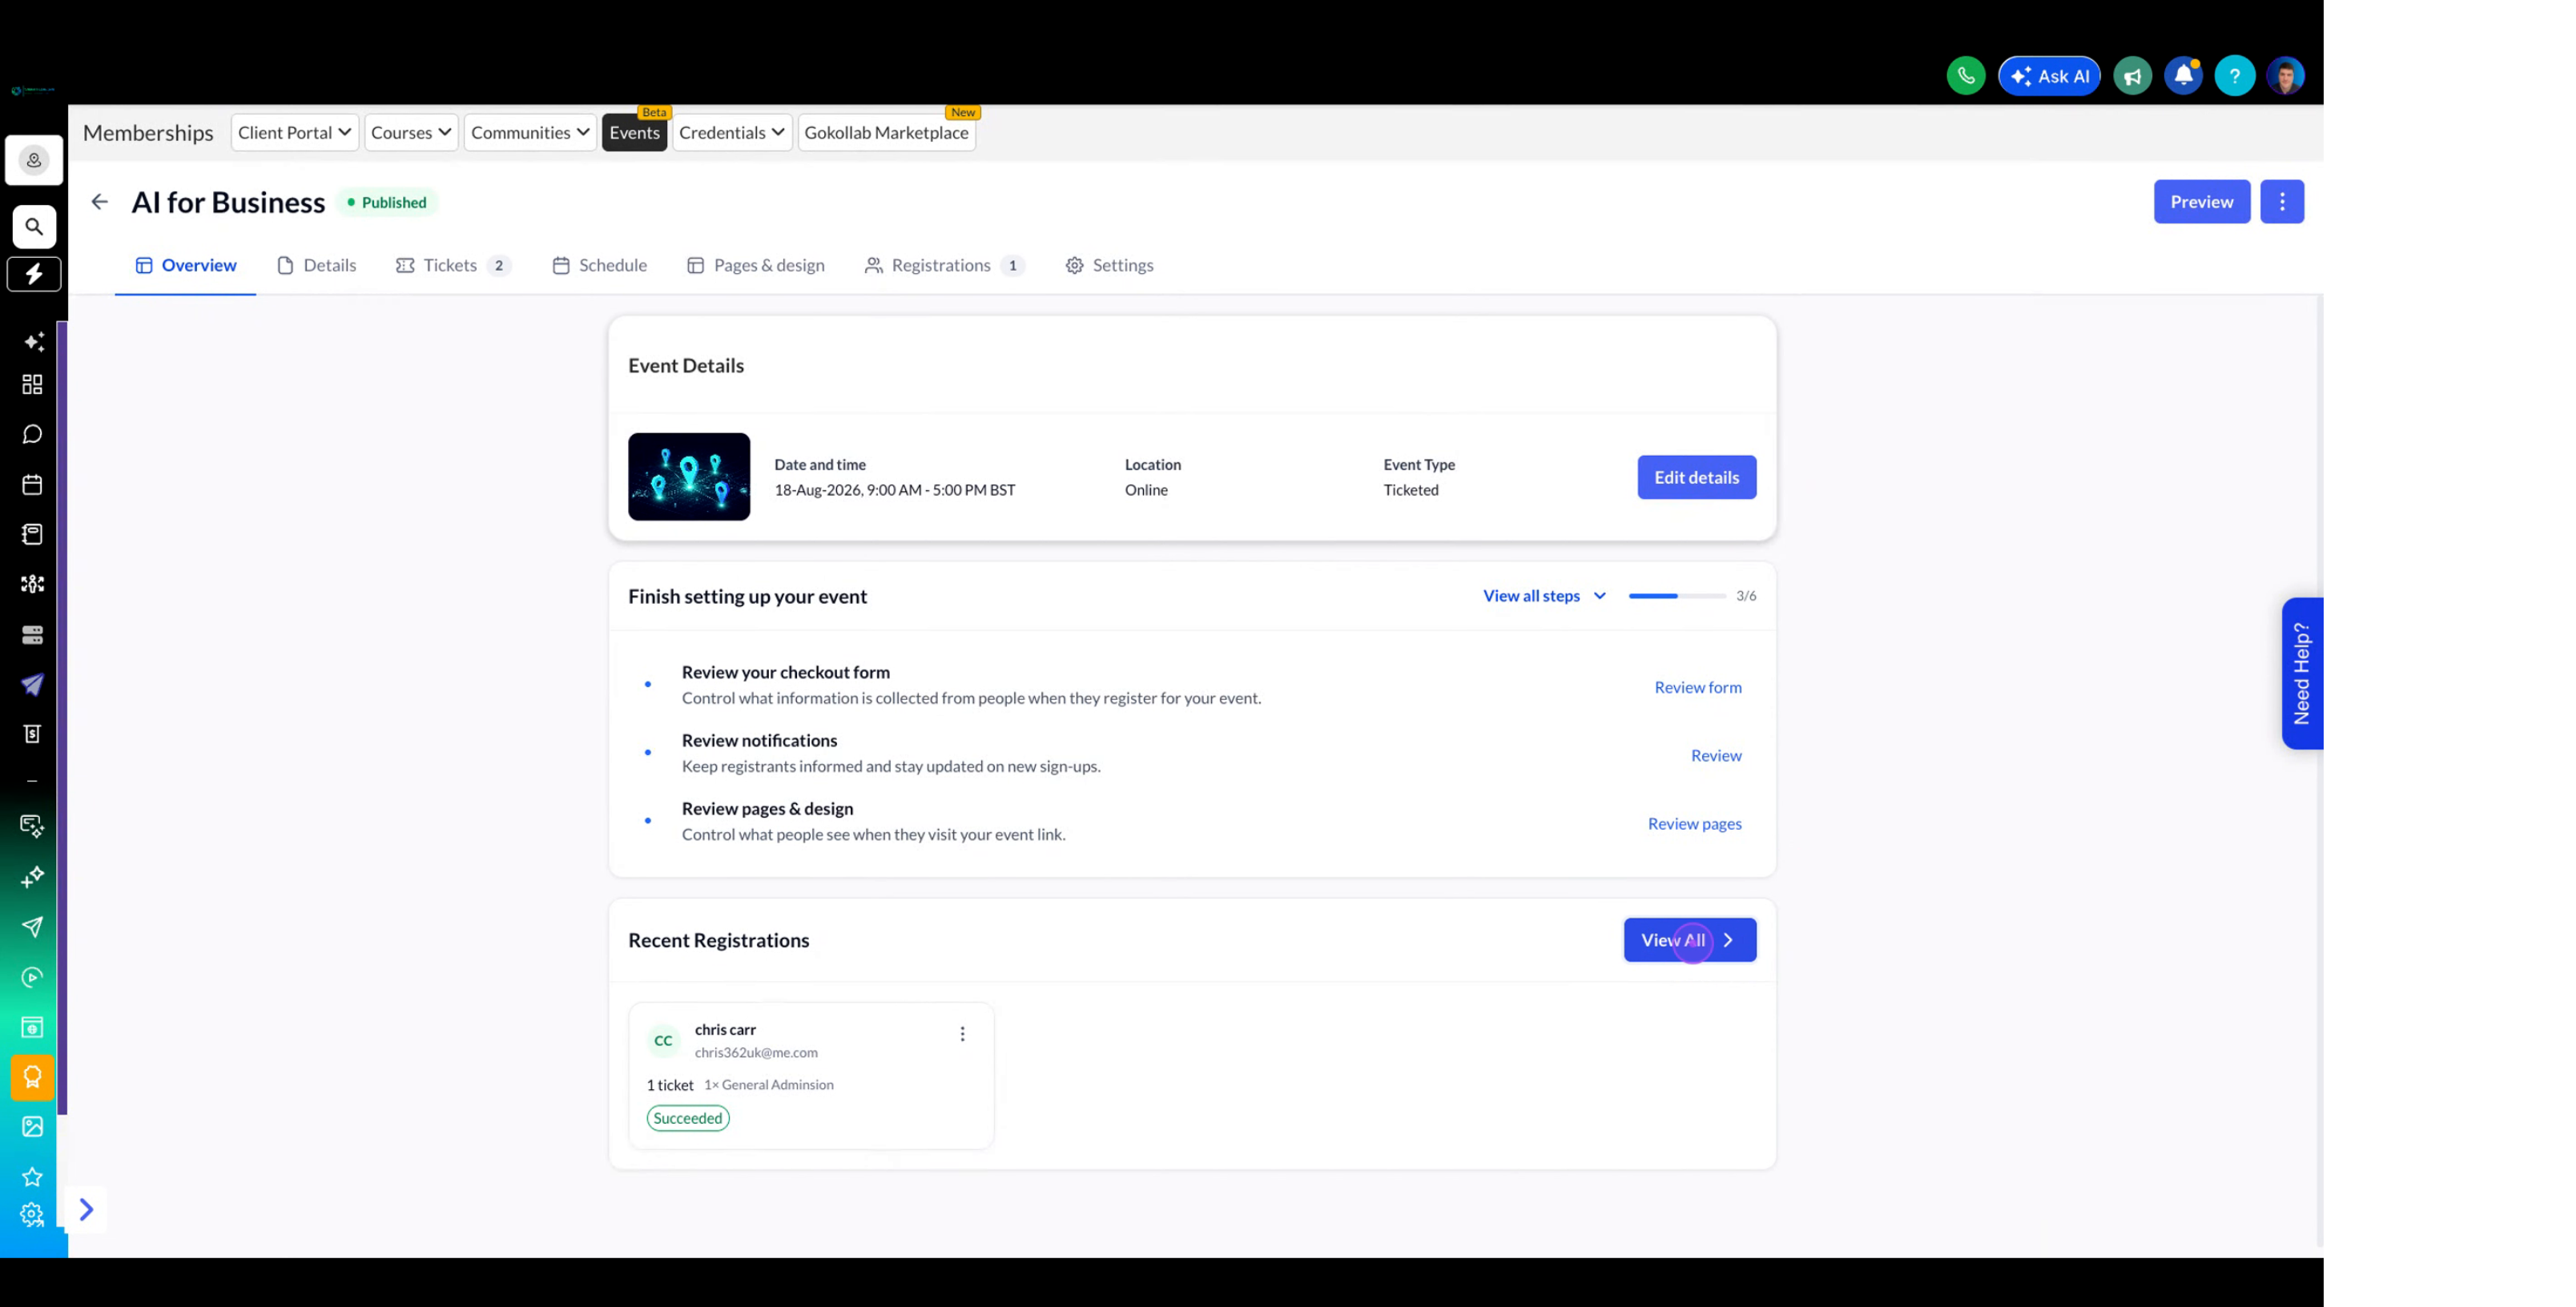
From the event overview page, click the View All button in the Recent Registrations section, or click the Registrations tab in the top navigation menu to access the full registrations list.
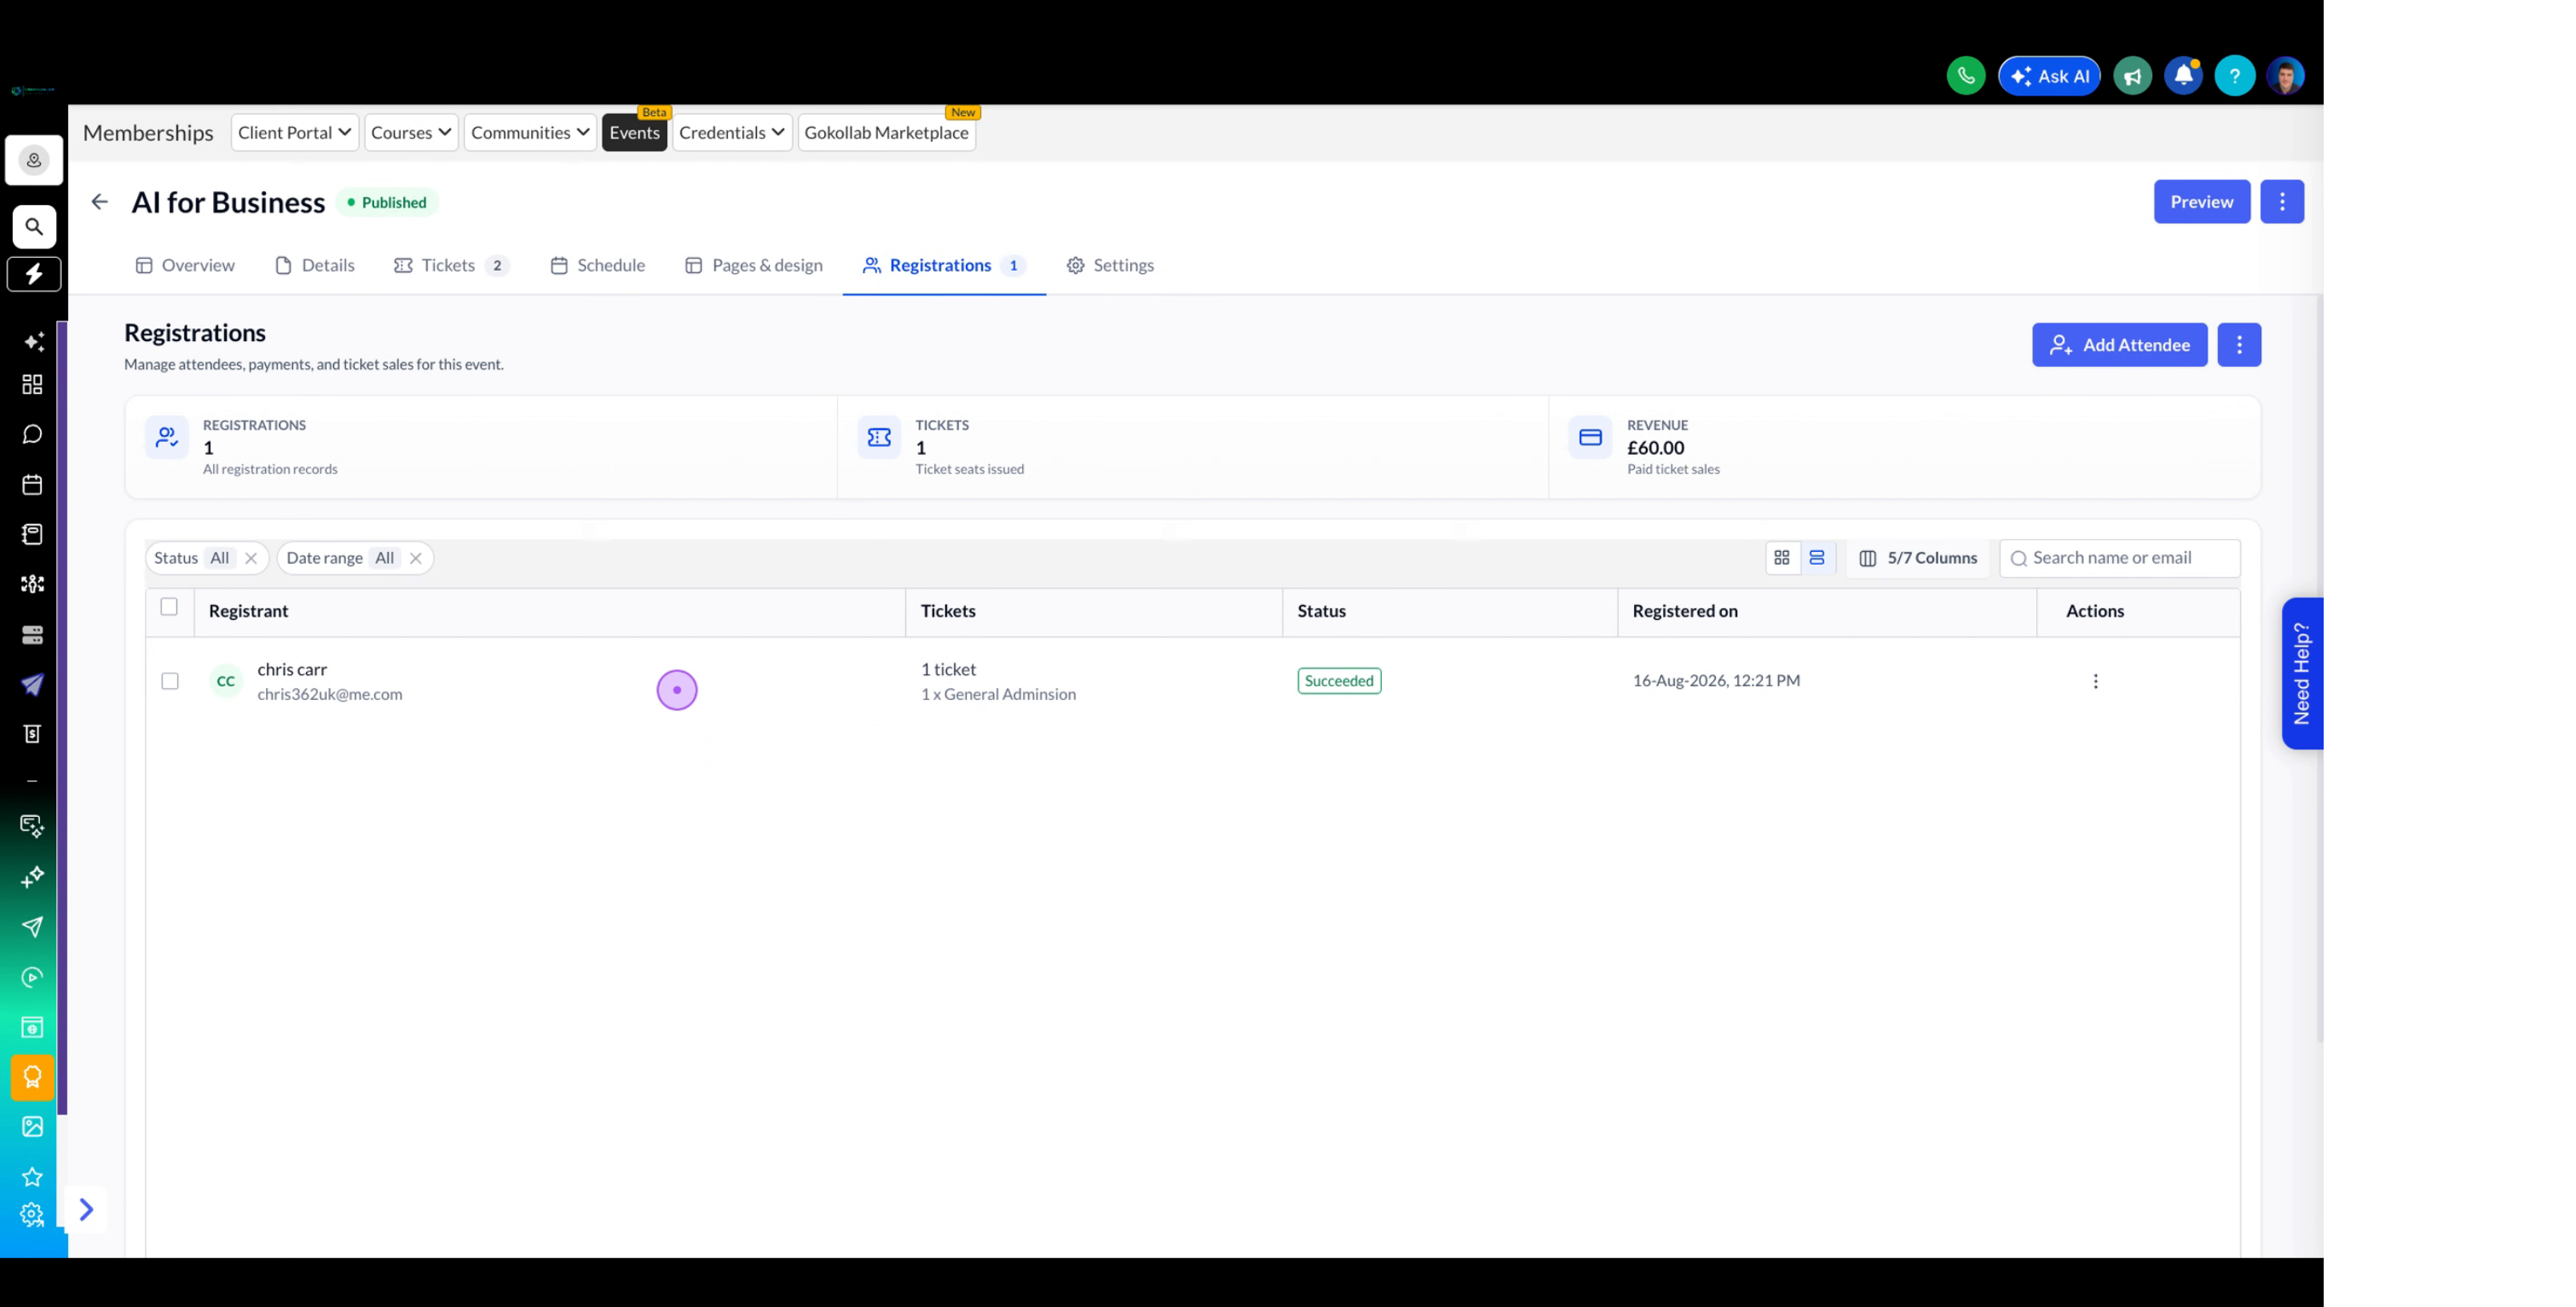
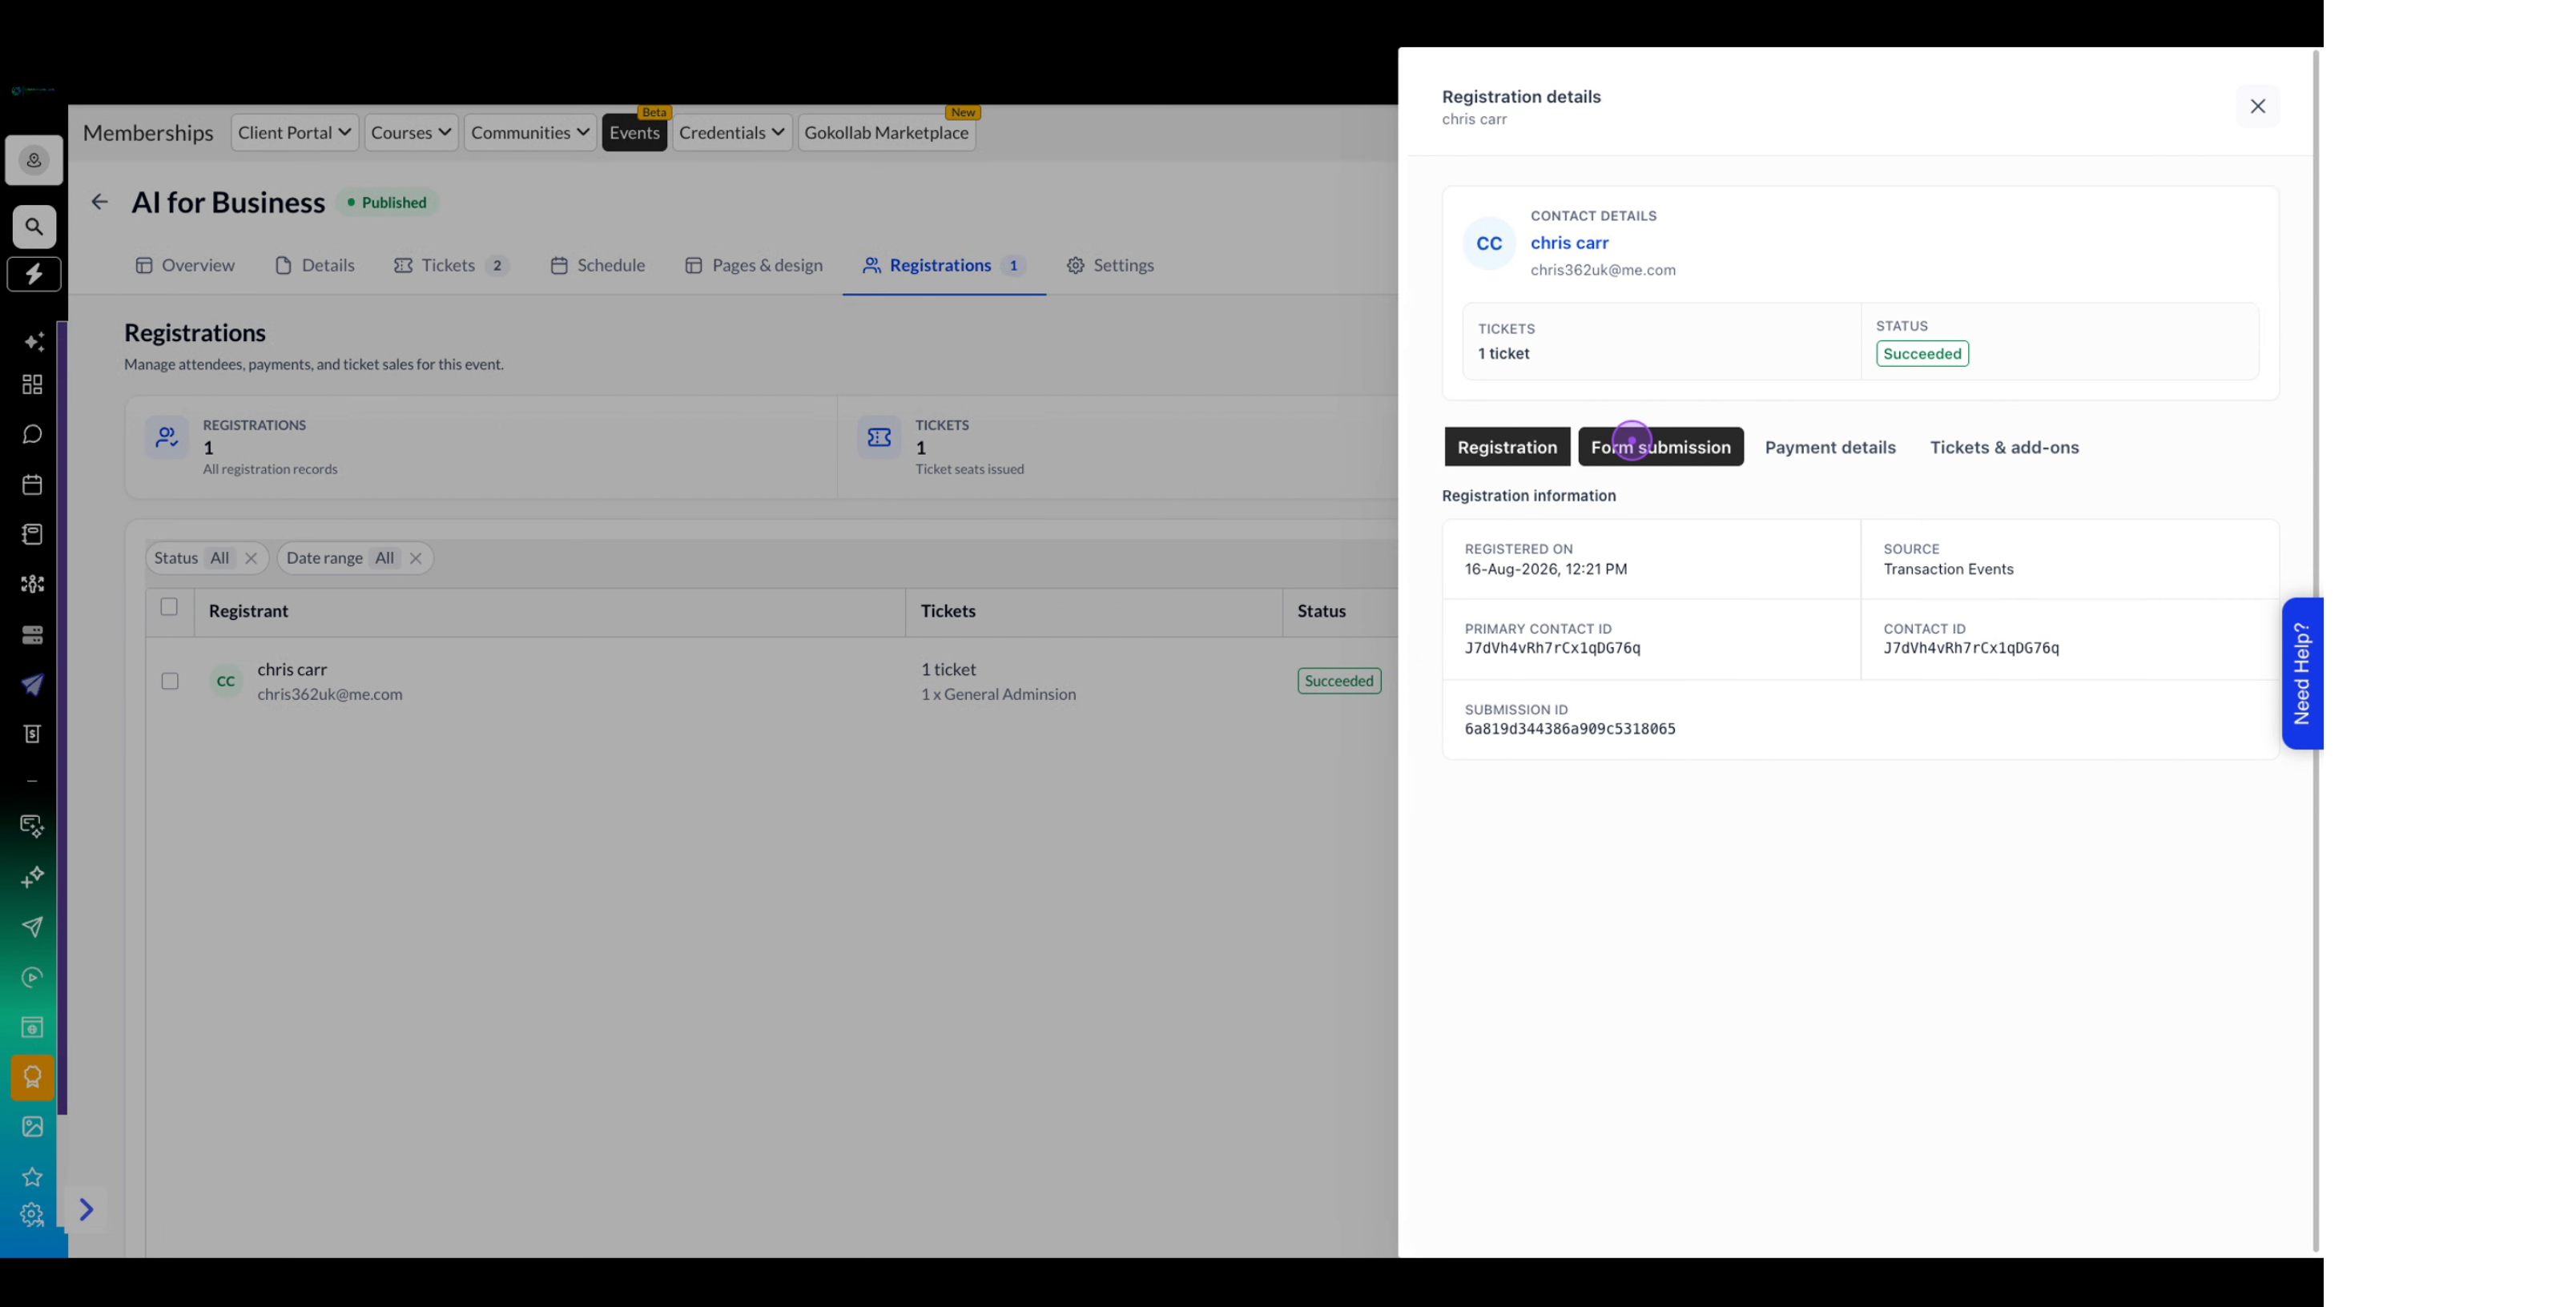
Click on a registrant's name or row in the registrations table to open the detailed registration modal. This shows comprehensive information about the attendee and their booking.
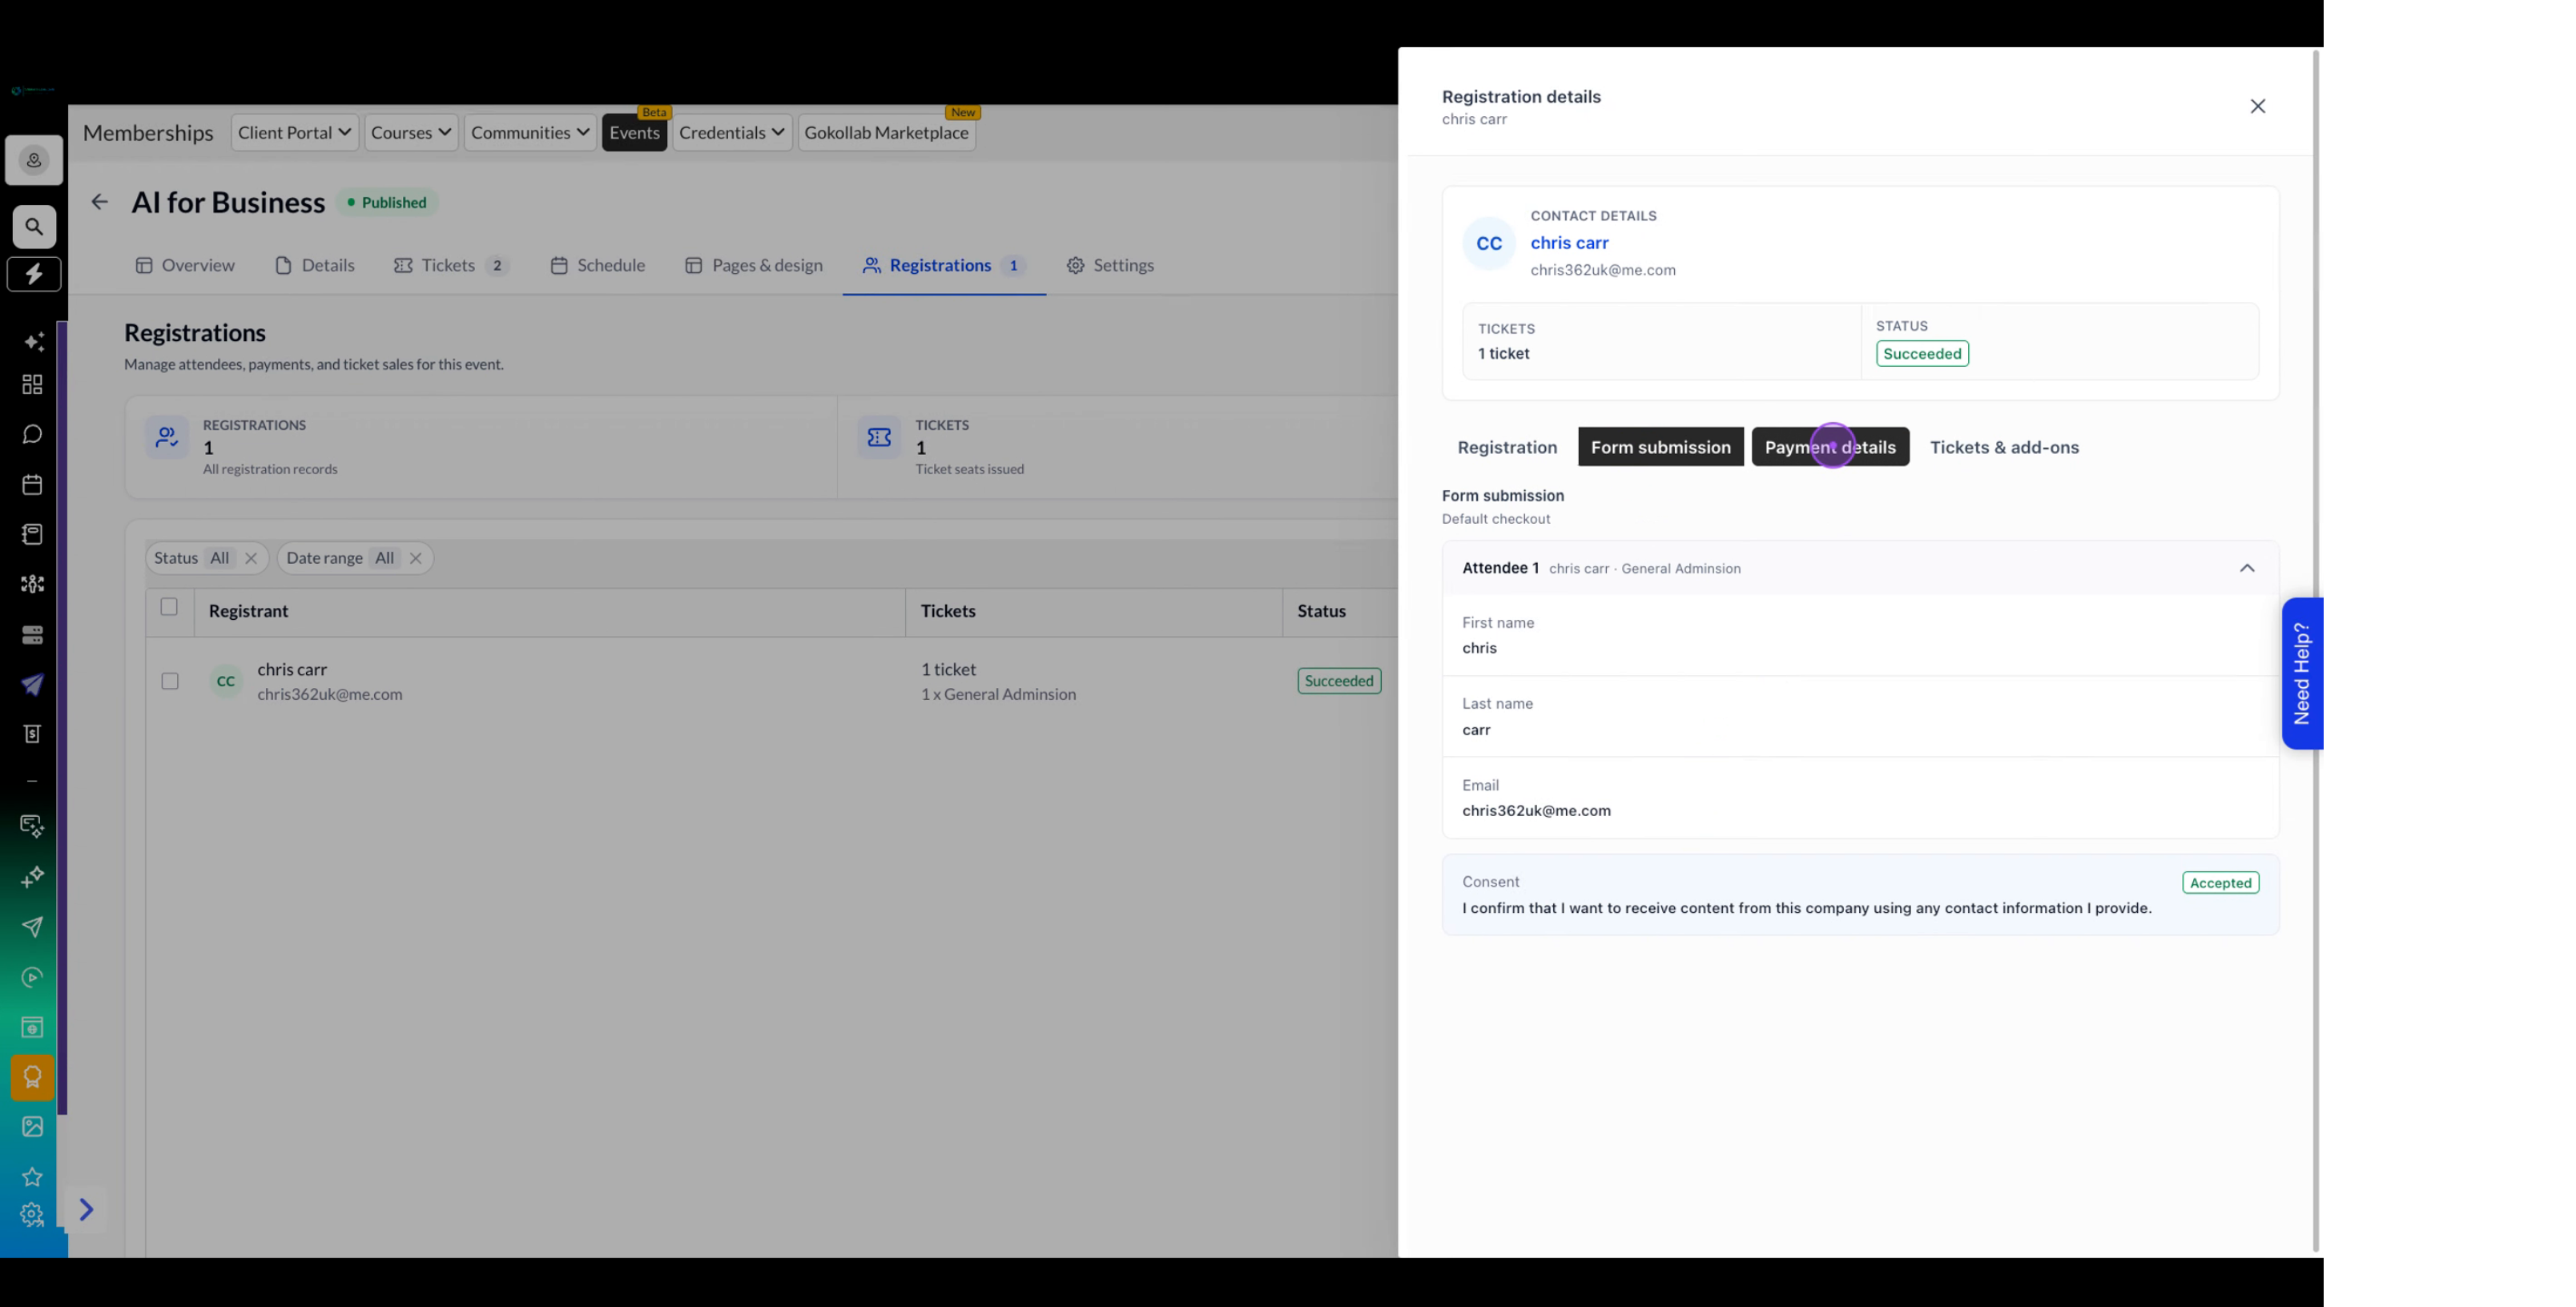
Inside the registration details modal, click the Form submission tab to view all the information the attendee submitted during registration, including custom fields and consent agreements.
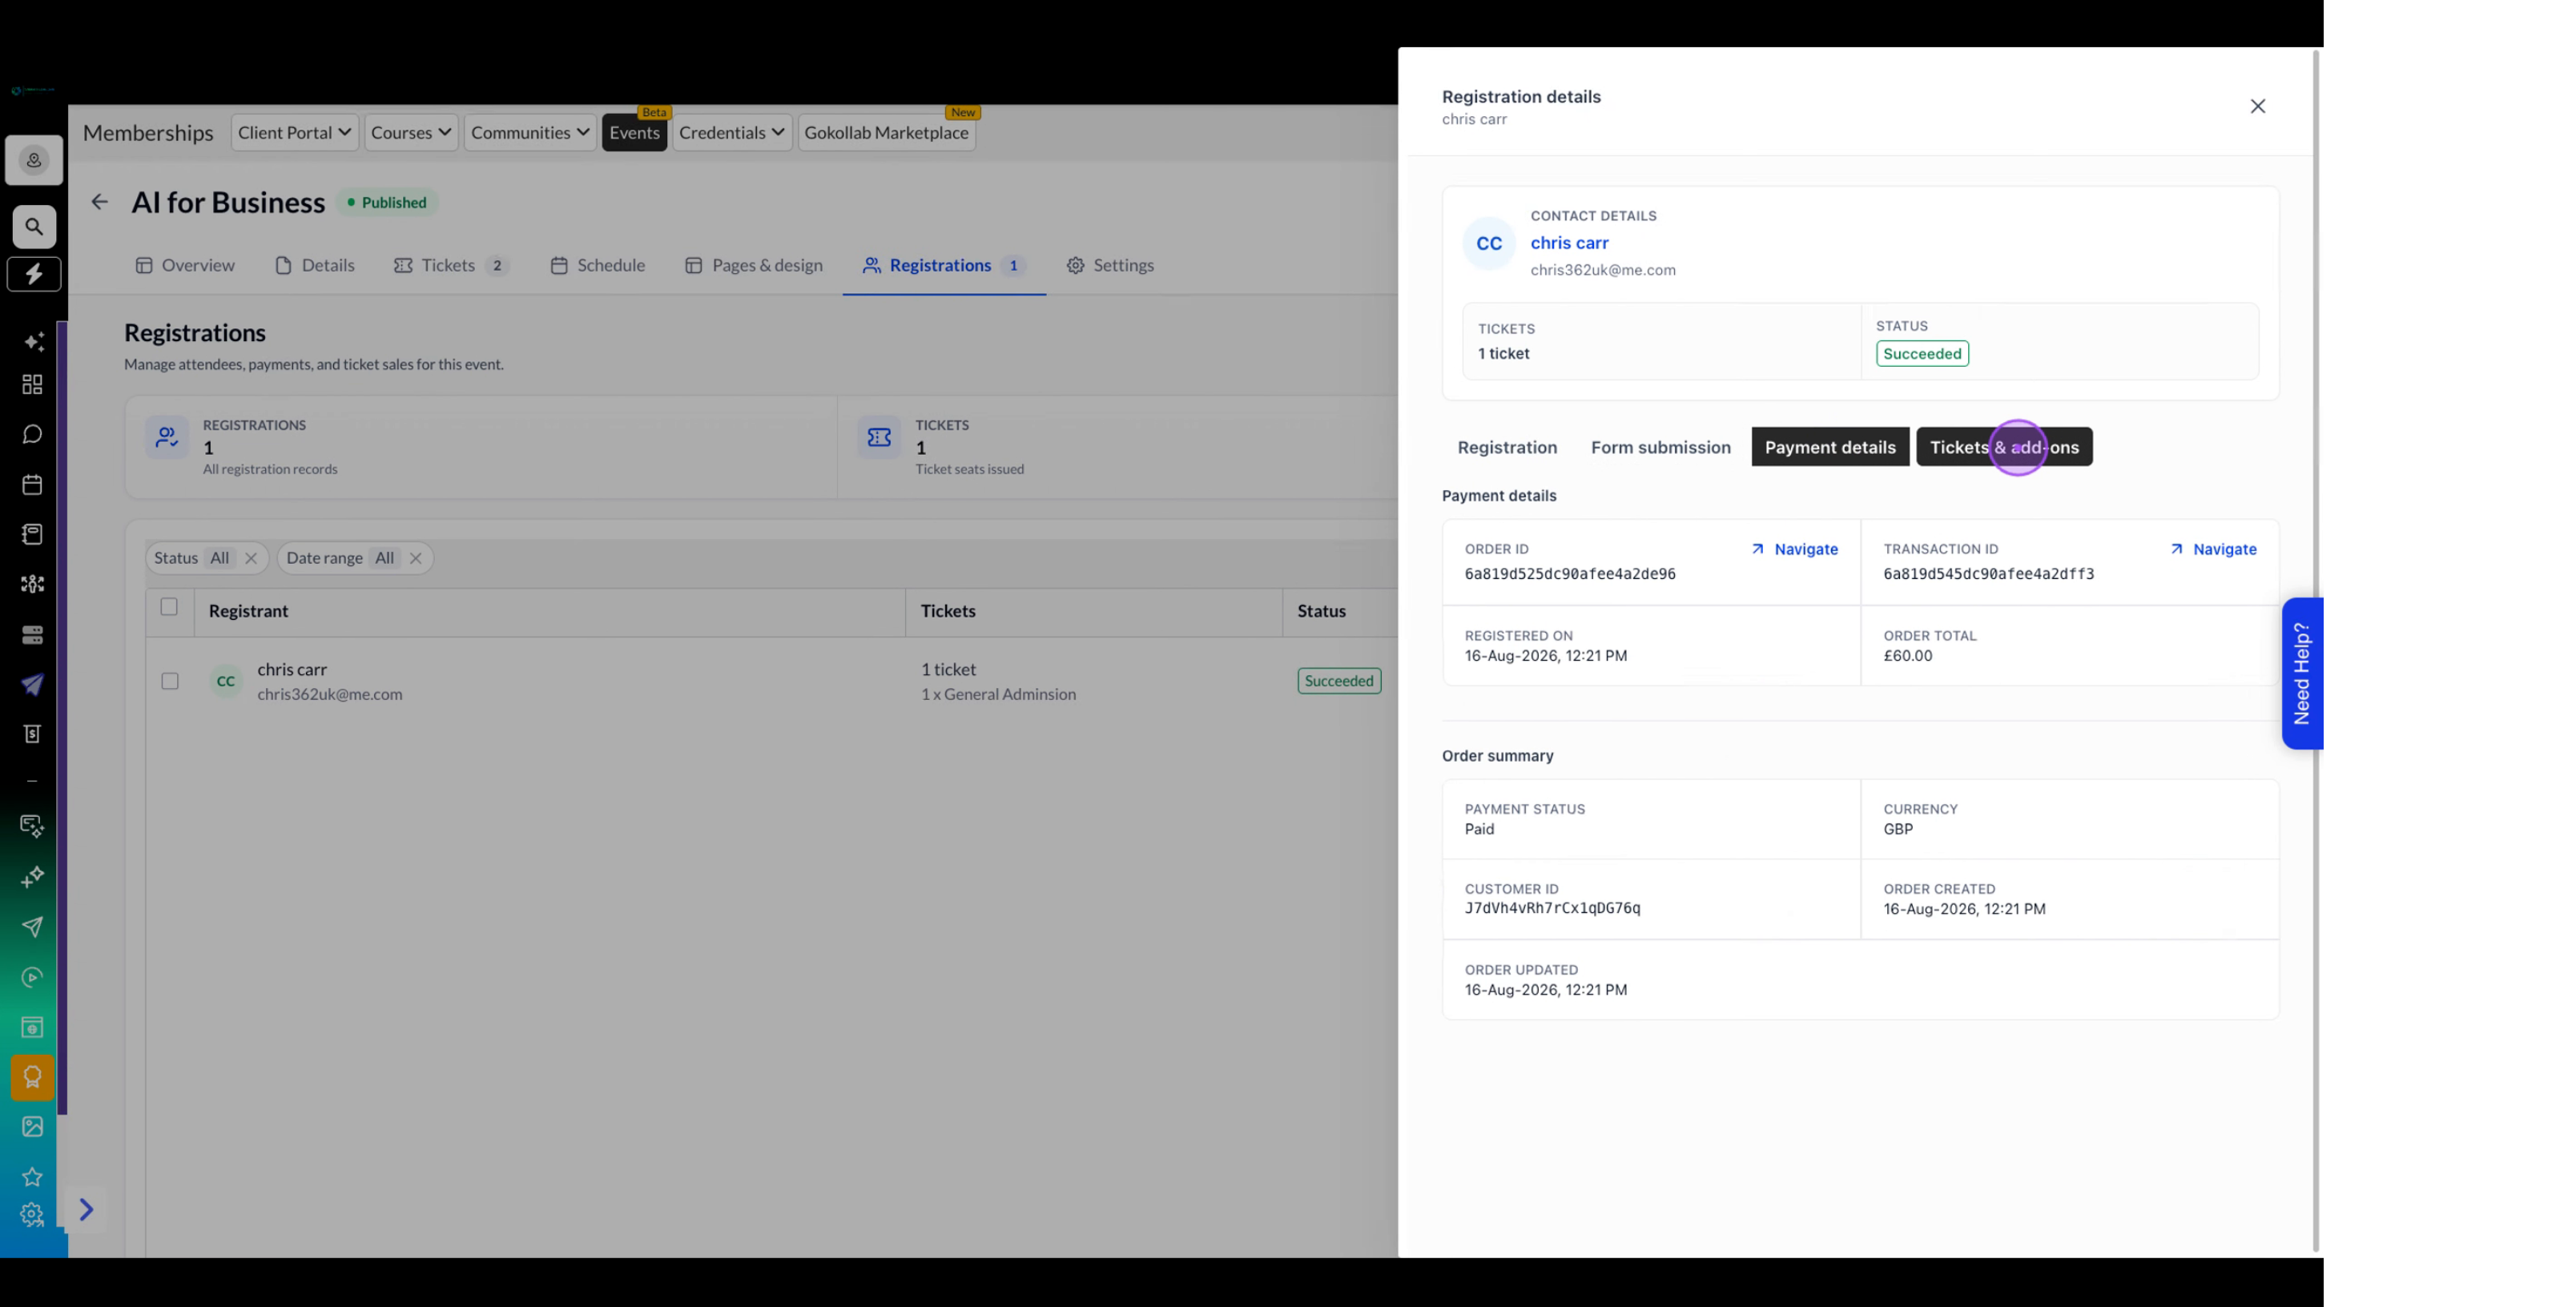
Click the Payment details tab to view order information, transaction IDs, payment status, order total, and currency details for the registration.
Click the Tickets & add-ons tab to see which ticket types were purchased, the purchaser information, and any add-ons included with the registration.
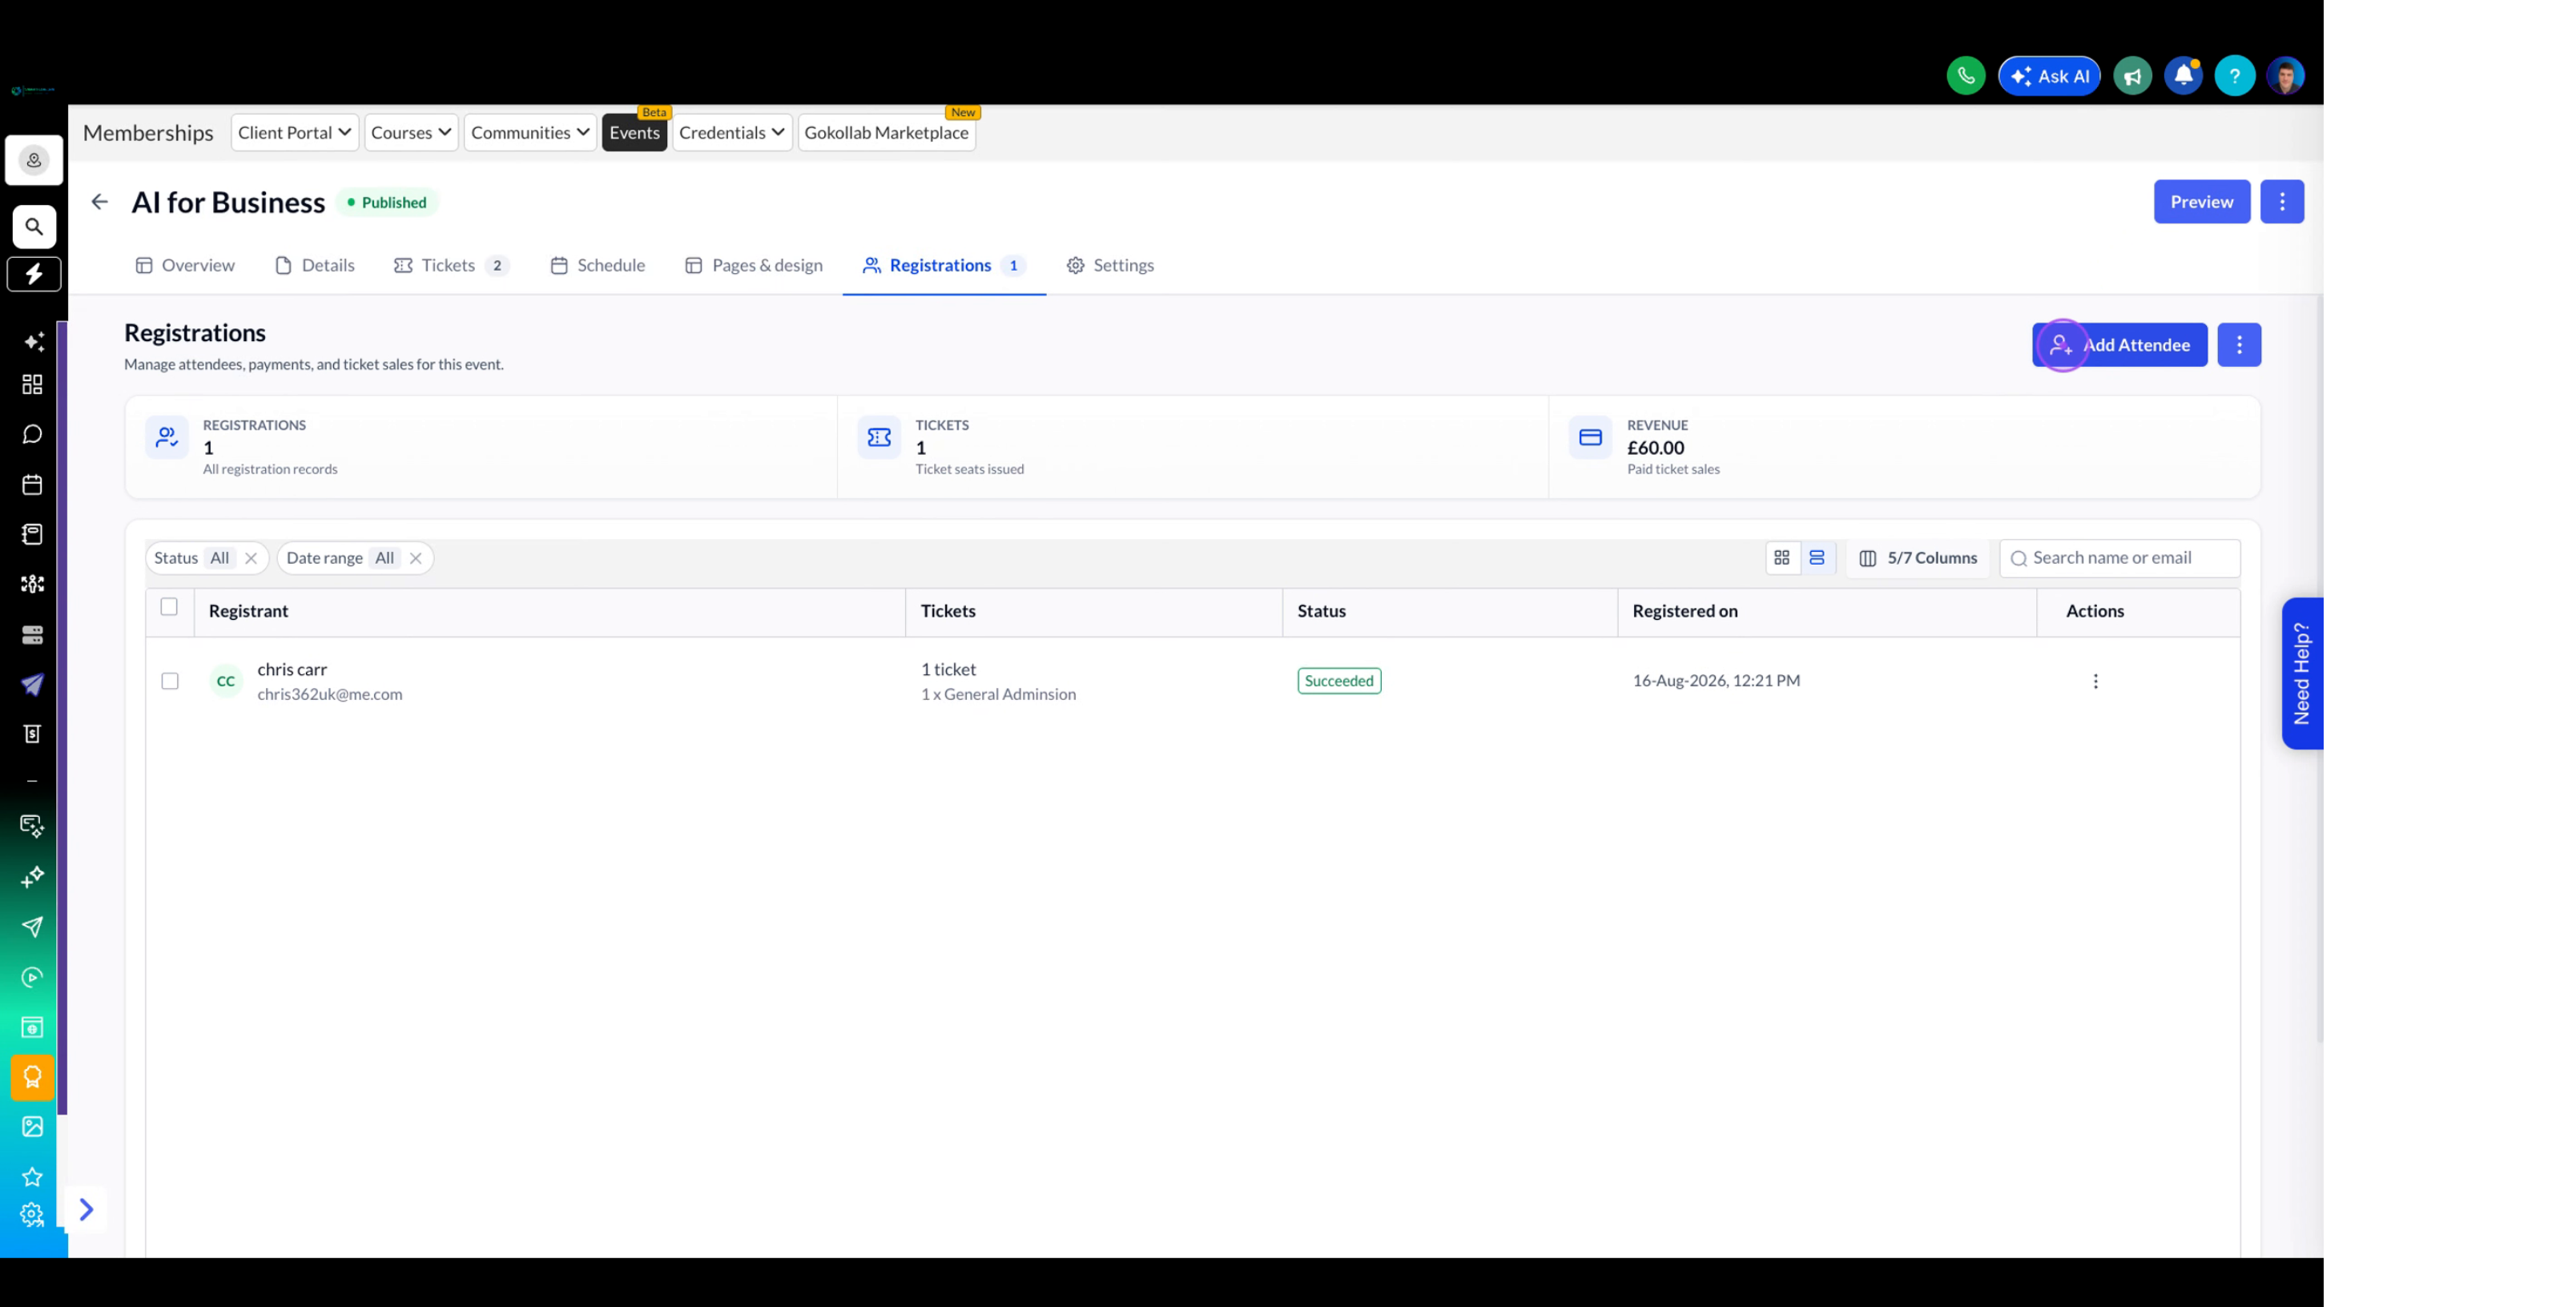
Click the Add Attendee button in the top right corner to manually register someone for the event. Select the ticket type and quantity, then proceed through the attendee and payment steps.
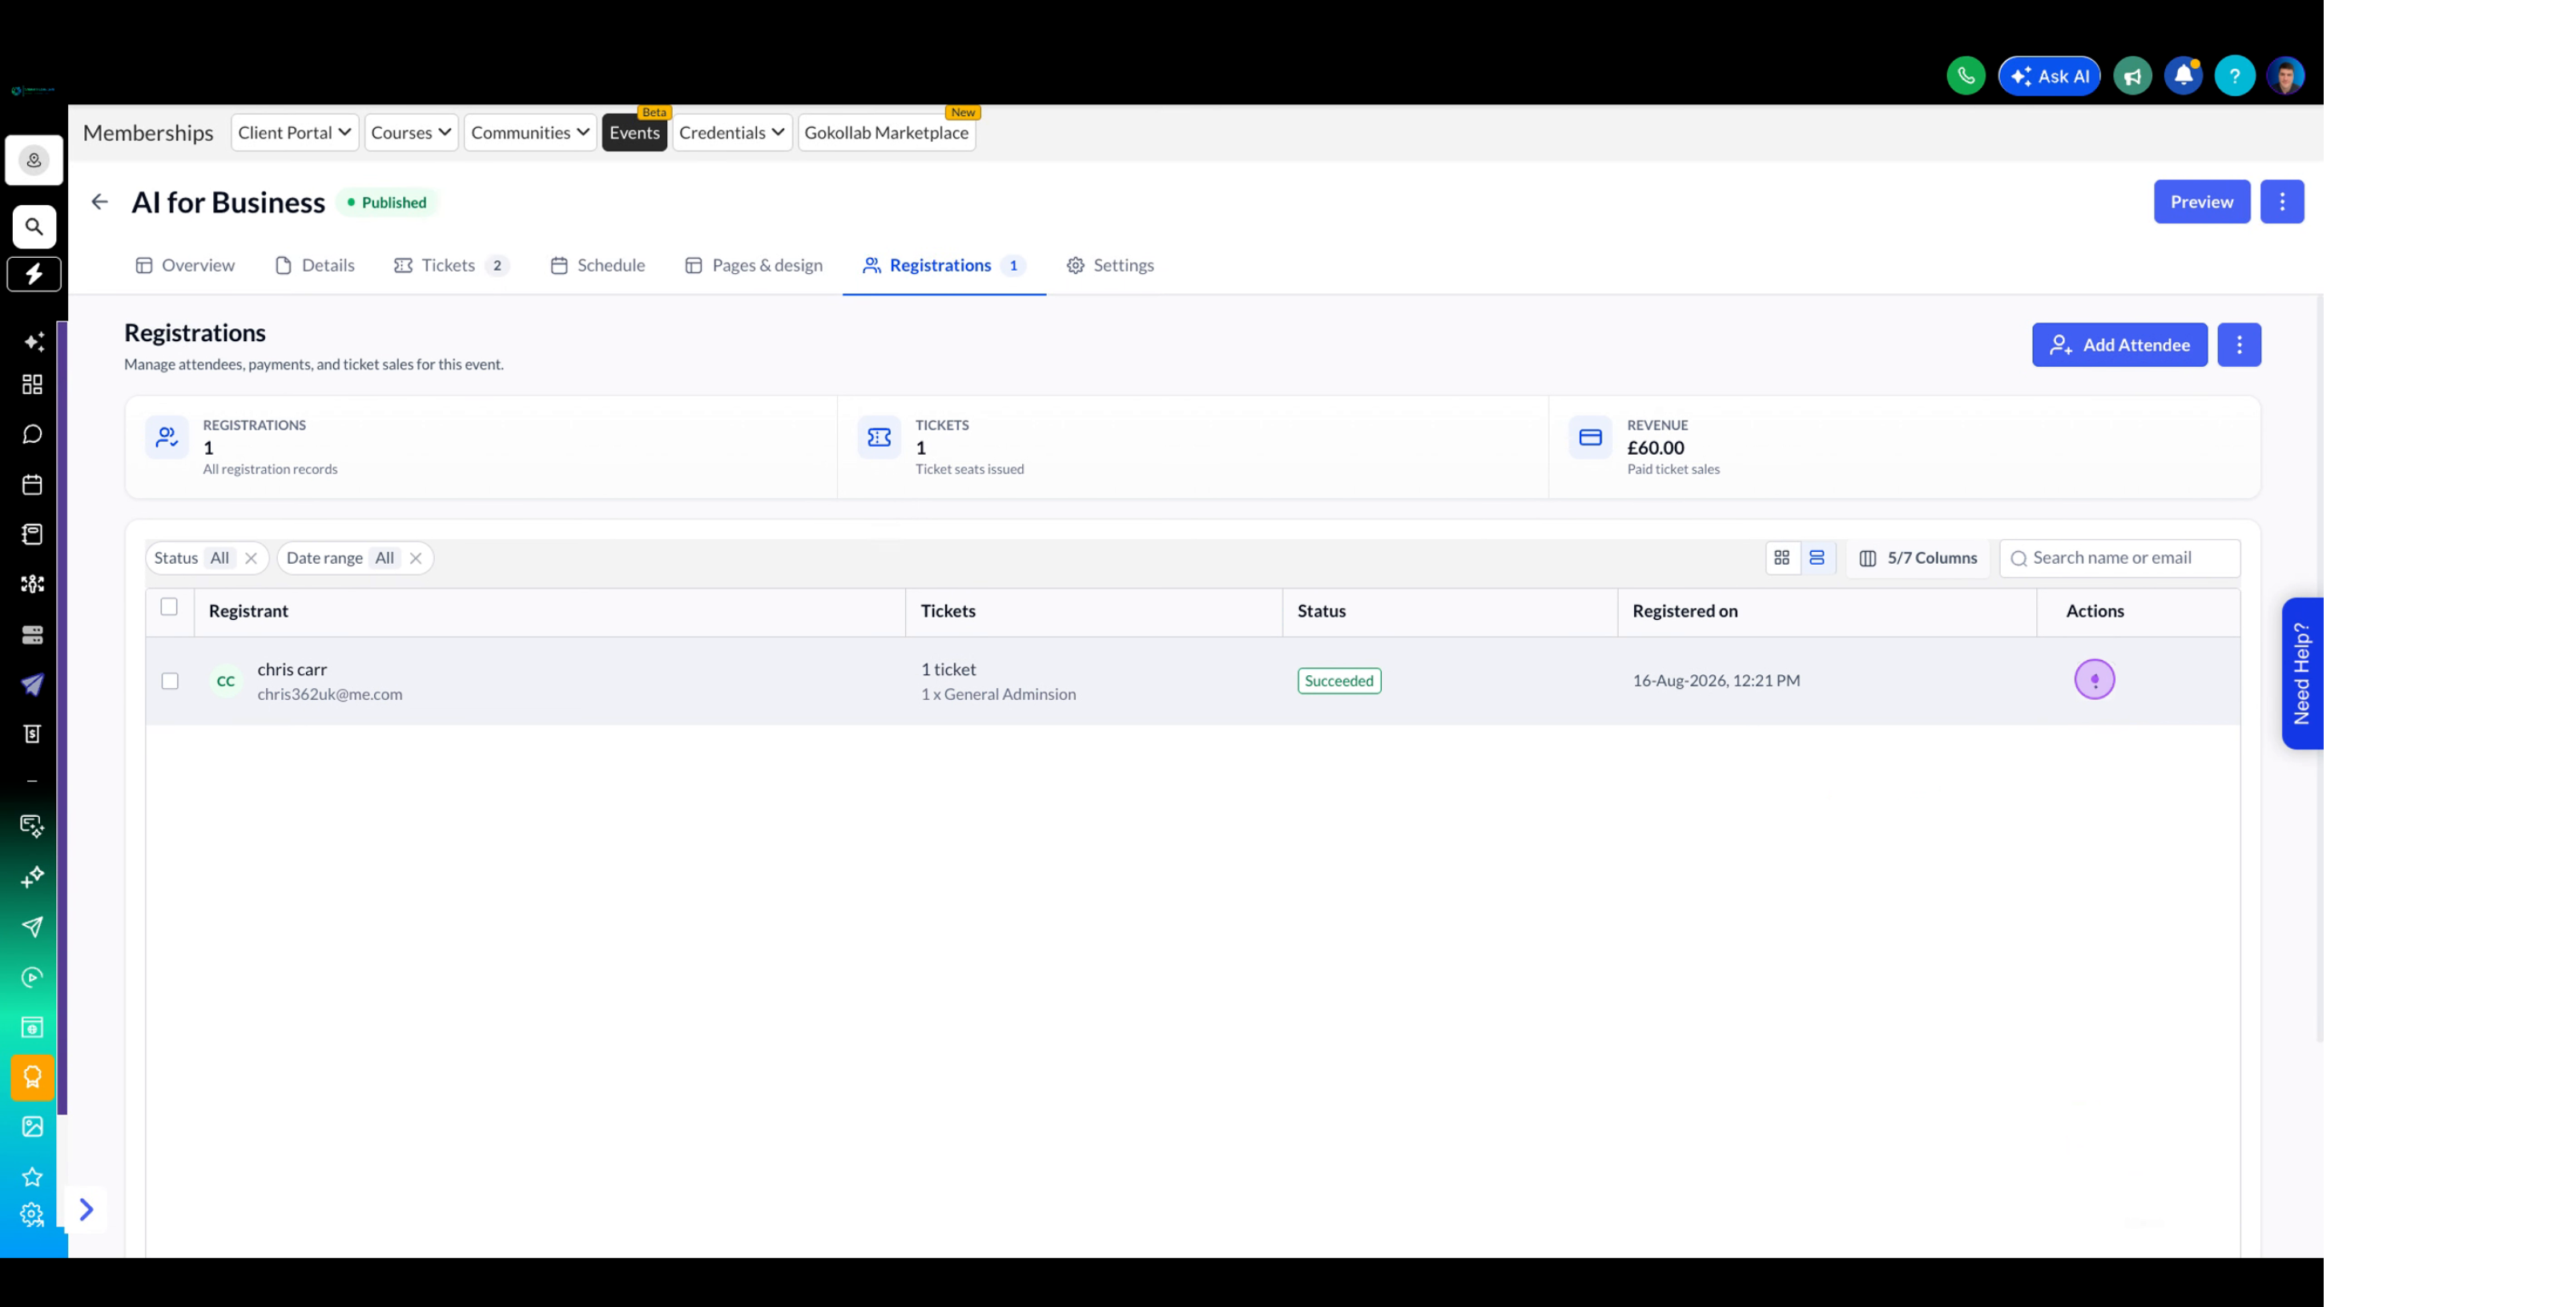
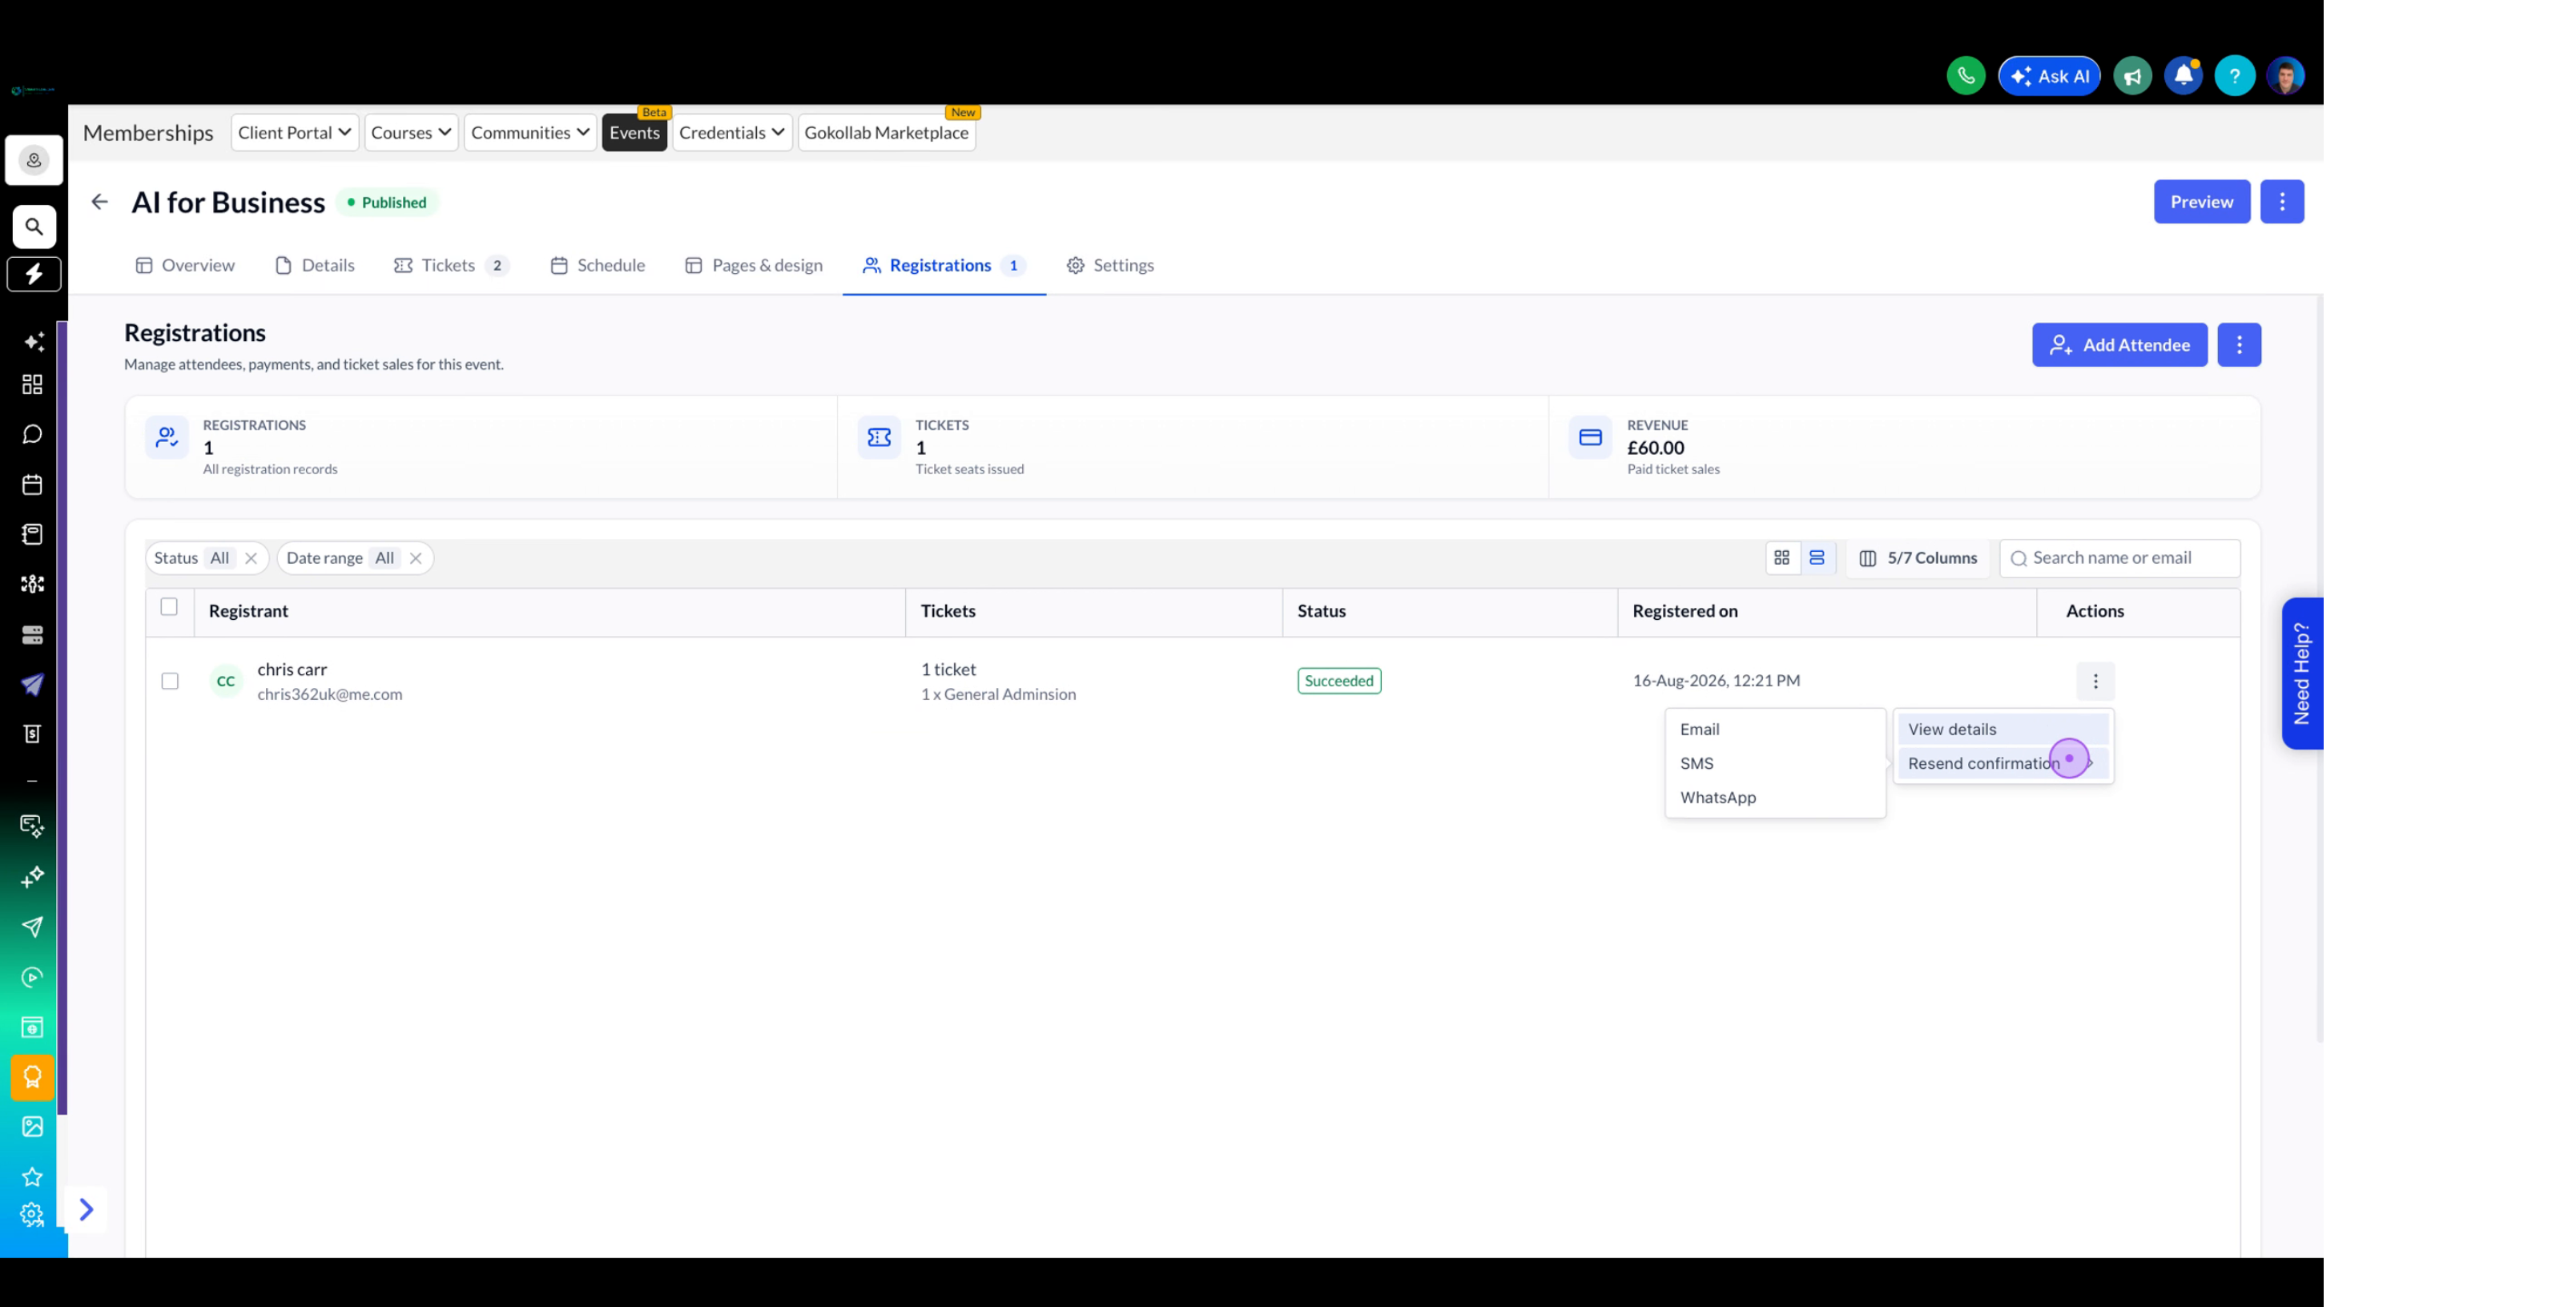
Click the three-dot menu in the Actions column for a specific registrant, hover over Resend confirmation, and choose the delivery method: Email, SMS, or WhatsApp.
Click the three-dot menu button next to the Add Attendee button and select Export CSV to download all registration data for the event.
Select one or more registrations using the checkboxes on the left side of the table. Once selected, use the bulk action buttons that appear at the top to export selected records or delete them.
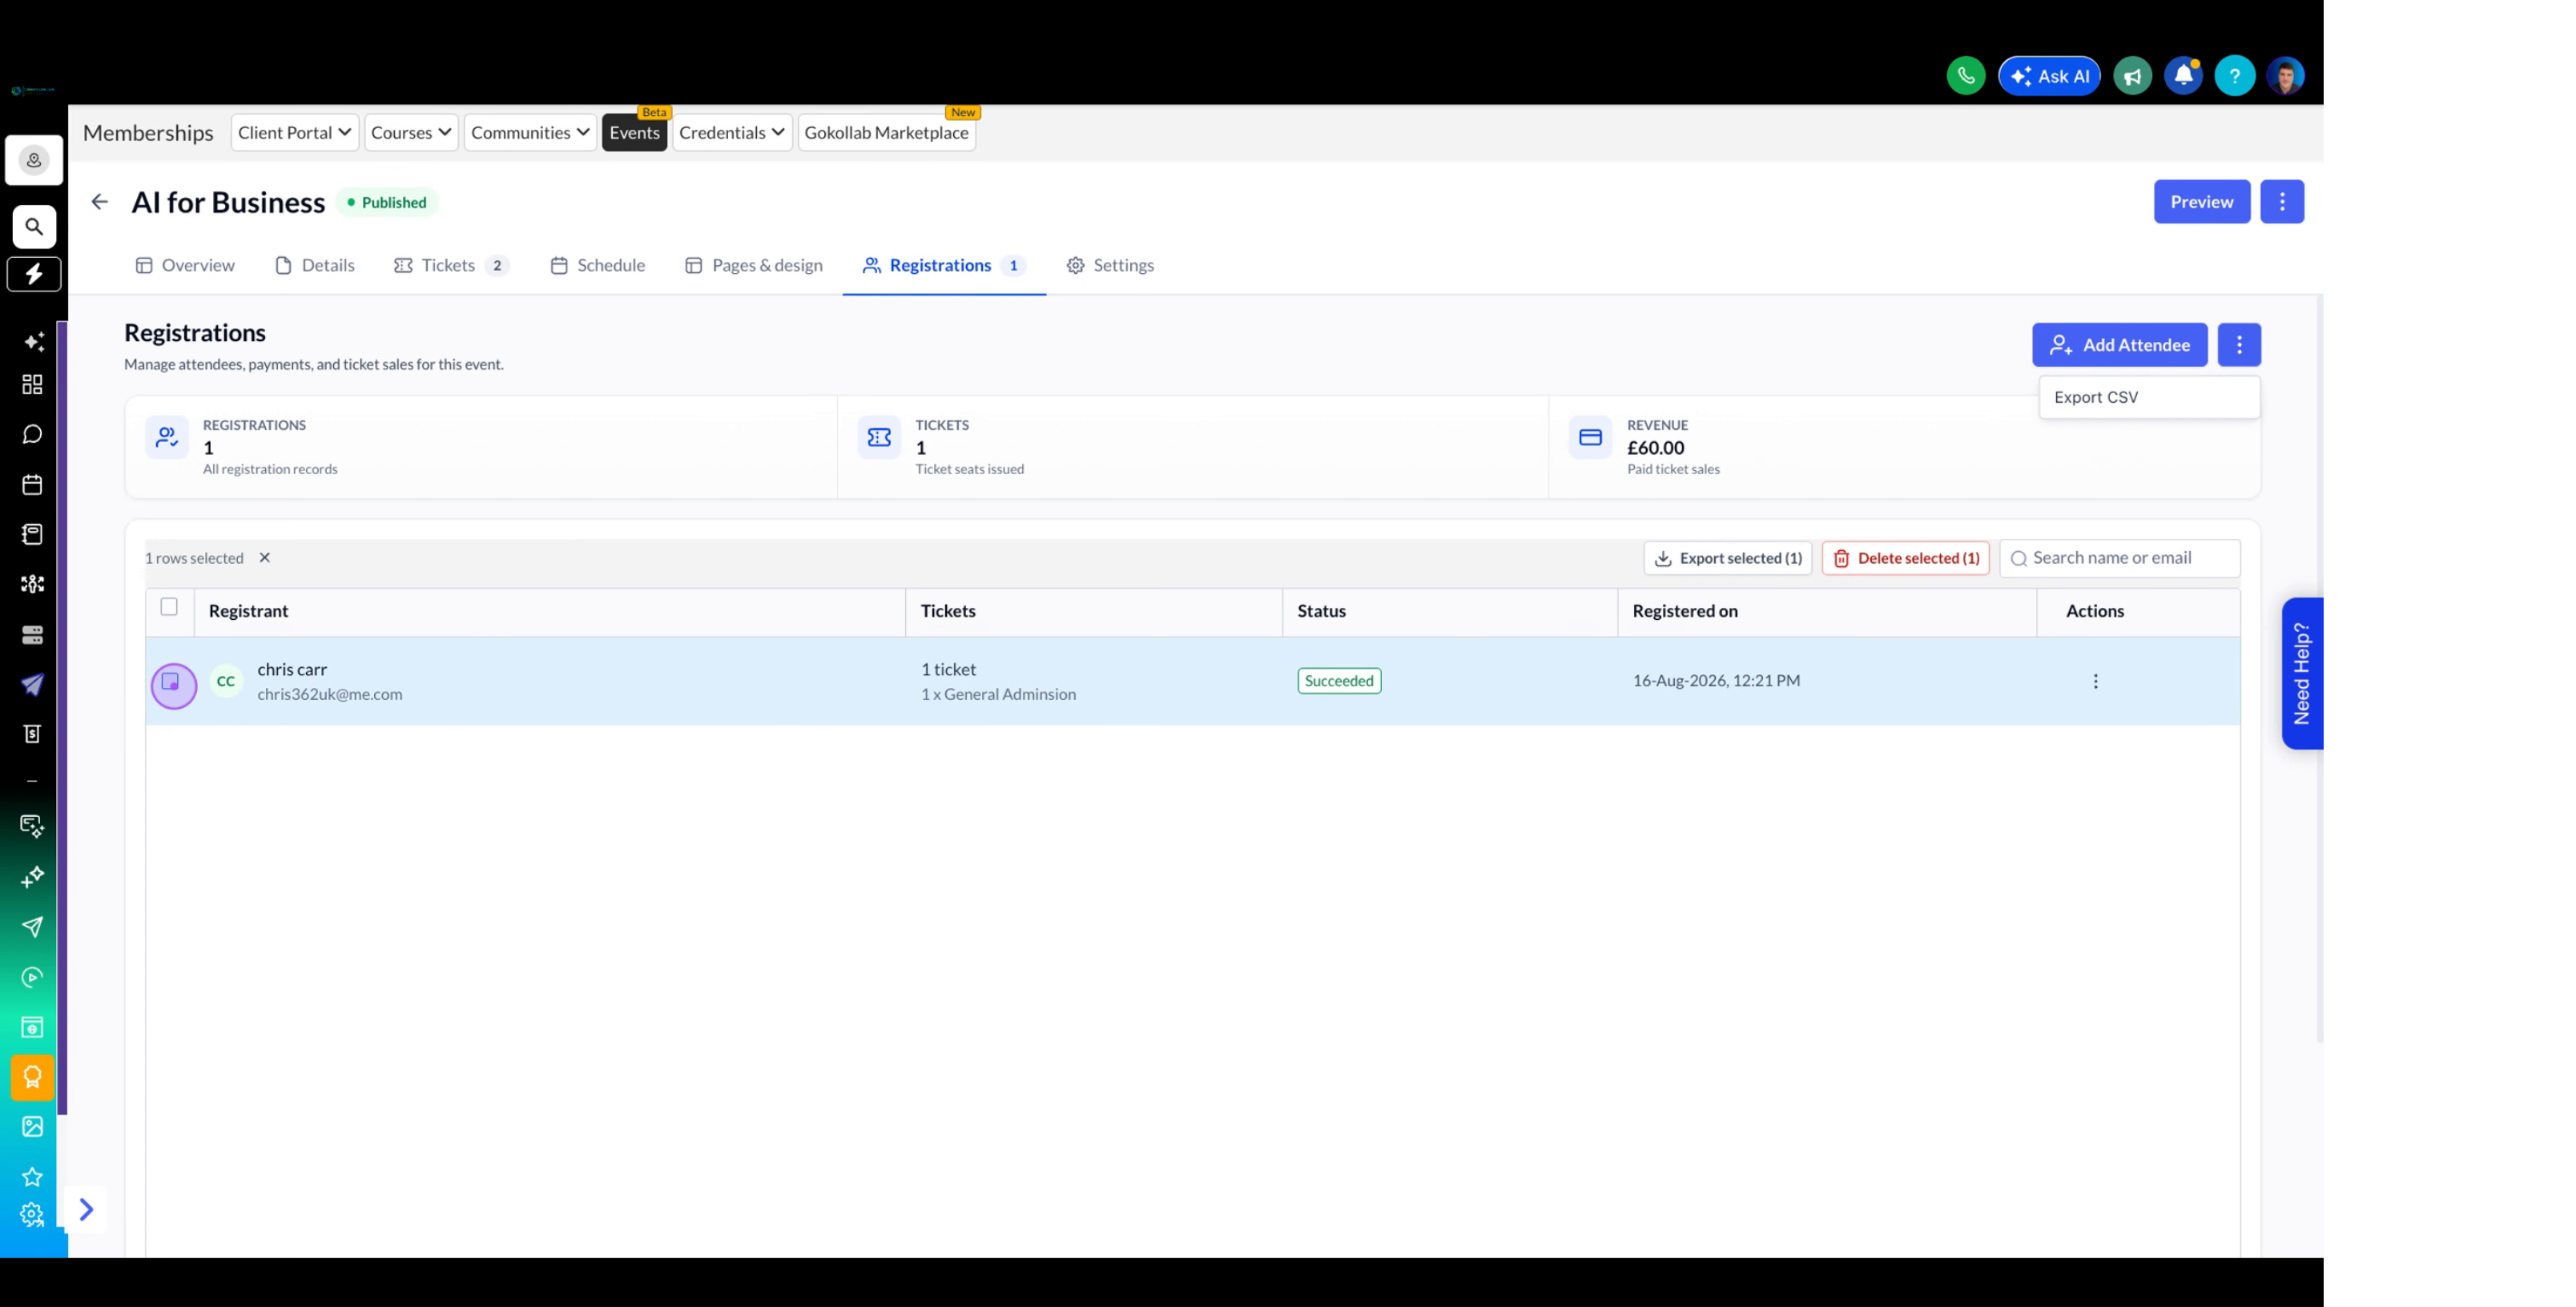
The registrations table shows key metrics at the top: total registrations, tickets issued, and revenue generated.
Use the search bar to quickly find specific attendees by name or email address.
The Status column shows whether a registration is Succeeded, Pending, or Failed.
You can customise which columns are visible using the column selector.
Bulk deletion is permanent, so always export your data before performing deletion operations.