The Contacts dashboard is where all of your contacts data is held, from here you can add new contacts, search contacts and organise contacts into smartlists so you can use them in other parts of the SmartflowCRM.
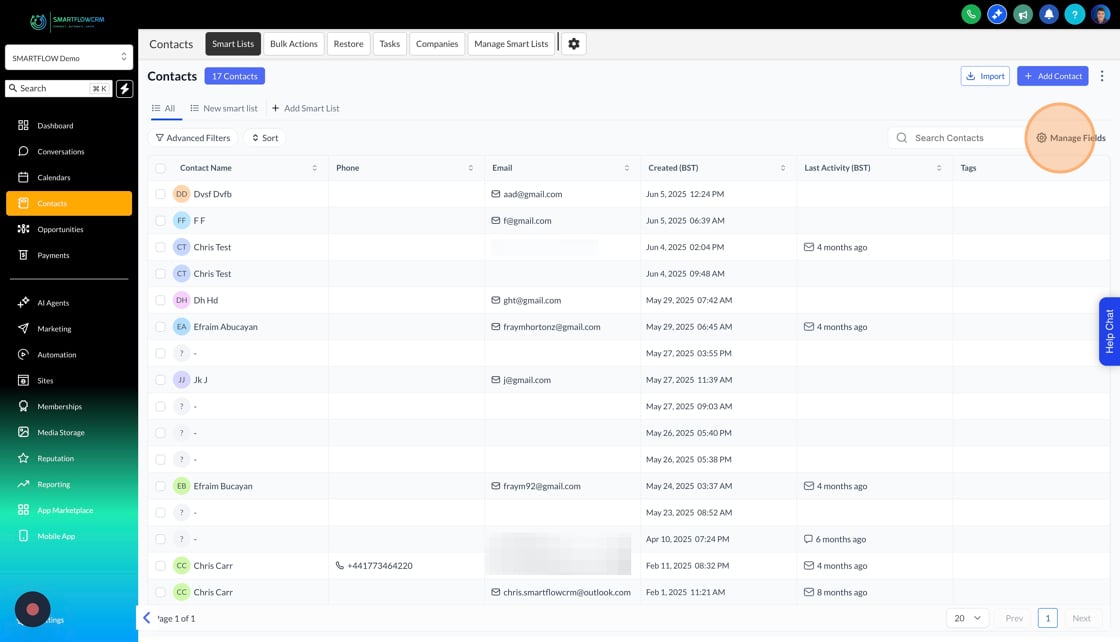
To view your contacts click on the Contacts button, this will open a table filled with all of your contacts.
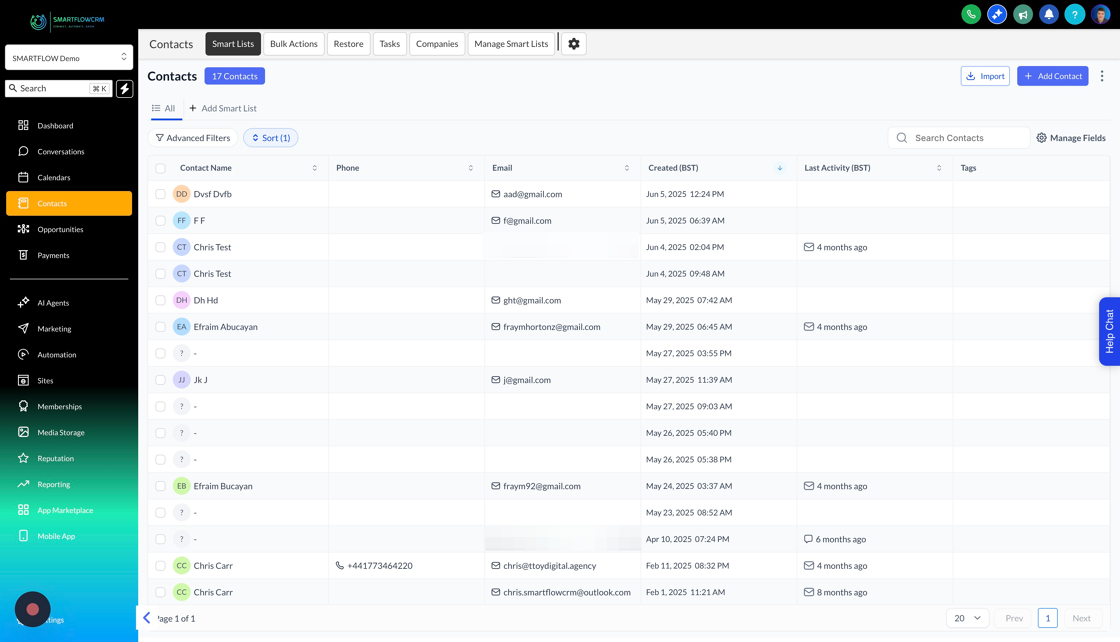
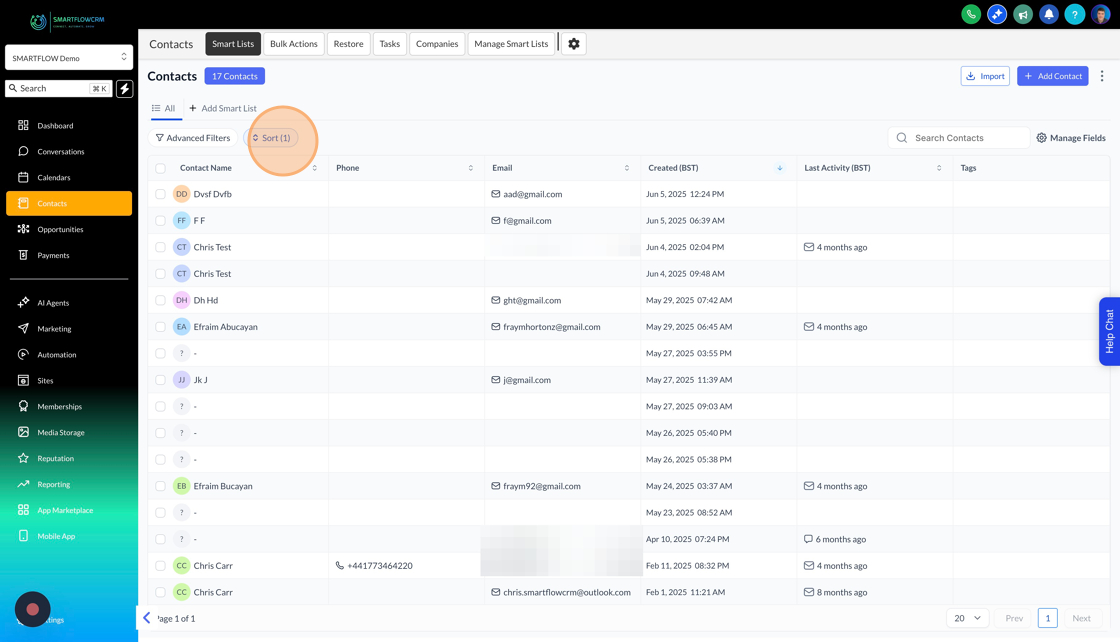
You can easily sort contacts in ascending or descending order by clicking on the column headings or you can your the dedicated sort functionality.
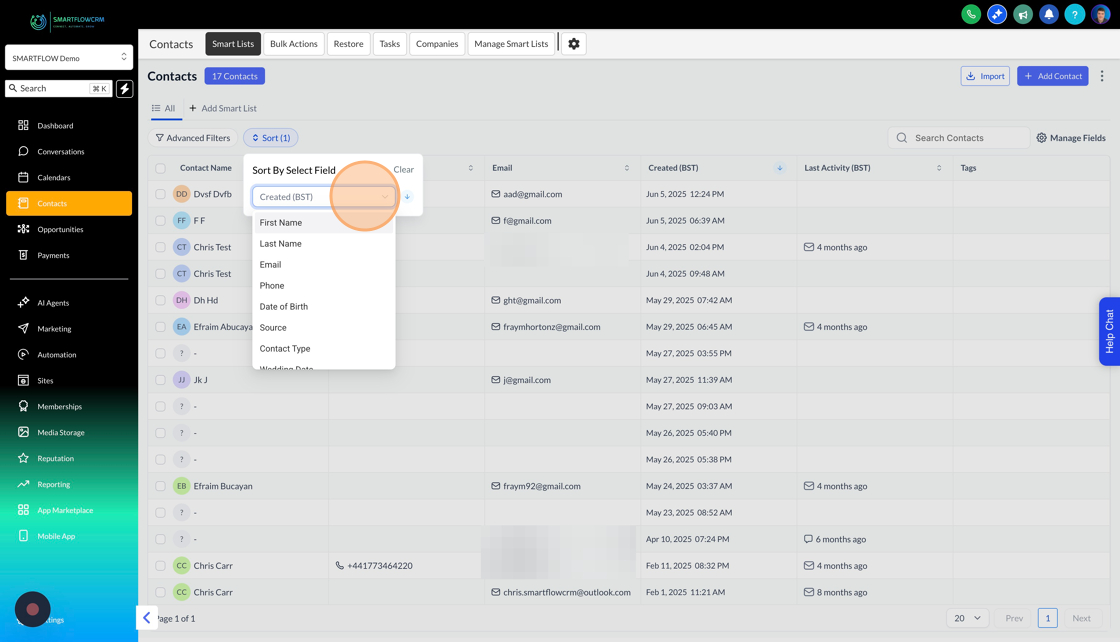
You can then choose a number of options from the list to quickly sort your contacts.
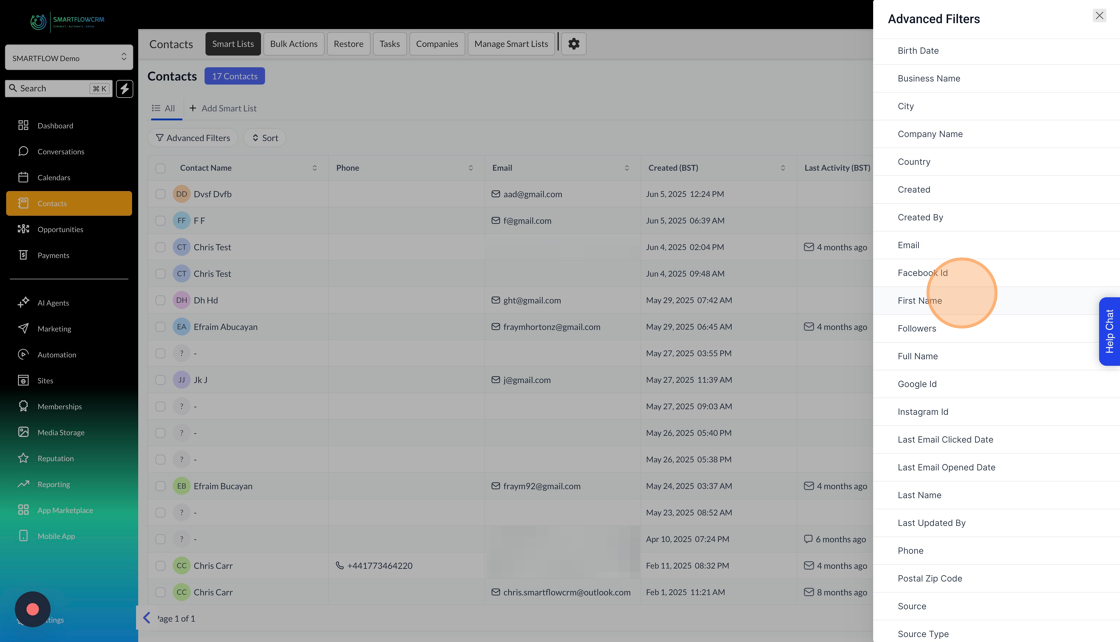
Advanced filters allow you to organise your contacts based one or more criteria, allowing more selective and precise list to be displayed in the contact dashboard.
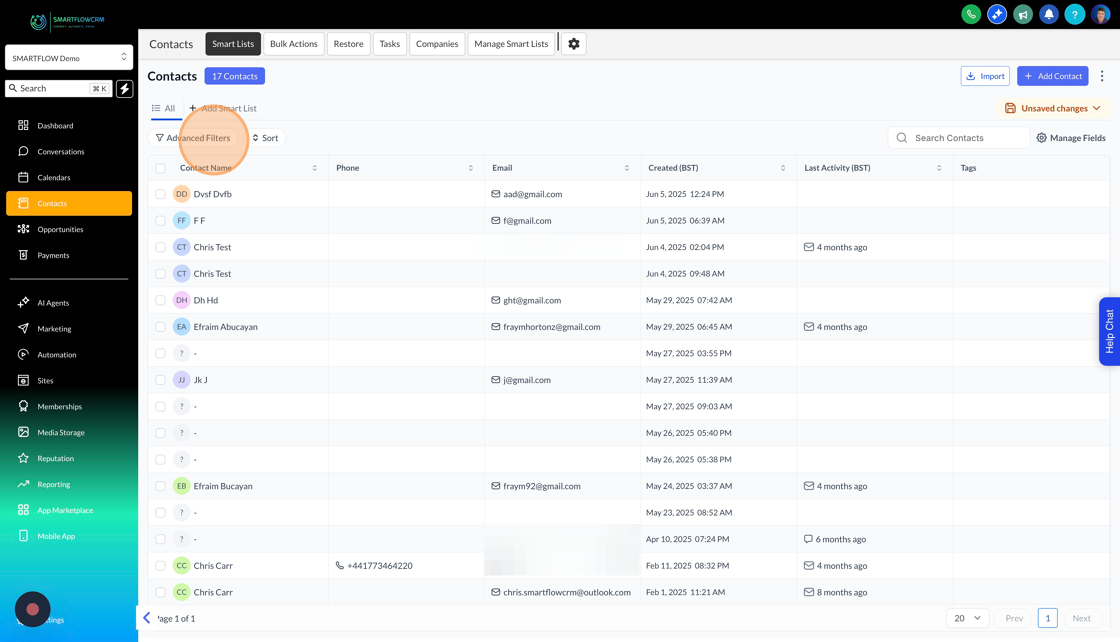
When you elect advance filters a pop up opens that allows you to select the criteria that you want to use to filter out contacts from the main view.
Smart lists are lots of people that you’ve categorised based on a filter, for example you might want a list of all contacts, and then two extra lists of customers and leads as you might want to give these people seperate messages.
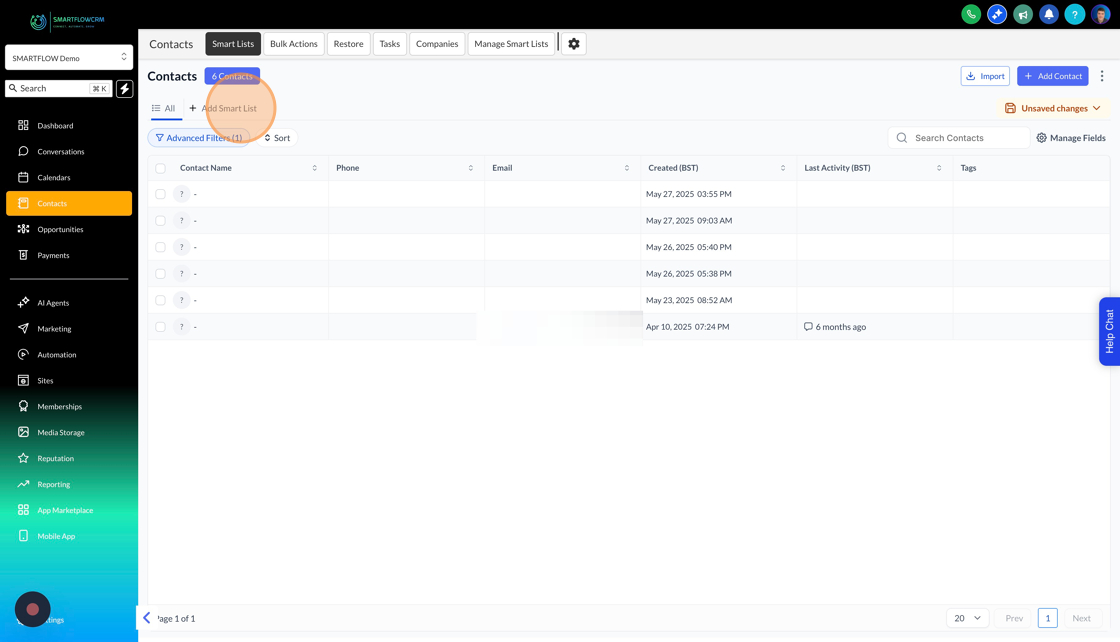
To create a smart list click add SmartList
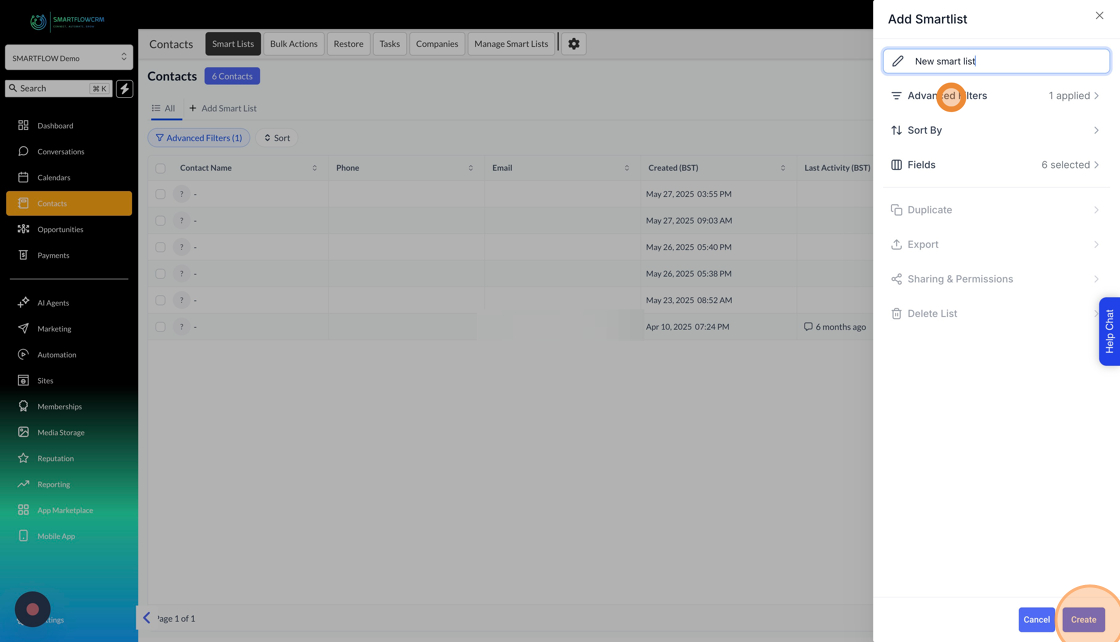
Call you list something, then click the add advanced filter button to add your criteria and then finish off by clicking create.
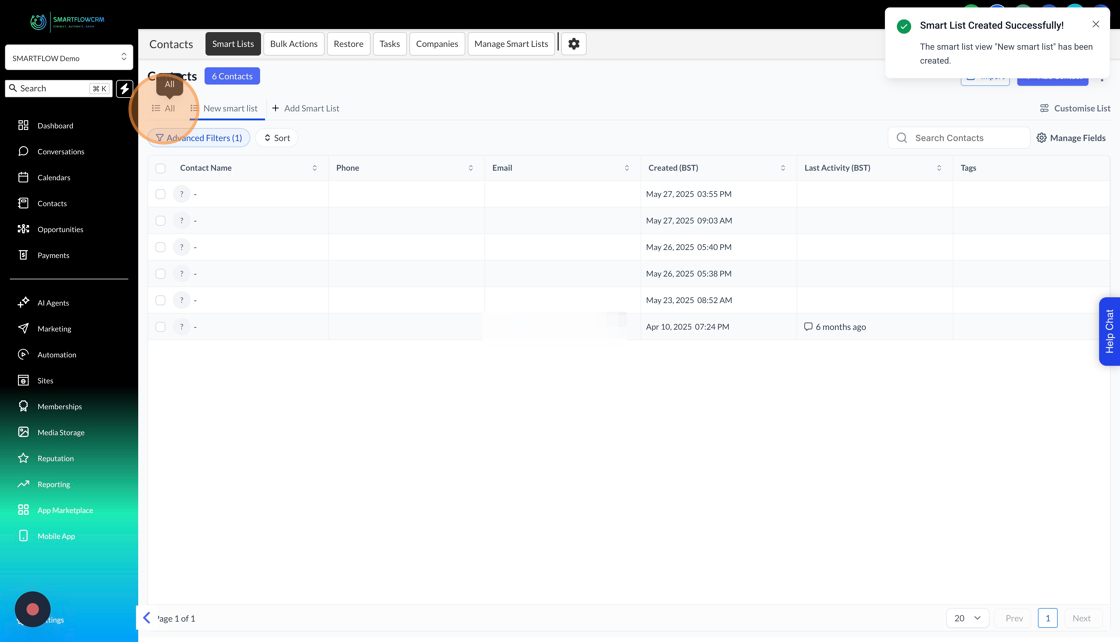
Once a smartest has bee created you’ll get a new tab above your contacts and clicking on each tab will change the contacts that are shown in the table
You can change the contact table to add columns or remove the columns you want by clicking the manage field button.
Then just put a check/remove a check in the any fields that you want to display/remove on the main view and click apply

To add contacts view our add contact article:
Manually Adding a Contact
Learn how to add a contact manually to SmartFlowCRM